Overview
All the Bizagi cloud-based offerings, except the Work Portal, are authenticated through a private Identity Provider (IdP). This identity provider lets users sign in to all your service's portals shown in the image below. Bizagi provides a default Identity Provider and lets you integrate an additional corporate identity provider like Azure AD or Okta, so users can easily sign in using your corporate Identity Provider.
Active IdPs affect all portals and applications of the Bizagi cloud-based services you have purchased.
This section explains how you can change the identity provider of cloud portals and applications.
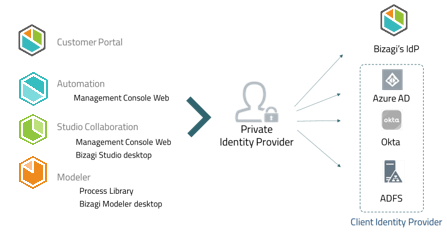
|
Users can access portals of the subscription where they are added. For example, a user registered in the Automation subscription, cannot access the Management Console of the Studio Cloud subscription. |
Once a user is registered in the Customer Portal, they can sign in using the same account to this Portal, and all the portals related to the subscription. See Signing in the Bizagi Cloud Portals and Applications. If you integrate cloud portals' sign-in with other identity providers, this affects all the services that are authenticated with the private identity provider, mentioned in the previous list.
Management Console Authorization
The Management Console (MC) is a web-based application that lets you manage the parameters of your Automation Environment. There is an MC for each environment, that is, one MC for the test, one for the staging and one for the production environment. Only the following roles have access to all the MC of your Automation service:
•Company Administrator
•Automation subscription owner
•Automation project owner
•Automation contributor
Other roles cannot access the MC of your Automation environments.
Before you start
To change the identity provider you must have access to the Customer Portal as a Company Administrator. See How to set company administrators.
Managing Identity Providers
You can manage your cloud-based portals' IdP from the Customer Portal. You can perform any of the following actions:
•Activate /deactivate an authenticator
•Edit an authenticator properties
•Restore the authentication protocols' default settings
•Change the session expiration times
•Configure a Single Sign On with your corporate Identity Provider
As a Company Administrator, access the Customer Portal. Click the Settings icon, and then open the Protocols section.
By default, you find the Bizagi identity provider. The name of this identity provider is Accounts.
To add another Identity Provider, click Add authenticator and select the protocol of your IdP.
|
Maximum one additional authenticator can be added so you can have the Bizagi Accounts, and an additional authenticator. |
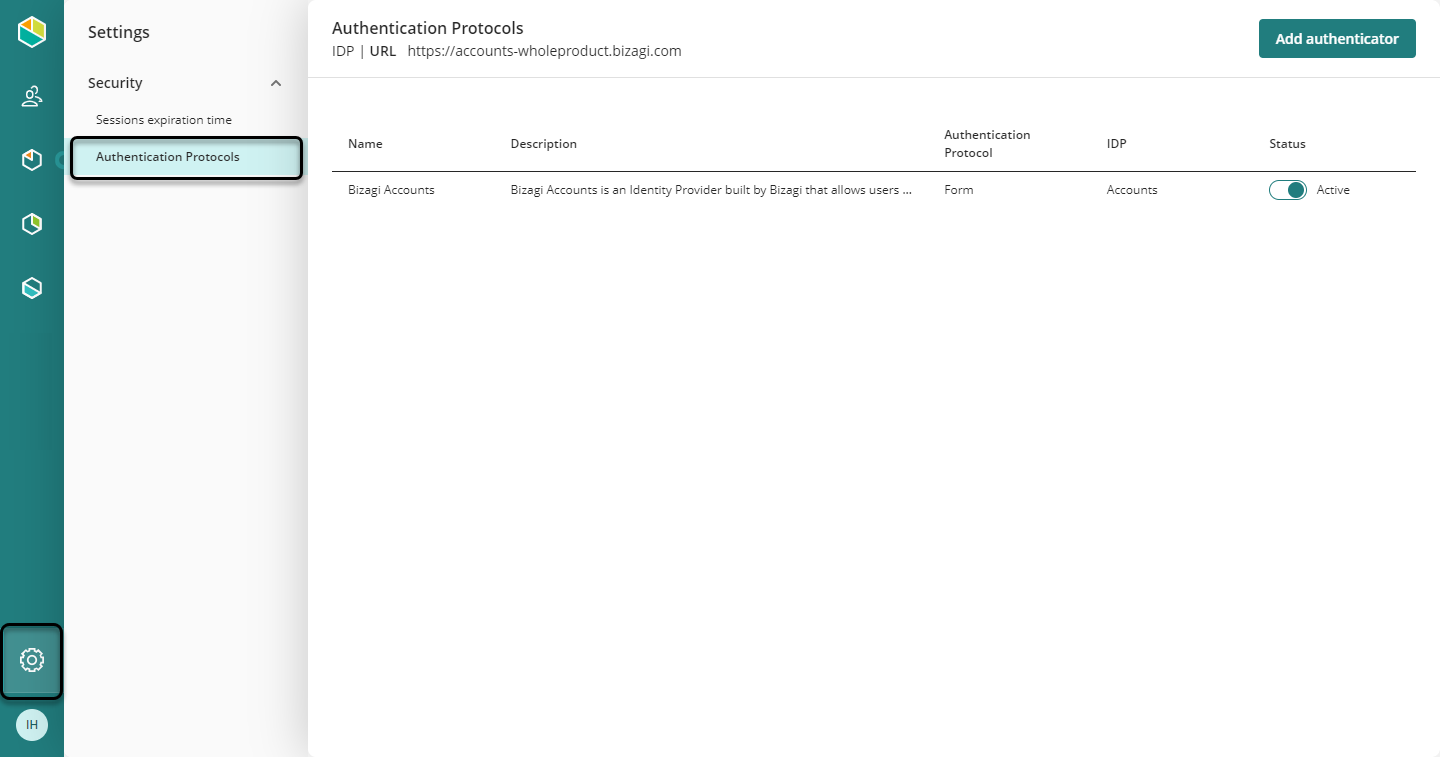
You can choose between the following options:
Protocol |
Supported Identity Providers |
|---|---|
SAML 2.0 |
You can use any IdP that supports the SAML 2.0 protocol. See the Configure Azure AD using SAML 2.0 or General configuration. |
OAuth2 & Open ID Connect |
You can use OKTA, see the configuration example. No further IdPs are supported. |
WS-Federation |
The following IdPs are supported using the WS-Federation protocol: |

Click any of the IdP to see configuration examples.
Activate/deactivate an authenticator
To activate an authenticator you must open the Protocols menu, and activate one authenticator.
Remember that only one (1) authenticator can be active at the time.
Before activating the new authenticator, review your configuration settings carefully.

Bizagi displays a warning message.
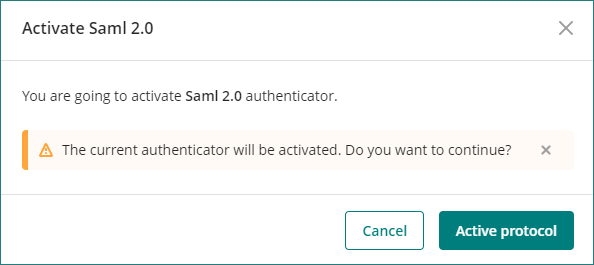
In the Protocols menu, you can find the list of all the authenticators.
You can delete non-active authenticators by clicking the trash bin on the right-hand side of each authenticator.

Edit an authenticator properties
You can edit any authenticator properties from the Customer Portal. As a Company Administrator, access the setting options, select the Protocols menu, and click Edit on the right-hand side of each authenticator.

Change the session expiration times
You can define the session expiration time of each portal independently. When the user is authenticated, either using the default or your company Identity Provider, Bizagi generates a token that is stored in the user's browser. The token contains characteristics of the session, including the expiration time. Bizagi provides two options that can be configured in a token:
Access Tokens per Portal
Access Token Lifetime: The Access Token contains the permissions that a user has over a portal after they are authenticated. The Access Token Lifetime defines how long a user can have a valid active session. This time must be set as short-lived as possible, to prevent having compromised the access to a particular application.
Refresh Token Lifetime: The refresh token, on the other hand, is issued along with the access token, and it is responsible to request a new access token when the existing access token is expired. The Refresh Token lifetime is long-lived, and at least must be greater than the Access Token Lifetime.
Access the Customer Portal as a Company Administrator, click the Settings icon, and open the Sessions expiration time section.
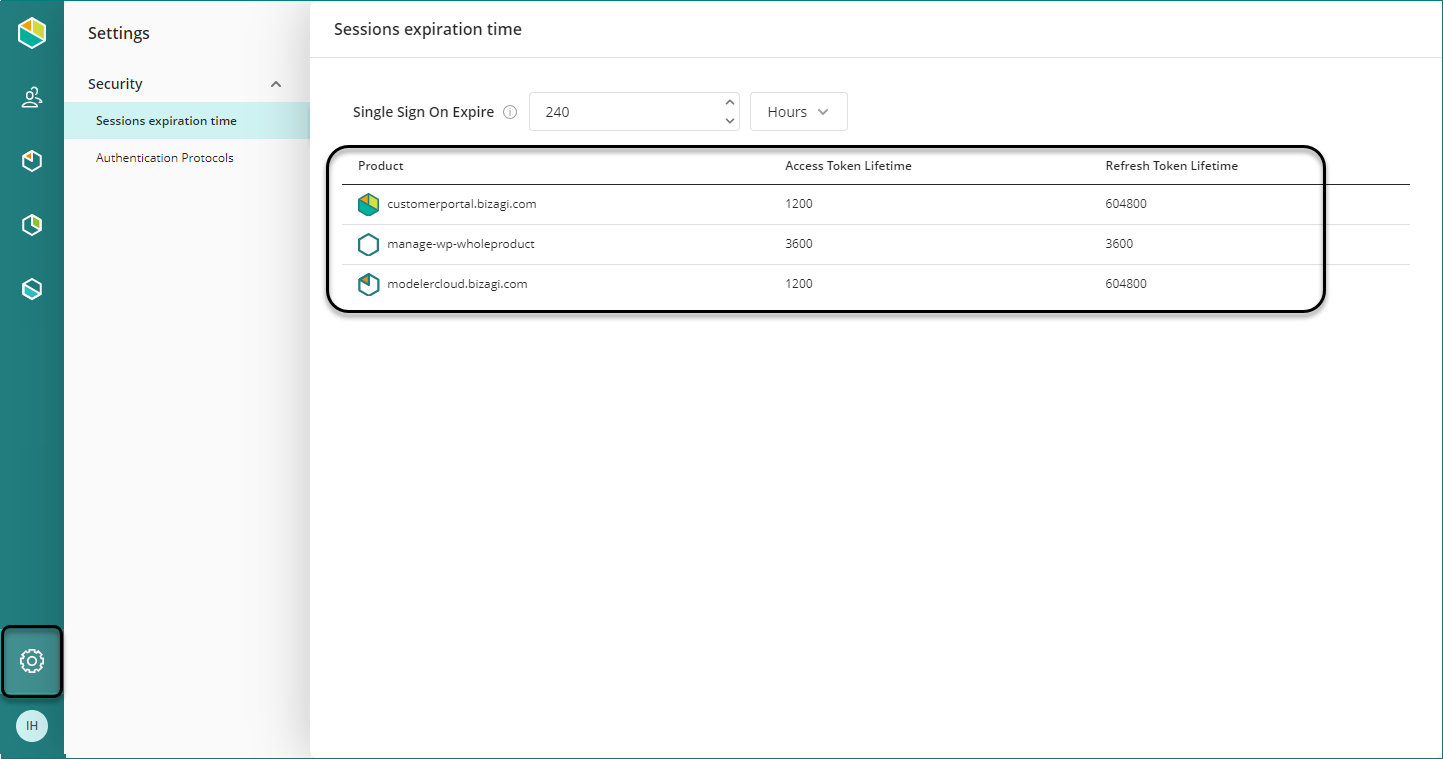
Click the Edit pencil icon on the right-hand side of each portal. You can edit the Access Token and Refresh Token lifetimes.
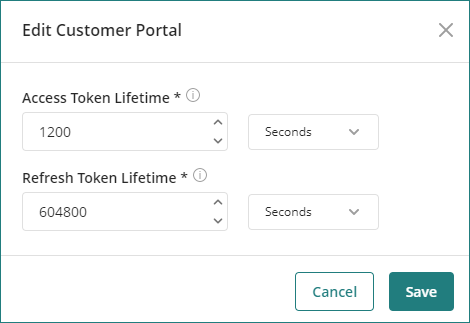
|
The Refresh Token must be greater than the Access Token, and it is usually significantly higher. |
Single Sign-On Token
Single Sign-On (SSO) let users access multiple portals with one authentication instance. For example, you can sign in to the Customer Portal, and if you use the same browser, you can access other cloud-based portals, like Modeler or a Management Console. You can configure the SSO lifetime to define for how long a user can access other portals without providing authentication credentials again.
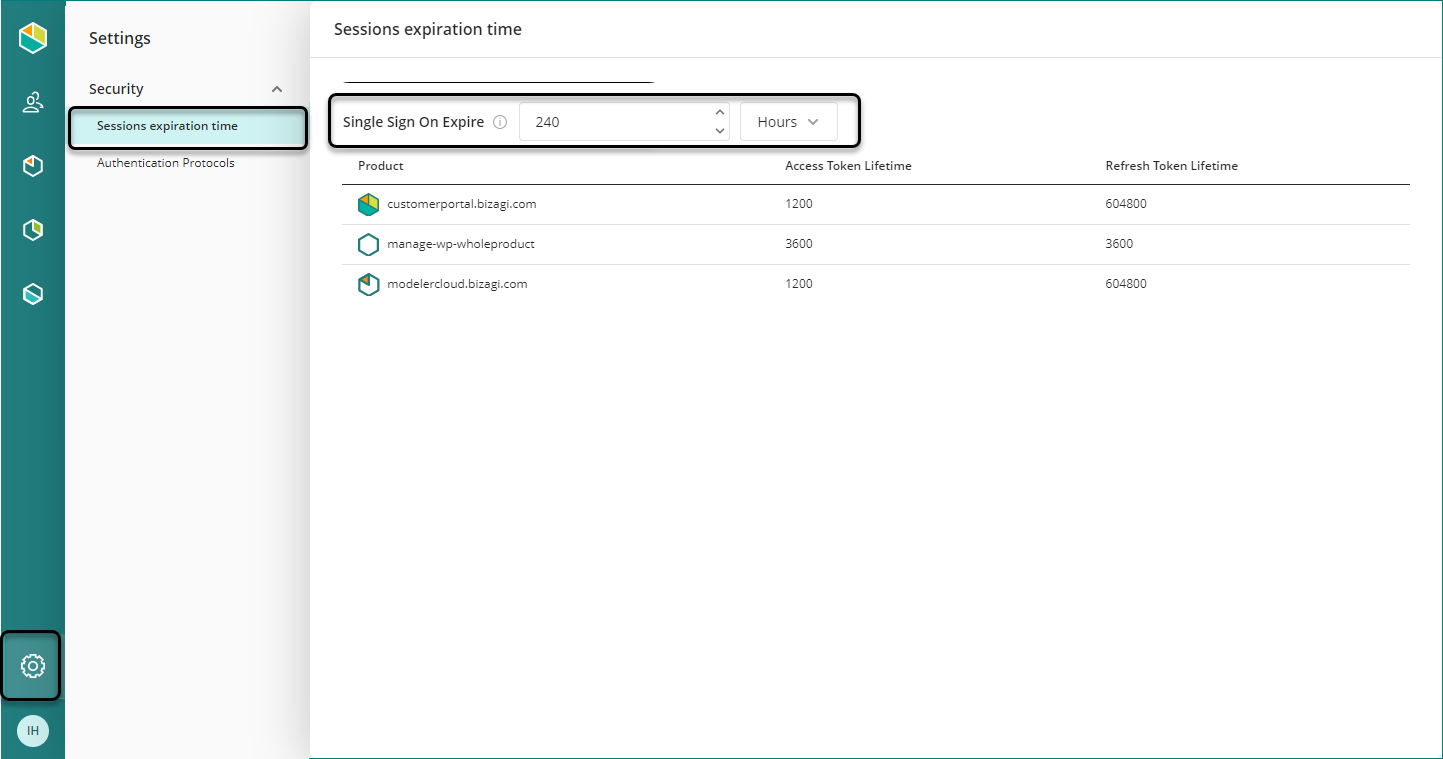
Configuring Single Sign On with the corporate Identity Provider
You can set the authentication of all users in your cloud platform services using only your corporate identity provider.
|
The following steps apply for version 2.0.5 of the Customer Portal or higher. |
Requirements
You need a user with Company Administration permissions, to perform all the configurations. This user must be registered in the Identity Provider you are configuring.
To do so, follow these steps:
1. Log in to the Customer Portal as the subscription owner. This user can later use the recovery option in case of any issue in the configuration. If you are not a subscription owner, you must ask the Company Administrator to add you. Refer to Manage Subscription Users.
2. Add a new authenticator.

For further information refer to Add an authenticator.
3. In the domains section include your corporate domain, for example, @mycompany.com. The domain must match the one used in your identity provider.
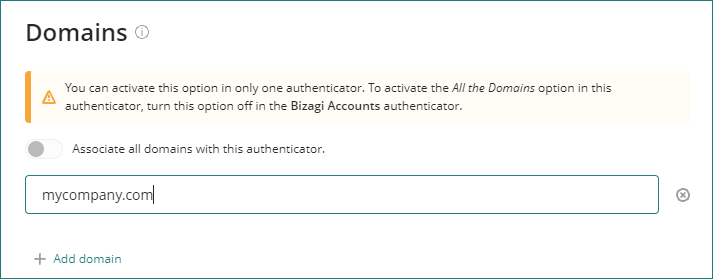
|
IMPORTANT: If you only leave ONE authenticator activated, ALL THE USERS, regardless of this configuration, will use the activated authenticator. If you have two or more authenticators, you need to define at least one authenticator with the ALL DOMAINS option active. |
4. Activate the authenticator you just add.
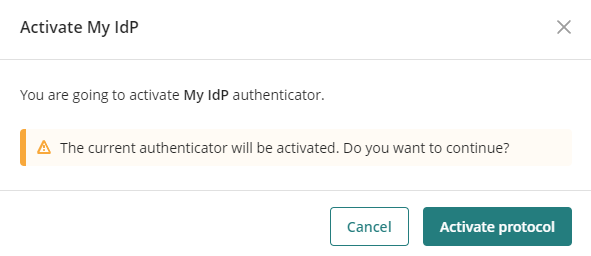
5. Deactivate the Bizagi Accounts authenticator. Open the authenticators' section in the Customer Portal, and deactivate the Bizagi authenticator that comes by default. So only your corporate identity provider works as the unique authenticator.

6. Sign out the Customer Portal.
7. Make sure that there are not active sessions, and delete all cookies.
8. Sign in again to the Customer Portal as the Subscription Owner, using the domain configured in the previous step (@mycompany.com).
|
If there are issues you can use the recovery procedure. Make sure that the Subscription Owner activates the recovery procedure. |
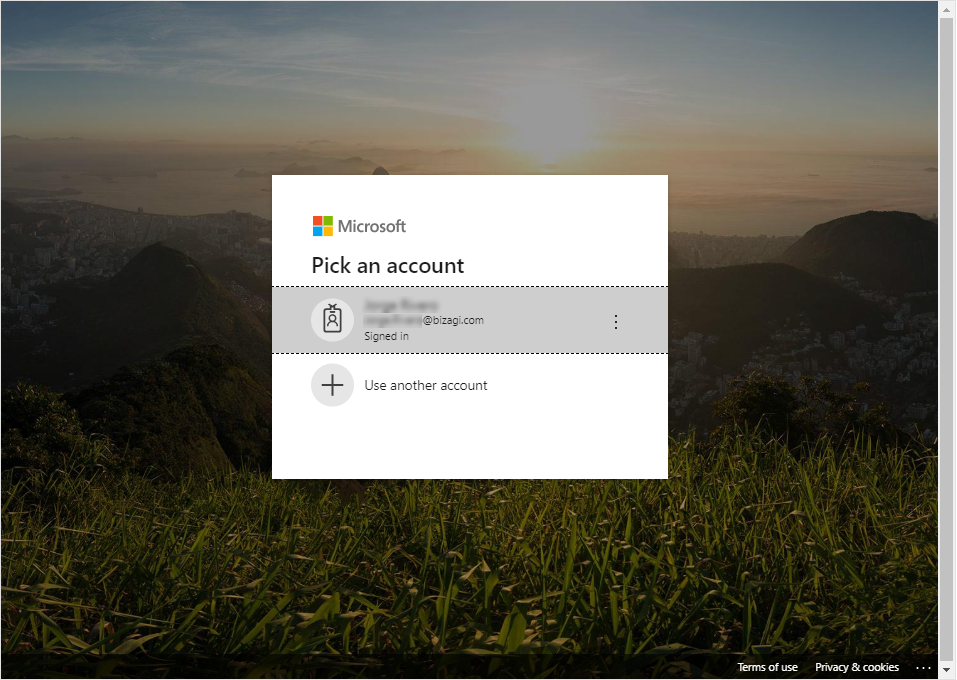
9. Now your configuration is done. The next time, any user accessing any Bizagi Cloud-based portal, will be redirected to your corporate identity's provider log-in page.
Last Updated 7/7/2023 11:54:29 AM