Overview
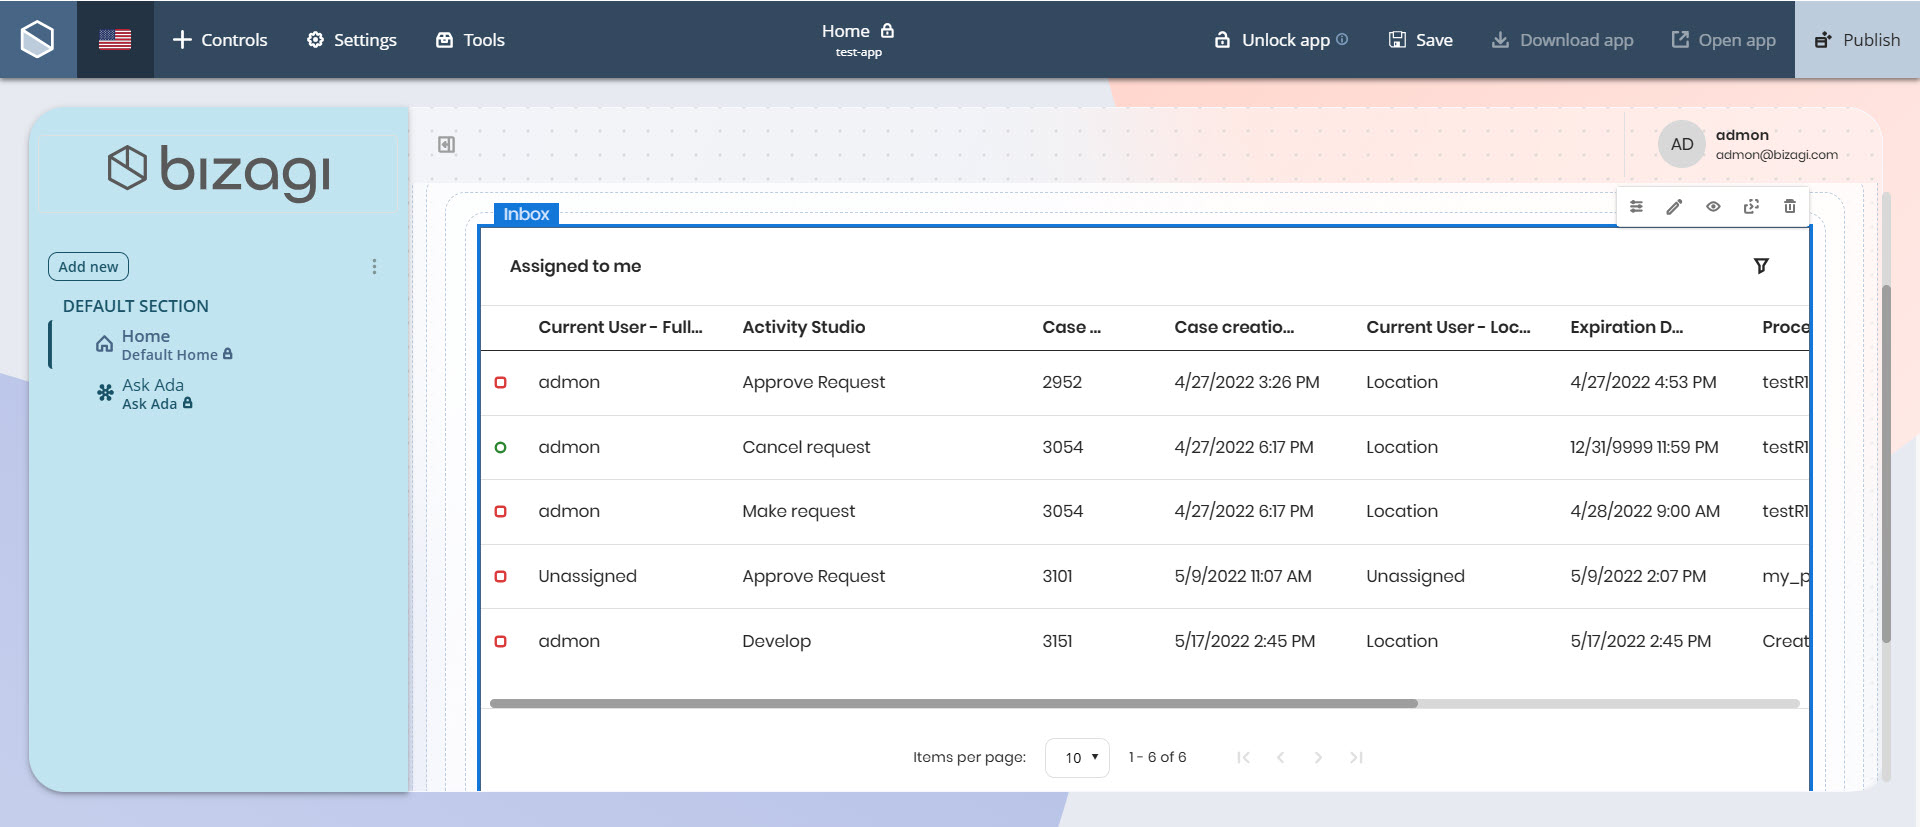
One of the options you can add as an experience element is the Inbox. With this control, you can display all the cases and their related information associated with the signed-in user directly on the page. This allows each Persona to interact with their corresponding cases using the Activity form or review their cases.
The Inbox now supports multiple content types:
•My Activities
•My Cases
•My Activities and Cases (via tabs)
This enables users to manage both activities and cases within a single interface.
|
•The Inbox control can only be used on Private and Detail pages. •It is recommended to add only one Inbox control per page to ensure proper functionality. |
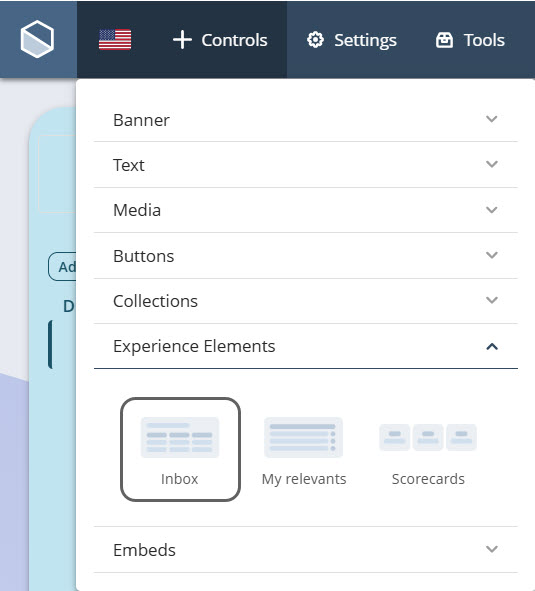
Adding the control to your Page
To add the control, go to the Controls menu and drag it from the Experience Elements section onto the page.
Once added to the page, you can configure content, design, visibility, and layout settings.
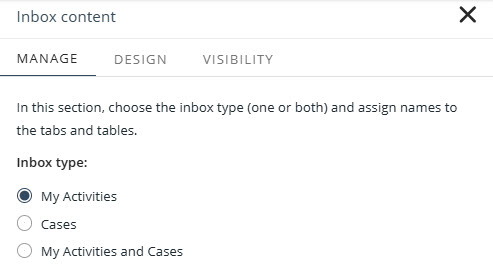
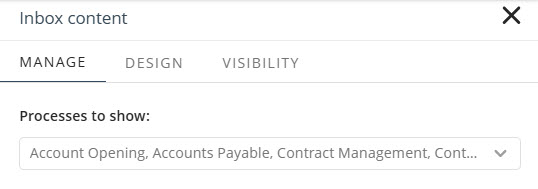
Manage content
In the Manage tab, you can define both the processes and the type of information displayed in the Inbox control.
Selecting the Inbox type
You can define what content to display using the Inbox type option:
•My Activities
•Cases
•My Activities and Cases
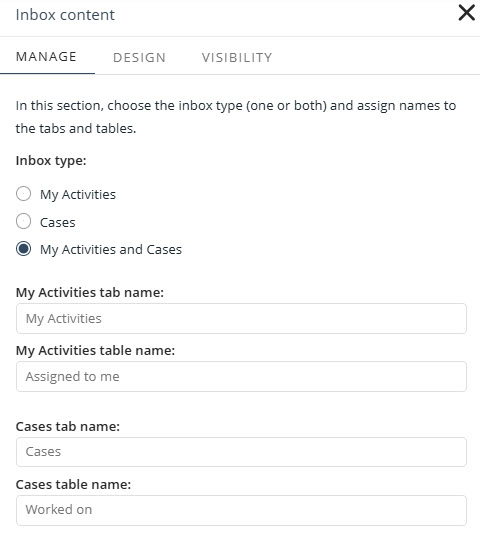
Configuring display names
You can customize the labels shown in the interface:
•My Activities tab name
•Cases tab name
•Table name for each type
If not customized, default names are used.
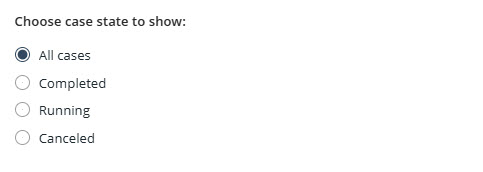
Configuring specific options for Cases
You can define which case status to display:
•All (default)
•Running
•Completed
•Canceled
Only one status or All can be selected.
Selecting processes to show
You can select the process whose cases will be displayed in the Inbox control through the Processes to show option:
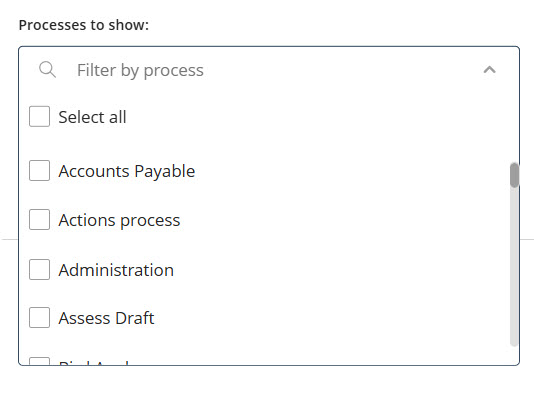
This option includes Deselect all and Select all checkboxes that help you manage the list of available processes.
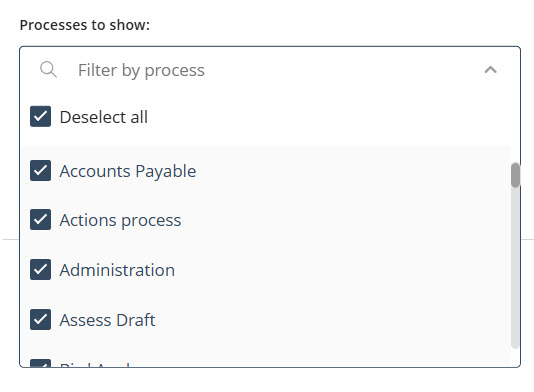
By default, when you first open Processes to show, all processes are selected, and the list displays Deselect all checked. This indicates that every process is currently included.
•Clicking Deselect all clears all process checkboxes and switches the option to Select all.
•Clicking Select all checks every process again and restores Deselect all.
|
If no process is selected in Processes to show (whether manually or by using Deselect all), the published app will display all available processes by default. When there is no selection, the control does not apply any filters, so the Inbox includes every process the user has access to. |
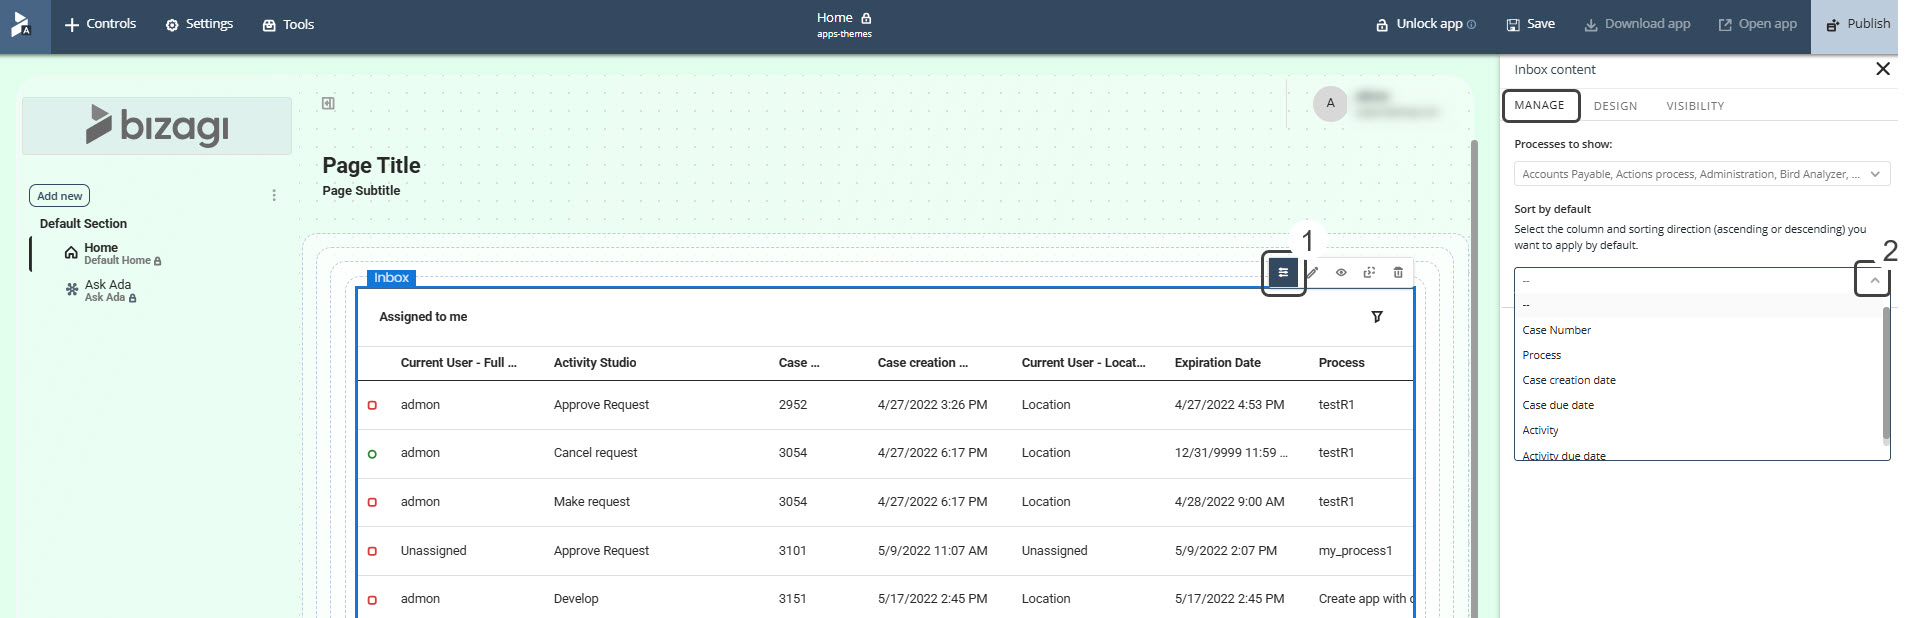
Defining a default sorting configuration
This tab also allows you to define a default sorting configuration for the records displayed. You can set both, the column used for sorting and the order type (ascending or descending). When you interact with a column header in the runtime view, the sorting automatically updates based on your selection, and the default configuration becomes inactive until the app's page is reloaded. Once published, this configuration automatically applies in the rendered app. This allows you to reflect business priorities or usability preferences through data ordering.
To set up default sorting:
1.Click your Inbox control, then click the Manage Content icon. Alternatively, click the Settings icon and then go to the Manage tab.
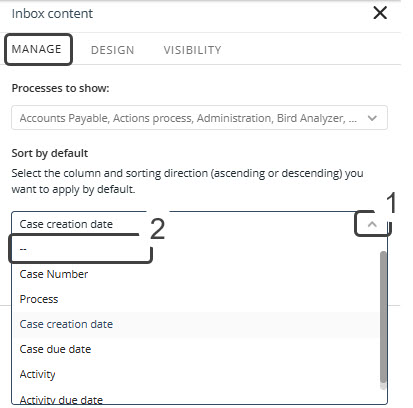
2.In the Sort by default section, open the dropdown menu and select the column you want to sort by.
3.After selecting a column, an option menu will appear. Choose either Sort Ascending or Sort Descending.
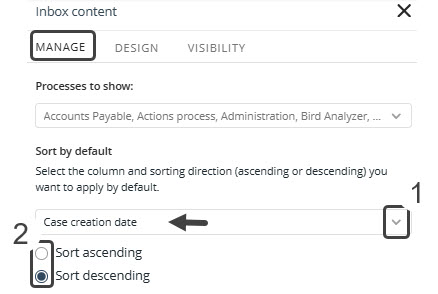
Your changes are applied automatically.
|
•The Inbox control supports dynamic sorting—clicking a column header will immediately re-sort the table based on that column, temporarily overriding the default sorting until the page is reloaded. •When you select a column for the first time, the default sort order is automatically set to ascending. •If a column is already selected with a defined sort order, changing to a different column will retain the previously selected order (ascending or descending) without resetting or modifying it automatically. •Clicking a column header at any time will override the default configuration, applying a temporary sort based on the selected column. |
Removing sorting configuration
To remove a configured default sort:
1.Click the Inbox control, then click the Manage Content icon. Alternatively, click the Settings icon and then go to the Manage tab.
2.In the Sort by default section, select an empty value in the column and order fields.
Your changes are applied automatically.
Design
In the Design tab, you can configure several appearance settings:
•Align: Set the text alignment to left, right, or center.
•Control height: Define the height of the control using screen percentage or pixels.
•Control width: Define the width of the control using screen percentage.
•Column width: Adjust the width of individual columns by selecting one from the drop-down list and using the slider (values range from 80px to 500px). Repeat for each column as needed, and save your changes (Save button in the top bar) to apply them in the published app.
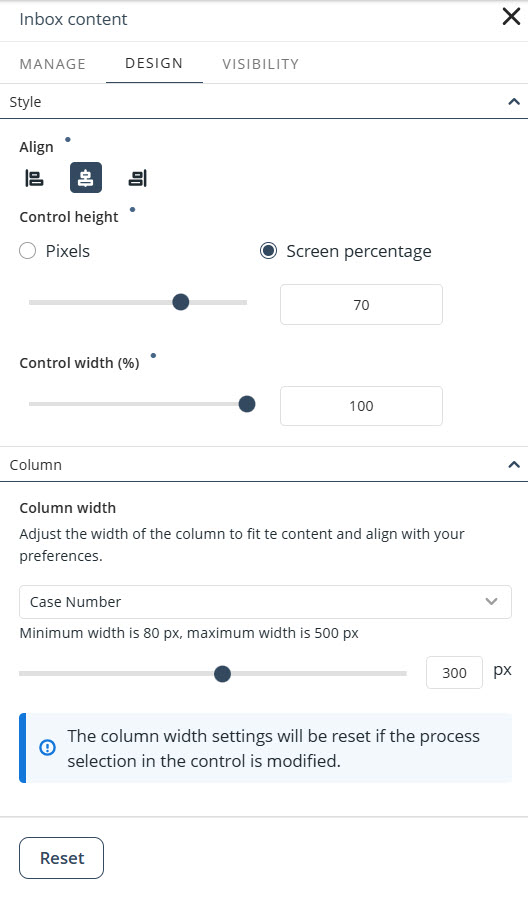
|
•Click the Reset button to restore the default settings. •Properties with inherited values display a blue dot next to their title. This indicator allows you to make targeted adjustments without affecting other settings. Hover over the blue dot to see the source of the inherited value, giving you greater control over your text control’s appearance. When you modify a property marked with a blue dot, its individual Reset button appears. Clicking this button restores the property to its default inherited configuration. |
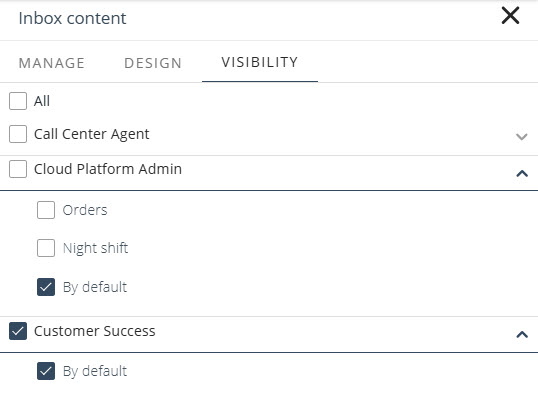
Visibility
In the Visibility tab, you can define whether the control is visible to specific Personas and their Contexts by selecting the corresponding checkboxes. Check the box for each Persona you want to grant access to, or select All to make the control visible to all Personas.
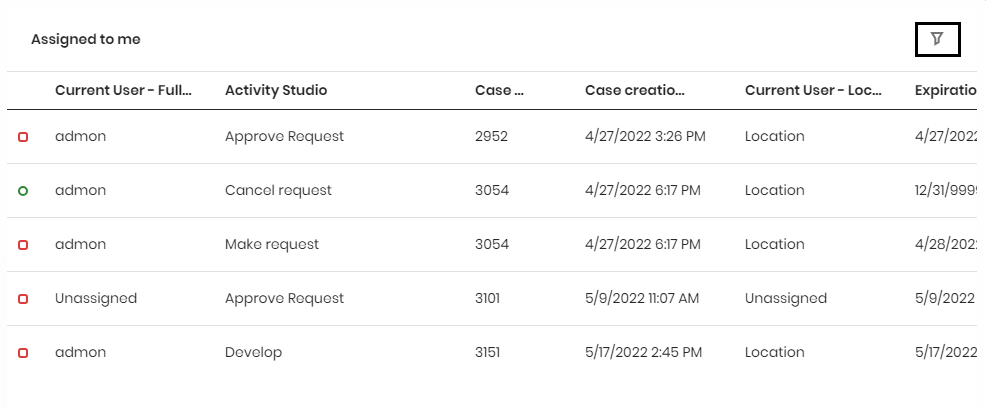
Filters
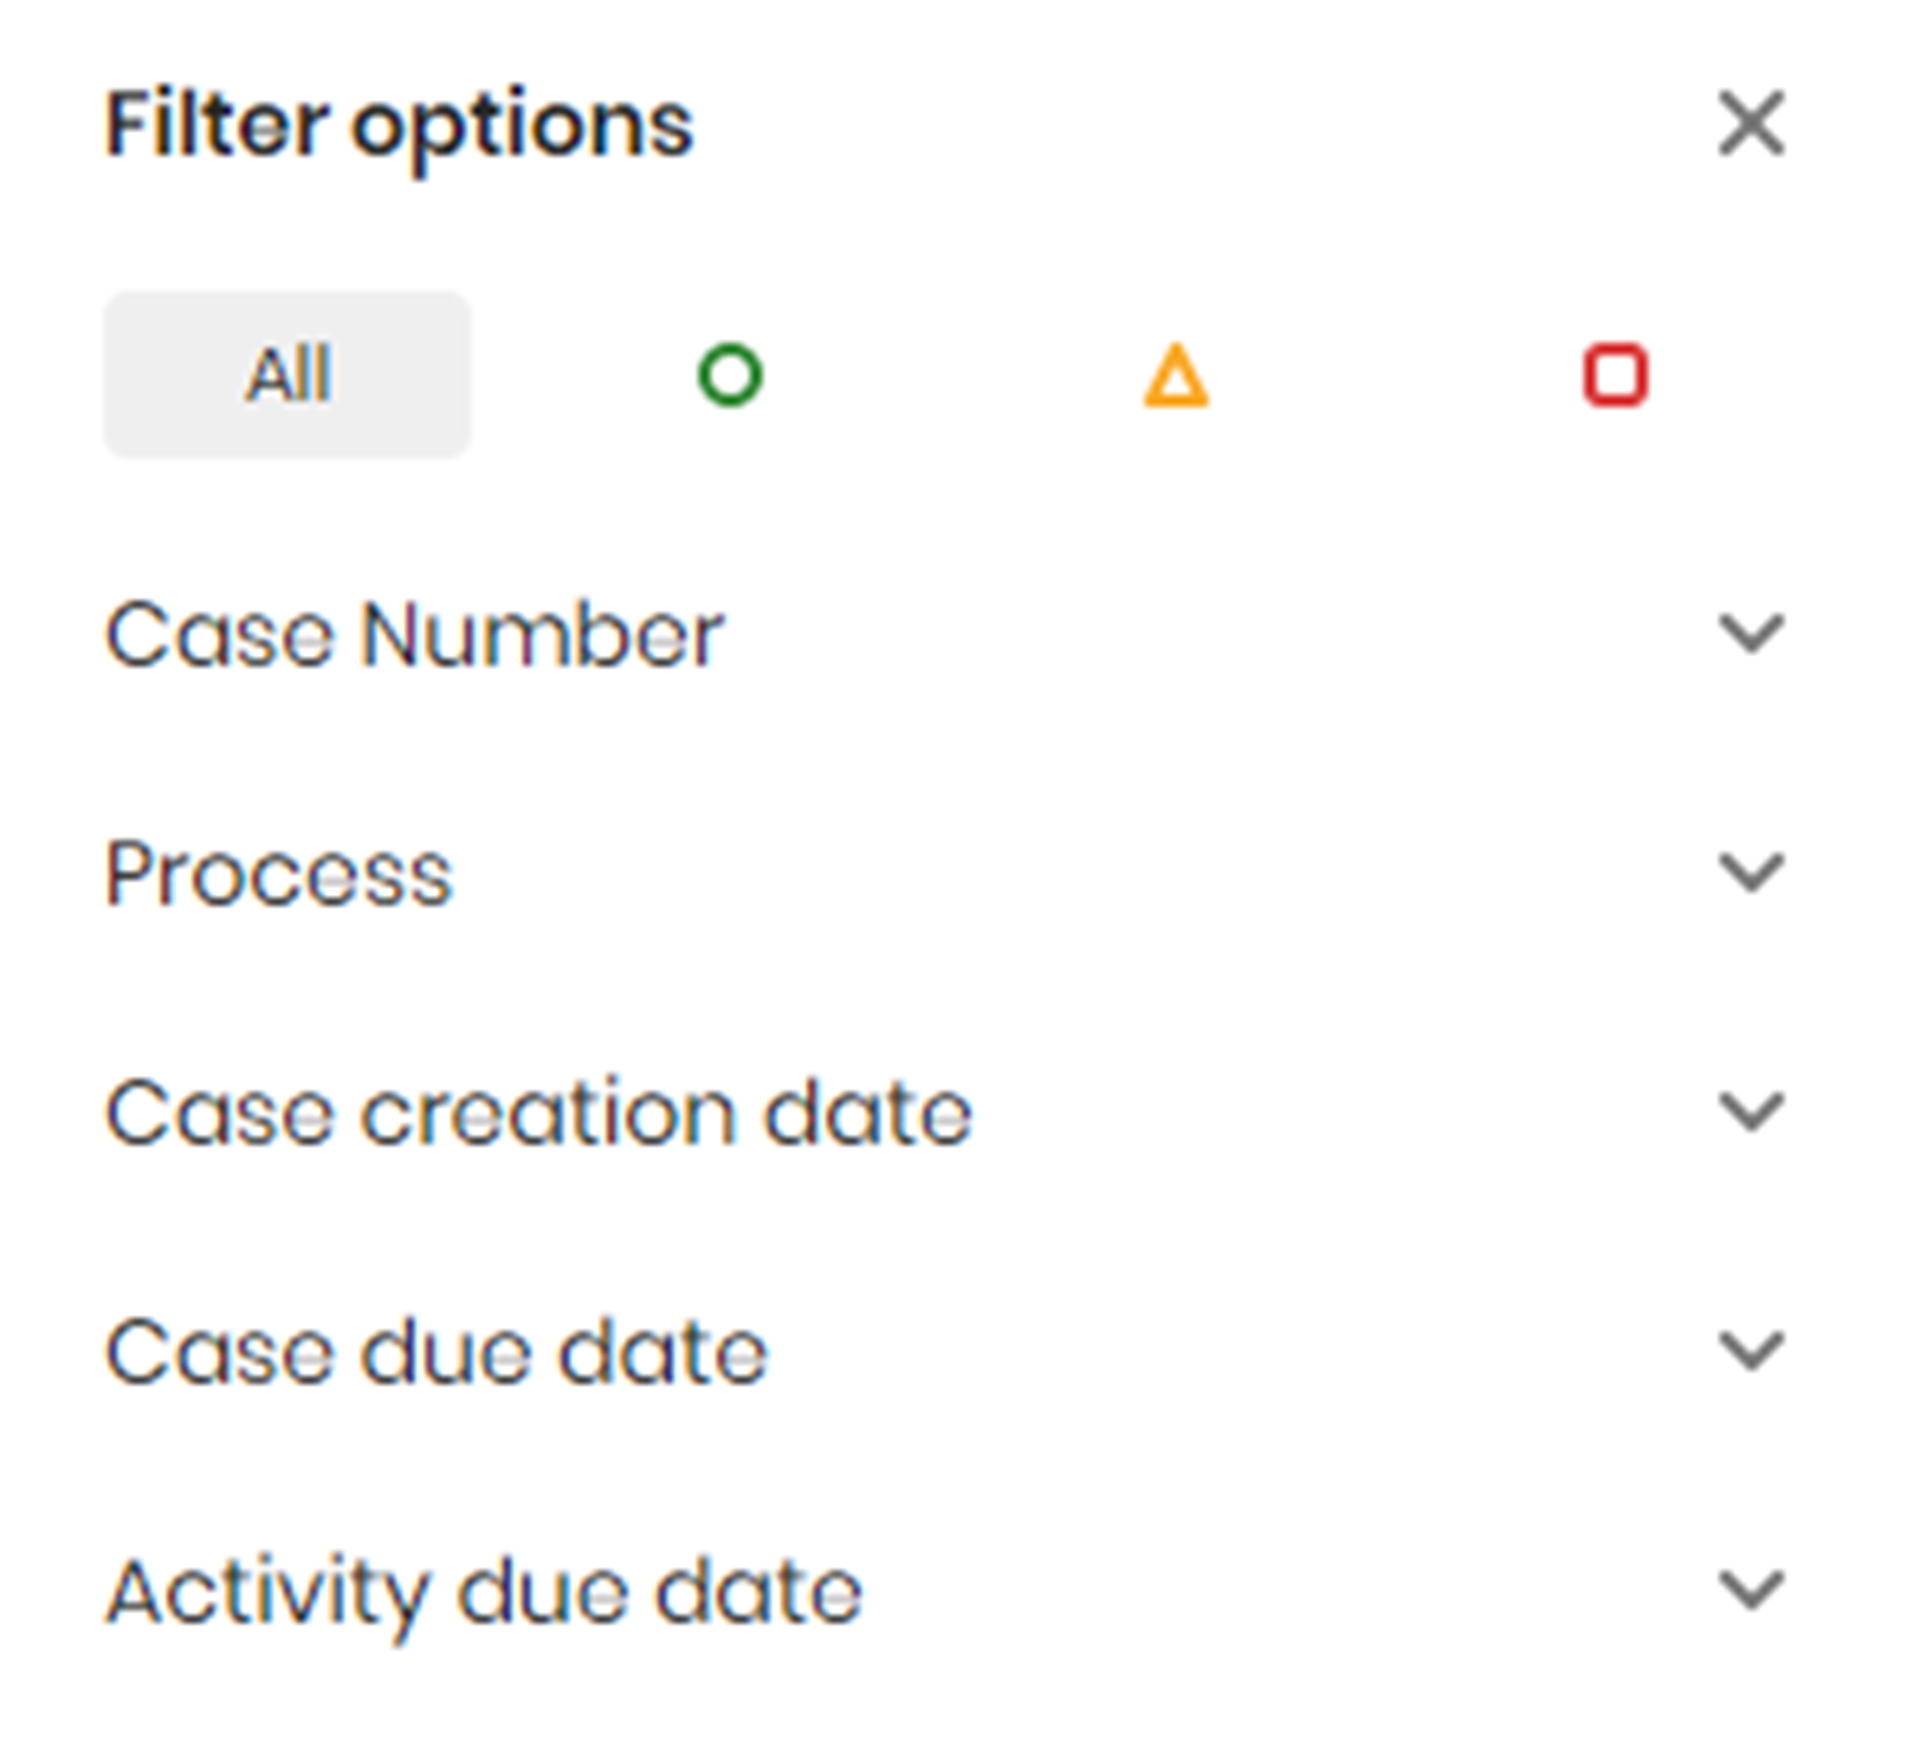
Once your app is published, you can use the filter button located in the top-right corner of the control. If a filter is applied with a single process selected, the Inbox control displays the specific columns designed for that process. If multiple processes are selected—or if no filter is applied—system columns are displayed instead.
You can filter cases by Status, Case number, Process, Case creation date, Case due date, and Activity due date.
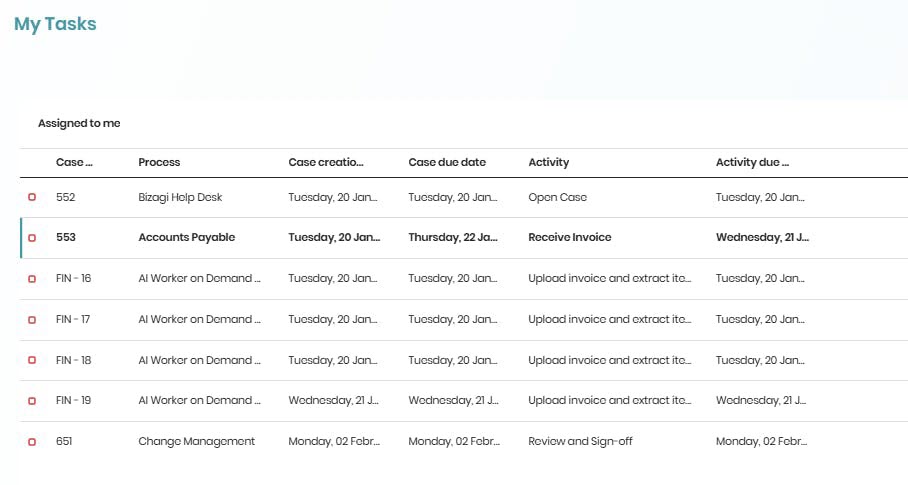
Read and unread indicator
The Inbox control includes a visual indicator that allows users to easily identify new or unread cases.
When a case has not been opened previously, it is displayed with the following visual characteristics:
•A vertical flag that uses the primary color defined in the app's color palette.
•The item text is displayed in bold to highlight the case.
When users interact with a case, its status changes automatically:
•When a case is clicked and opened (whether assigned or unassigned), it is no longer marked as unread.
•The visual highlight disappears immediately after the case is opened.
|
•This behavior ensures consistency between Apps (Desktop and Mobile) and the Work Portal. •On mobile devices, the visual indicator uses the same color as the View more link to maintain visual consistency. •If an unassigned case is opened and the page is refreshed, it may appear as unread again. |
This indicator improves user experience by making it easier to identify new cases within large volumes of tasks, allowing users to prioritize their work more efficiently.
Inbox interface in mobile devices
On mobile devices, the Inbox control interface adjusts to provide more space for viewing activity details. Field titles such as Process, Case creation date, or Case due date are clearly displayed for better readability.
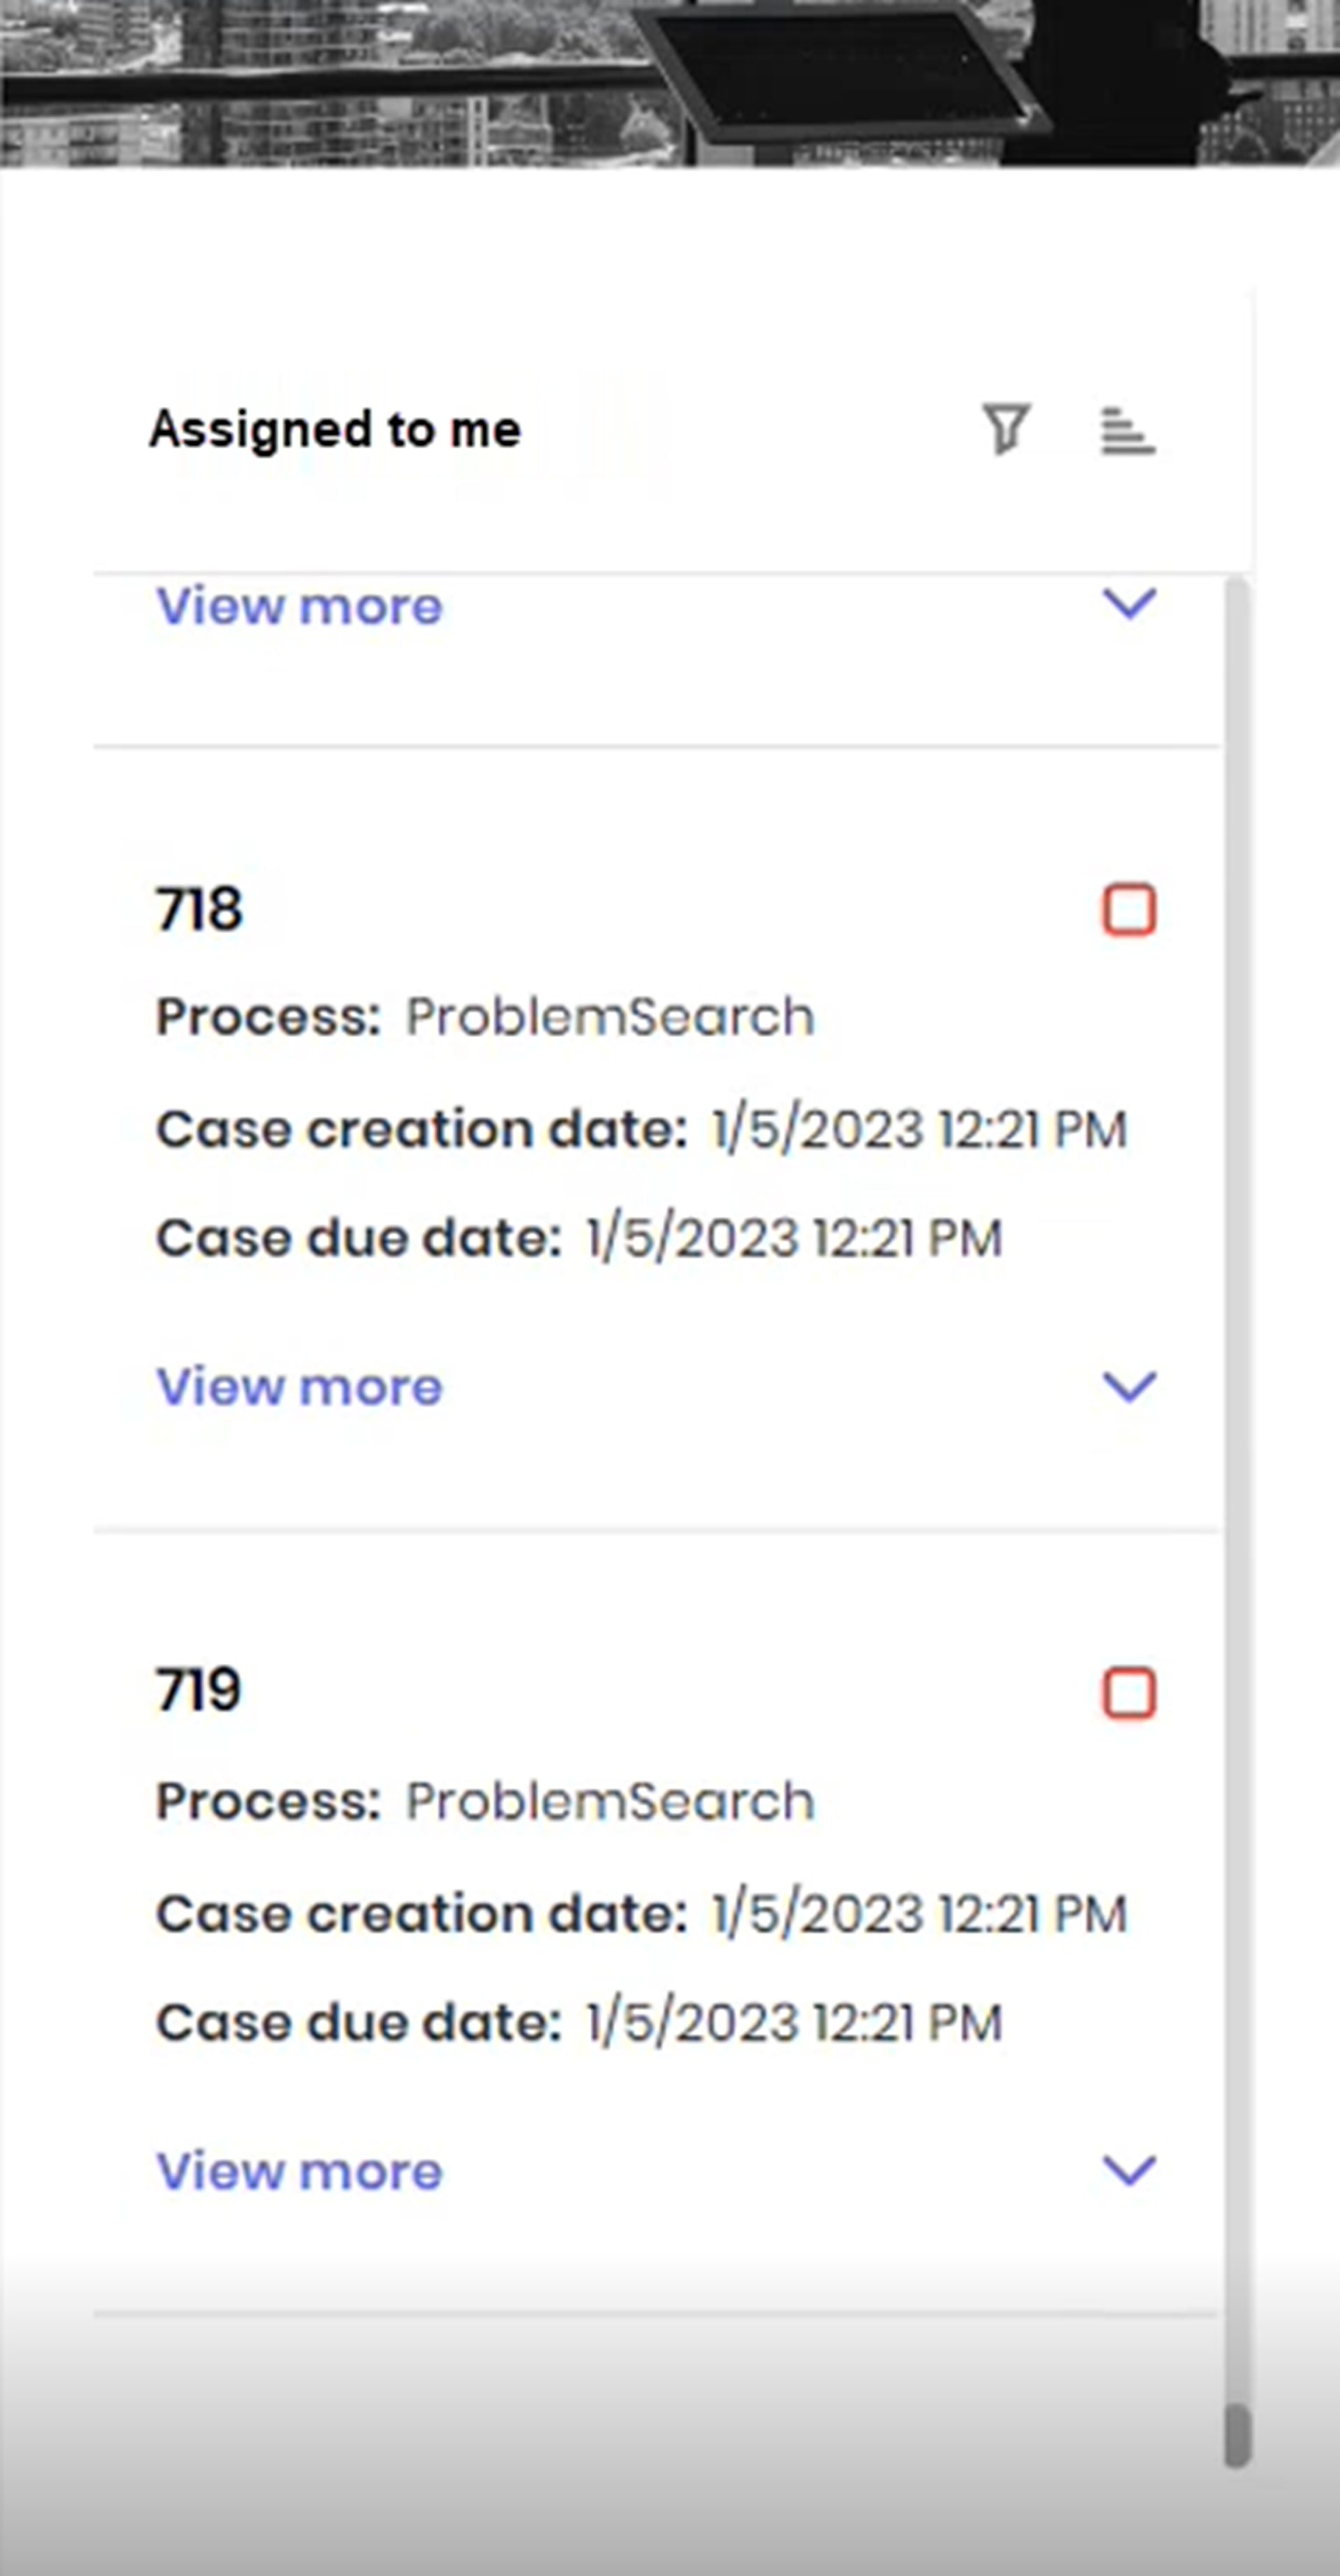
|
Customized columns on mobile devices use the same configuration defined in Studio for Desktop. When accessing the control on mobile, cases automatically show the global or process-specific custom columns, keeping the case number in the header and respecting the configured order. If no custom columns exist, the Inbox continues to show the default information. |
Case search
You can enable Case Search, allowing you to search for cases by case number and view matching rows in the Inbox, even if the control is not present on the page.
Last Updated 7/20/2026 11:23:49 AM