Overview
In the App Designer editor, the Small Card control allows you to represent information contained in the forms of a collection by means of a list of cards, arranging the information in an organized and appealing way, also including an option to execute user-specified actions.
Adding the control to your page
To add a Small Card control to your app page, open the Controls menu (located at the top left corner of the screen) by clicking it. Then, look for the Collections control, and click the arrow icon to open a drop-down list that allows you to visualize the different options for a collection. Scroll down until you find the Small Card control and drag it to the page you are editing.
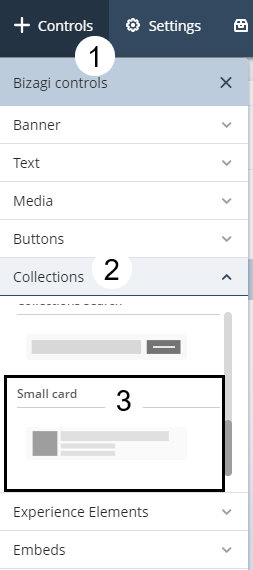
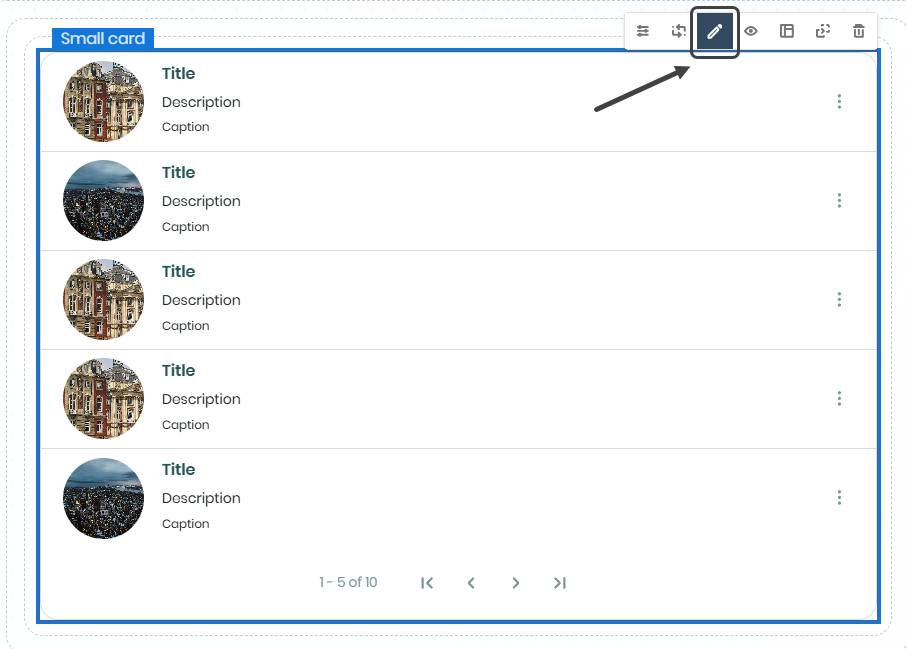
Once you have done this, the control appears on your page as follows:

Managing the control content
With the control already added to your app page, you can manage the content that is going to be displayed on it. To do this, hover over the control to display the configuration options. Select the Manage Content option to add data to the control.
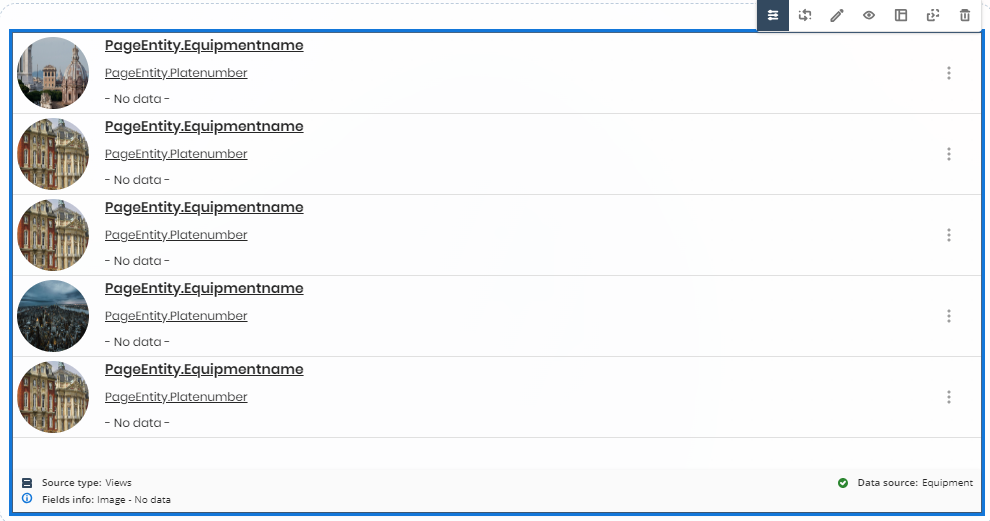
There are two types of content when adding data to a collections control: Static content (fixed content that does not change over time) and Dynamic content (content that comes from a data fetch of the Persona's Views, My Stuff, or Cases).
Static content
When adding static content (i.e., when you click the Fixed tab in the Manage Content window that appears), notice that there is an item option called Small Card with four editable fields related to the content displayed on each card item:
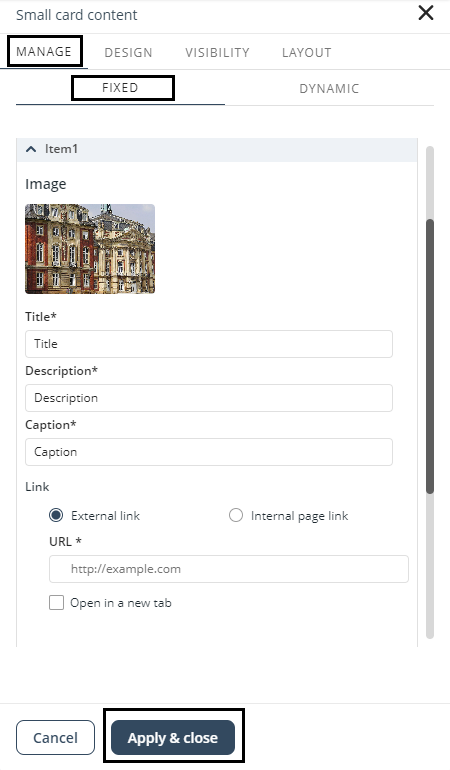
1.Image: This field allows you to upload an image from your computer to be displayed on the card item. To do this, click the Choose a file... button. Search for the desired image in the File Explorer window that appears, select it and then click the Open button to upload it to your card item.
2.Title: As its name indicates, this field corresponds to the title of the card item. The title is always shown in the first text line of the card.
3.Description: In this field you must give a brief explanation of the image and/or title displayed in the card item. The description you provide in this field is always shown in the second text line of the card.
4.Caption: This field is basically a subtitle for the card and it is useful when further explanations are necessary. The caption is always shown in the third and last text lines of the card.
To understand better how you can use this control, consider the following example. Suppose you want to show a collection of the world's iconic places, including the modern-day wonders of the world. If you want to add the Colosseum, for example, you can edit the Small Card control fields like this:
•Image: Upload an image of the Colosseum.
•Title: The Colosseum.
•Description: The Colosseum is one of the seven modern-day wonders of the world.
•Caption: Rome, Italy (notice the usefulness of this field in this example. It gives an enhanced explanation of the card by specifying the location of the iconic place).
Once you modify the fields, you must click the Apply & close button to keep the changes. The Small Card item looks like this on your page:

|
When adding static content, bear in mind that all the available options for the Collections controls are also available for the Small Card control. To review these options, refer to Static content. |
Dynamic content
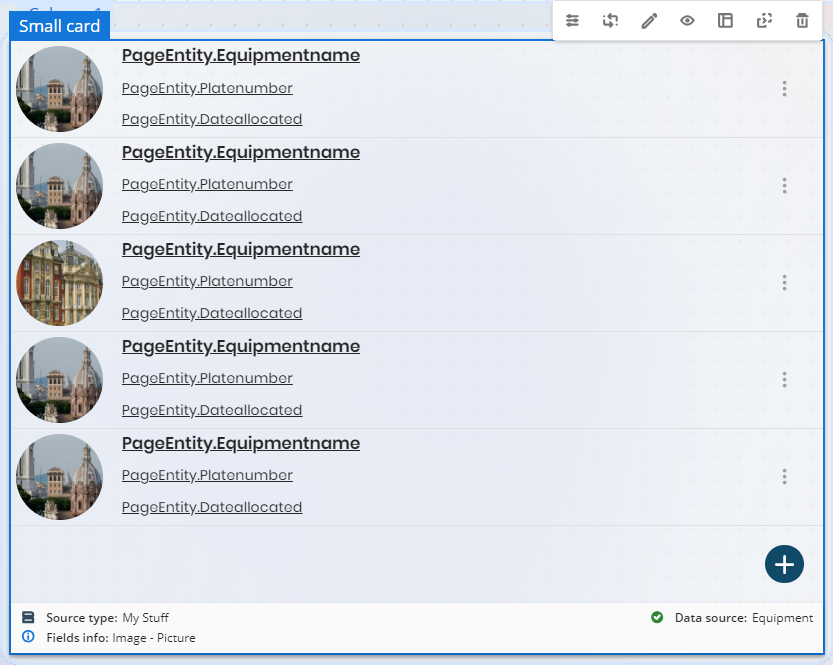
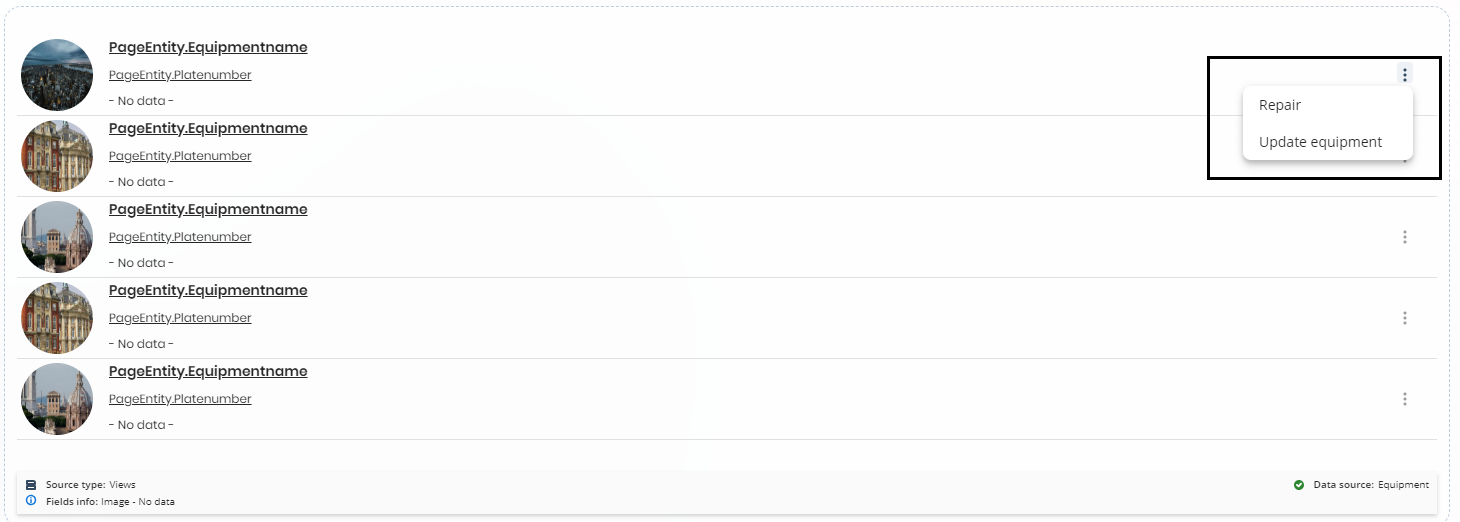
As mentioned before, you can add content that comes from a data fetch of the Persona's Views, My Stuff, or Cases to any Collections control. To configure Dynamic content, go through the steps of the Connection Wizard (detailed in Dynamic content). Once you are done configuring the data, notice that the control displays labels indicating the data mapping, as well as the data source (in this case, a Collection named Equipment) at the bottom right corner. These labels indicate that the control has been set up with dynamic data.
In the example below, you can see how the Small Card control looks like when adding dynamic content.
Events as Actions
Events as Actions allows you to access the events related to an entity, once your app is published from a Collection with dynamic data, in the same way that actions are accessed from a view with dynamic data.
To access events from collections, click the three-dot menu in the collection item. This displays a drop-down menu with all the events related to the entity. Click the option that has the name of the event you need.
Activities as Actions
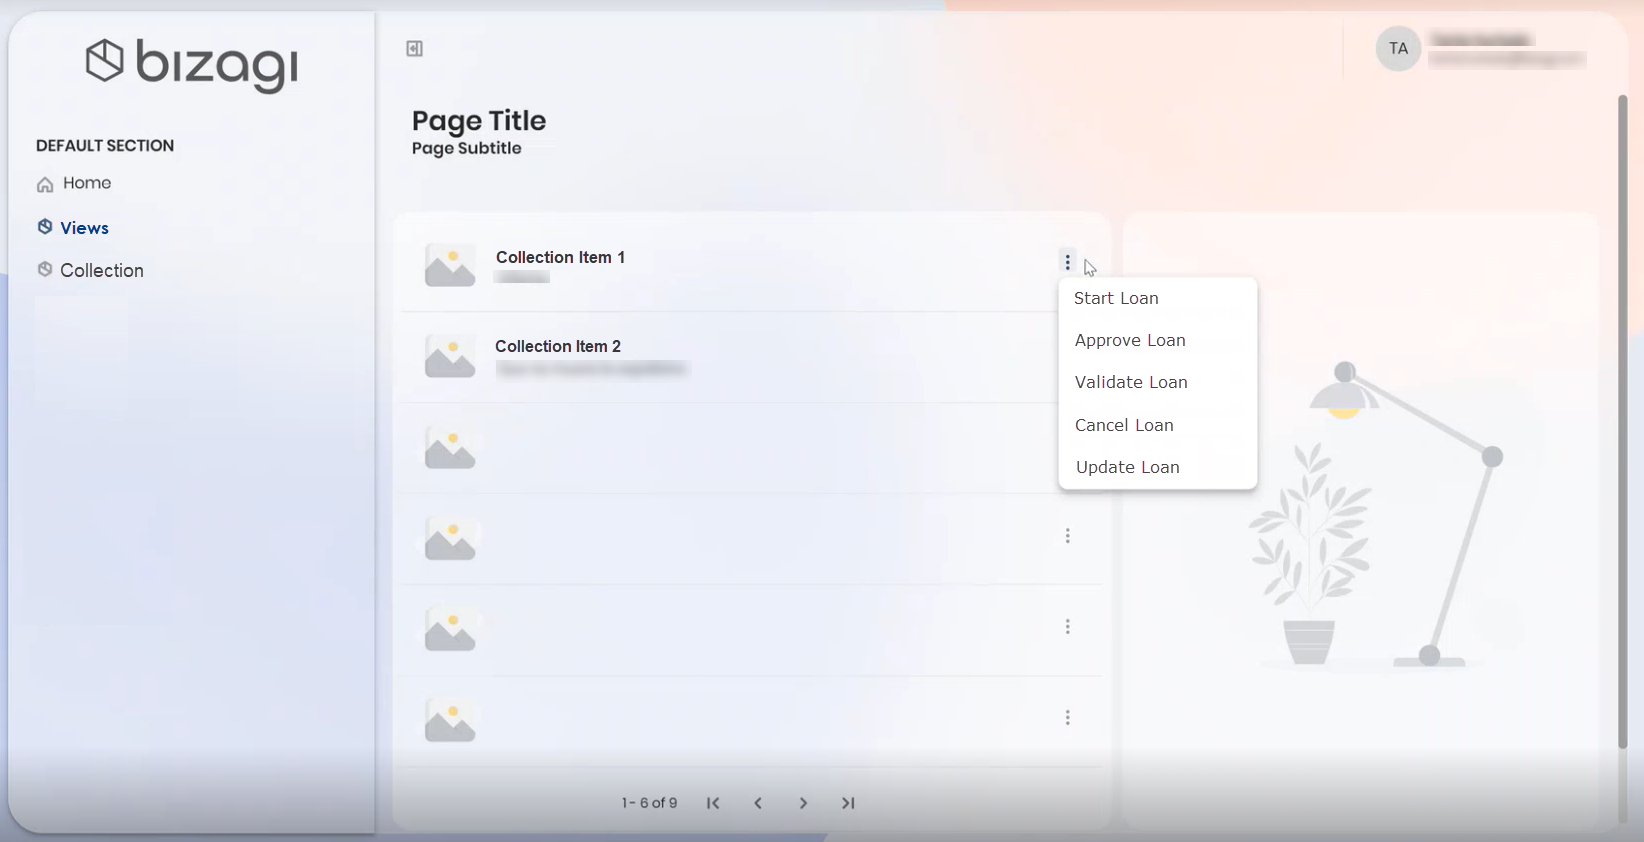
Users can visualize and execute the pending activities of a process from the three dot menu in an item of a collection or in a Detail Page. This visualization of the activities allows users to execute them more easily and faster without any configuration needed.
There are two ways to visualize the collection of pending activities:
1.Once you have published your app in the App Designer editor enter a page where a collection has been configured.
a.Select one item from the collection and click the action menu. This will display the list of the pending actions in this example there are three pending activities: Start Loan, Approve Loan, Validate Loan, Cancel Loan, and Update Loan. To execute an activity, simply select it and a case will be generated.
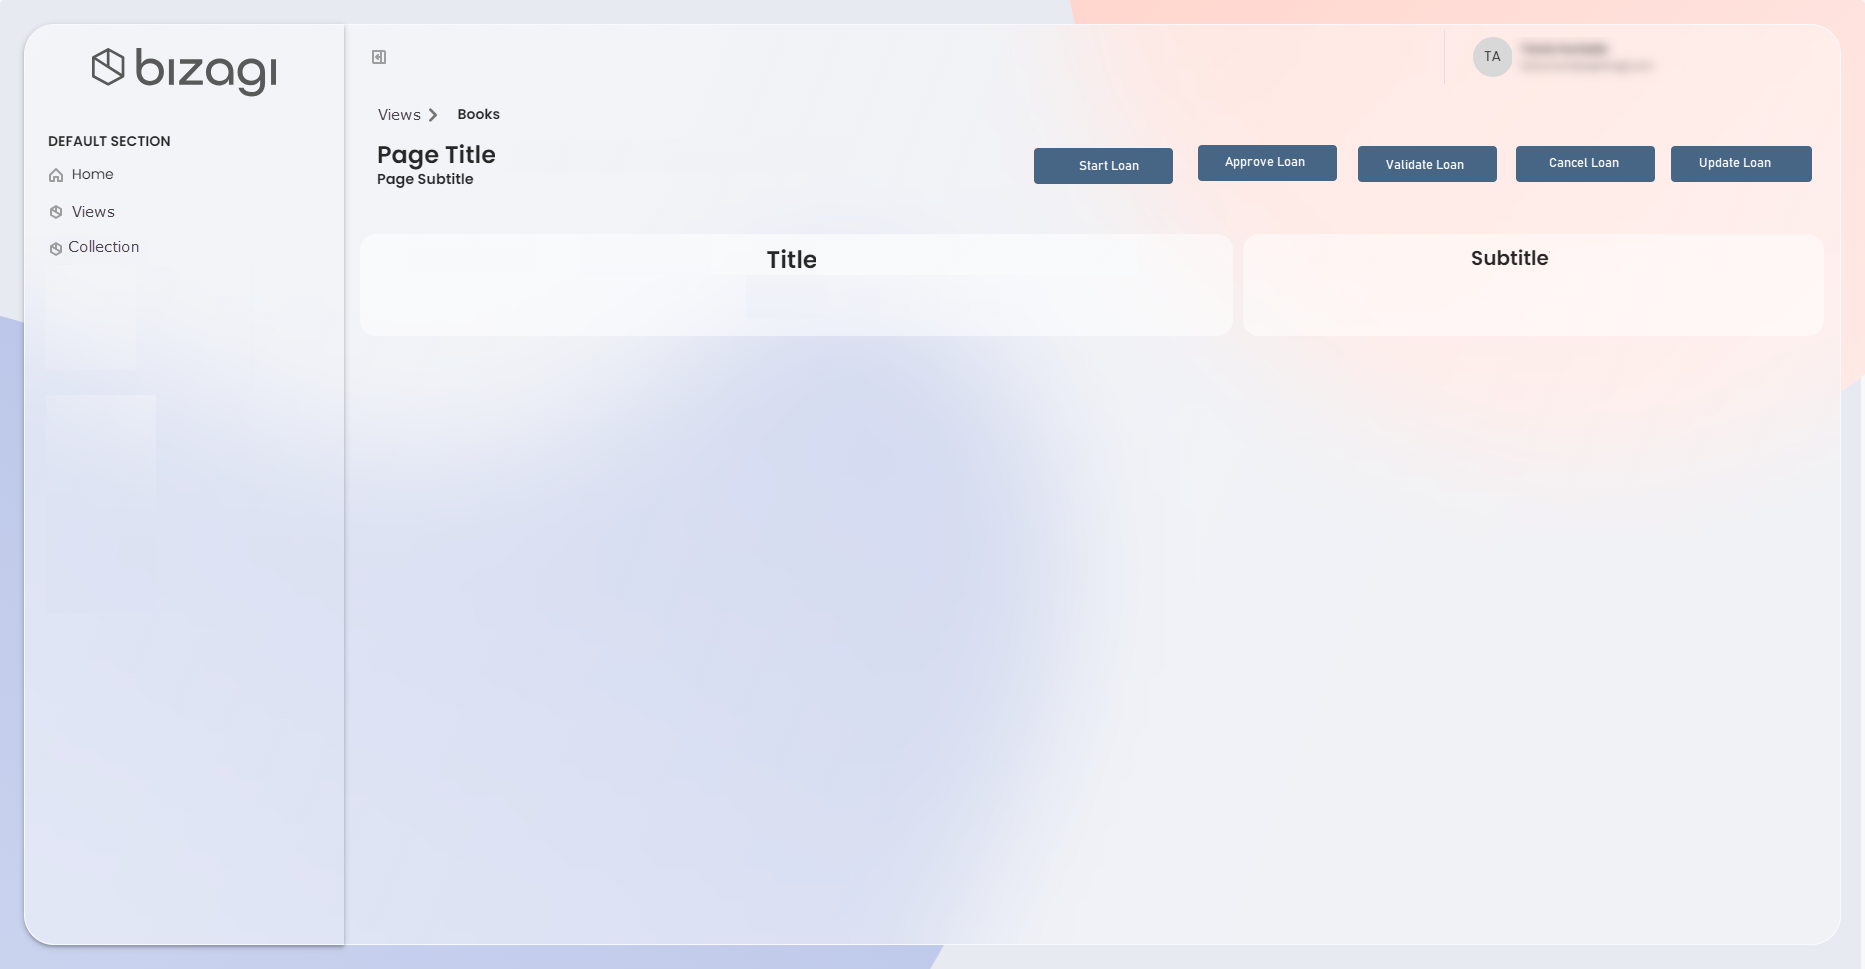
2.Once you have published your app in the App Designer editor enter a Detail page previously created.
a.In this case, we will access a Detail page from a Small Card collection. Inside the Detail page, you can visualize three buttons associated with the same pending activities as actions: Start Loan, Approve Loan, Validate Loan, Cancel Loan, and Update Loan. To execute an activity, simply select it and a case will be generated.
New Record configuration
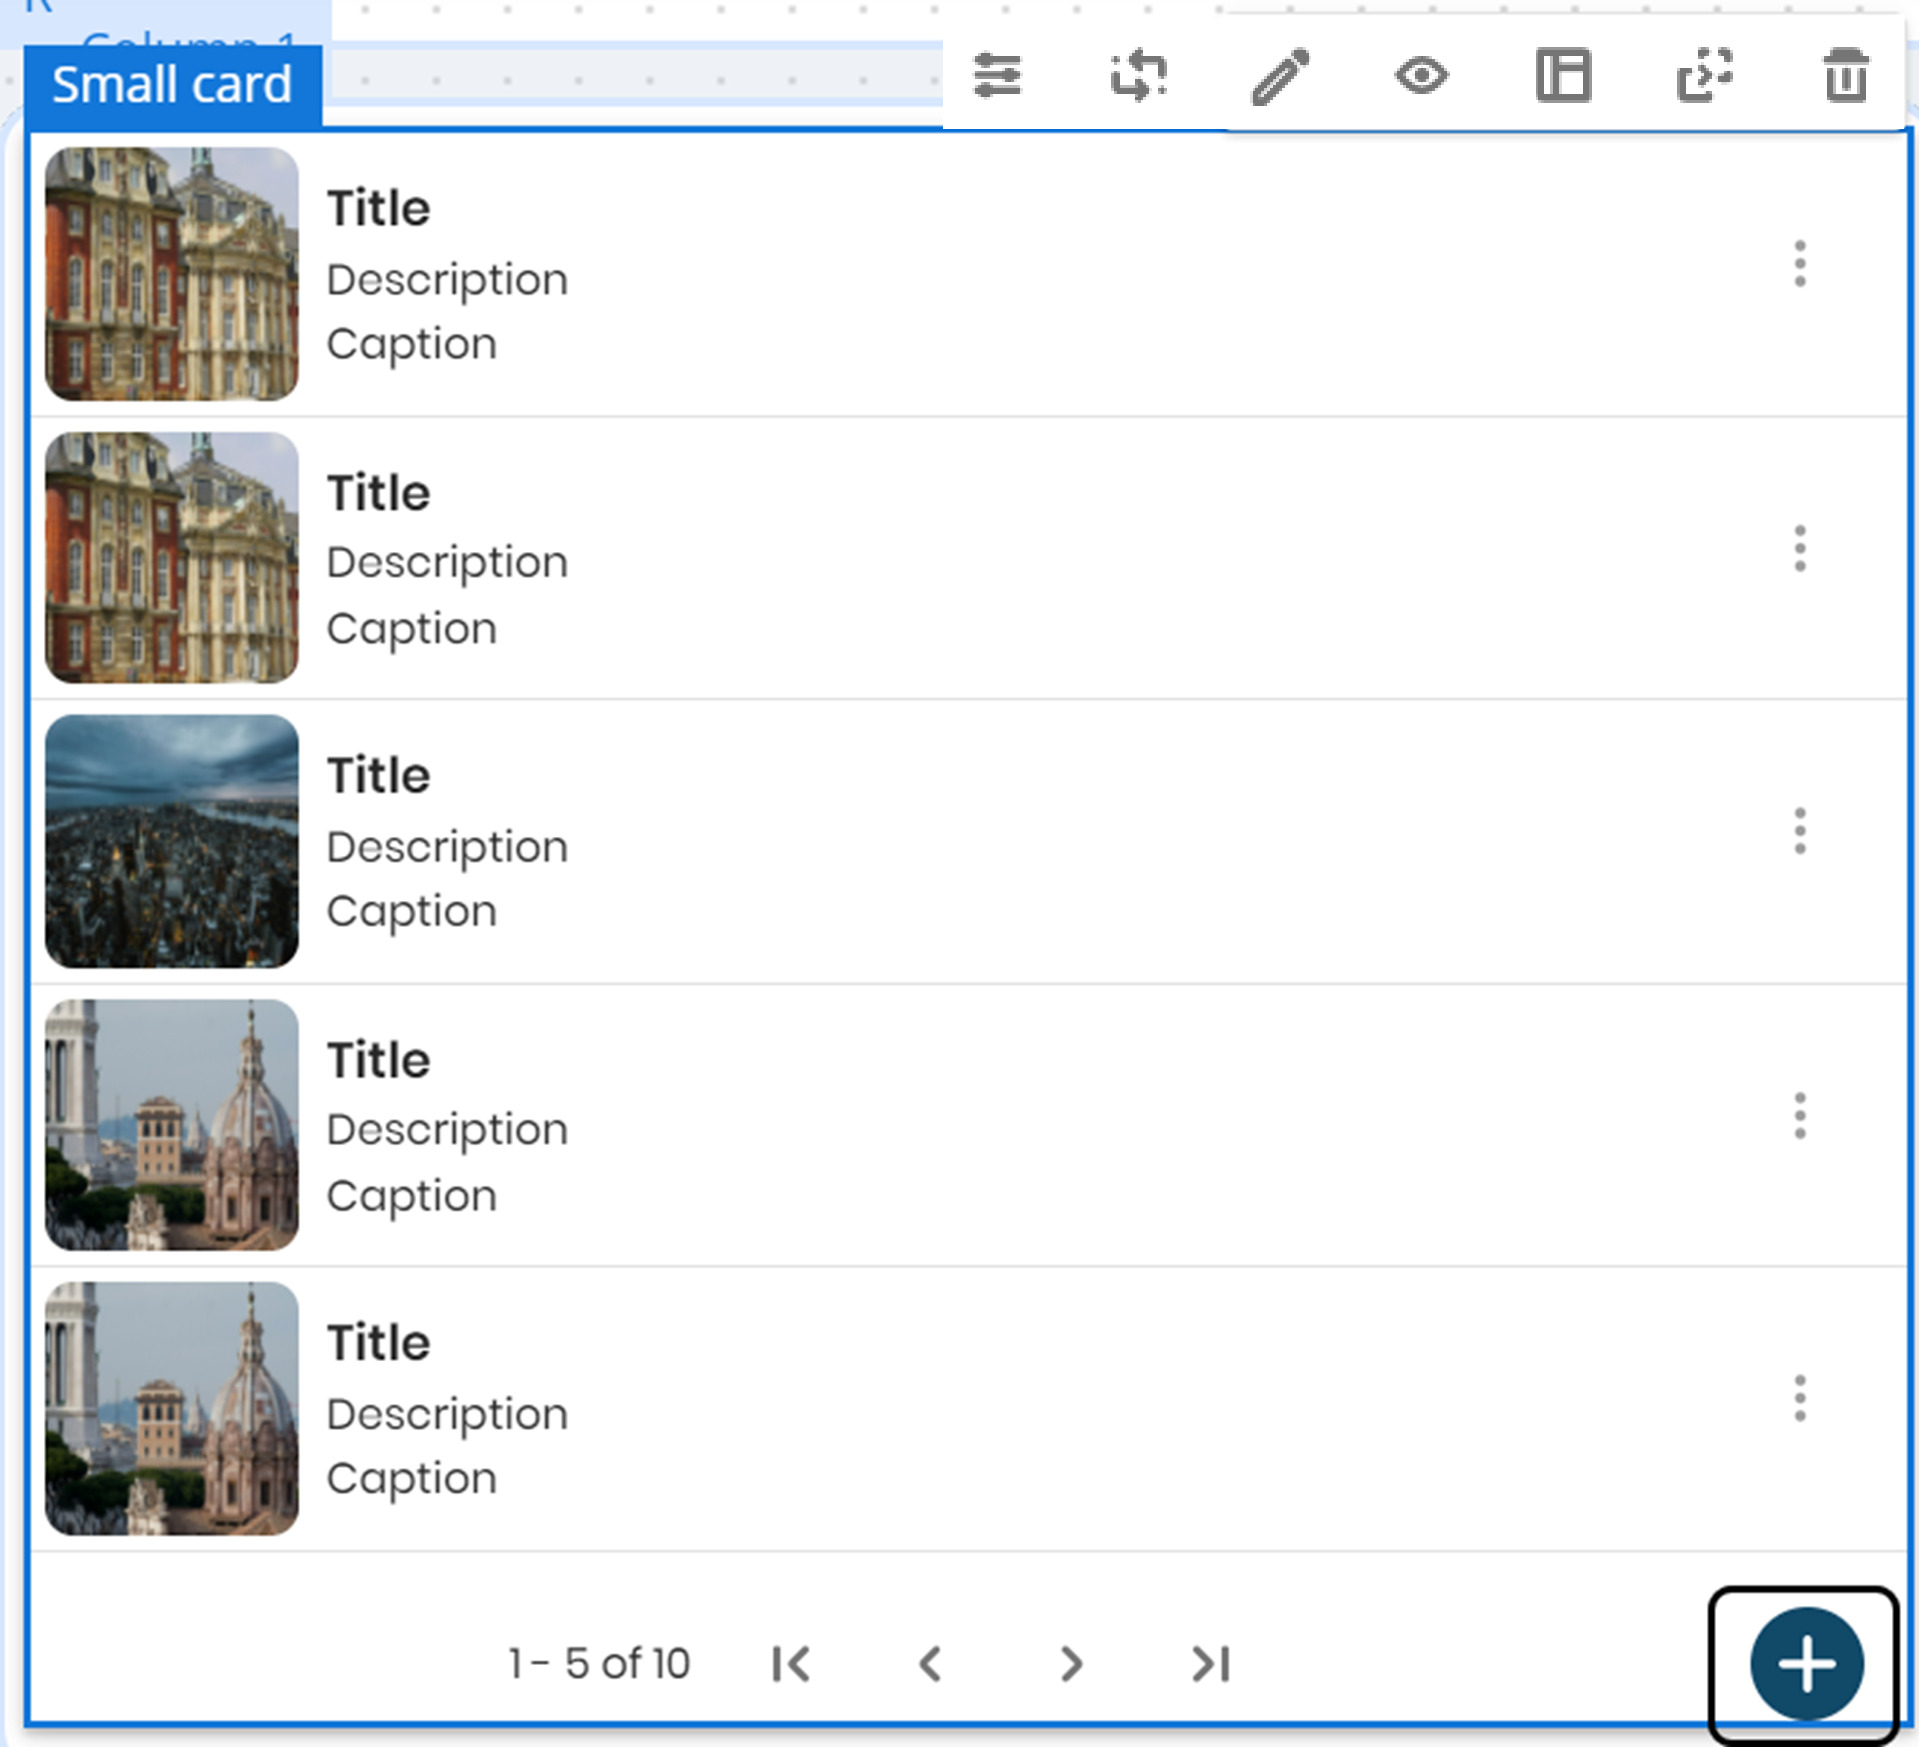
The Small Card collection has a New Record button. Click the ![]() button to open a form to add a new record.
button to open a form to add a new record.
Defining the control appearance
You can also change the control's look and feel by adjusting its design and layout.
Adjusting the control design:
To adjust the control design, hover over the control to display the configuration options and select the Settings option.
|
•Click the Reset button to restore the default settings. •Properties with inherited values display a blue dot next to their title. This indicator allows you to make targeted adjustments without affecting other settings. Hover over the blue dot to see the source of the inherited value, giving you greater control over your text control’s appearance. When you modify a property marked with a blue dot, its individual Reset button appears. Clicking this button restores the property to its default inherited configuration. |
Pointedly, you can modify five design settings:
1.Style: In this setting, you can define the following options:
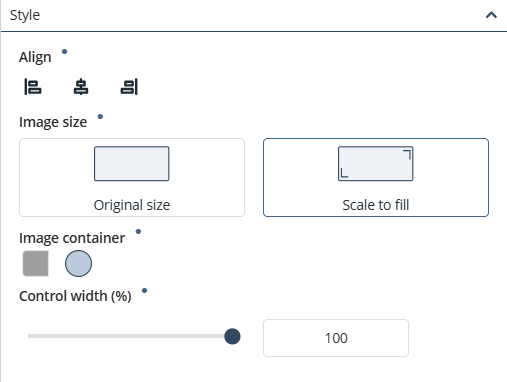
•Align: Align the text to the left, center, or right side of the control.
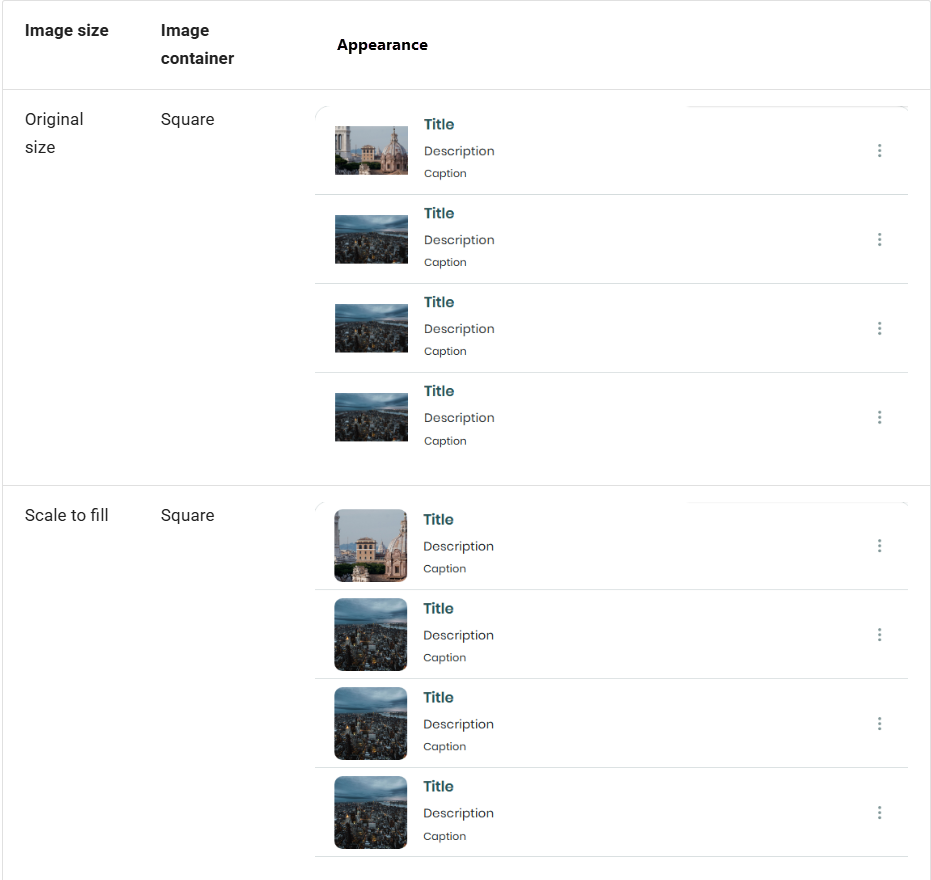
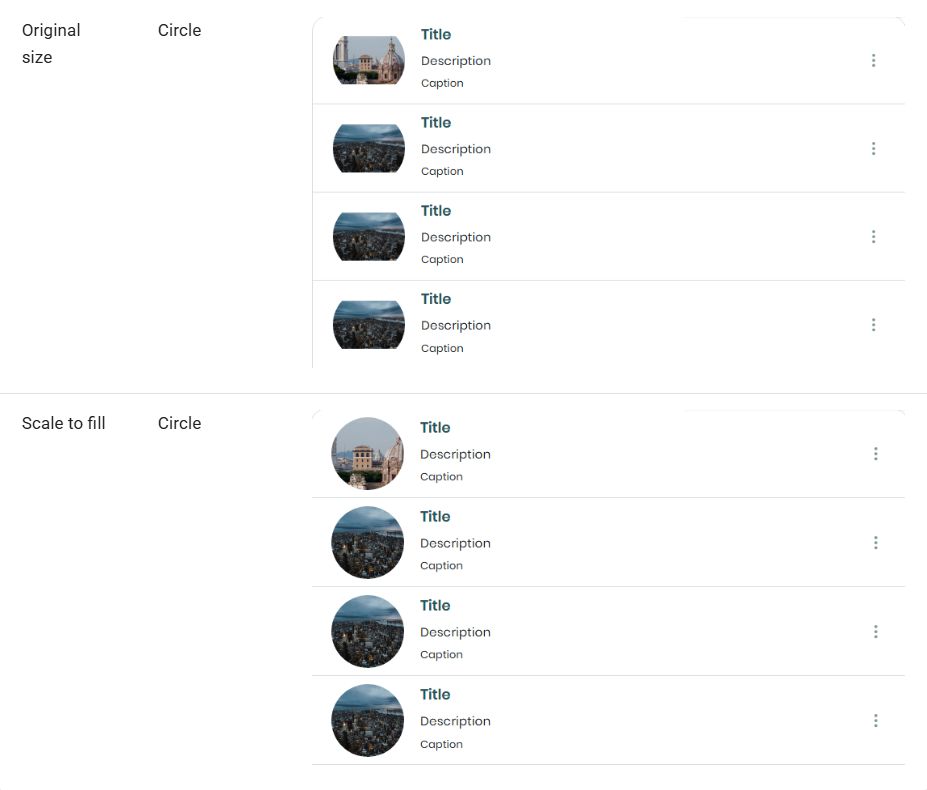
•Image size: Set the image size to Original size or Scale to fill.
•Image container: Set the type of shape for the image of the card. Either square or round shapes.
•Control width: Define the percentage of the column width for the control.
In this table you can see the way images will appear depending on the image container and the image size:
2.Fonts: In this setting, you can modify the following options:
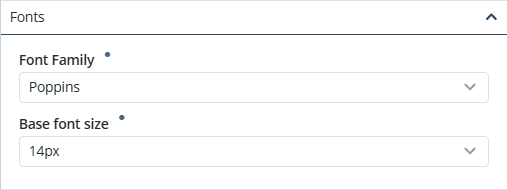
•Font family: Allows you to define the font family for the text inside the list items. The font by default is Poppins Regular.
•Font size: Lets you set the size (in pixels) of the text inside the list items.
|
Bear in mind that the settings defined in Fonts apply to the Title, Description, and Caption fields. |
3.Colors: In this setting you can set the color for the font, background, border, and icon inside the control
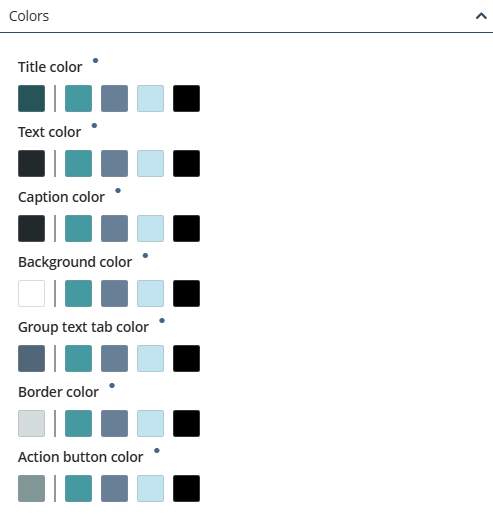
•Font color: Lets you set the color of the text inside the list items. When you click the first square of the option, a color picker palette opens for you to select the text color you want. Likewise, you can select the color by specifying its hex color code in the Hex field.
•Background color: Lets you select the color for the background of the control.
•Border color: Lets you set the color of the border between collection elements.
•Icon color: If your collection has any icons added, you can modify the Icon color to have the same color selection options as the Font color setting.
When you group the content of your control using the Group by option, or you configure actions in your control, you can define two more colors:
•Active group button color: background color of the active group button. The active group is the value of the category currently used to filter the dynamic content.
•Action button color: background color of the buttons that execute Events or Activities configured as Actions in the control.
|
For more information on how to add an icon to the Small Card control, review the Links option described in Static content. |
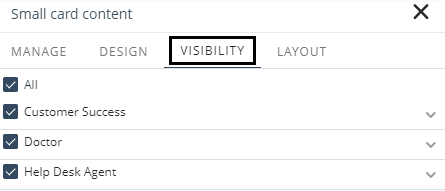
Visibility options
In this section of the menu, you can configure who can visualize the control, by selecting the Personas. You can enable the All option to select all Personas, or you can select the Personas you want to have access to the control.
Adjusting the control layout
Finally, you can adjust the control layout. To do so, hover over the control to display the configuration options and select the Layout option. This option allows you to define the card items arrangement and distribution by modifying three different settings:
1.Displayed items: Lets you set the number of card items that the control displays. It is the same setting that appears in the Style setting.
2.Columns: You can define if the card collections are distributed in the control either by rows or columns.
3.Distribution: You can define whether the card image is positioned to the left (Basic left option) or right (Basic right option) of the text.
Last Updated 11/19/2025 12:00:43 AM