Overview
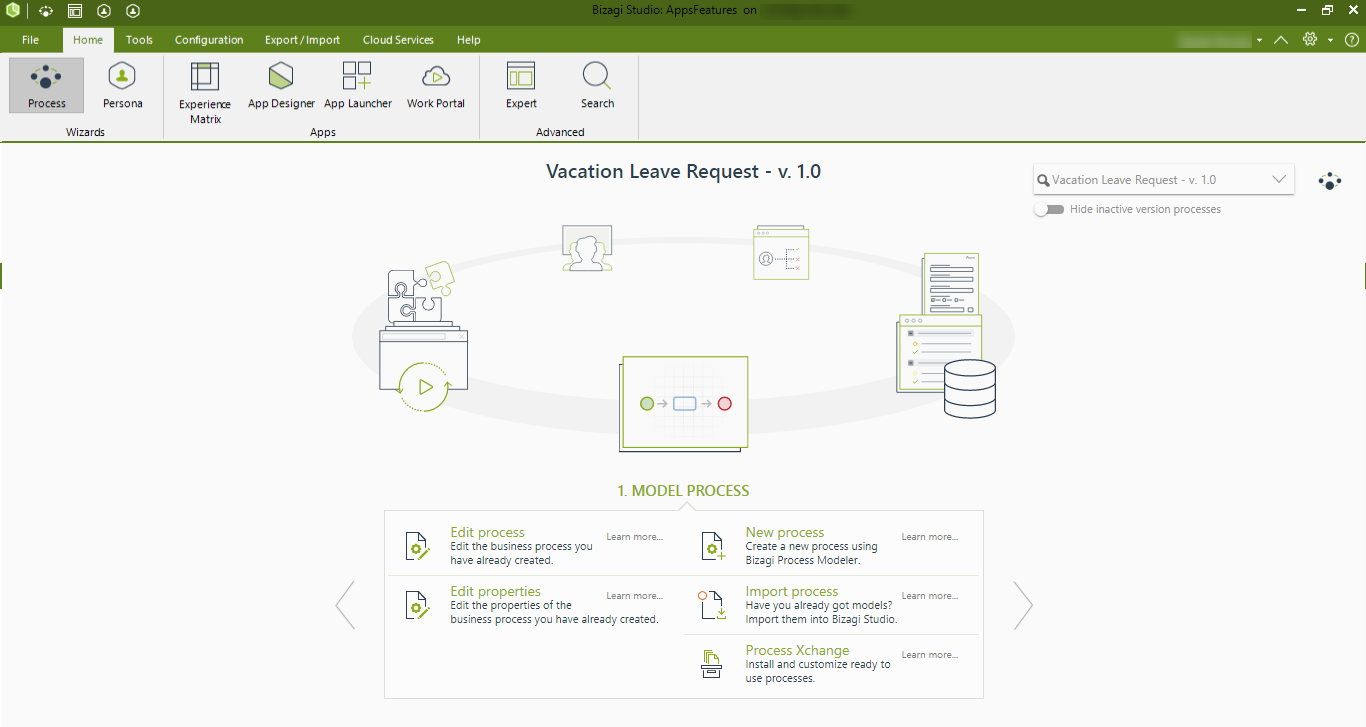
Bizagi Studio has two main views: the Wizard view and the Expert view.
Every project can be automated using the Wizard view; however, some advanced features are available only in the Expert view. To change between the views, locate the Home tab in Bizagi Studio's upper ribbon, and select the Expert or Wizard button in the View group.
Wizard view
Click for further information about the Wizard View

Expert View
Click for further information about the Expert View

The Ribbon
The Ribbon contains the main controls to manage your project. These are organized into different tabs, and are briefly described below.

File tab

MENU OPTION |
DESCRIPTION |
|---|---|
Project |
Opens and Manages existing Bizagi projects. |
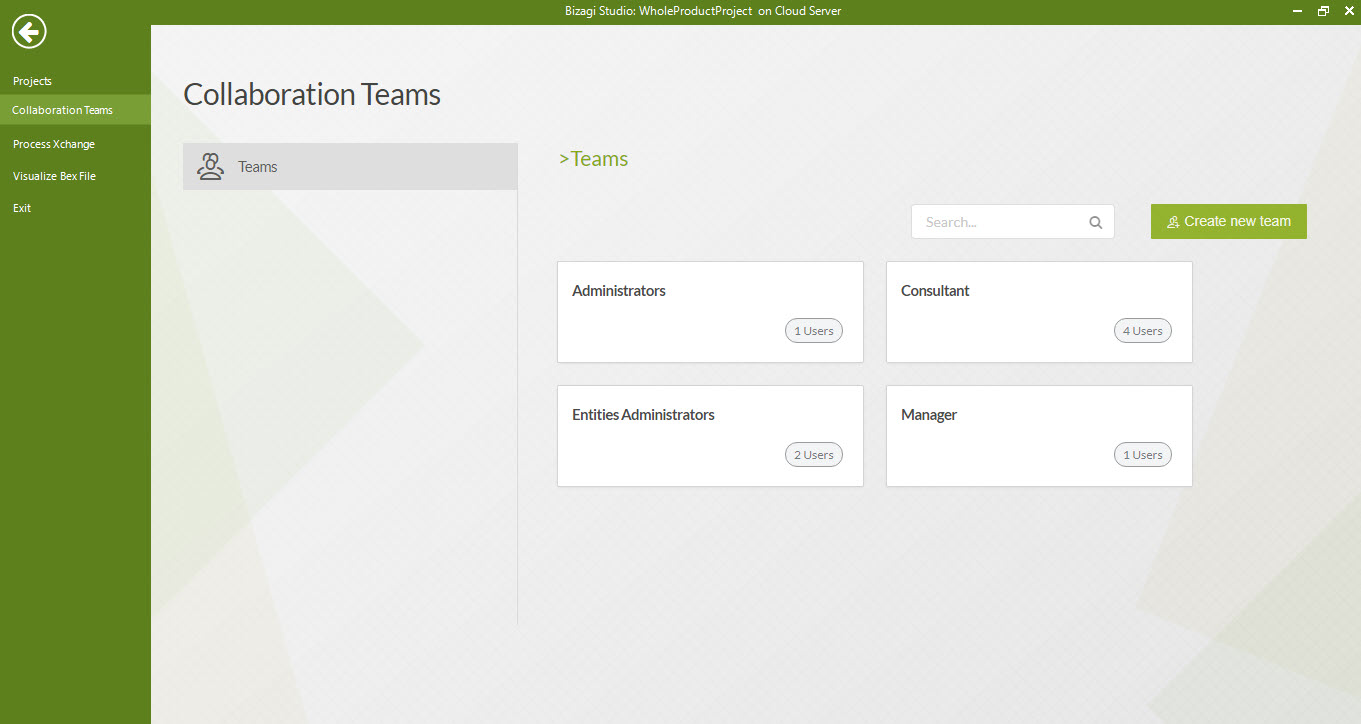
Collaboration Teams |
Create the teams that can be used for Bizagi Studio Security. |
Process Xchange |
Access our Free Process Xchange to download ready-to-use executable Processes. |
Visualize Bex File |
Opens a browser to select a Bex file. |
Exit |
Exits Bizagi Studio. |
Home tab

The Home tab contains three main sections that are always displayed.
GROUP |
MENU OPTION |
DESCRIPTION |
|---|---|---|
Wizard |
Process |
Switch to the Wizard View which will guide you through all the necessary steps to execute your business processes. |
Persona |
Customize end user's experience in Bizagi's Work Portal. For each user group (Persona) you can define what they can do with the application via Actions, define access to data sets and to data searches. For more information, refer to Personas Wizard. |
|
Apps |
Experience Matrix |
In the Experience Matrix the developer determines and visualizes the interactions that each Persona has with the data in the apps. |
App Designer |
Access the App Designer where you can create and customize apps. |
|
App Launcher |
Access the App Launcher where you access your apps. |
|
Work Portal |
Access the Bizagi web application (Work Portal) to automate the Processes. |
|
Project |
Expert |
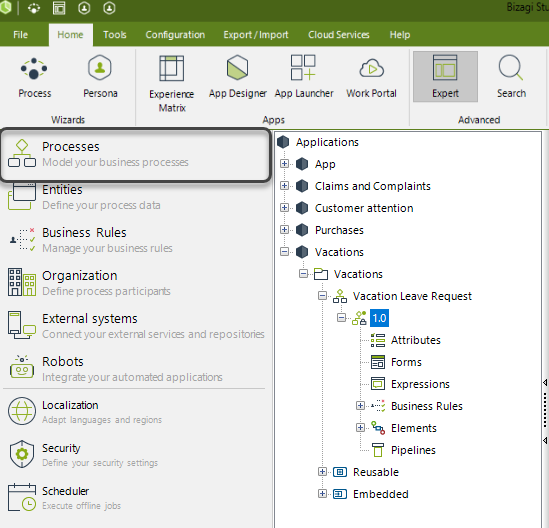
Switch to the Expert view where you can extend component configurations and functionalities in processes without the need to follow the step-by-step wizard view. |
Search |
Search in the project for objects such as entities, attributes, business rules and Processes. |
This contextual menu will give quick access to the most commonly used options in each feature. For example, This shows the Home menu layout, with the contextual menu called Process, when accessing a specific Process in the Processes module:


GROUP |
MENU OPTION |
DESCRIPTION |
|---|---|---|
User Interface |
Widgets |
Access the Widgets menu, where you can create and manage sophisticated customized HTML controls which are not by default in Bizagi 's Forms Modeler controls. |
System Integration |
Connectors |
Access the Connectors menu, where you can download integration packages to existing corporate systems such as ERP, CRM, core applications, legacy systems and services in the ESB in general. |
Components |
Bizagi offers an integration layer which allows existing systems to be integrated into Bizagi. Bizagi offers an interface wizard for web and rest services invocations and a feature called the Component Library for a Process-level integration (transactional). |
|
Business rules |
Library Rules |
Library rules are business rules shared by all applications and Processes created in the project. They can be called from any Process, any rule or any element. |
Dynamic Rules Tracer |
Trace rules line by line dynamically. You can watch values of variables and XPaths used in expressions triggered on Activity Actions as the rule is executed in the Work Portal, and assess the correct execution of your business rules. |
|
Validate Rules |
feature that validates the syntax and references of rules. Although this validation can be executed individually for each rule, you can execute these validations in bulk for all the rules of the project. |
Configuration tab

GROUP |
MENU OPTION |
DESCRIPTION |
|---|---|---|
Options |
Environment |
Determine the way in which emails, scheduler, files uploaded and logging options, among others, are configured. The environment configuration is specified for each environment individually (Development, Test and Production). |
Proxy |
Define the proxy used to connect to external services in the three different environments: Development, Test and Production. |
|
Business |
Define business specific preferences such as localization, notification templates and other global options that apply to the whole project across all environments. View more information on business configuration. |
|
Entities for live process |
Define the entities that can be accessed from Live Processes (Cloud Only). View more information about entities for Live Processes. |
|
Sequences |
Sequences |
Create sequences which are counters incremented by a value defined by you each time a case is created. View more information about creating customized case numbers. |
Case Numbering |
Customize case identifiers, which are the case numbers given by Bizagi in the Work Portal, for every instance of a Process. View more information about creating customized case numbers. |
|
Apps |
Editor |
Access the App Designer. |
Forms |
Default devices |
Set the default devices displayed when opening the forms Editor. You can select as many as you want, keeping at least one. By default, the selected devices are: Desktop 1208x800, iPhone X and iPad 11. For more information about this feature, refer to Creating Forms for a specific device. |
Export/Import tab

GROUP |
MENU OPTION |
DESCRIPTION |
|---|---|---|
Deployment |
Export |
Select the Processes or Sub-Processes and their versions that will be deployed to Test or Production environments. |
Microdeployment |
Deploy specific, minor changes in your processes. For more information refer to Microdeployment. |
|
Export |
Share Processes |
Share your processes along with their relevant metadata to use them in another Bizagi Studio project. For more information refer to Sharing processes. |
Import |
Process Modeler |
Add a process that has been already modeled using Bizagi Modeler. For more information refer to Importing a Process. |
Process |
Add a Bizagi Studio process from a .btex file. For more information refer to Sharing processes. |
|
Process Xchange |
Access Bizagi's Process Xchange Process templates and discussion forums. |
Cloud Services Tab

GROUP |
MENU OPTION |
DESCRIPTION |
|---|---|---|
Share |
Project |
Lets you invite collaborators to your project via email. |
Environment |
Run |
Run your project on the cloud. This button opens the Work Portal |
Management Console |
Opens a tab in the browser where you can access the Management Console. For more information refer to Access the Management Console |
Help tab

GROUP |
SUB OPTION |
DESCRIPTION |
|---|---|---|
Help |
User Guide |
Display this User Guide. The document may be downloaded to a PDF file for offline access. |
Free Support |
Access the online support forums. |
|
Process Xchange |
Access Bizagi's Process Xchange Process templates and discussion forums. |
|
Community |
Feedback |
Access the Feedback & Questions page to convey comments, questions, suggestions, and ideas for improvements. |
Tell a friend |
Share Bizagi Suite with clients, colleagues and friends. |
|
About |
Latest product information |
Information on current and past versions. |
About |
Information about Bizagi Studio and participating contributors. This information appears in a pop-up window. |
|
What's included in this version |
Information about the new features and improvements of your Bizagi version. This information appears in a pop-up window. |
Style and Language

MENU OPTION |
SUB OPTION |
DESCRIPTION |
|---|---|---|
Hide/Show control |
- |
Minimize the ribbon. |
Settings |
Language |
Alter Bizagi Studio's language between Spanish, English and Japanese. Restart Bizagi Studio to change the current language. |
Help |
- |
Open a new Browser with the Product's User Guide. |
Host name |
- |
Name of the host you are working on, either Studio Services (Cloud) or On premises (Local). |
Last Updated 12/3/2024 10:45:56 AM