Overview
Bizagi Connector Xchange provides several ready-to-use connectors that you can use in your project with minimal configuration.
Such connectors are provided for your processes to integrate with trending services or most common enterprise systems, which are being used by the Bizagi community and have been implemented in projects having related B2B requirements (e.g., a connection to cloud services at X, Amazon, Google, or a connection to an Excel spreadsheet or MySQL database).
For general information about this integration feature, refer to Bizagi Connectors.
Furthermore, in addition to using them, you may explore or adapt these connectors in any way you like to customize them to your specific needs (e.g., by implementing additional methods or considering additional parameters for existing ones).
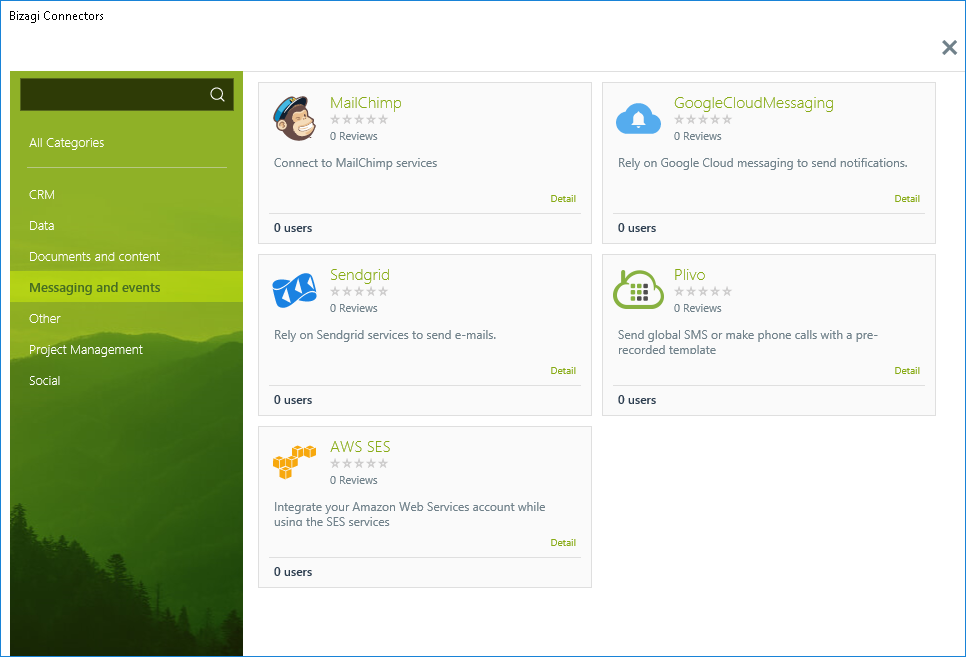
The Connector Xchange may already have the connector you need to support your processes prepared and ready to download.
You can also use the Connector Editor to edit and customize these ready-to-use connectors.
This section explains how to use the Connector Xchange and how to install the available connectors.
|
The following information relates to using Bizagi Studio to install connectors, which is one of the two methods for their installation. Refer to Installing and configuring connectors for more information on how to install connectors differently. |
Connector Xchange user interface explained
Available connectors are organized into categories in the Connector Xchange (to the left hand of the window).
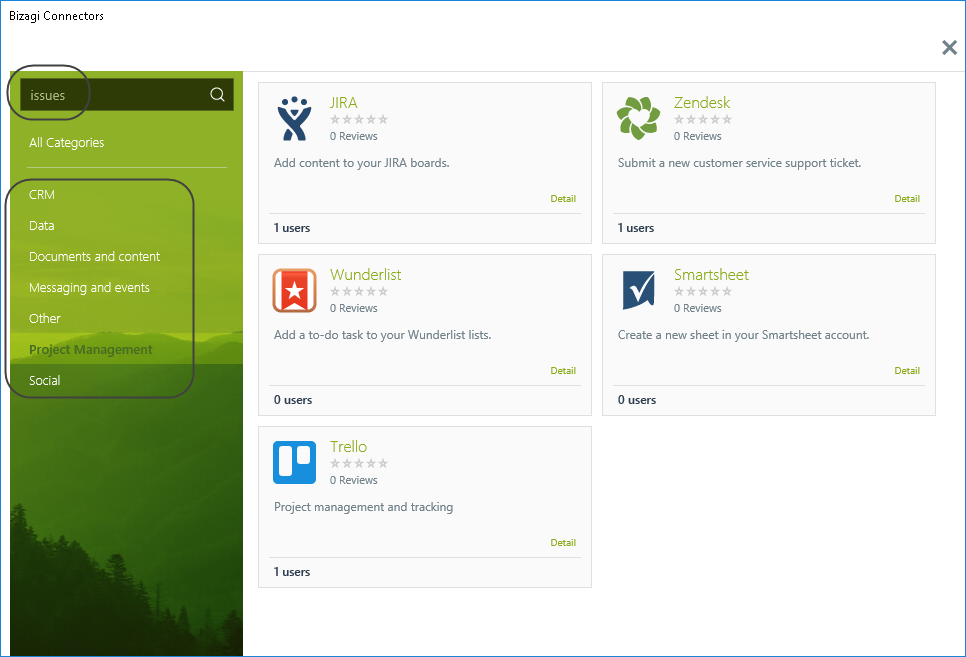
You may enter keywords to search for connectors, or filter them according to the different categories:
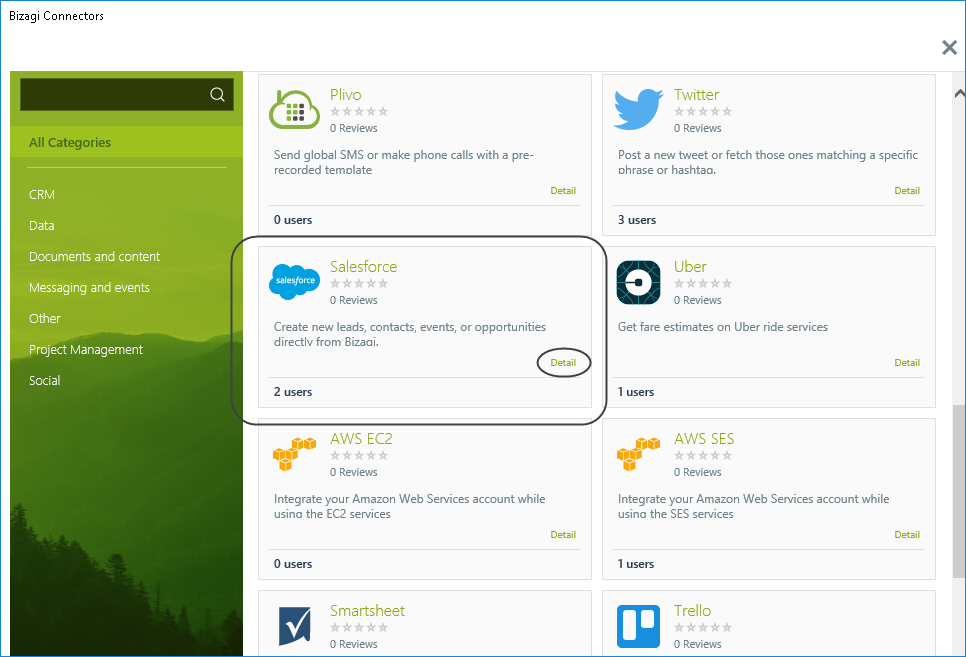
You may view the summary of a specific connector and click Details for more information about the connector (e.g., to see sample images), or to download and install it:
You'll find the following information in the details:
•An Overview tab has a description of what the connector does and provides (including special notes and considerations).
•A Details tab with instructions on how to use and configure the connector, as well as an attachment with the external service settings
•A Reviews tab has our users' reviews and ratings.
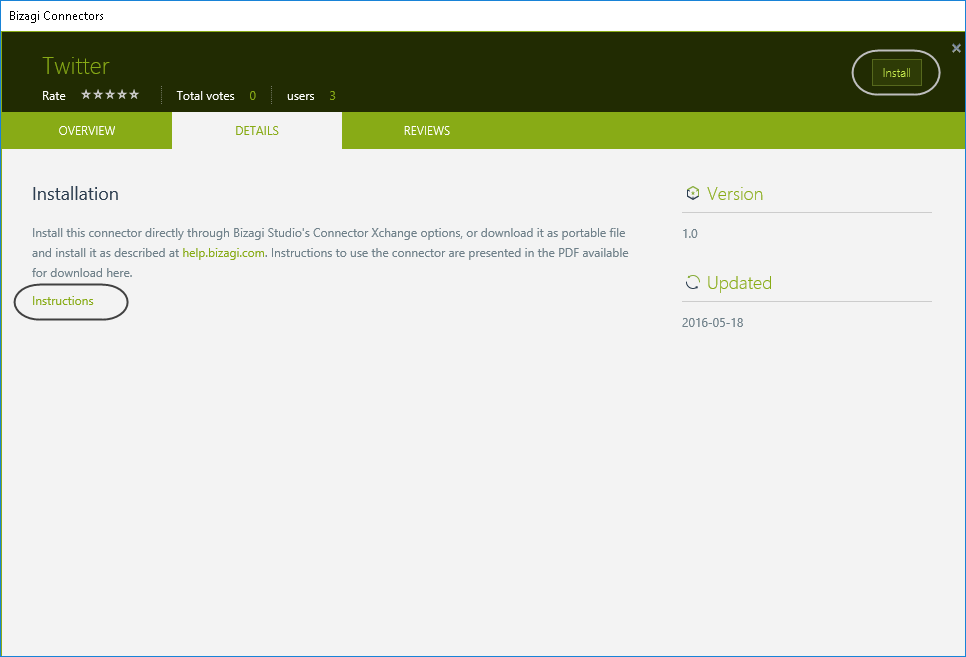
You can use the connector in your project at any moment by clicking the Install button, as indicated in the section below.
Connector installation
To automatically install connectors from the Connector Xchange into your project, go to Integration through the main ribbon at the Tools tab.
From there, click the API Connectors option and select Browse our Connector Xchange..
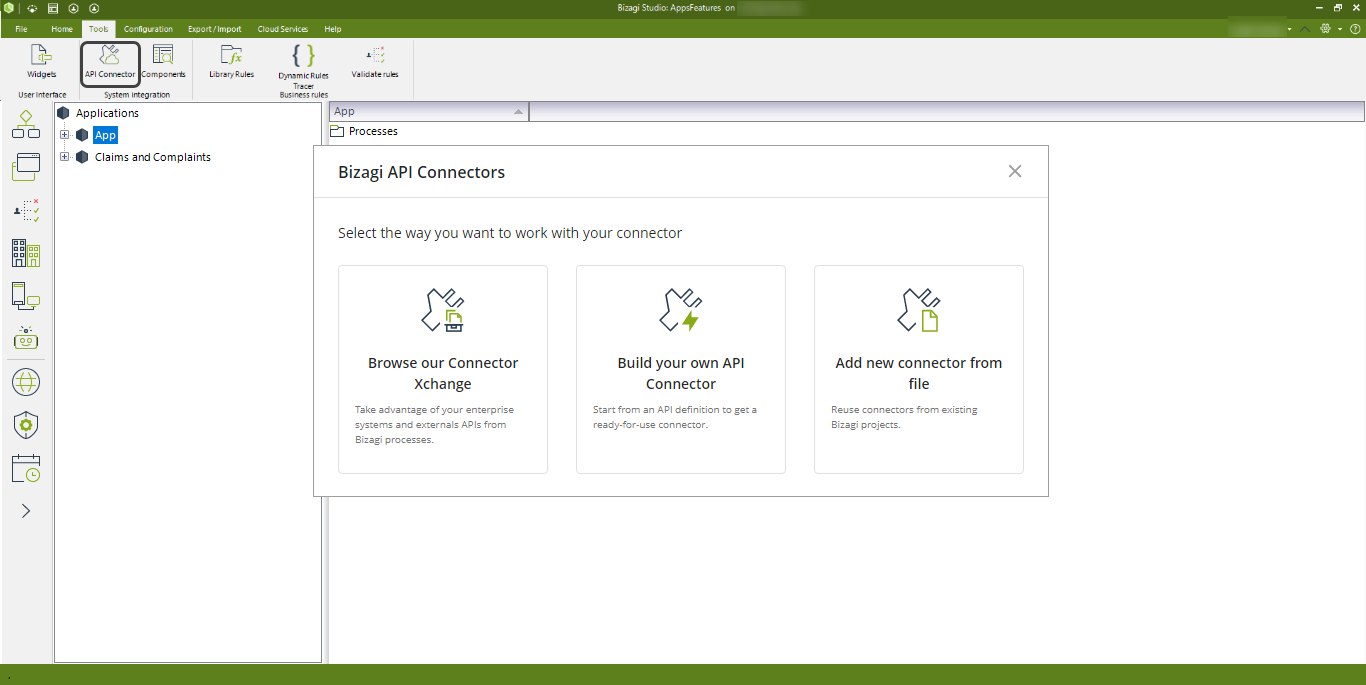
This opens the Connector Xchange without leaving Bizagi Studio:

Hover over the connector of your choice and click Detail.
In this window, click Install:

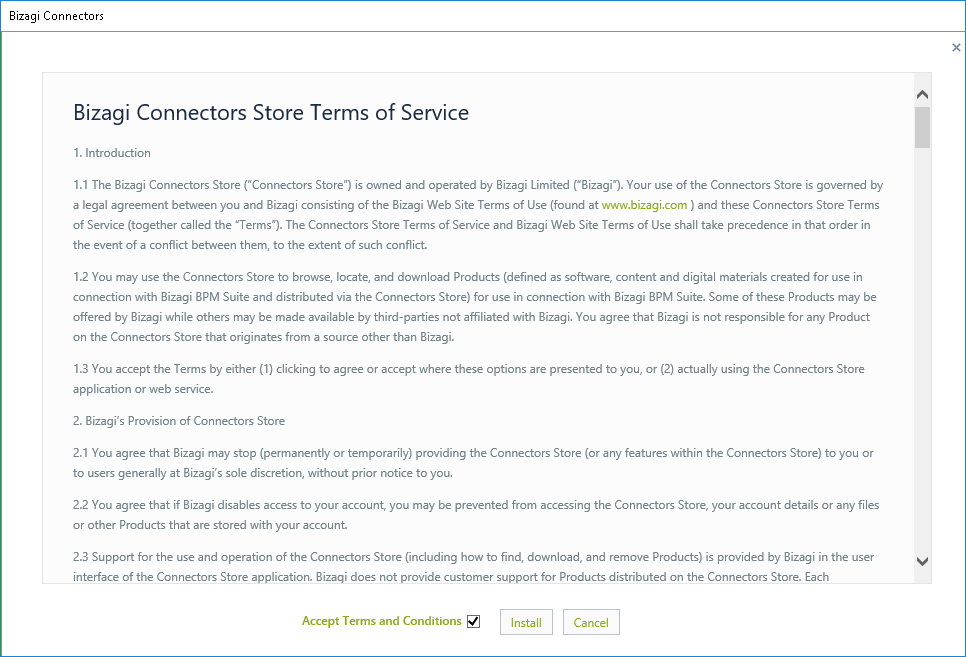
Make sure you read and accept the End User License Agreement (EULA) for Bizagi Connector Xchange and its connectors.
After you have finished reading, click Install to start the installation.
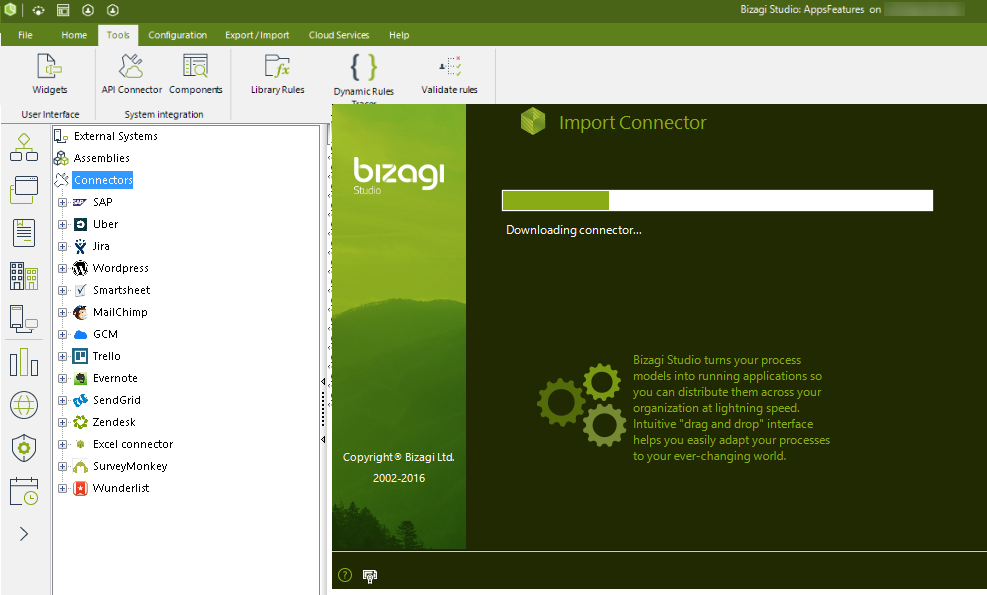
Notice that the installation may take around a minute or so:
Once installed, configuration settings for that connector will show up.
For example, the Salesforce connector's configuration will require you to enter details along with a username, password and token for credentials:
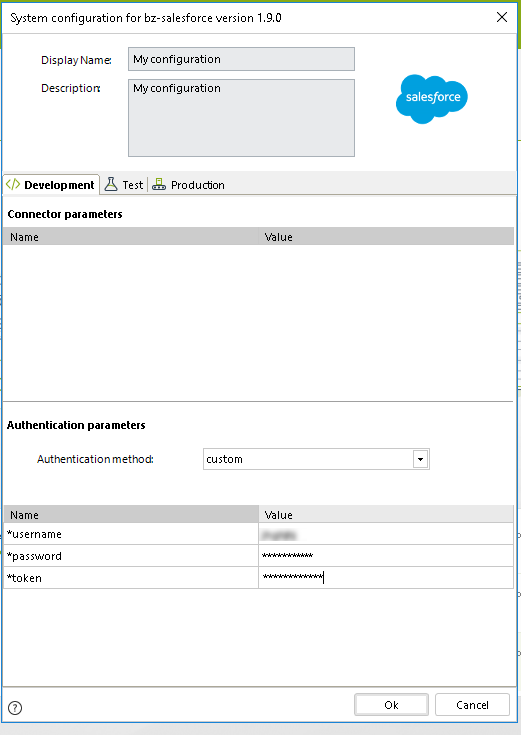
If you do have credentials and already know how to configure the connector, click OK when done and you will be all set to start using the connector from your processes as described at Using connectors.
On the contrary, if you do not know how to configure the connector at the moment, you may click Cancel and configure it later (from the Expert view, at External systems).
Clicking Cancel does not configure the connector, but it does not mean you need to download it again.
Refer to Installing and configuring connectors to learn how to set it up once it is ready.
Important
The Connector Xchange is a service provided and hosted by Bizagi Ltd.
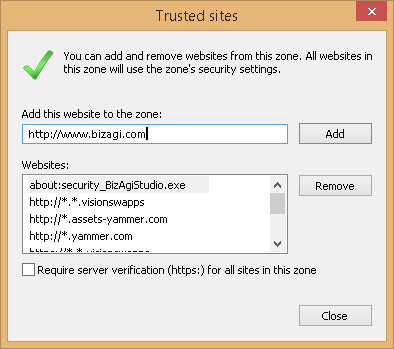
Therefore, to use this option directly from Bizagi Studio, you will need an internet connection, and it is recommended to review that www.bizagi.com is set as a trusted site in your browser's configuration:
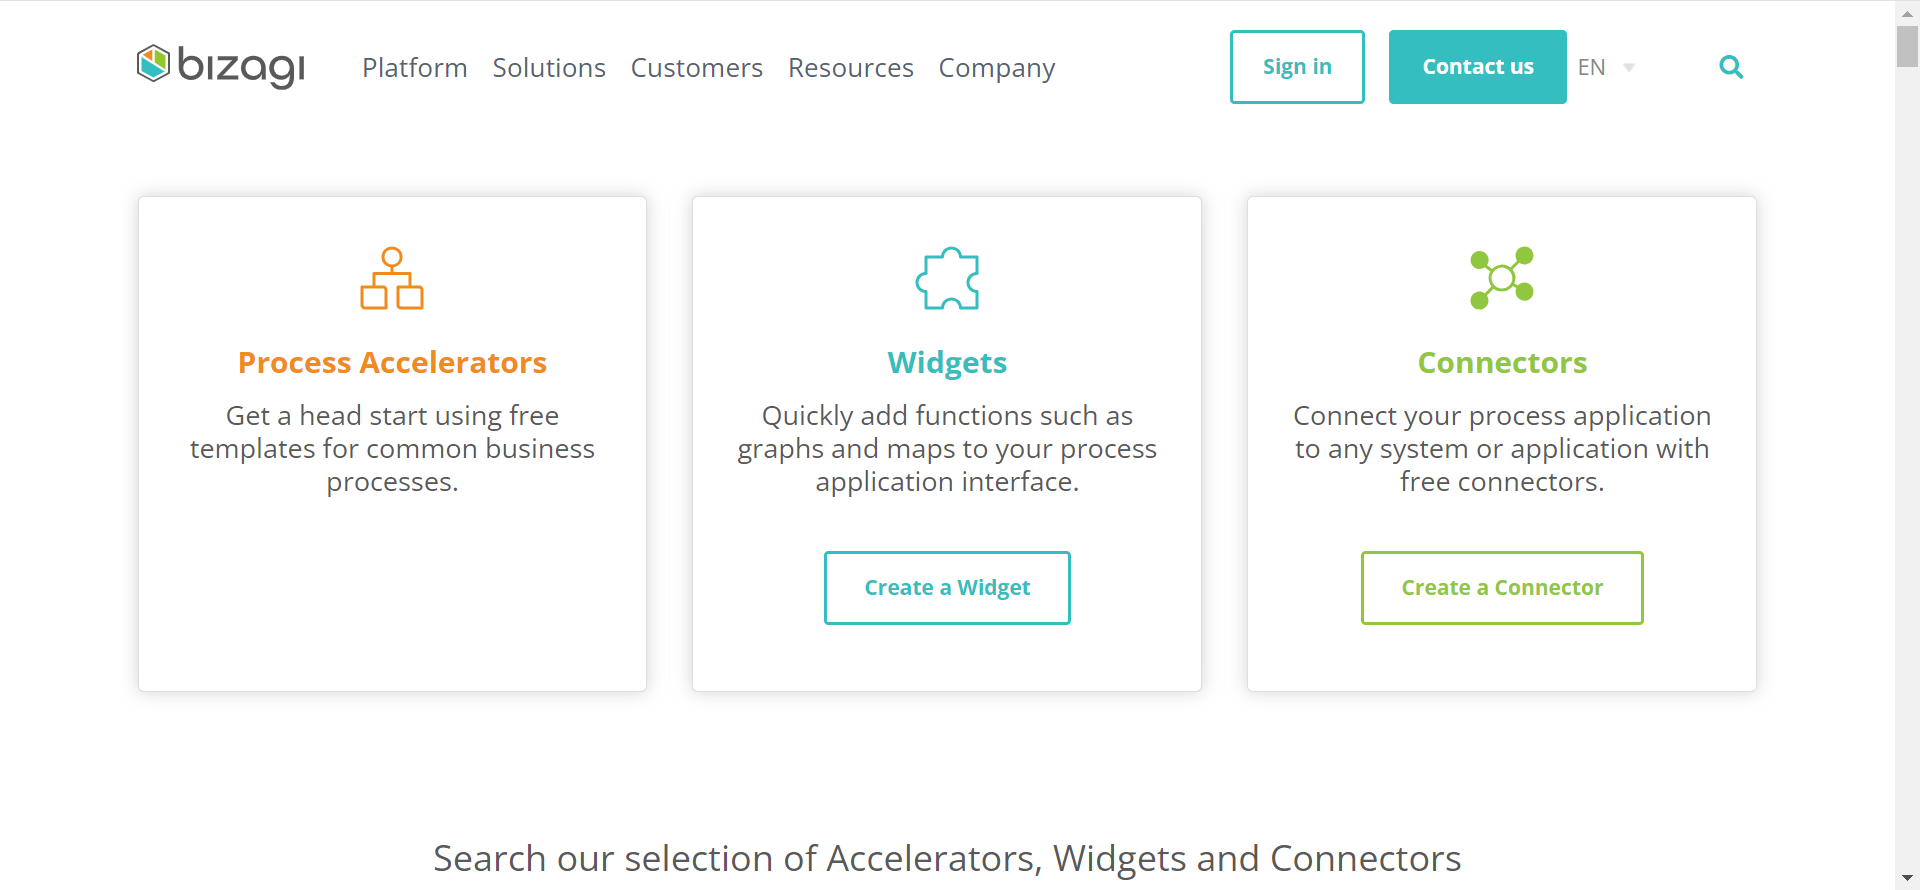
If the machine on which Bizagi Studio is installed does not have an internet connection, you must first access Connector Xchange from a machine with internet access by typing the following URL into any browser:
https://www.bizagi.com/en/platform/xchange
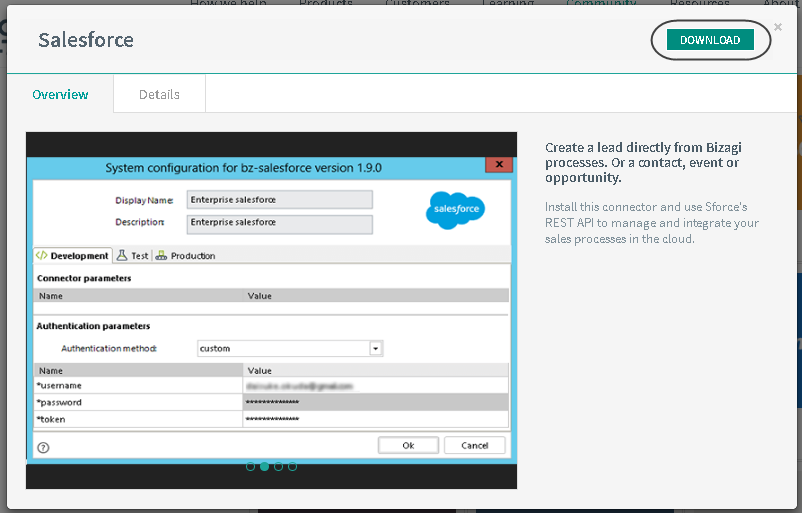
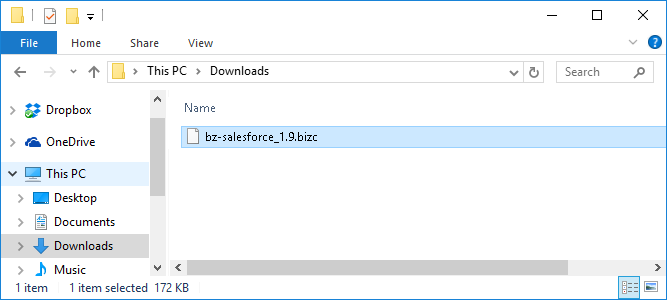
This means you will be able to download the connector as a local .bizc file, also through the Install button (outside Bizagi Studio, this button will be shown as Download).
When downloading the connector from a browser, you will need to manually install it using the local file.
Refer to the instructions at Installing and configuring connectors for a manual installation.
Last Updated 10/16/2024 10:55:50 AM