Download Bizagi application
To access a Bizagi application from an Android devices use Google Play (http://play.google.com/) and search for "Bizagi". The application is free to download.
|
Keep in mind that the application supports Android version 12 onwards. The version of the application installed in the mobile device must be greater than or equal than the version of Bizagi Automation Service. Otherwise, the project may not run properly. |

Logging into Bizagi
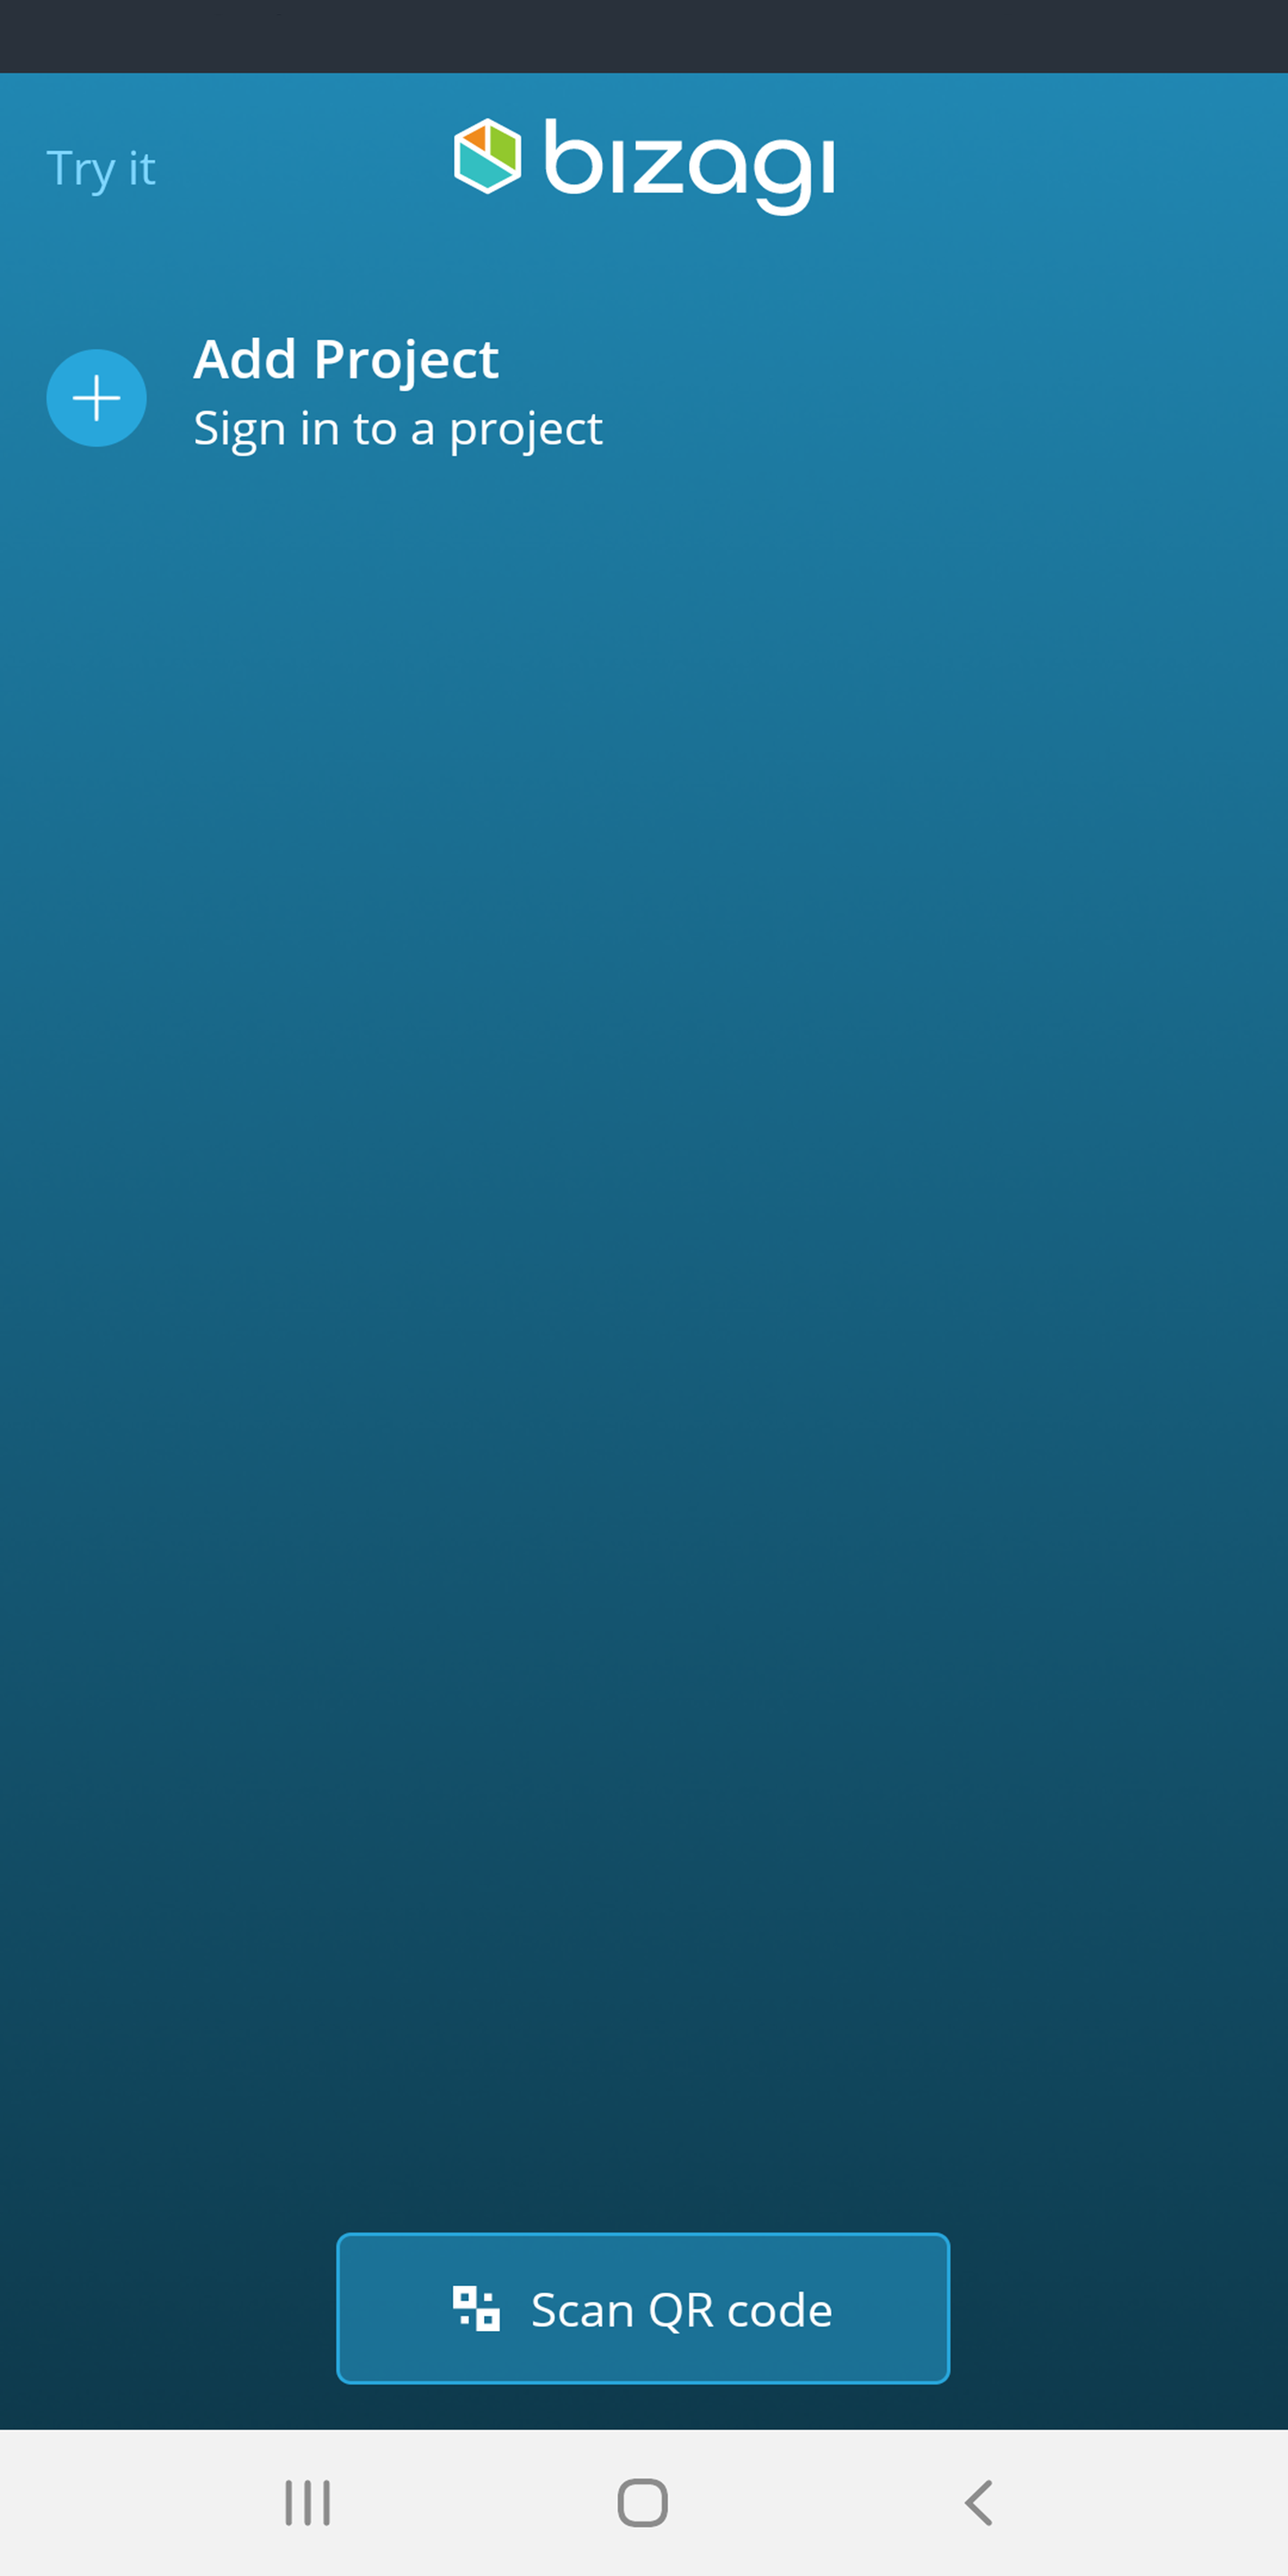
Open the mobile application and click Add Project to sign in to a Bizagi Project:
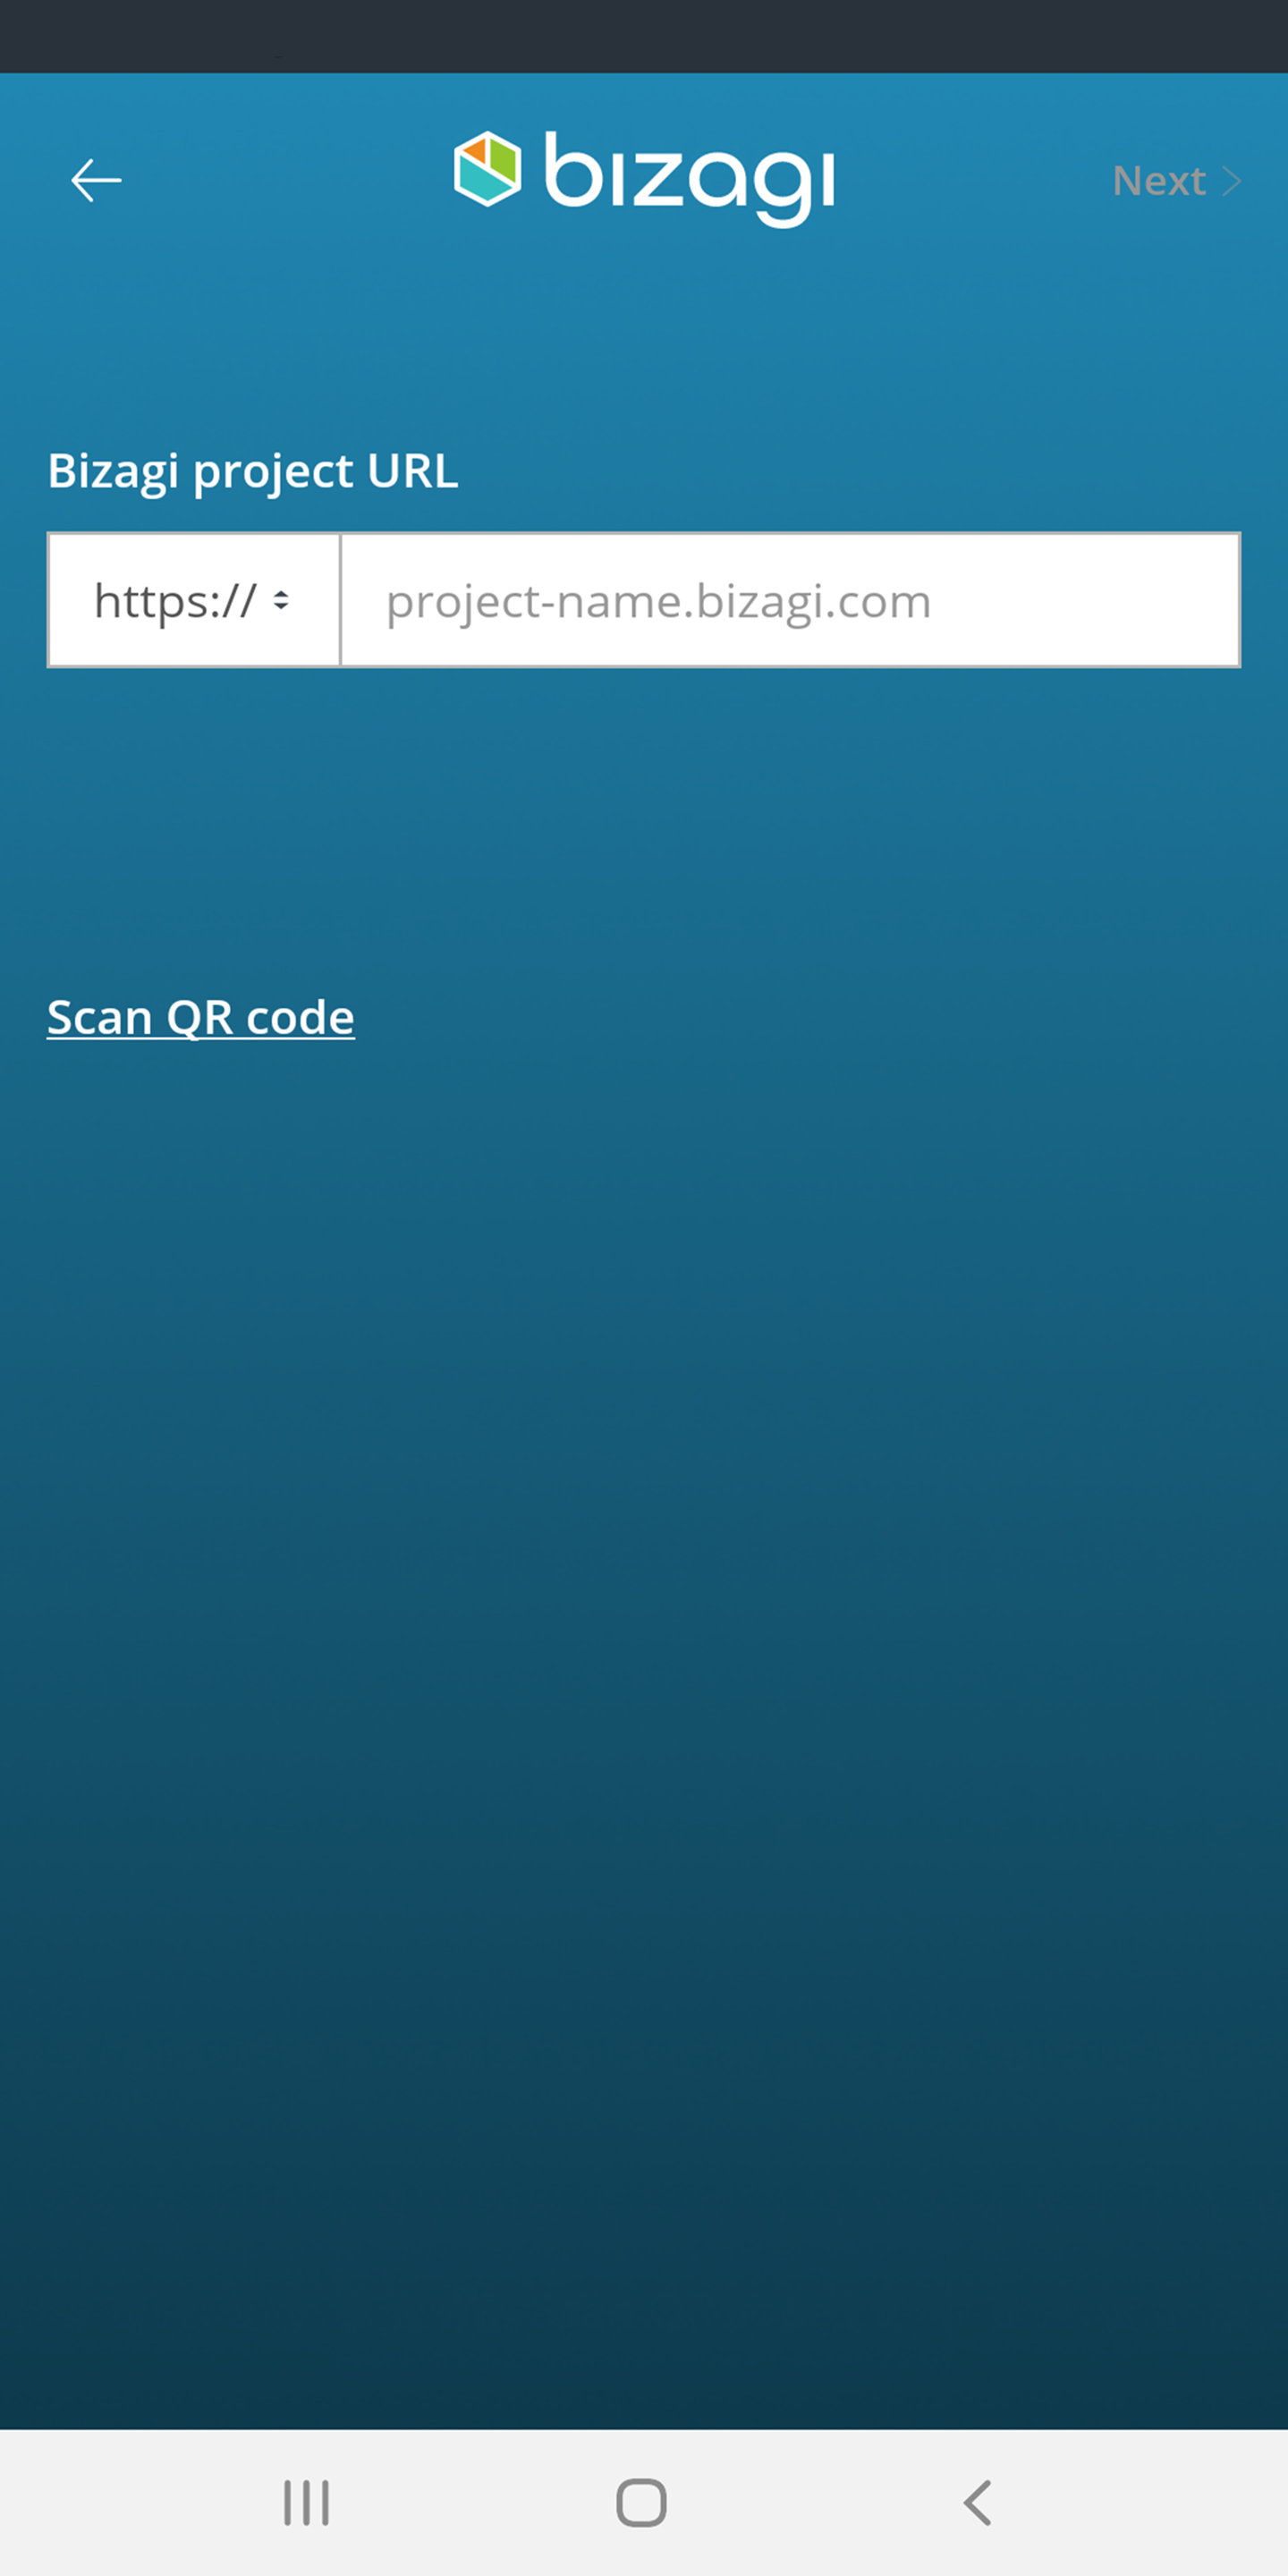
In the new screen configure the following
•URL to access the Bizagi project. Tap the combo on the left of the field to switch between http:// and https://
|
When you access Studio Cloud Services or Automation Server projects from your mobile device using the bizagi.com domain, you must set the HTTPS protocol for all Bizagi domains and subdomains. Please note that the use of self-signed certificates is not supported. |
Tap Next> and log in to the project according to the authentication type configured. For Bizagi Authentication, configure the following:
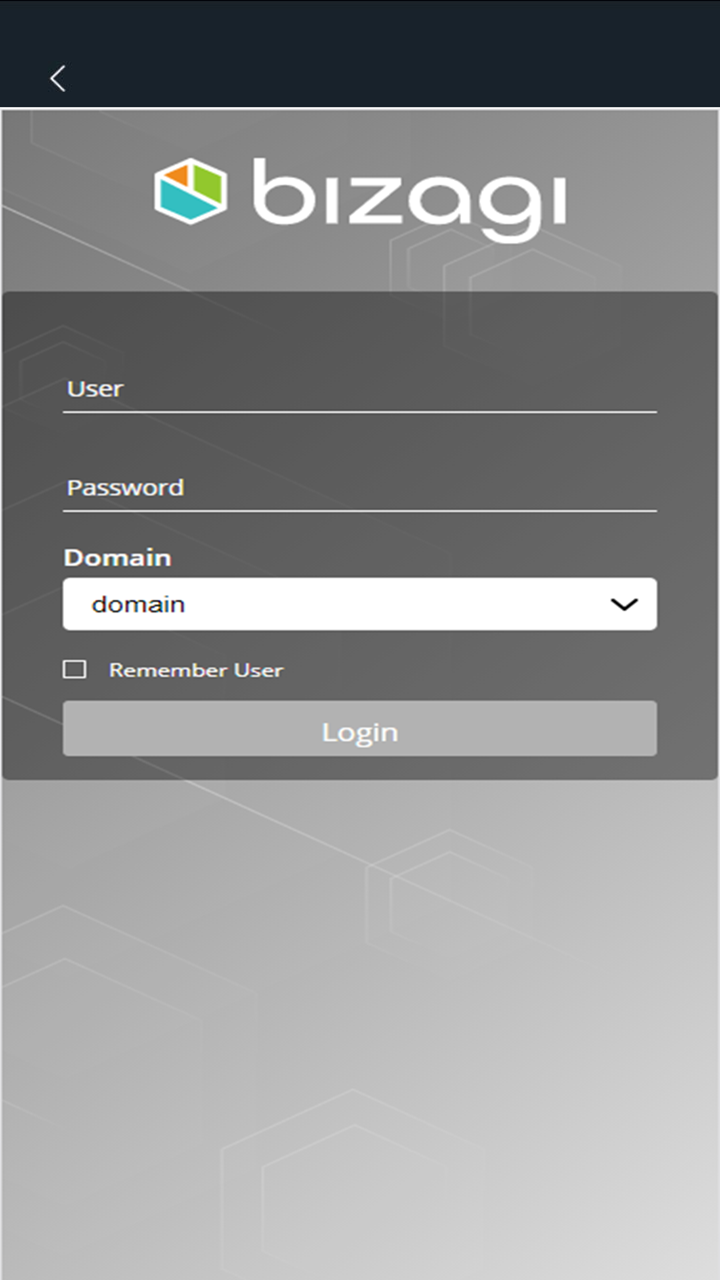
•User: User name configured in the Work Portal
•Password: User’s password.
•Domain: The domain to which the user belongs, as defined by the admin.
If the Bizagi project has only one active domain, the domain selection is not required.
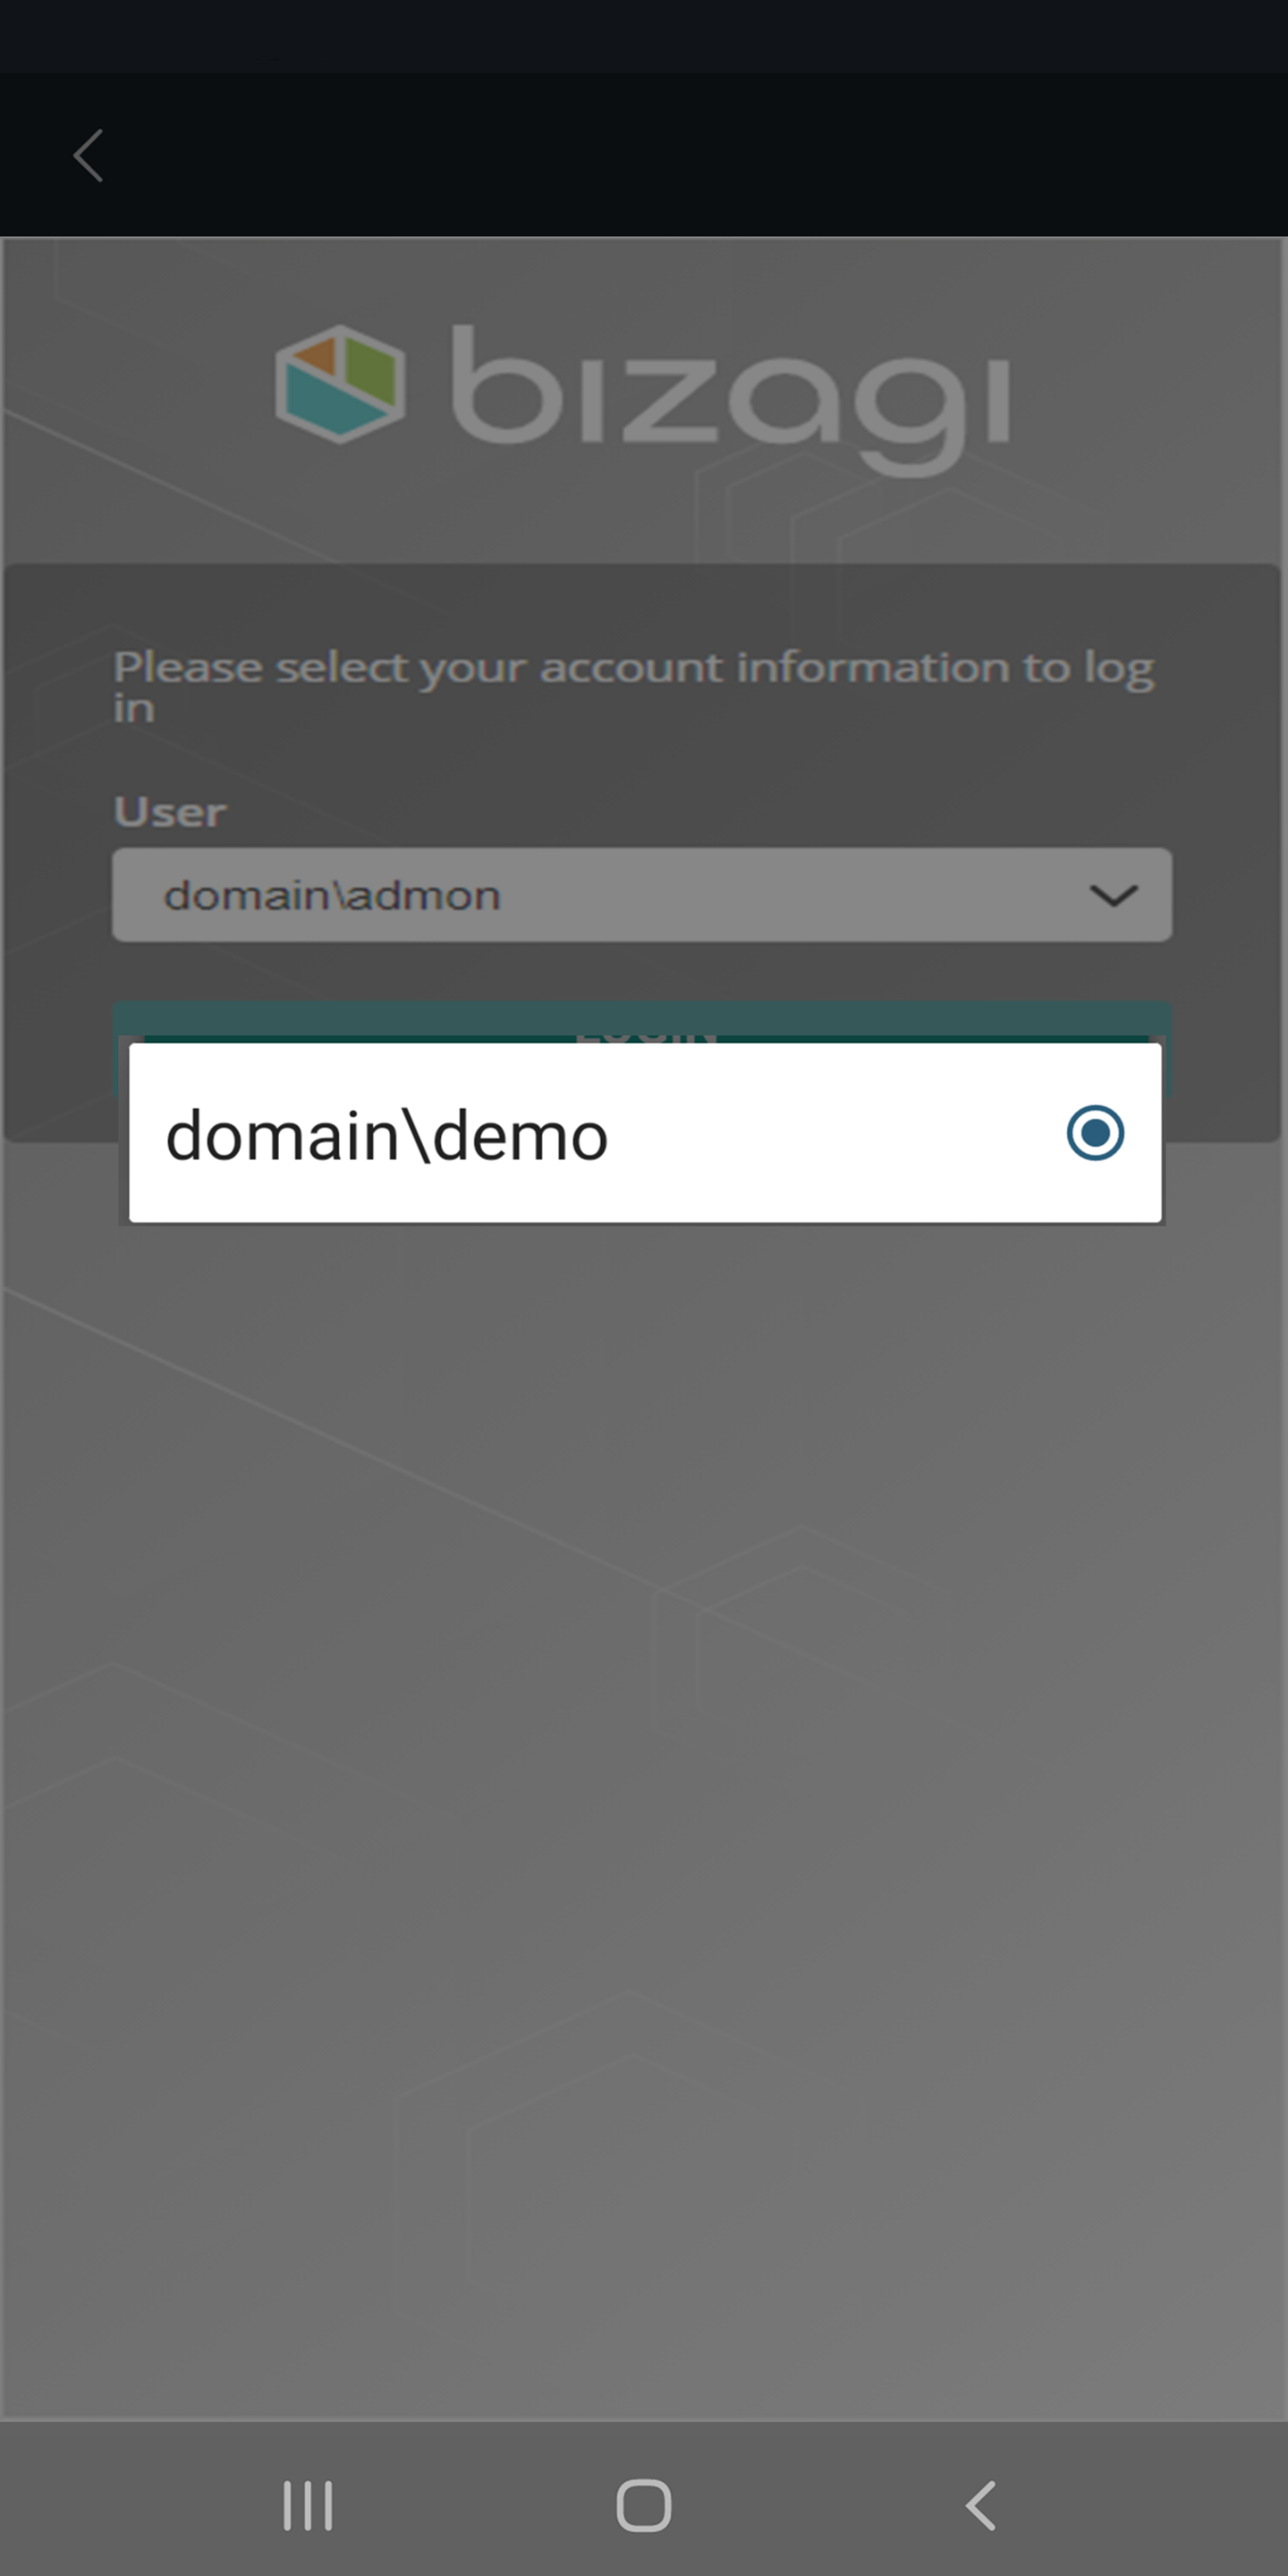
If the Bizagi project has more than one active domain, Bizagi displays a list from which you can select the corresponding domain.

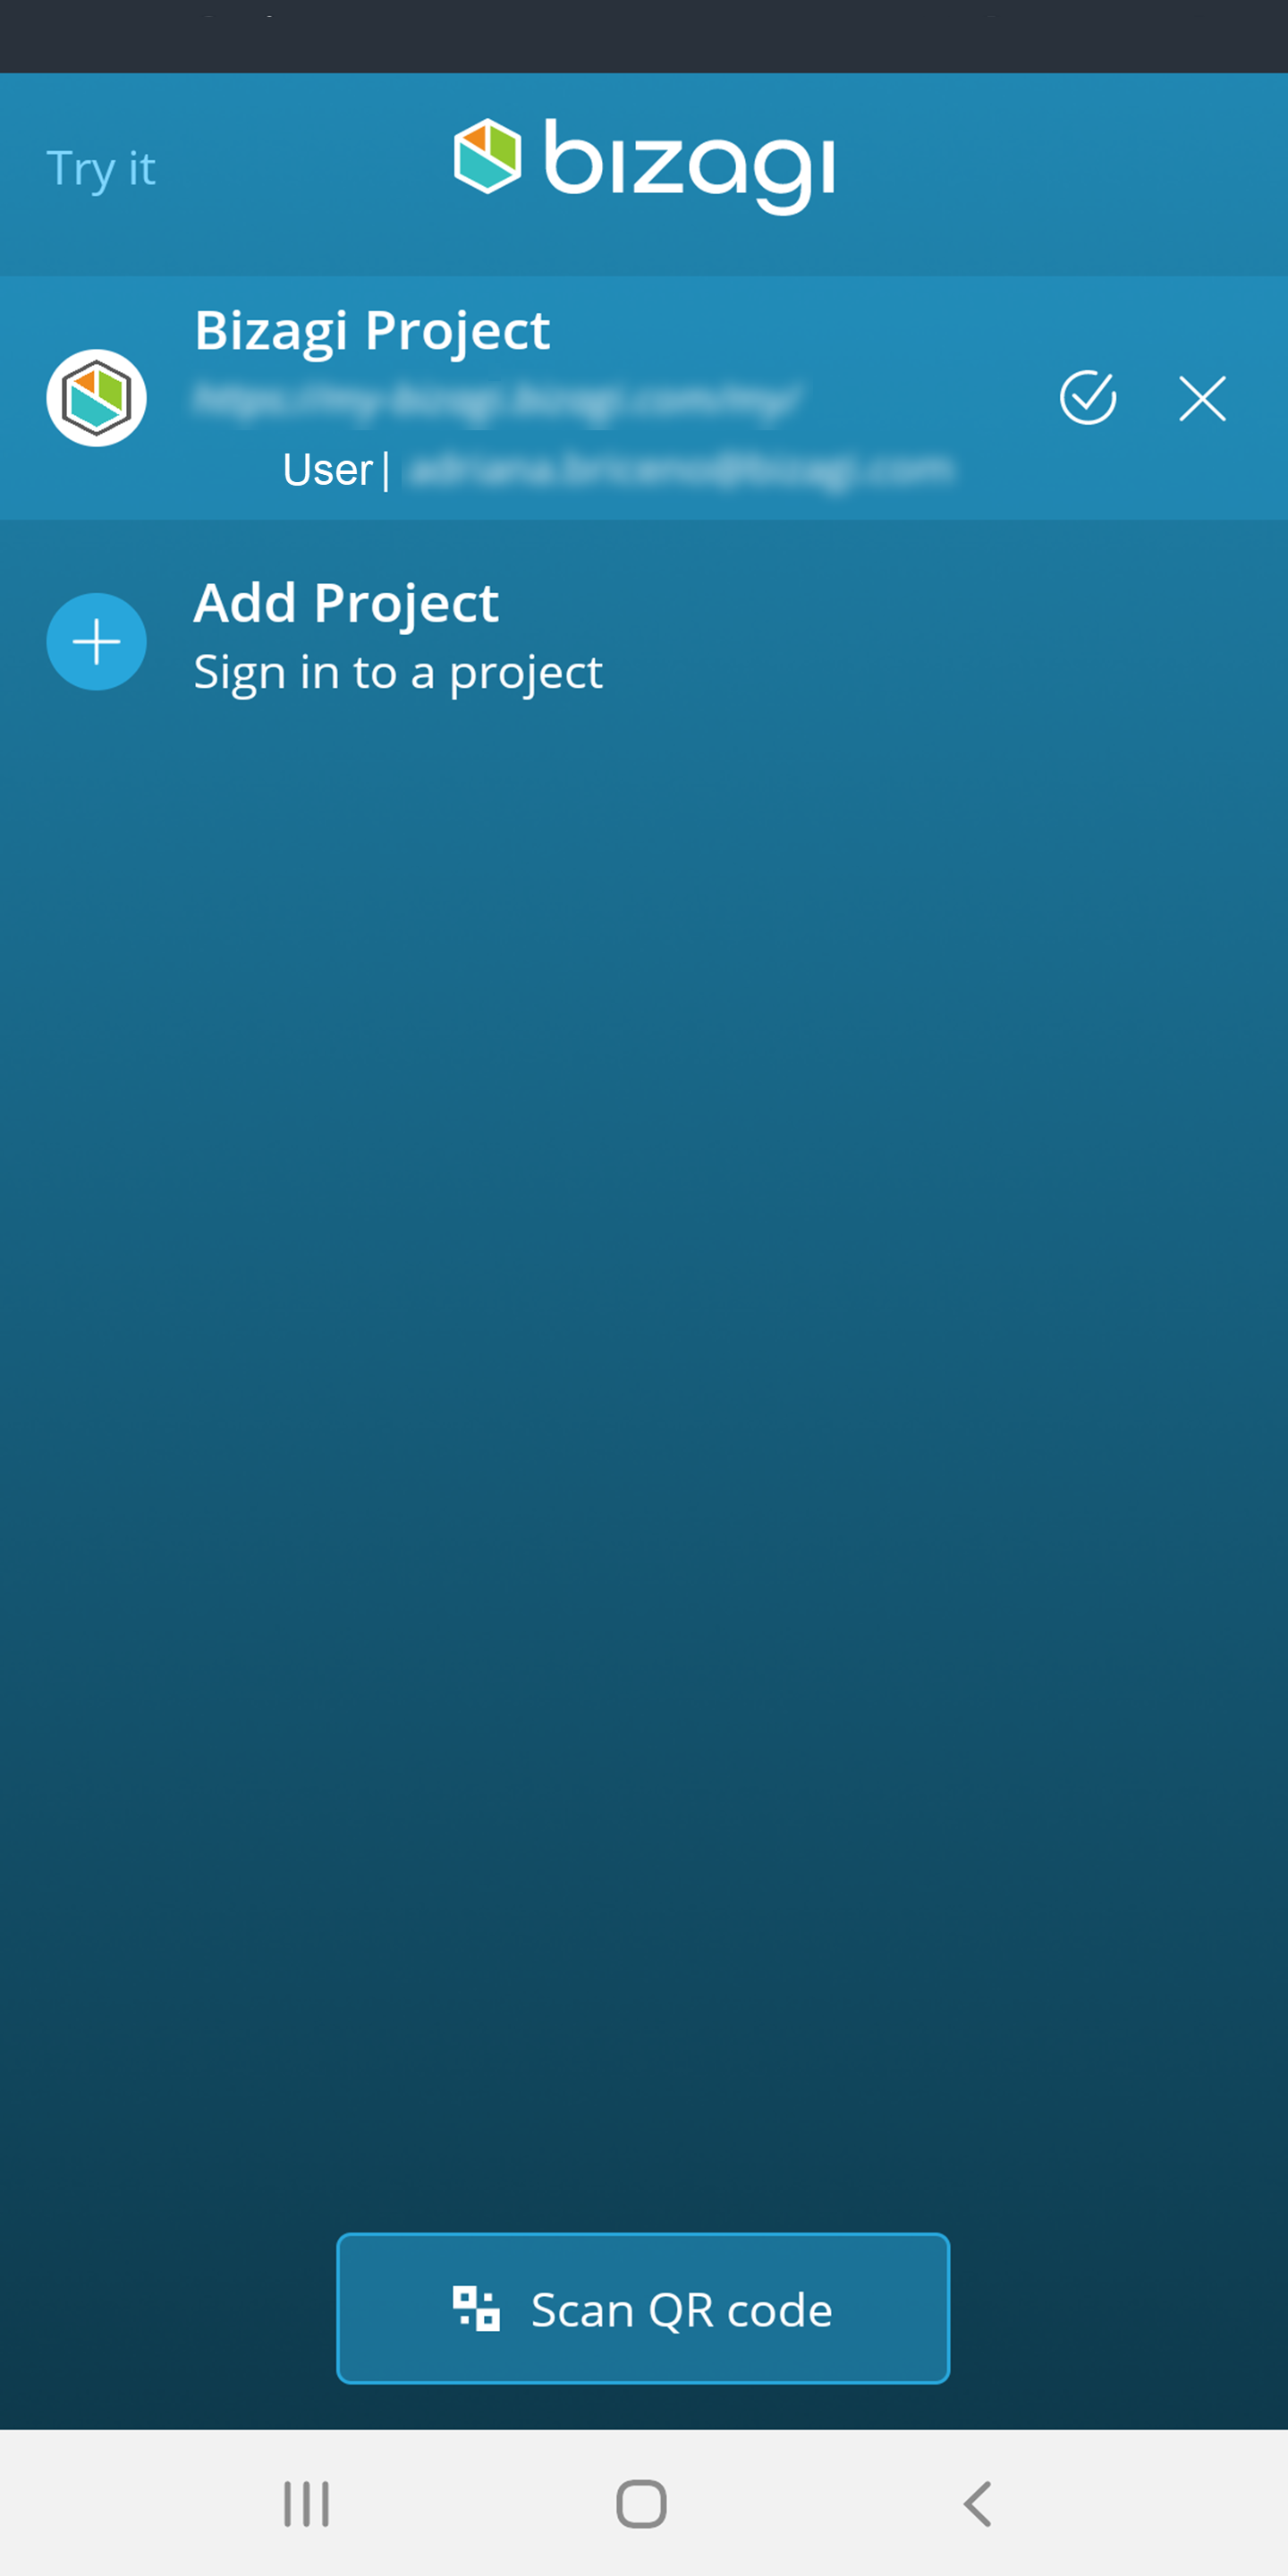
You can access a list of previous log-ins made from the device to quickly access their related applications.
The list contains the user's information and is located in the main screen.
The Bizagi application offers a log-in shortcut, via a QR code, so you can easily to log into a project by automatically providing the project's URL and the domain.
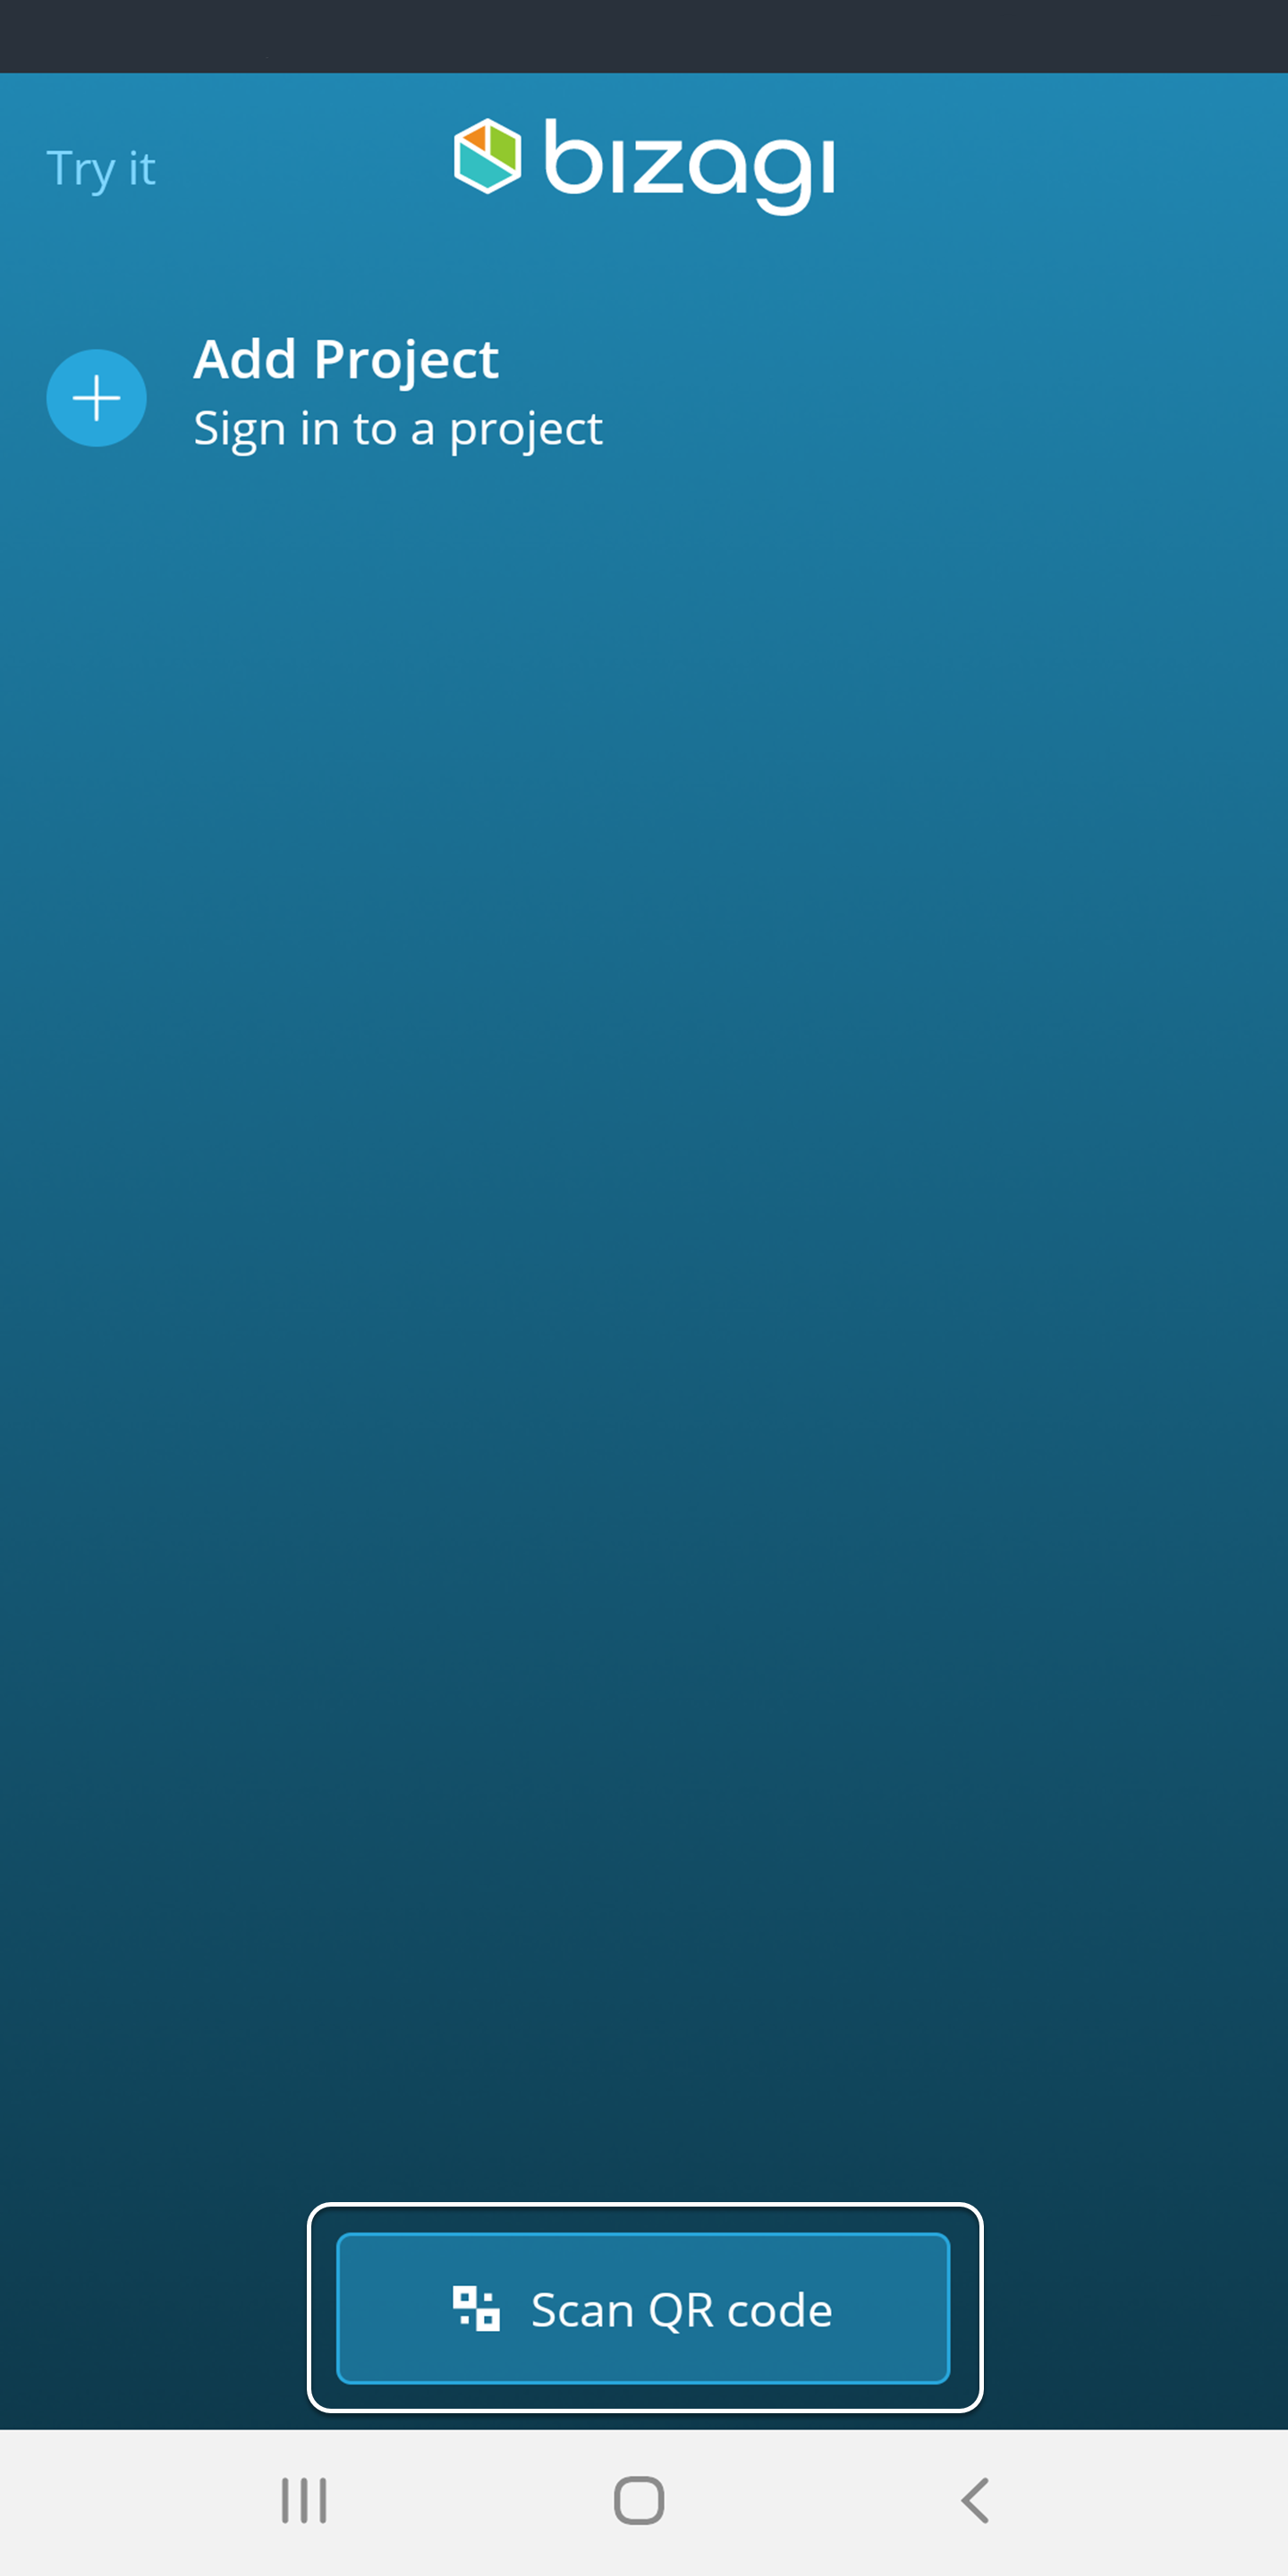
To start with QR code log in, tap the Scan QR code option at the bottom of the screen.
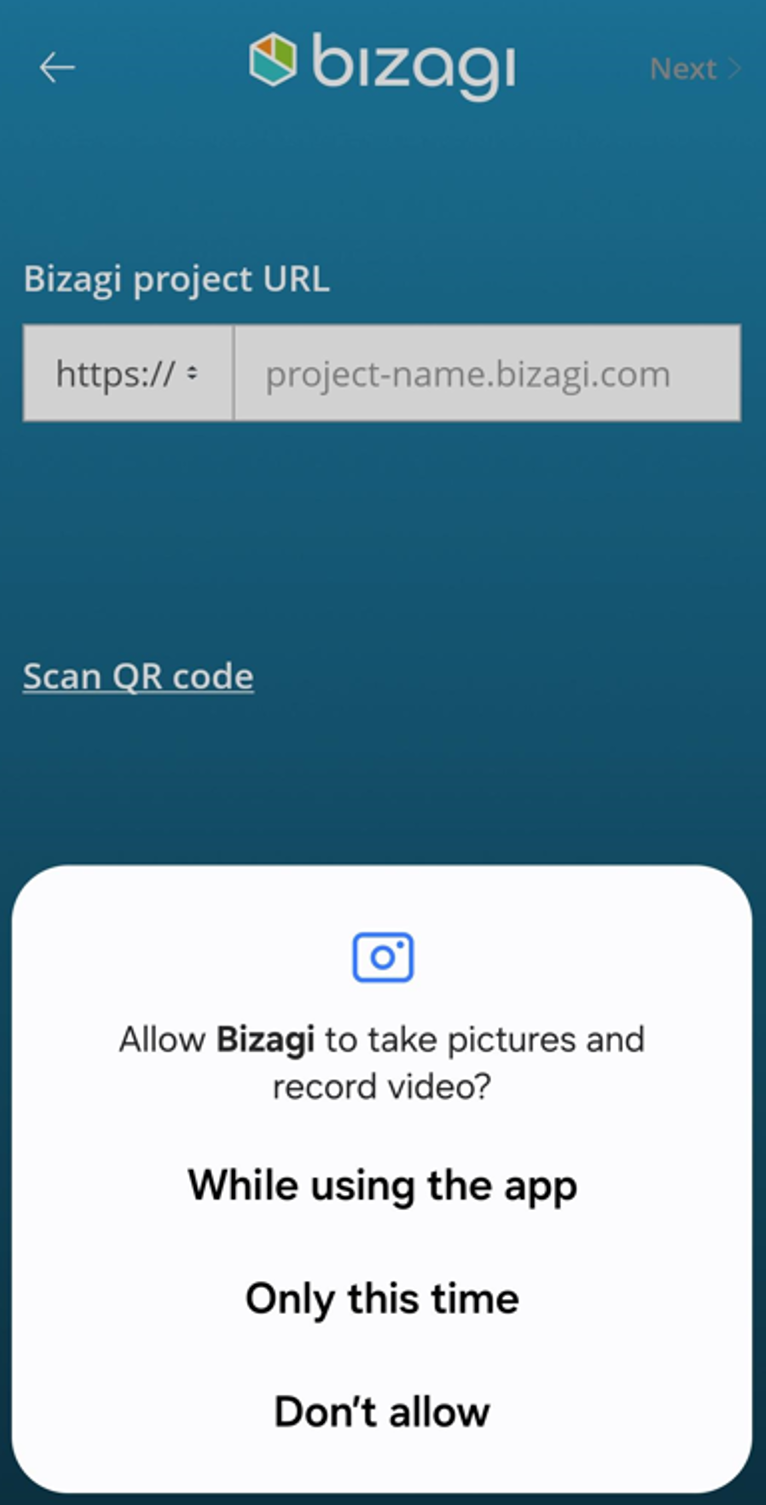
A pop-up message requests permission to access the device's camera.
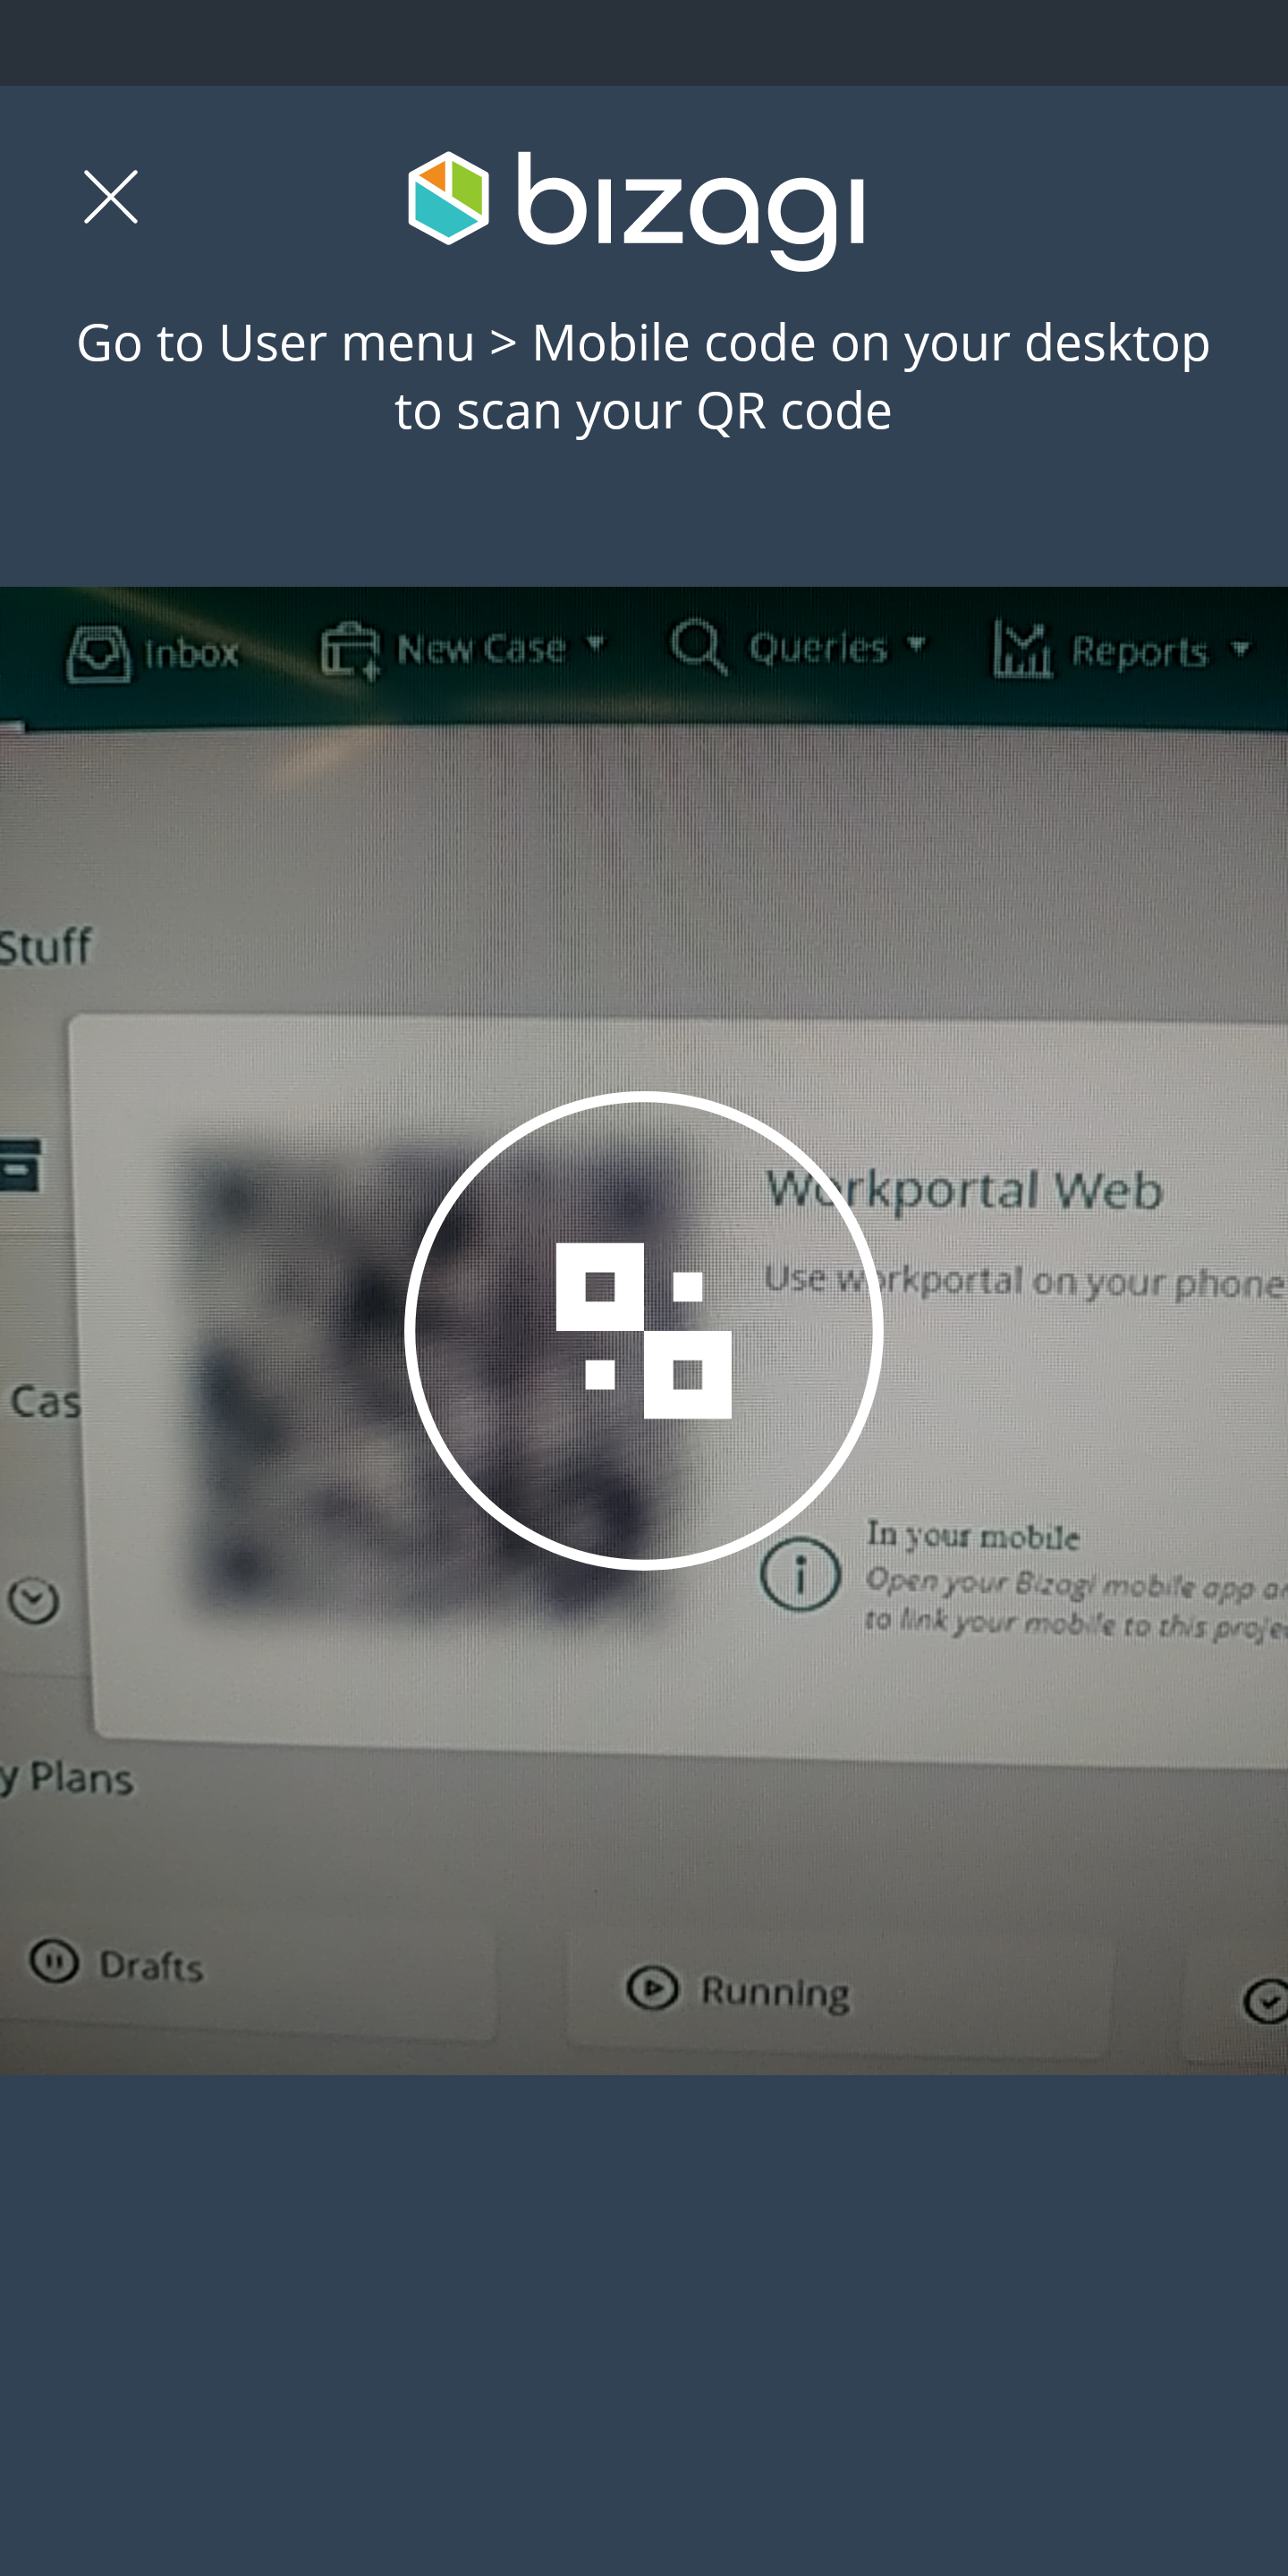
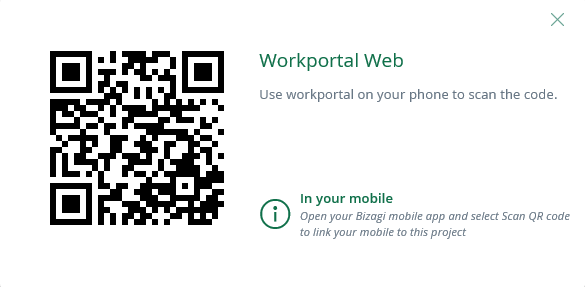
Grant the permission. You need to use your device to scan the QR code displayed on the desktop Work Portal .
Once you scan the code, your site's URL and your domain will be loaded on your device. The next step is to enter your user name and password, and you'll be ready to go!
|
If your portal has oAuth or Federated Authentication you will be redirected to your identity provider's login portal, where you will need to enter username and password. |
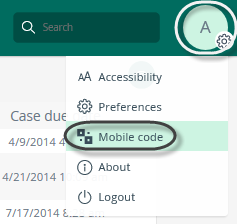
To obtain the Work Portal's QR code log in in the desktop's Work Portal and click your User Profile picture on the top right. Select Mobile code.
Bizagi displays a pop-up with your portal's QR code ready for you to scann with your device.
Case management
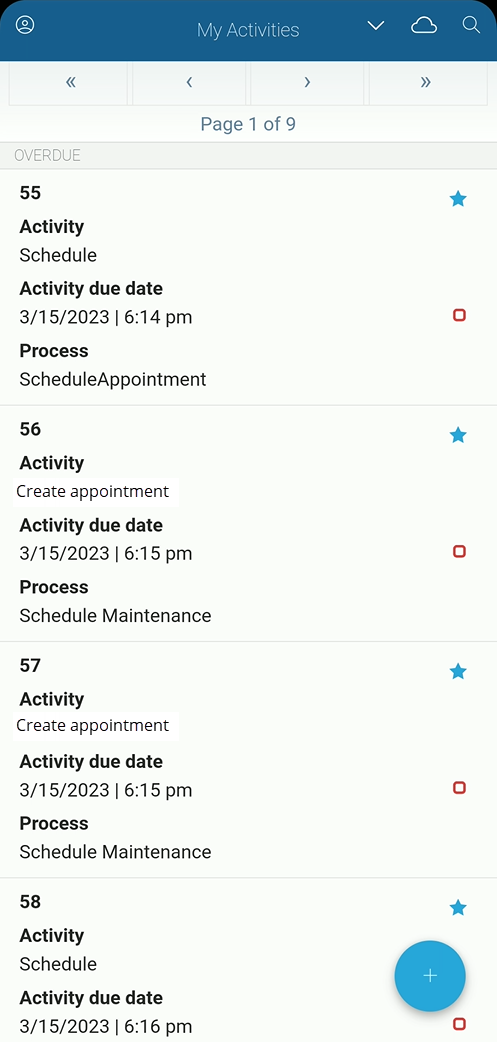
When you sign in, the My Activities screen appears by default. Depending on the Me Menu configuration for this user, that option may or may not appear.
If no Persona experience has been set for this user, the My Activities appears by default:
Otherwise, the Me Menu appears with the My Stuff section selected:
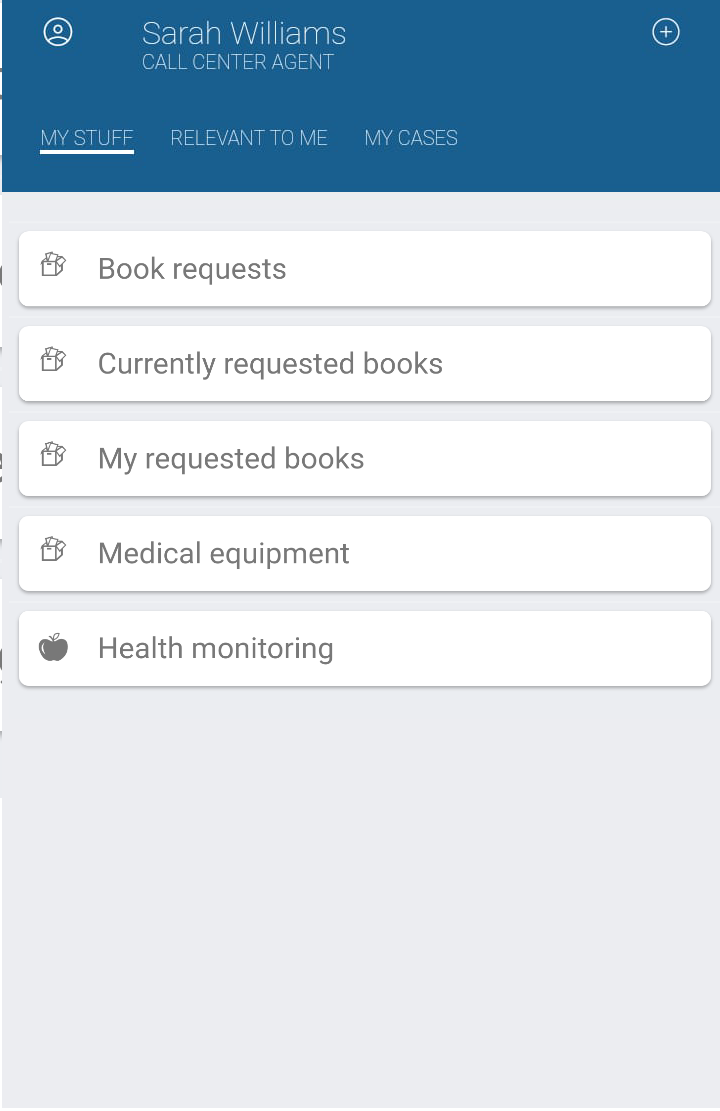
The Me menu displays three tabs: My Stuff, Relevant to me and My cases:
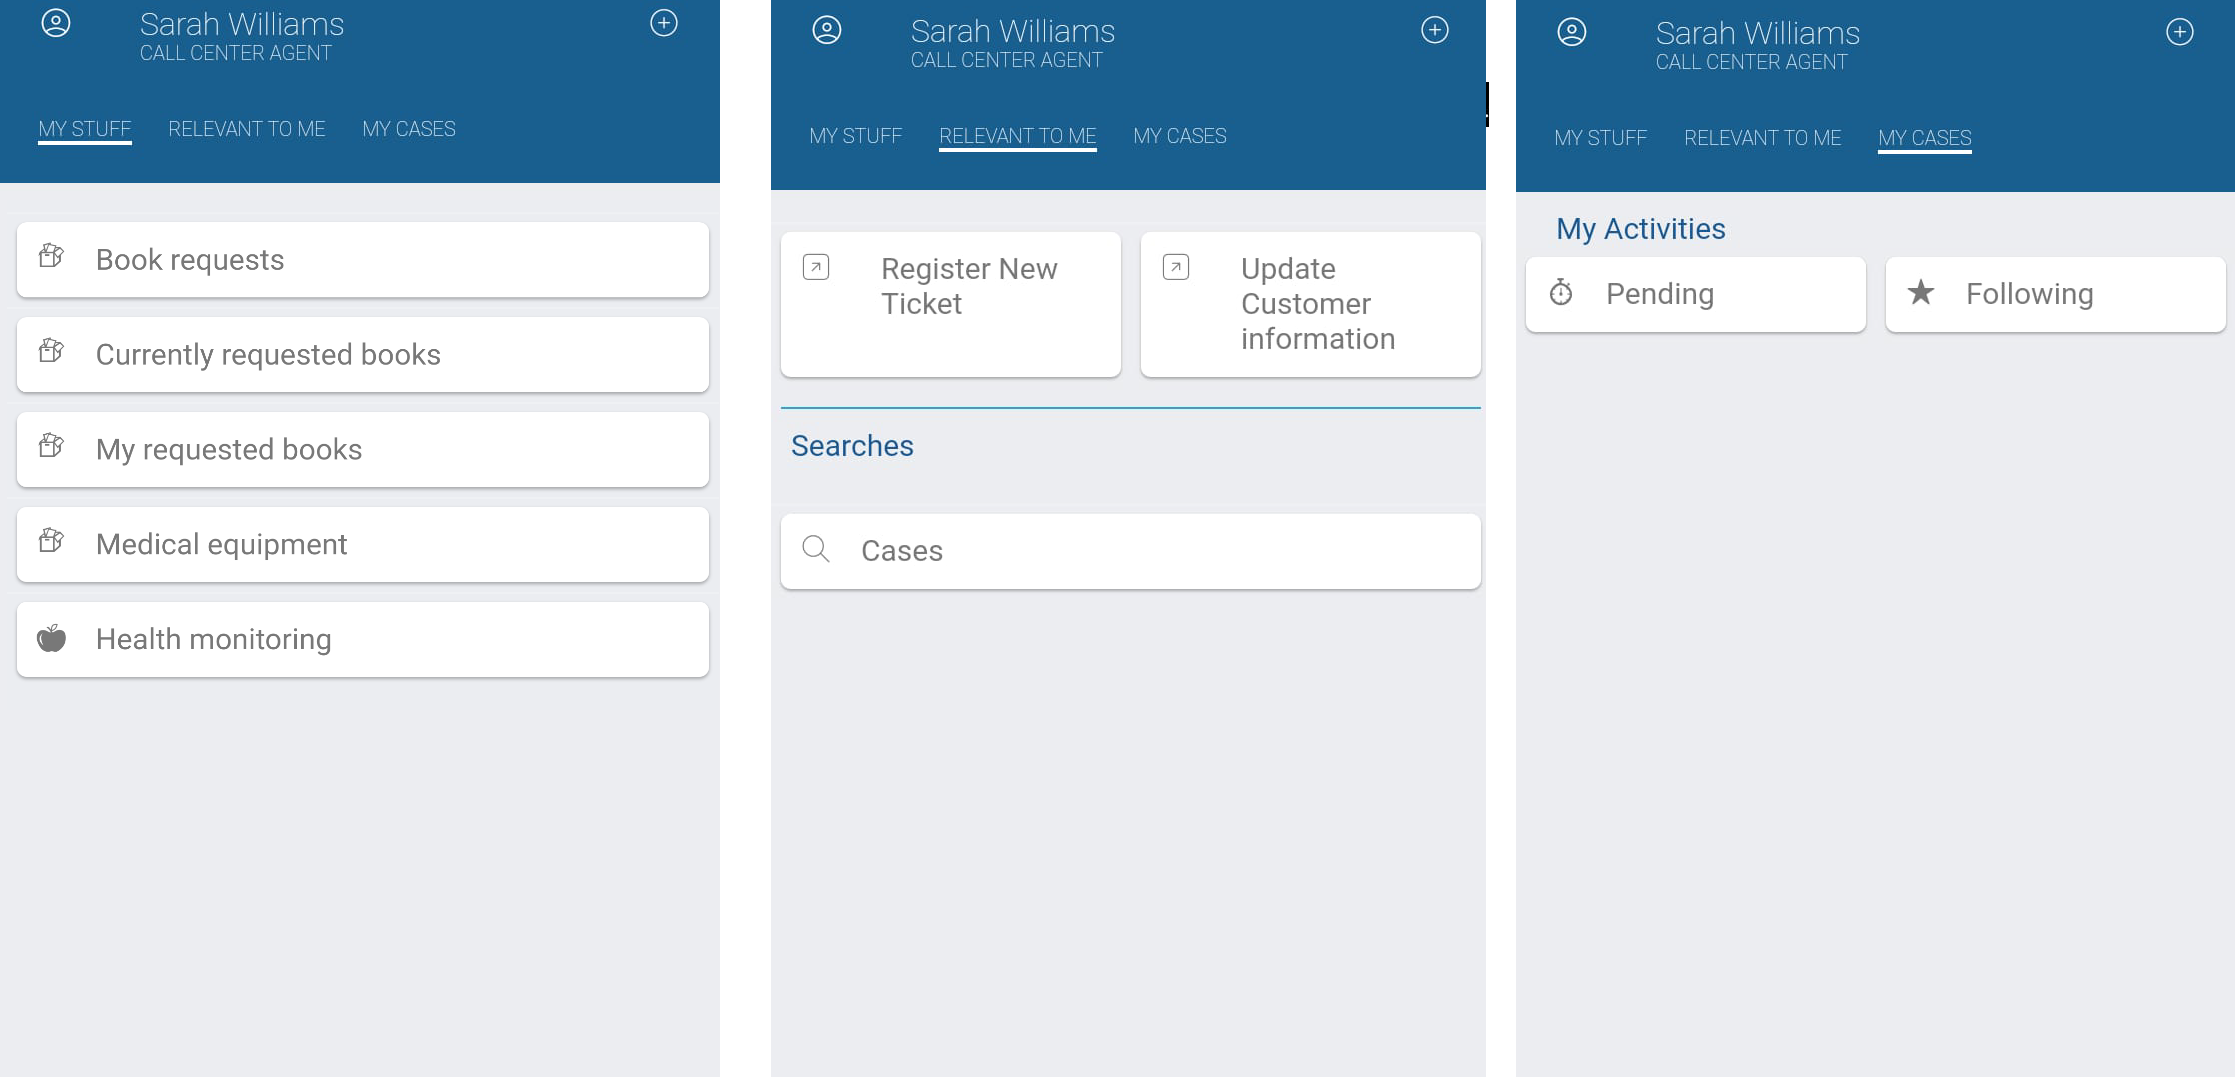
In the Relevant to me tab, you can find all searches available for you. Detailed search use instructions can be found in the search section.
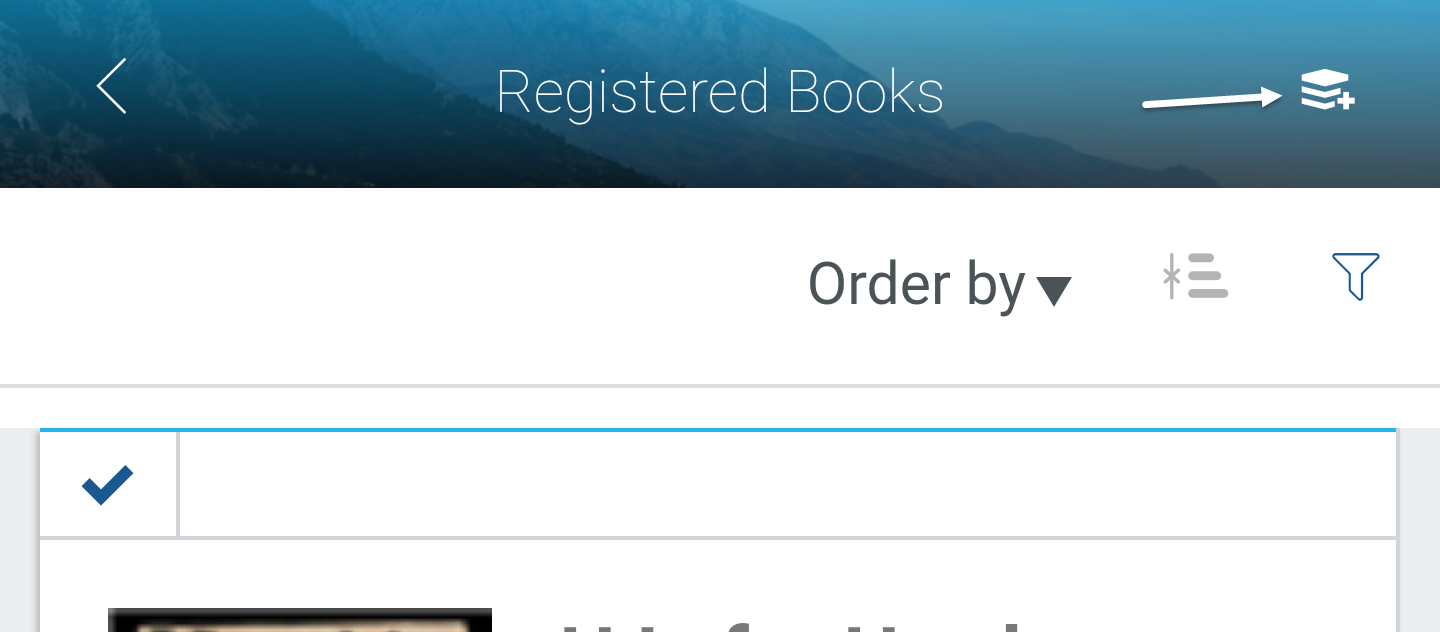
When the Add new button is configured for a collection shown in My Stuff, an option appears at the top right of the screen when the collection is open. More information regarding the Add new button can be found in My Stuff article.
Nevertheless, these views are switchable (as long as Me applies for the user) through the icon displayed at the top left of the screen.
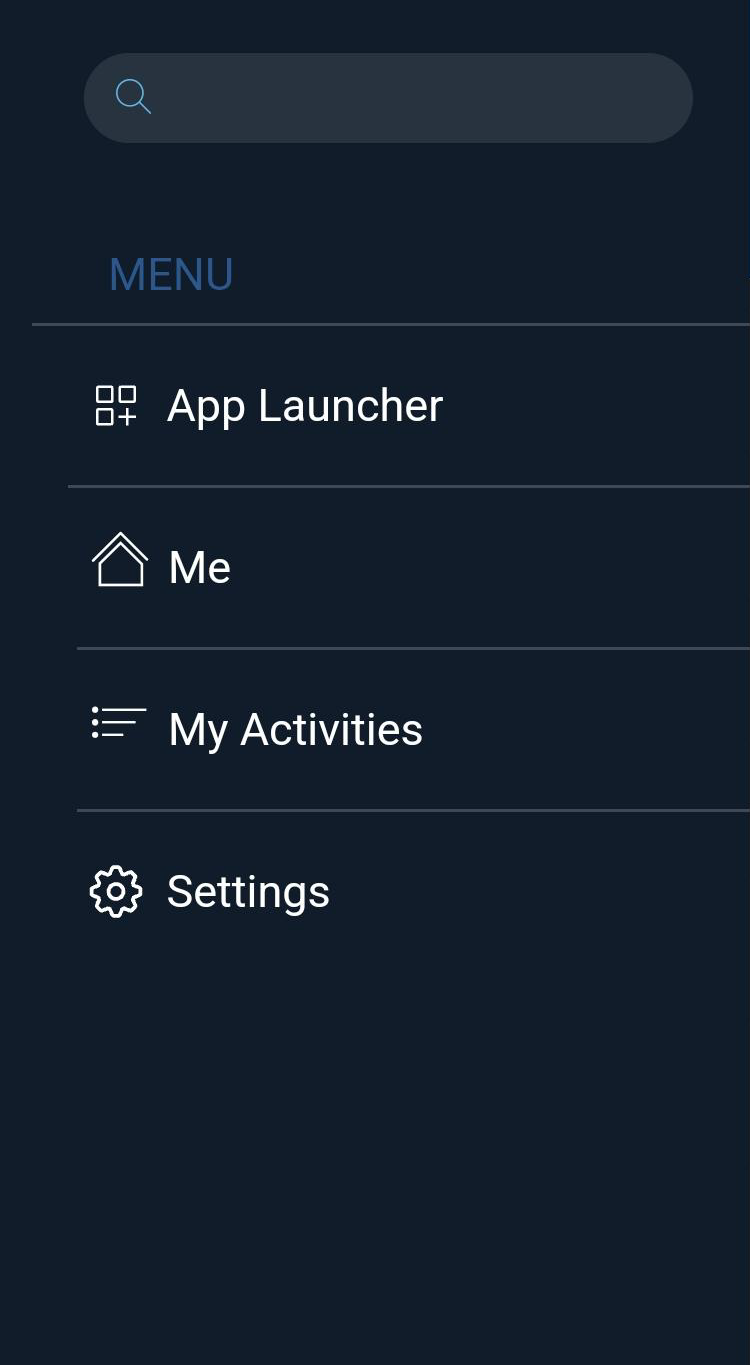
App Launcher
The screen is your access the App Launcher. From this screen, you can navigate thought the different apps created for the current Persona.
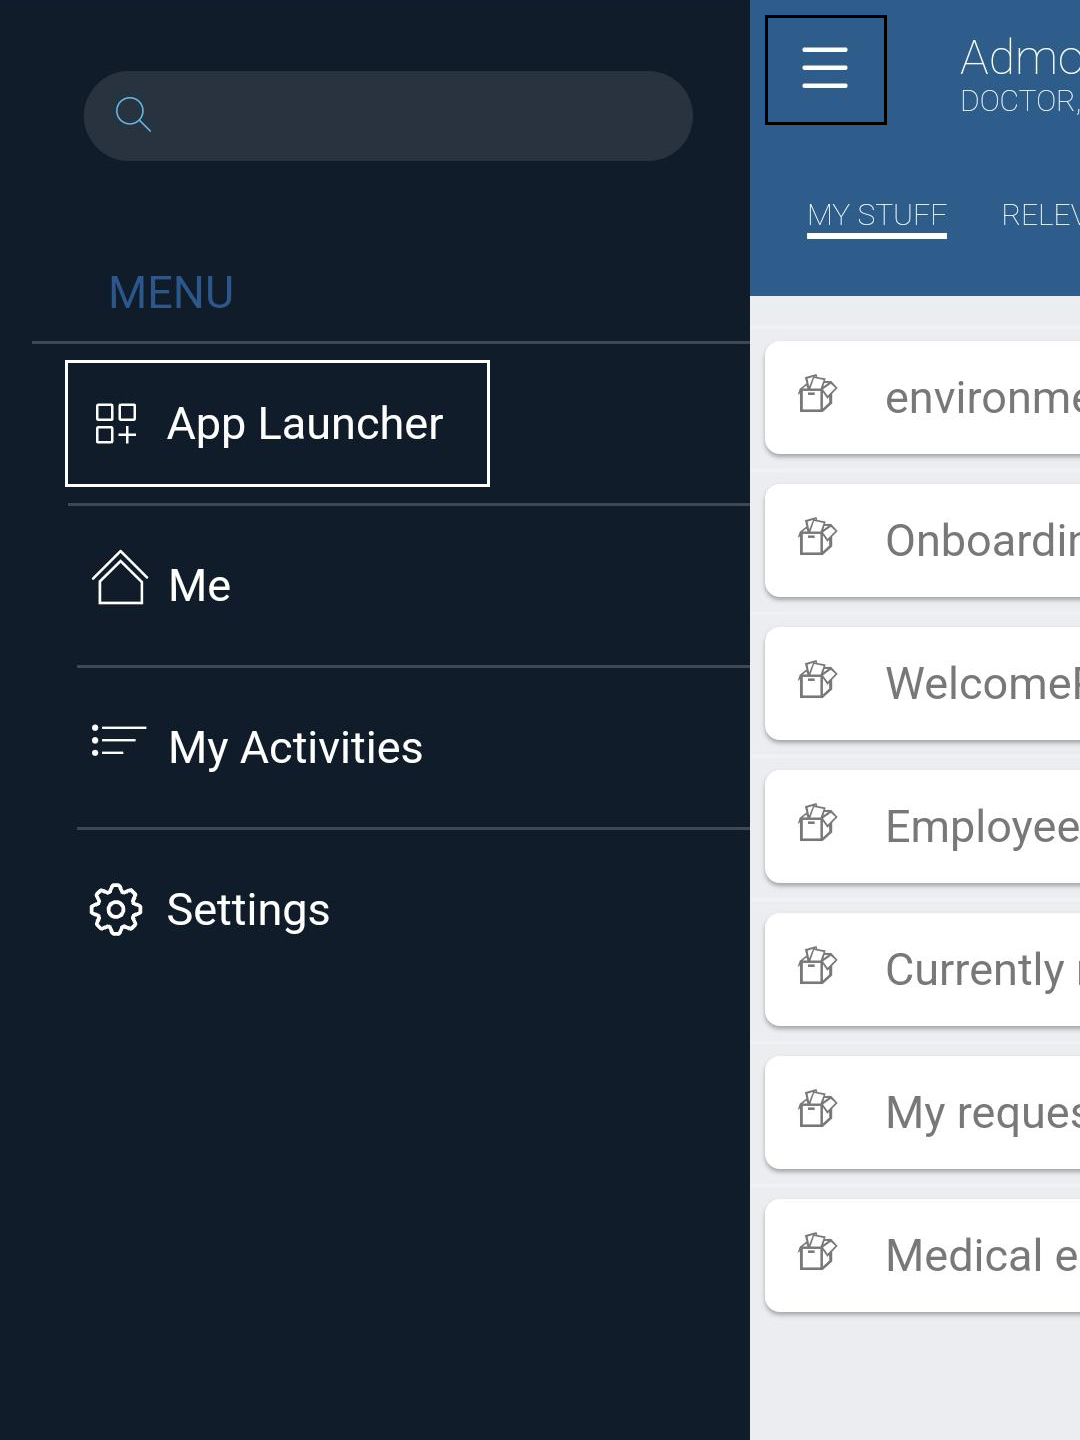
If you want to return to the main menu, use the Home button on the top-left corner.

To access your App, click their icon

1.To return to the Published Apps menu, click the App Launcher label.
2.To return to your Detailed Inbox, click the Home button.

Settings
This screen displays the application options. This option is available through the icon displayed at the top left of the screen.
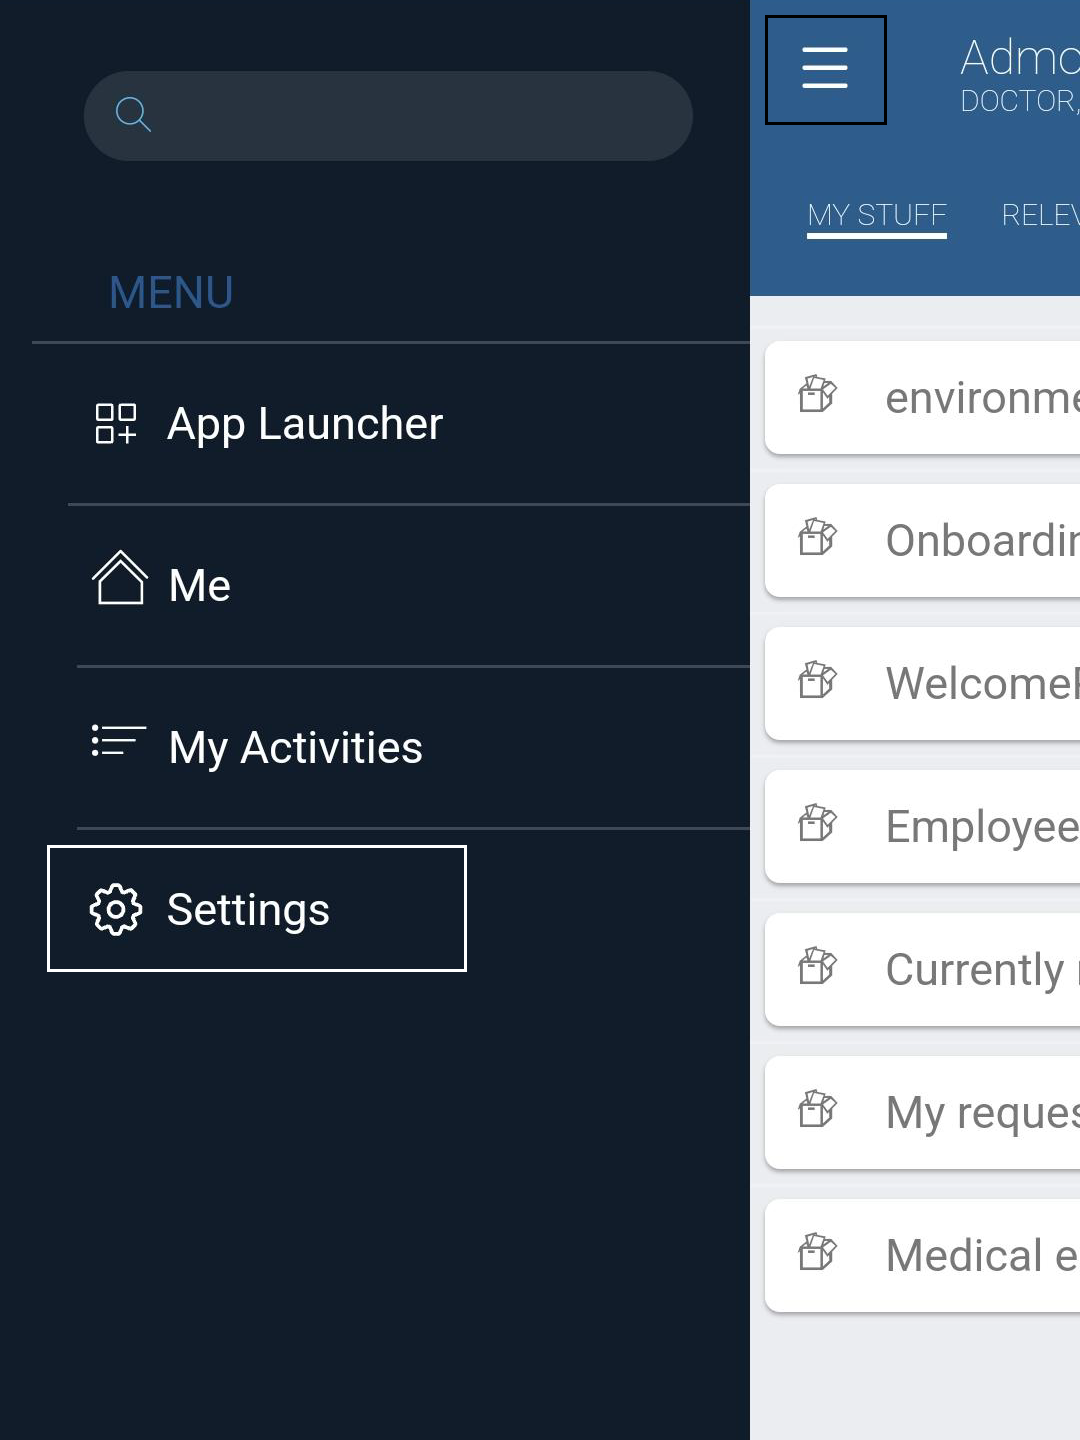
The Settings option displays the following options:

GROUP |
OPTION |
DESCRIPTION |
|---|---|---|
Settings
|
Language: [current language] |
The language displayed in your application is the same language displayed in the Work Portal. To change the language displayed in your application, change the language displayed in the Work Portal. For example, if the language displayed in the Work Portal is set to English, the language displayed in your application is en-us (English). |
Start view |
Defines the default start page when you log in. The possible values are: Automatic, Me (menu), Inbox and App Launcher. |
|
Auto Log in |
When enabled, allows to automatically log in directly to the project most recently used when the application opens. When this option is disabled, the application presents a list of all recent projects with a button for a quick log in. If the user logs off, they need to enter both project information and user credentials the next time they log in. |
|
Use in offline mode |
In scenarios where network stability is intermittent or fails, it is difficult to work due to the continuous synchronization of the app. To solve this, you can manually activate or deactivate the Offline mode. |
|
Clean offline data |
Deletes existing offline data. If you select this option, all the data of the offline cases you worked on, but have not uploaded, is removed. This action cannot be undone.
This is only needed in scenarios where the error displayed says that the work item is closed. Another type of issue, for example, due to validations, or unhanded validations are automatically removed when the data is corrected and the task is retried. |
|
Detailed inbox |
When enabled, the detailed inbox replaces the classic inbox in your application. The detailed inbox is another type of inbox that allows you to customize the content according to your needs. |
|
Delegate user |
Displays the person who is in charge of executing the cases assigned to a specific user when that user is not available. If no Delegated user is defined, the field will be empty. |
|
Take Tour |
Displays information about the Bizagi Mobile App and its functions. |
|
About |
Displays information related to the application and the project that is connected. |
|
Log Out of Bizagi Project |
Closes the current session. |
My Activities
This screen displays a list of your allocated activities, categorized by due date.
There are four categories:
•Overdue: Activities that are overdue. Each activity shows a red icon.
•Today: Activities that expire today. Each activity shows a yellow icon.
•Upcoming: All remaining activities. Each activity shows a green icon.

To navigate through the cases, go through the paging on top.
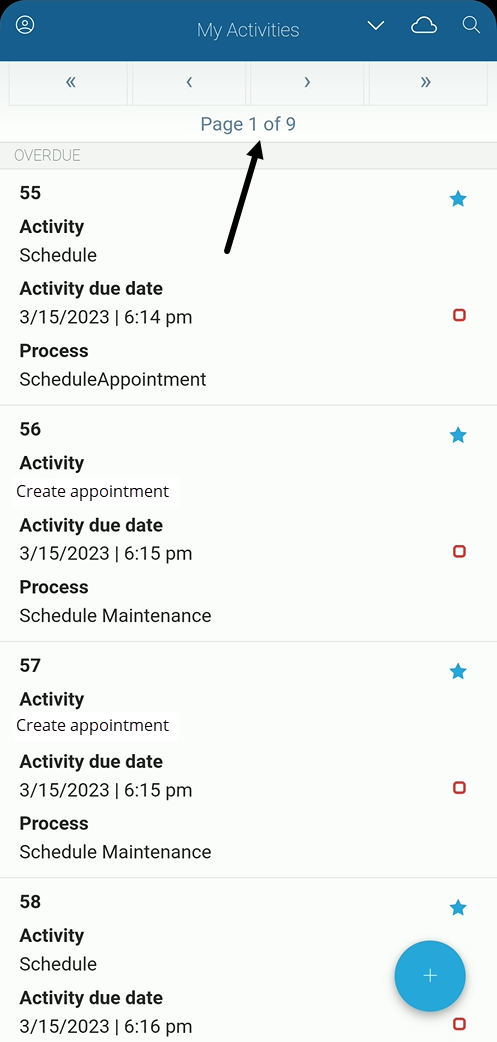
To work on a pending activity, tap it and the activity will open.
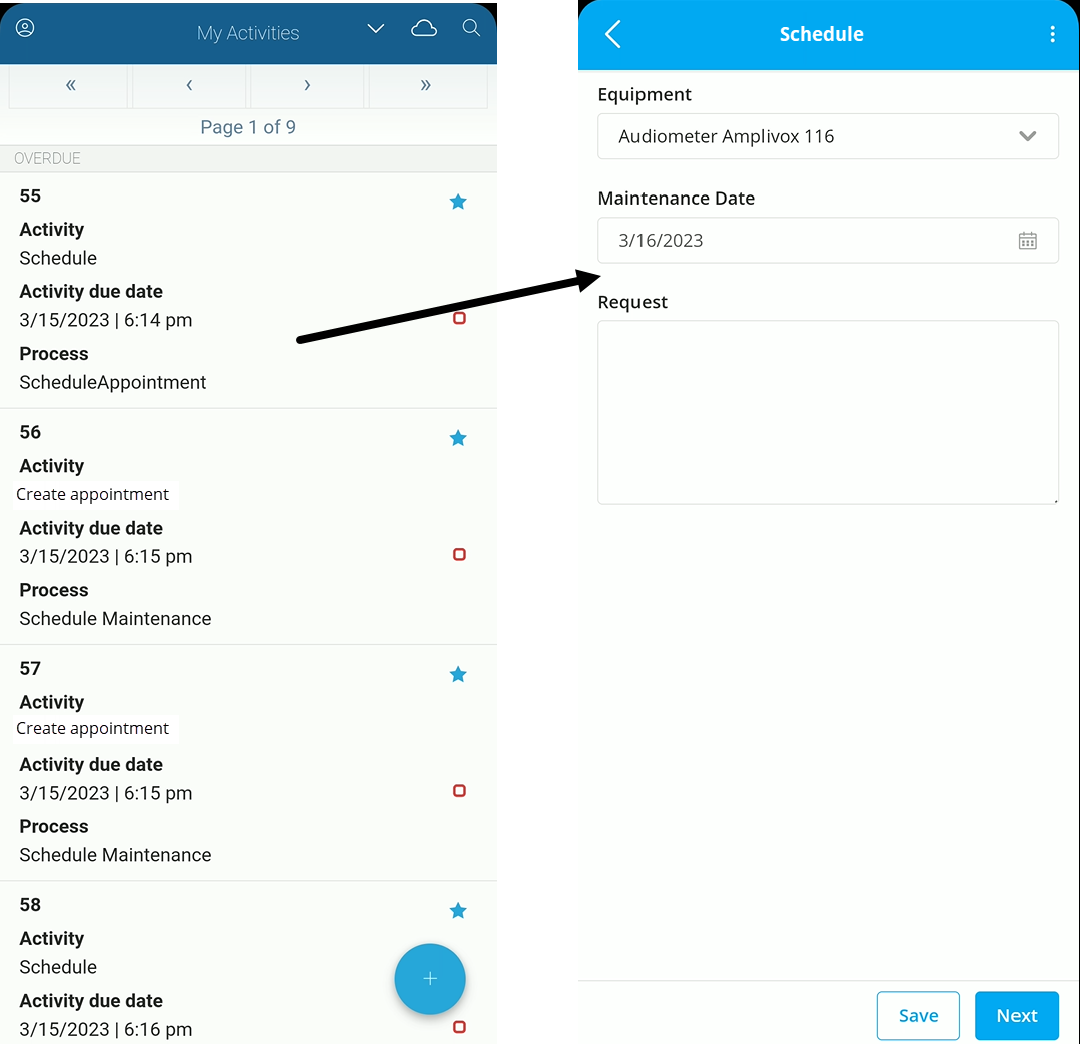
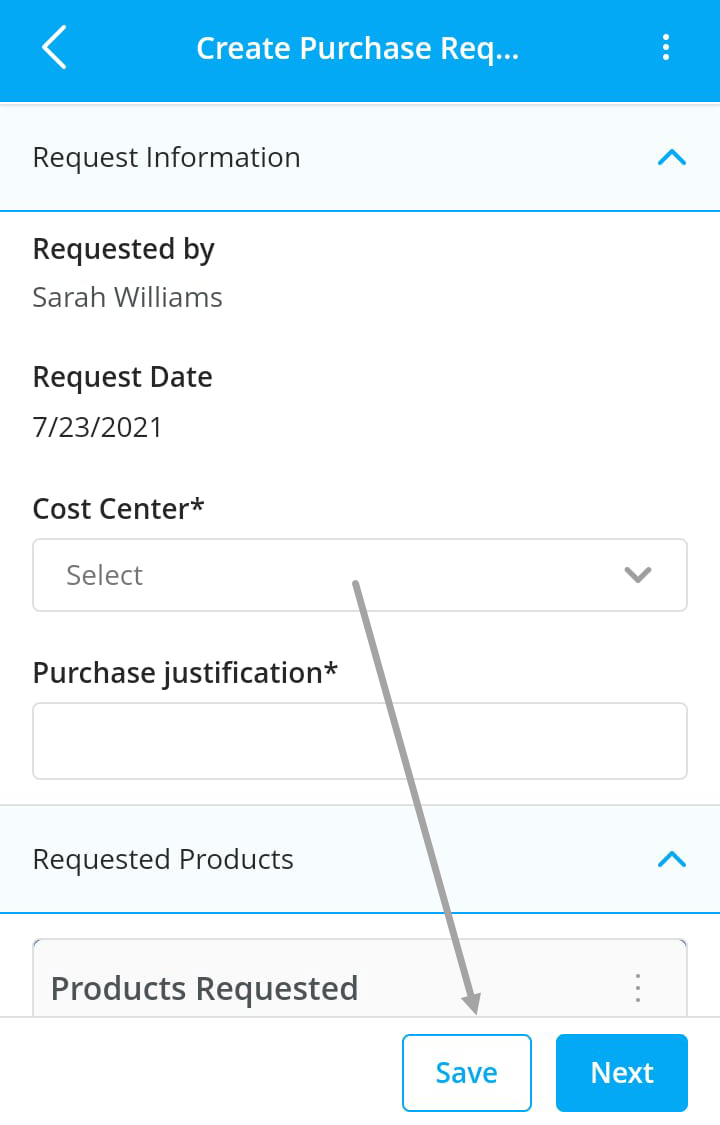
The form buttons are always shown in the bottom right corner of the screen.
If the process has a summary form, it appears with a Work on it button you can tap to open the case.
To create a new case, tap the plus icon in the blue circle on the main screen:
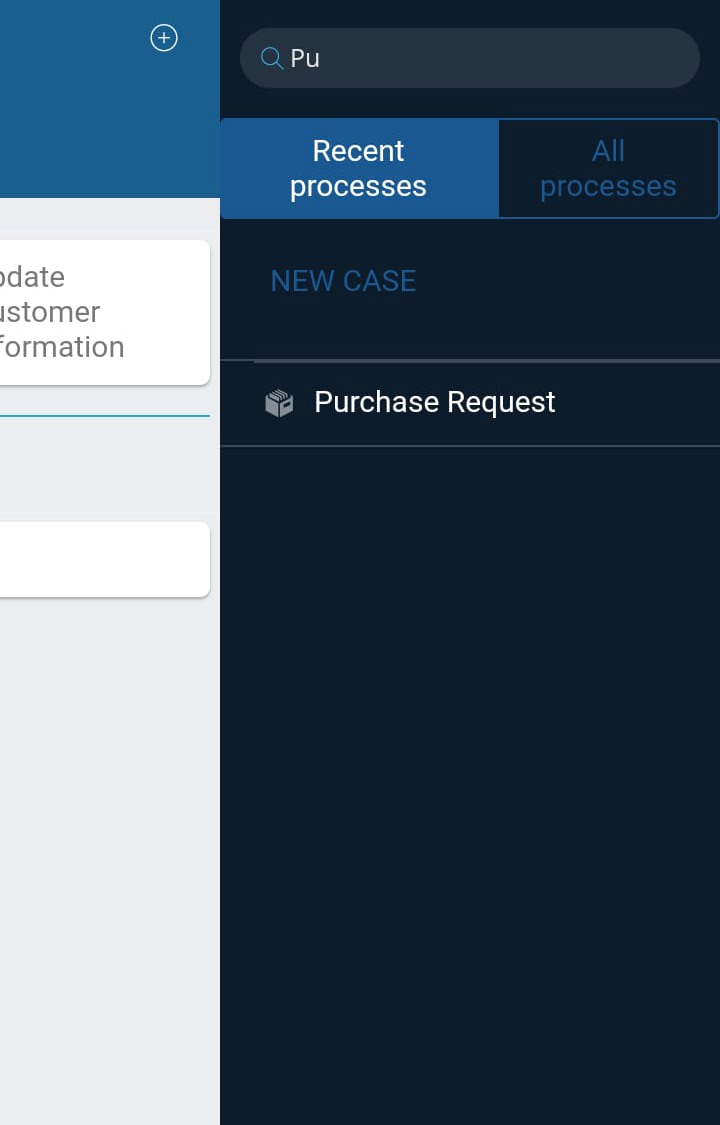
The available processes appears. If the process you want is not on the list, enter its name in the text box.
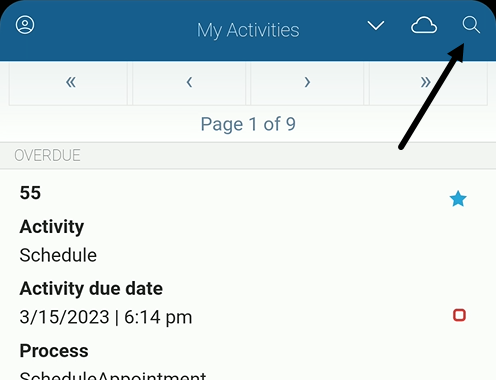
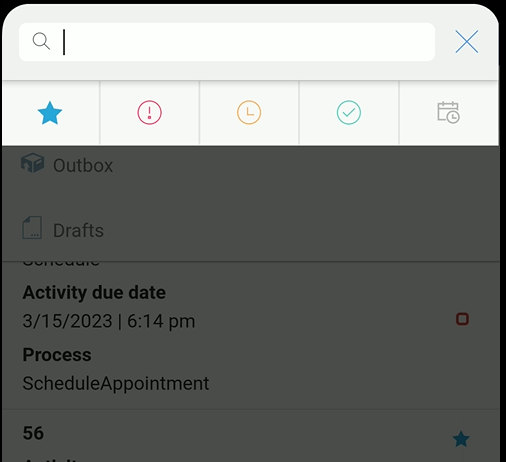
To perform a search over open cases, select the magnifier icon located at the top of the My Activities screen. Enter the name of the activity or the case number. The list of activities that meet the search criteria appears.
This search is not the same as the searches configured for a Persona. Through this search you can search for process cases.
When you search, every case matching the information you provided will appear in the results. You can filter as well by the case's due time state, if its a favorite case for the user o by a due date range.
Hide screen
You are now able to hide the following screens for the users of the Bizagi Mobile application:
•Me
•Inbox
when you hide a screen, the users of the application are not able to access it.
|
In order to hide a screen, you need to send a ticket to Bizagi Cloud Operations. |
Home screen
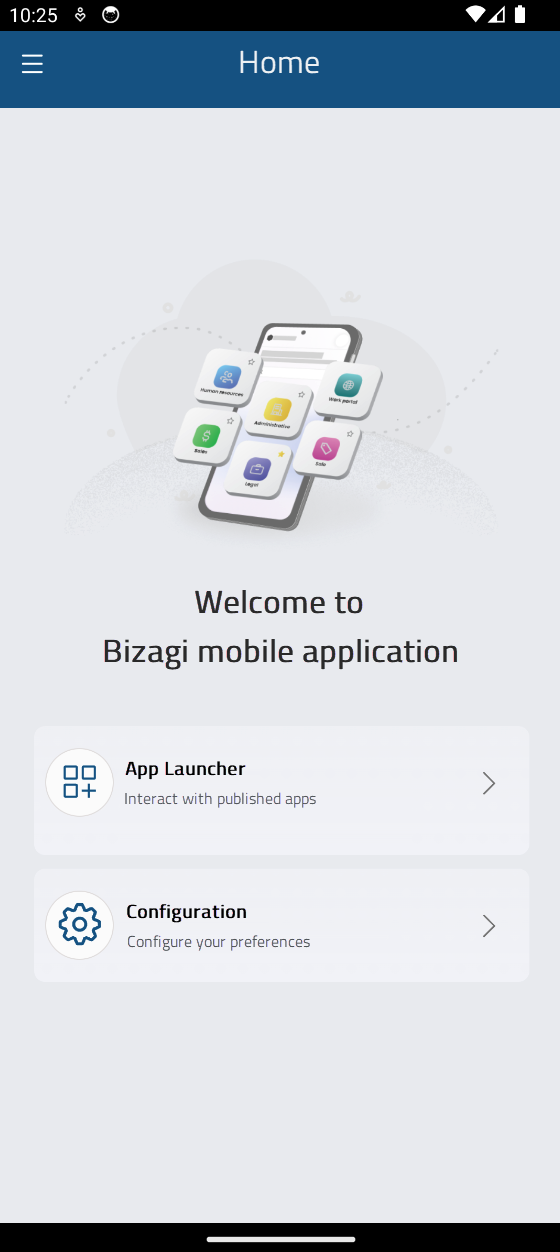
When you hide the Me and Inbox screens, the Home screen becomes available. This Home screen allows you to navigate either to the App Launcher or the Settings screen.
Experience Searches
If you don't to search cases but to use the previously configured Persona's experience searches, select Relevant to me in the Me menu. Here you can see all defined searches for the Personas groups in you are registered to are listed. When you select a search, the configured search form appears so you can filter the results. To learn more about experience searches, refer to the Data Searches article.
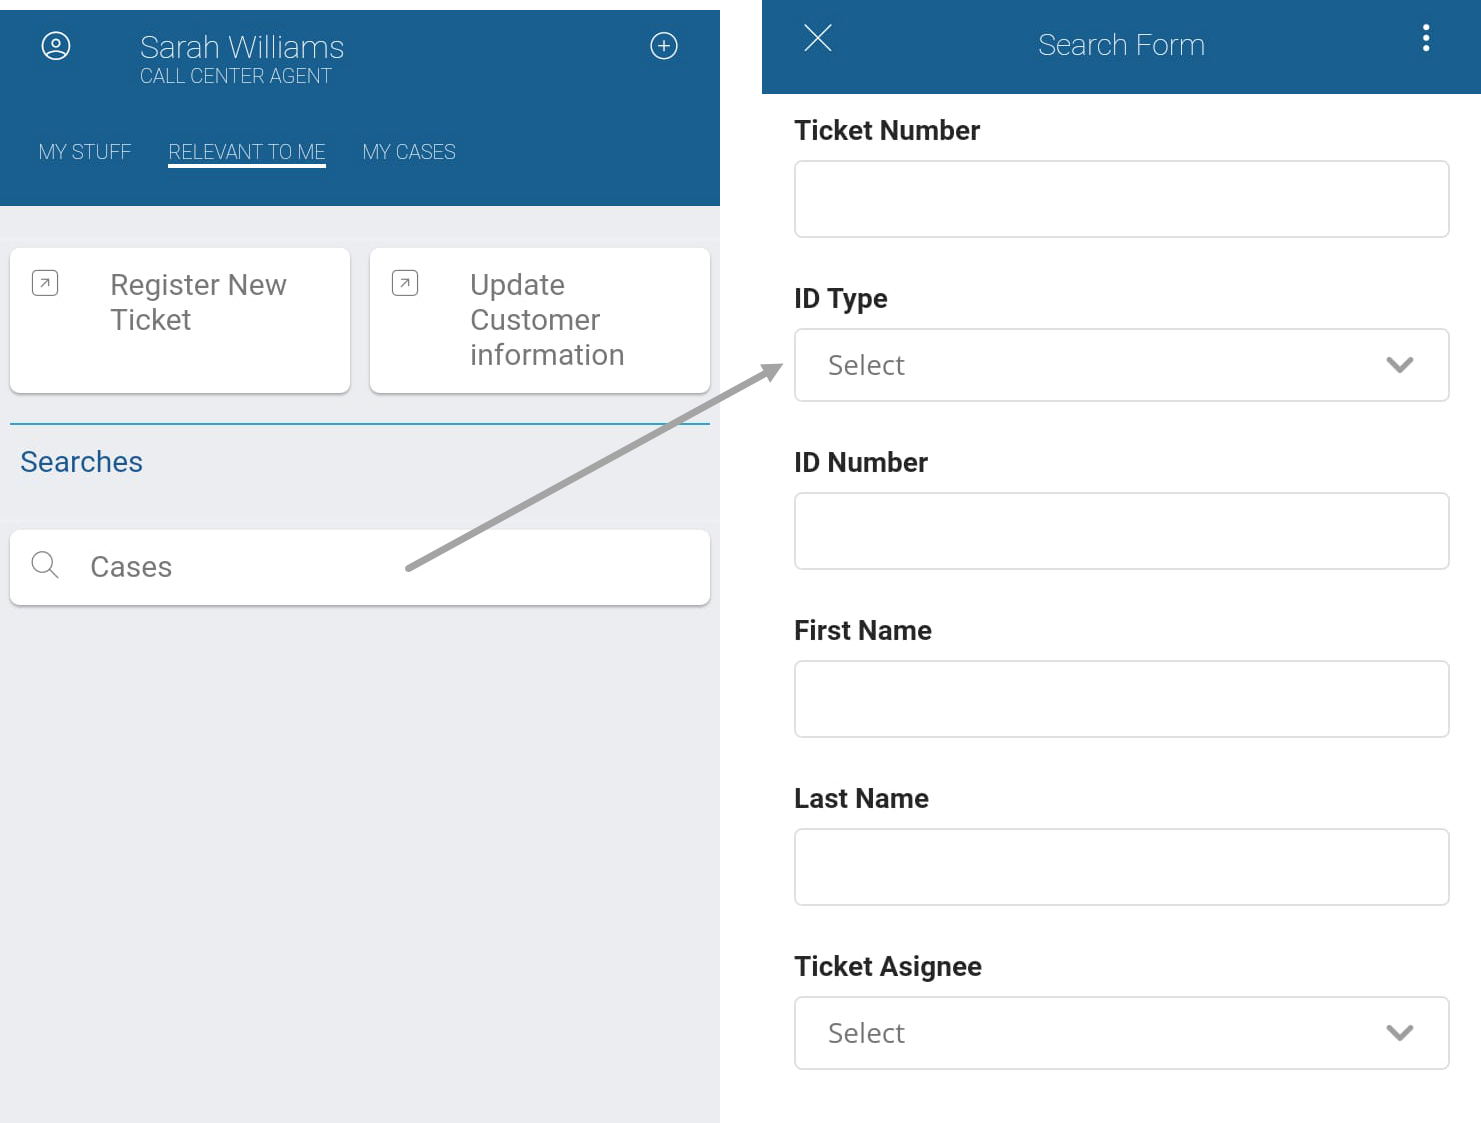
You do not have to use all available fields to filter the search. On the other hand, if you provide no information in any field, the unfiltered list of all stored information will appear.
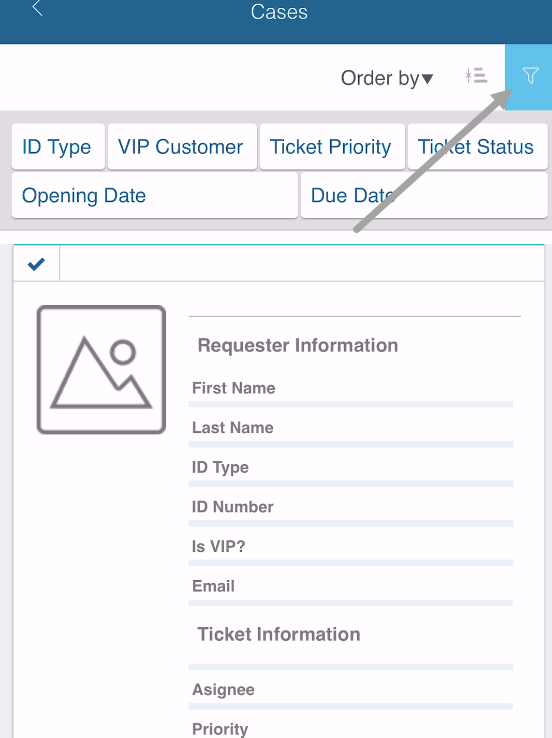
Once the results are displayed, you can filter the results or sort them by one attribute.
Right screen
Depending on the current option in the main screen, different information or options appear when selecting the option at the top right of the screen.
Tap (![]() ) to search cases while in the My Activities screen.
) to search cases while in the My Activities screen.

If you tap ![]() when viewing the Me Menu, you can create new cases.
when viewing the Me Menu, you can create new cases.
In this screen there are two tabs:
•Recent processes: Displays a list of the most recently used processes.
•All processes: Displays a list of all available applications and their processes.

To create a new case tap the process name or the application to which the process belongs and then tap the specific process.
You can use the search field to save time, searching for a specific process when there are a lot of processes to choose from.
Case folder
Every case has some options which can be accessed when you select the three-line button while viewing the case. These options are the mobile equivalent to the case folder in the Work portal.
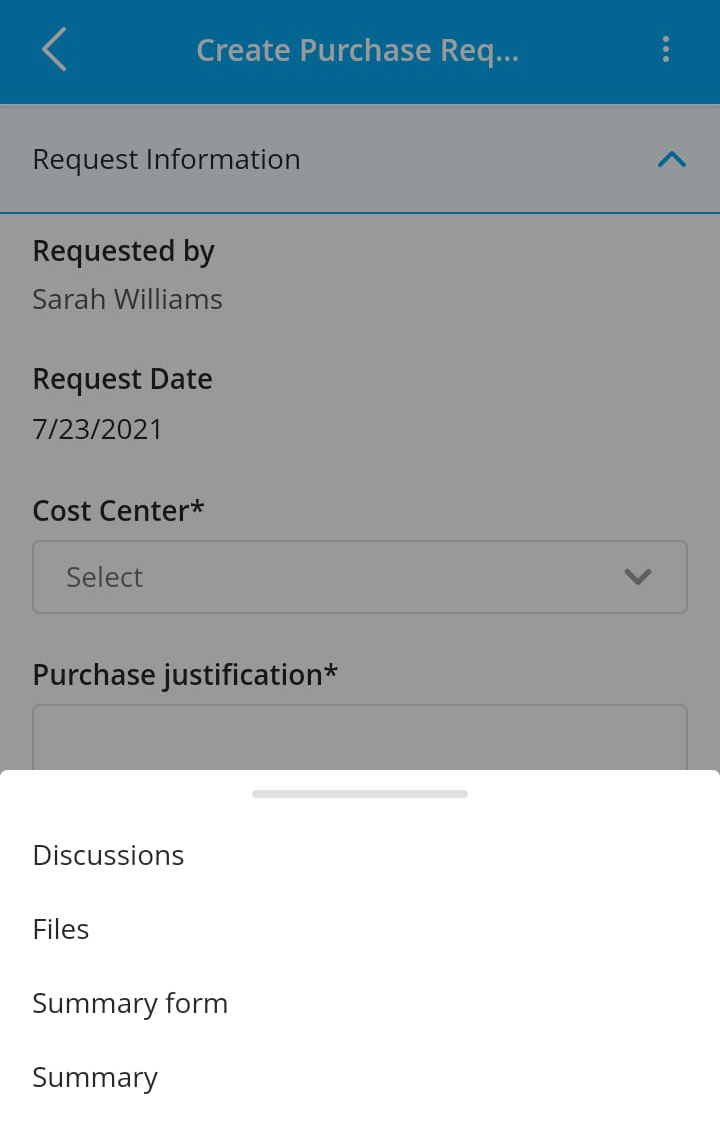
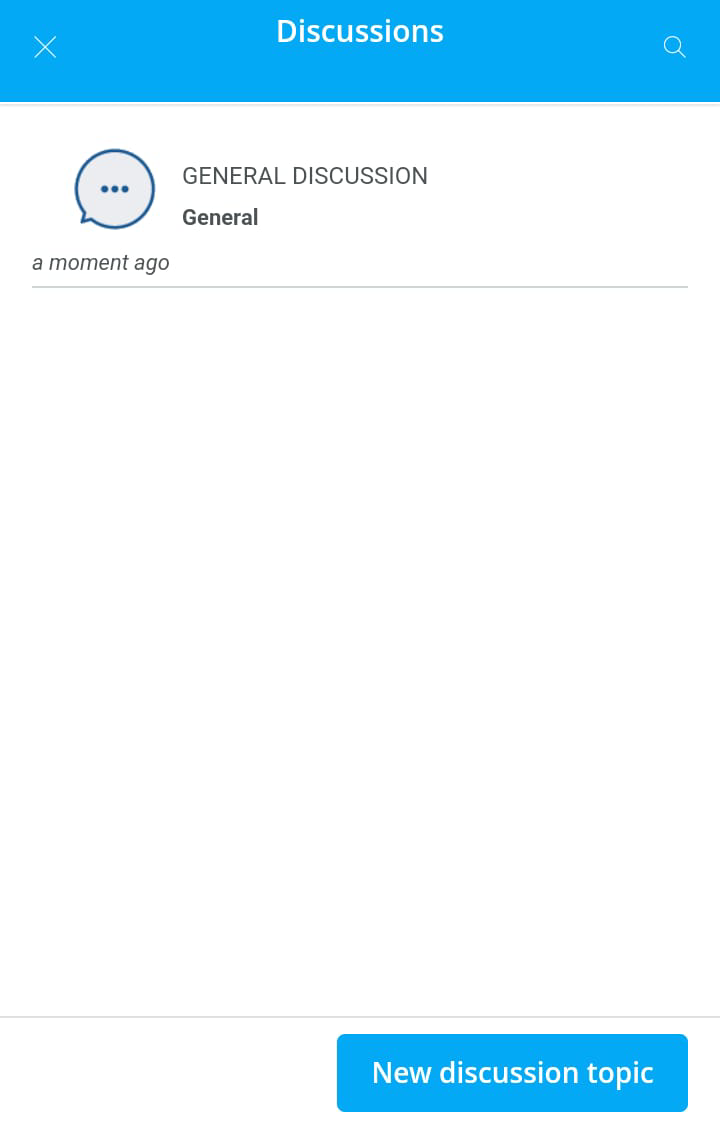
The options are the same; you can upload, files from your device and take part in discussions related to this activity in this case.
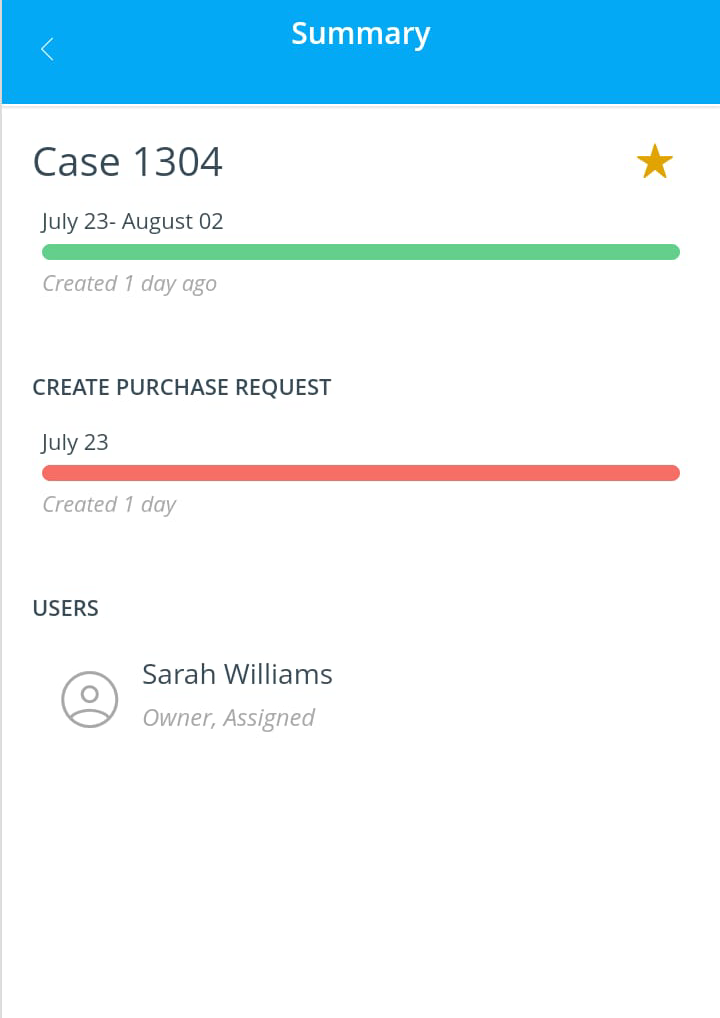
The summary menu shows general information about the case.
Work on an activity
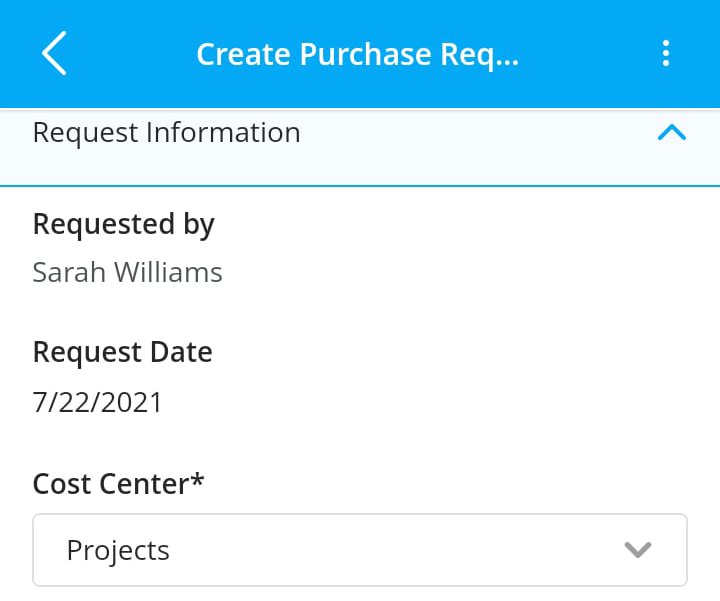
Once you are working on a case you will see a bar at the top with the following options:
•![]() lets you close the activity.
lets you close the activity.
•![]() displays the case folder.
displays the case folder.
Controls appear with a modern look to allow the best user experience and easy application interaction.
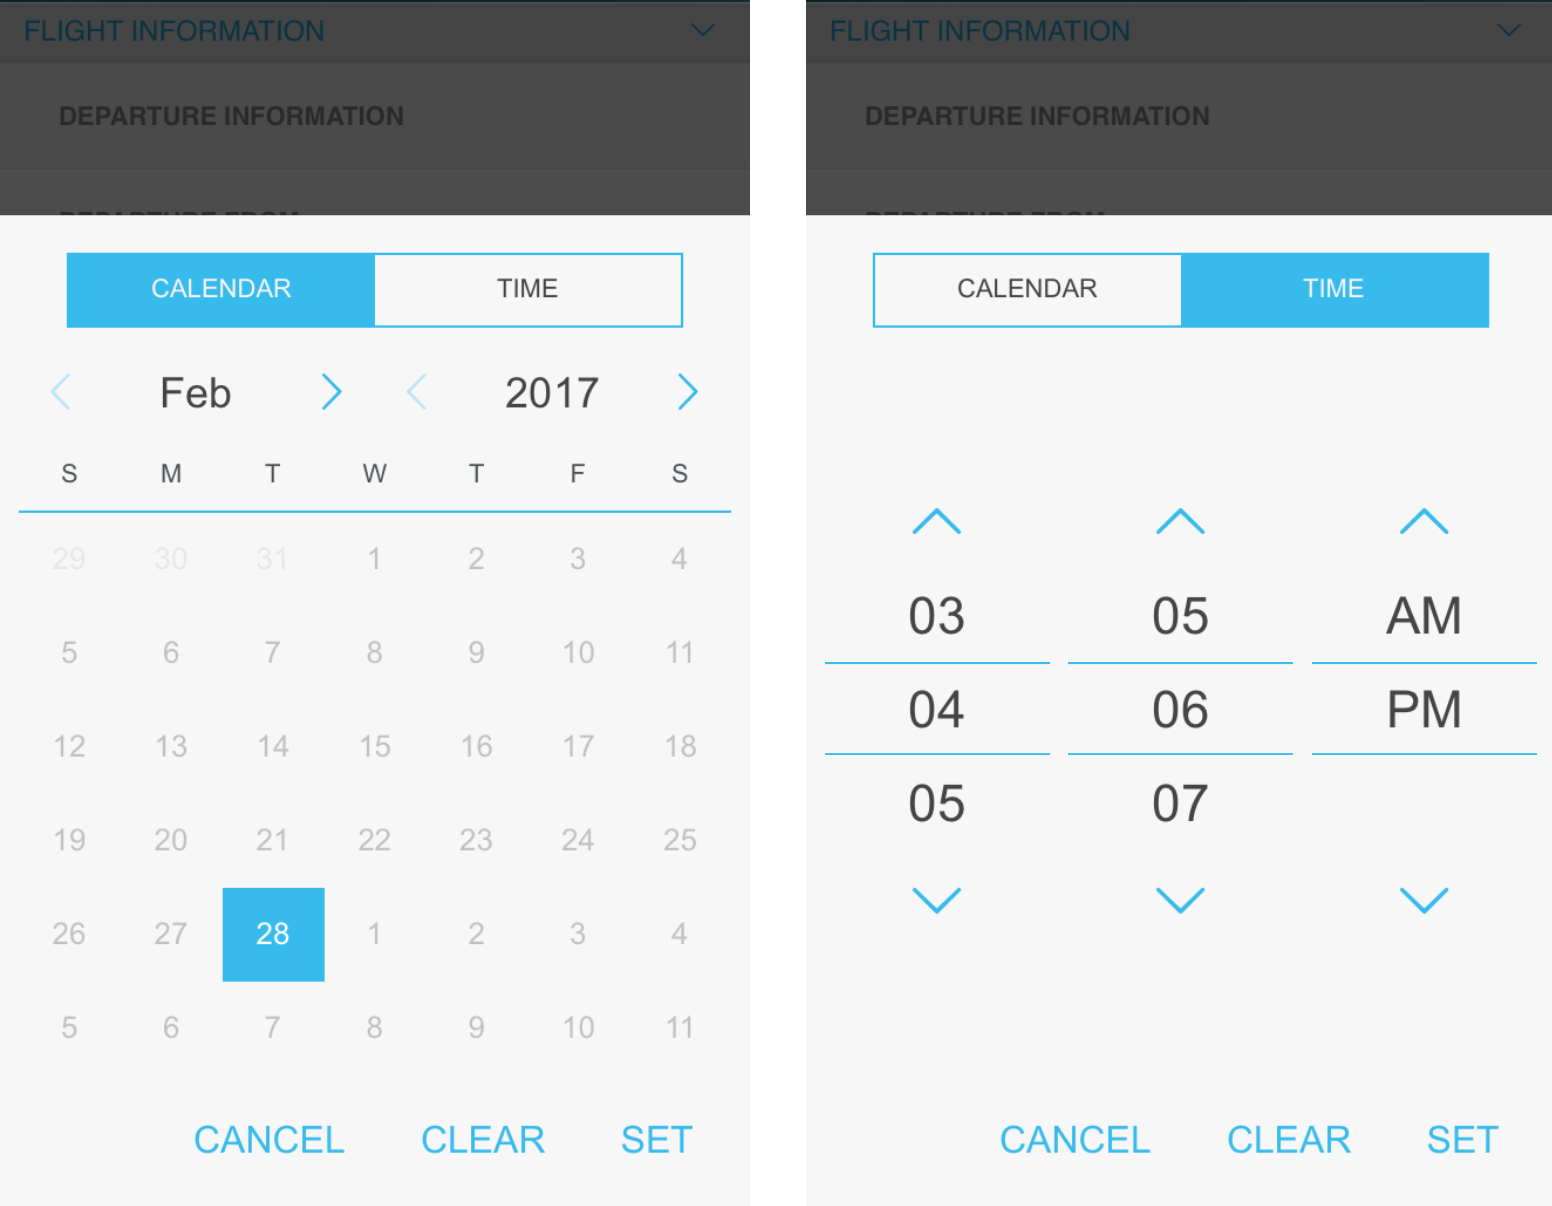
•Date and time controls let you enter information with the mobile device's input menu.
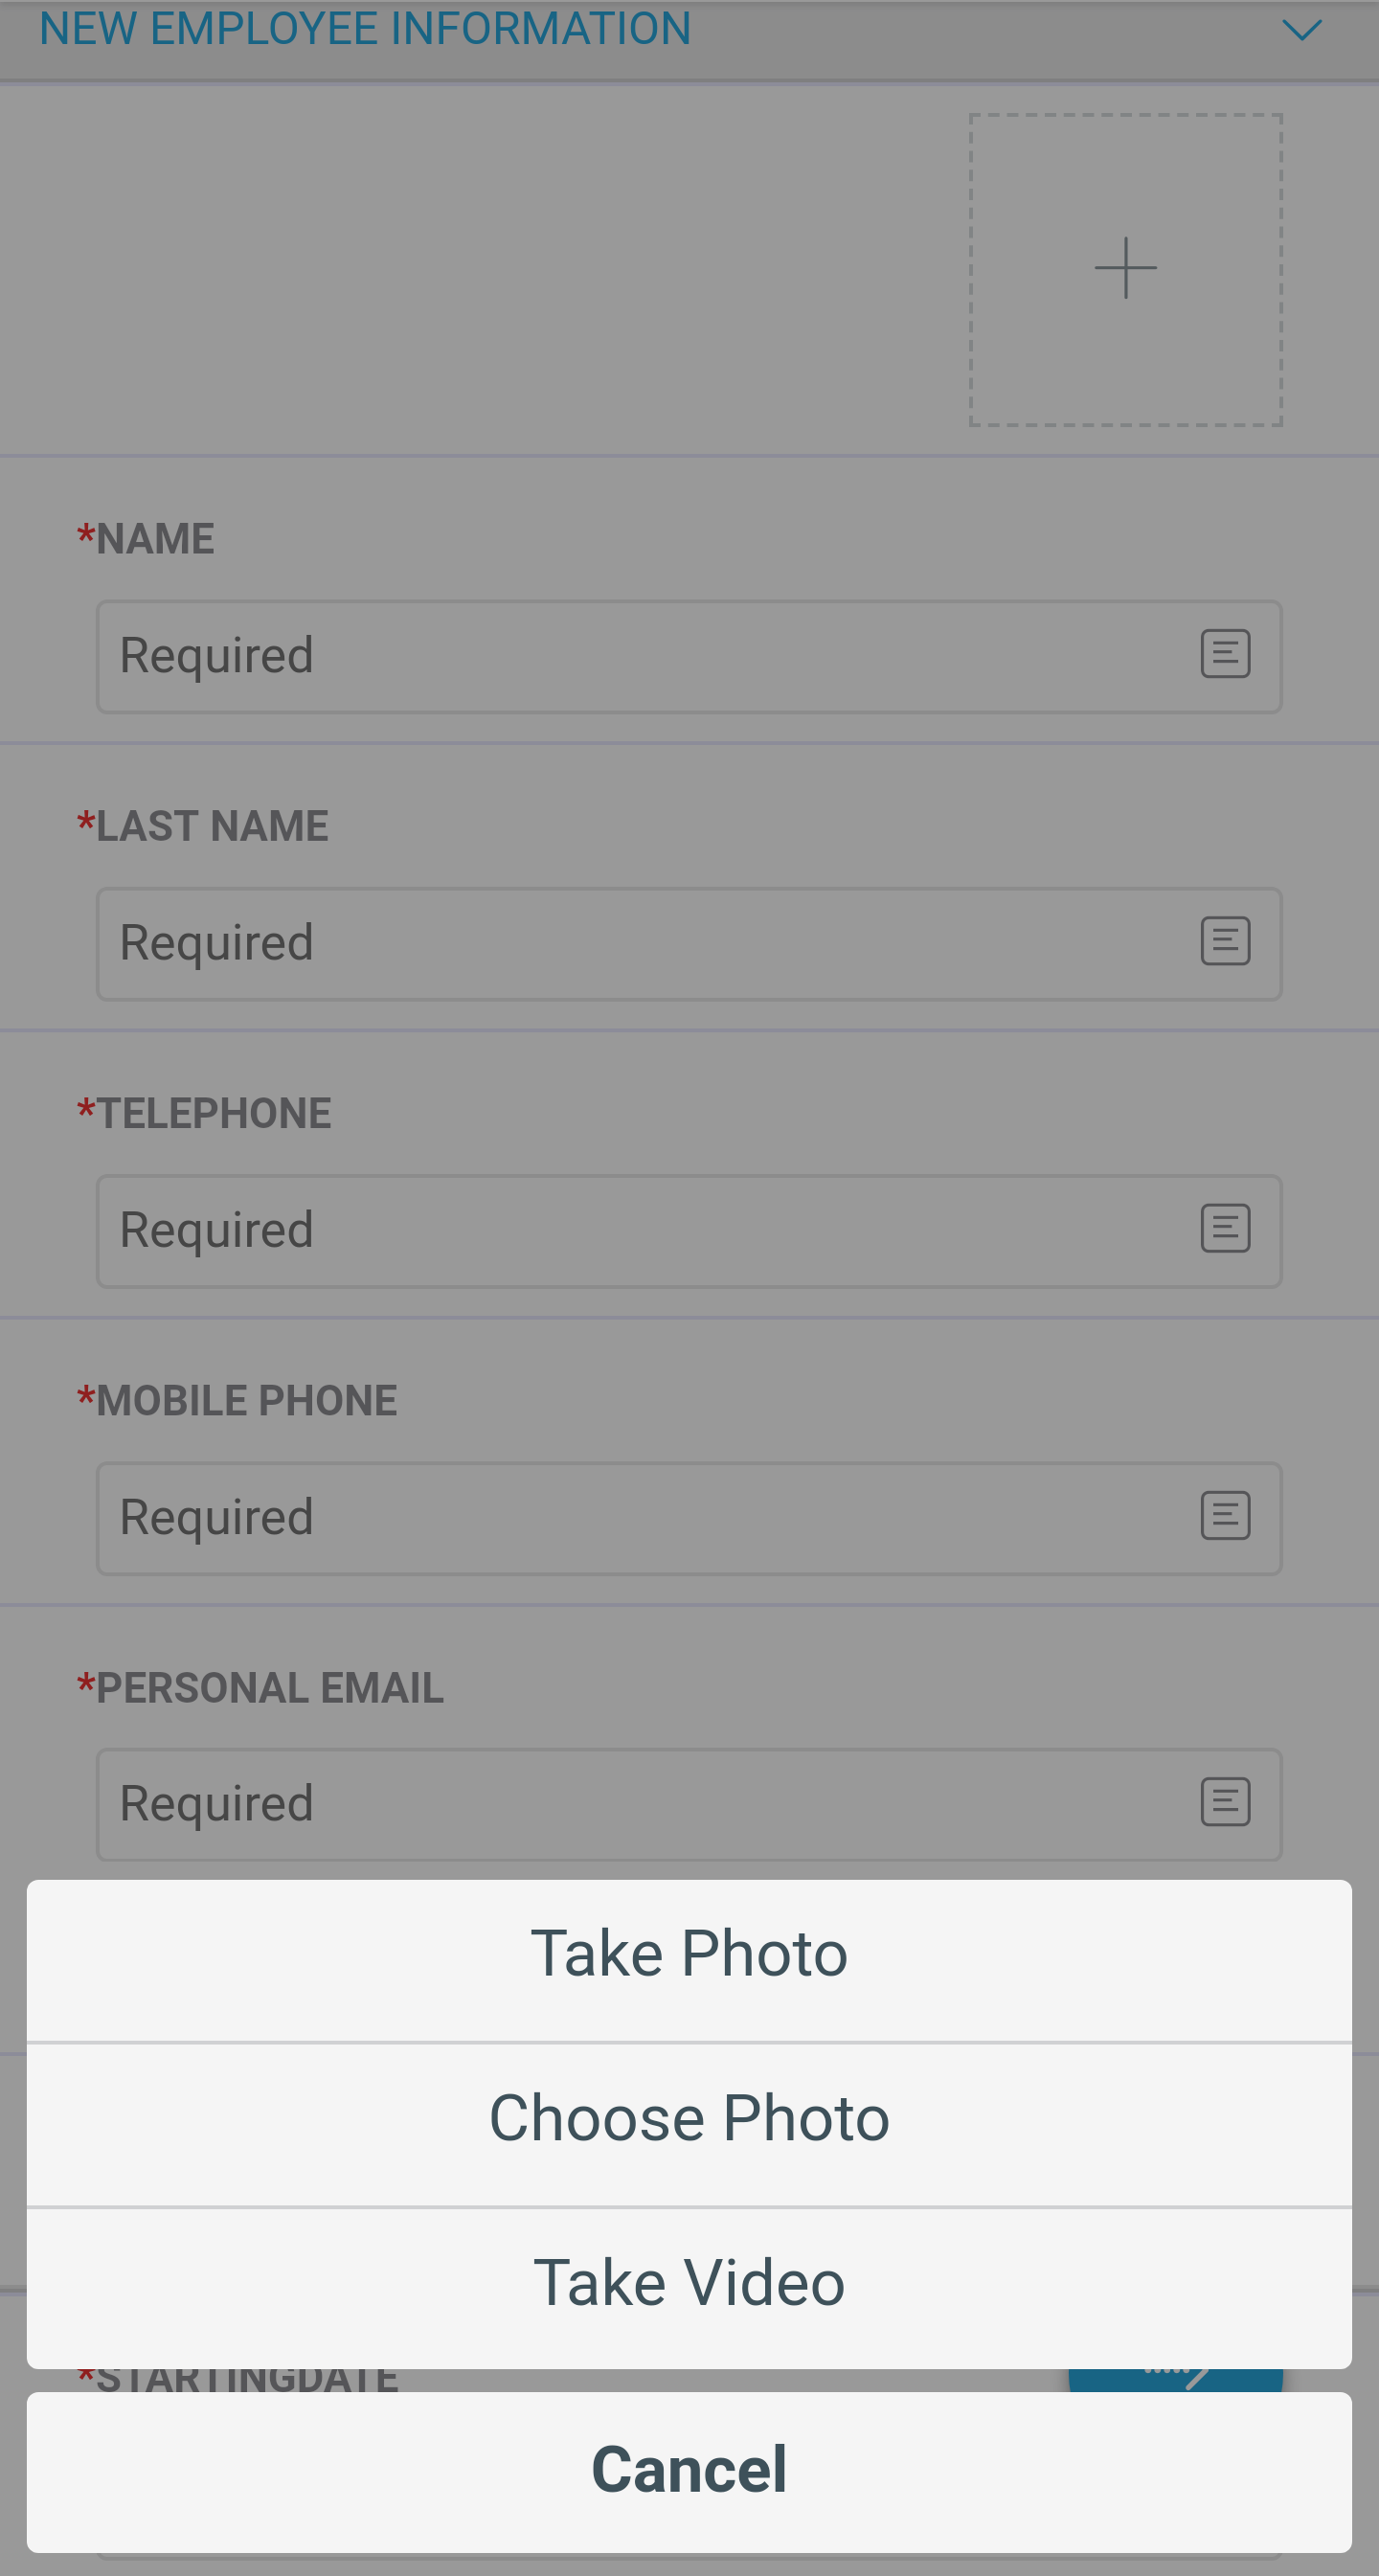
•Image type controls lats you take or upload photos from your device.

•File type controls let you take or upload photos, or record videos.
|
Preview is only supported for image file types. For other file types, Bizagi enables an automatic download. |
Last Updated 2/26/2025 9:56:51 AM