The following example gives a brief description of how to use GET and DELETE methods through the invocation of a REST service from the Google Maps API directly in our Bizagi Process. The consumption of the service will be explained with XML and JSON data.
As described previously in Invoking REST services, as a prerequisite we need to first understand the structure of the Google Maps REST service invocation.
This information is looked up at the source web site: developers.google.com/maps/documentation/geocoding/.
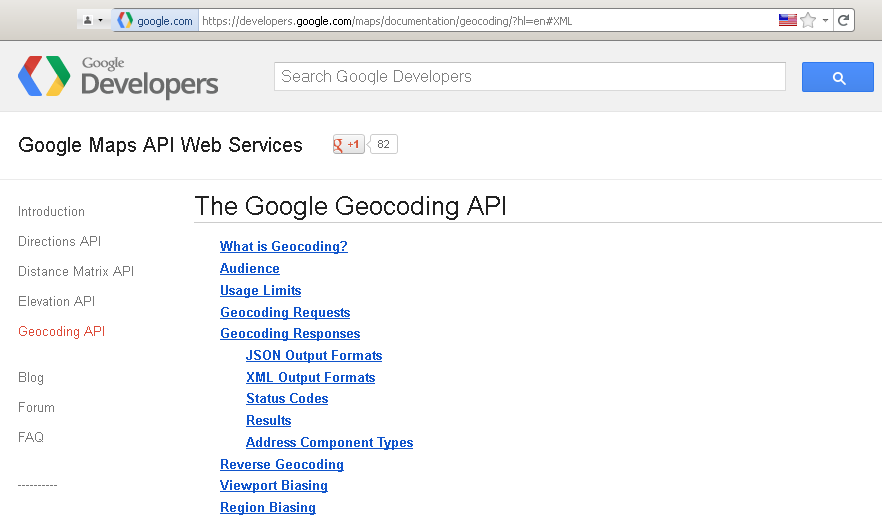
In this specific example, we will use the Geocoding API exposed through a Web service to send an address, and obtain the corresponding latitude and longitude coordinates.
We will also use an available REST service which returns the response information in a XML structure (notice that these services are often provided in both XML and JSON formats).
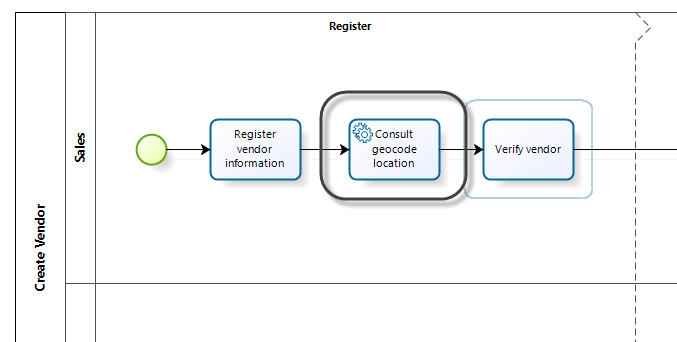
We will illustrate how to invoke a REST service, using the Create Vendor Process in Bizagi:
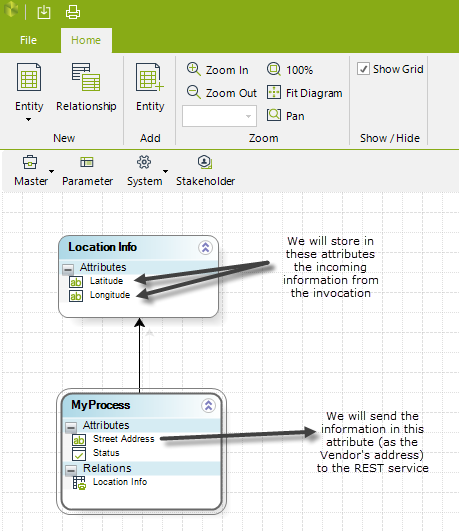
In this sample Process, our data model is as shown:
Notice that this example uses Google's REST service invocation (an external Web service). Additional browser settings configuration may be required to allow the browser to show the map (include Google maps as a secure site).
Creating an interface invocation
Our first step is to create an interface invocation in our Consult geocode location Service Task.
This is done by going to the Process Wizard step 6 (Integrate) option and into Define integration interfaces:
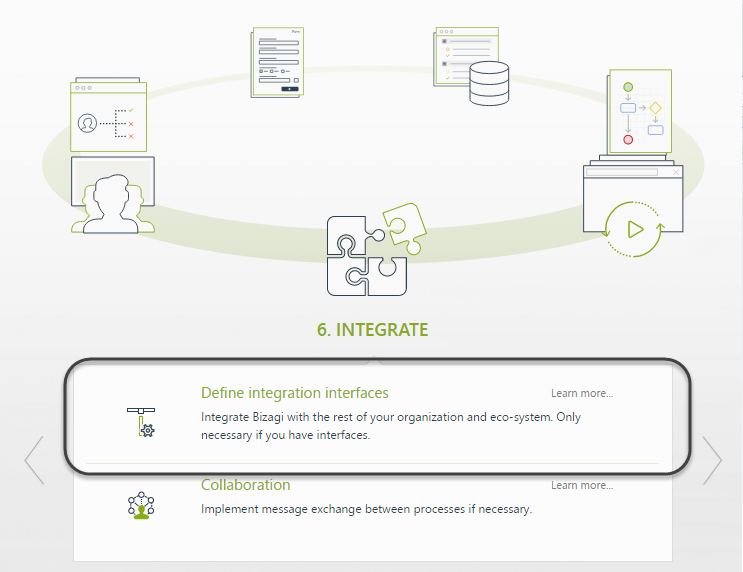
In this view, we click the Consult geocode location Service Task to create the interface invocation.
Specifying the service's type, URL and method
Now we must specify that this configuration invokes a REST-type service, and specify as well its location URL, method and parameters.
In the appearing interface window, we select REST as the service type:
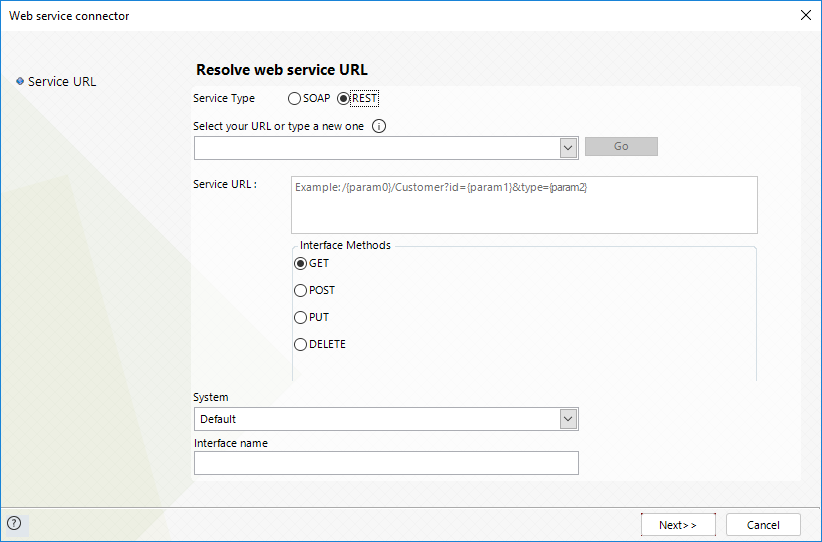
From the information presented at the Google Maps API web page, we specify its location URL separated into: the Base URL and the Service URL.
|
The Base URL and Service URL are also specified at the REST service's documentation. Notice that the Base URL is the prefix URL in which no invocation parameters are specified yet. The Service URL usually contains query parameters, in which values should vary per invocation. Recall that this URL should not contain extra blank spaces. |
•This example's Base URL for XML content-tpye is: http://maps.googleapis.com/maps/api/geocode/xml?
•This example's Base URL for JSON content-tpye is: http://maps.googleapis.com/maps/api/geocode/json?
•This example's service-part of the URL is ("Service URL"): address=1600+Amphitheatre+Parkway,+Mountain+View,+CA&sensor=true
Notice that the Service URL above, already includes a static sample address ("1600+Amphitheatre+Parkway,+Mountain+View,+CA").
In our Process, we will dynamically send this information from the "Street Address" attribute in the data model.
Therefore and in order to define that the address parameter is to be dynamically mapped, we define any variables as necessary, inside the service URL by using the "{", "}" characters.
Our final Service URL is: address={Value1}&sensor=true
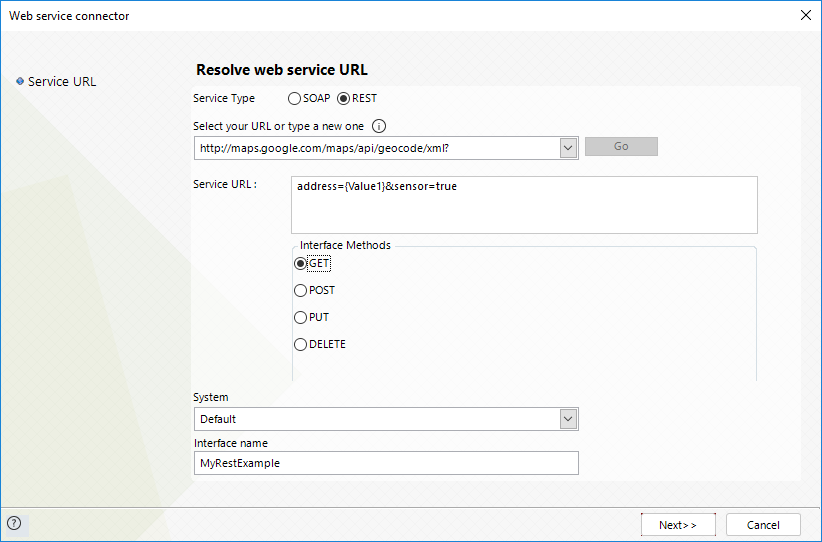
Notice that this method we are invoking is a GET method (just to consult information), and that it also returns the information in an XML or JSON structure.
We name our interface and click Next.
Mapping all input information for the service
Next, we will map the information to be sent through the variables defined previously.
To do this, we locate our Street Address attribute in Bizagi's Process data model (the table at the left), and click it.
Once selected, we click the Value1 variable in the QueryParams table to the right. This way, we map and specify the information which is to be sent to this invocation:
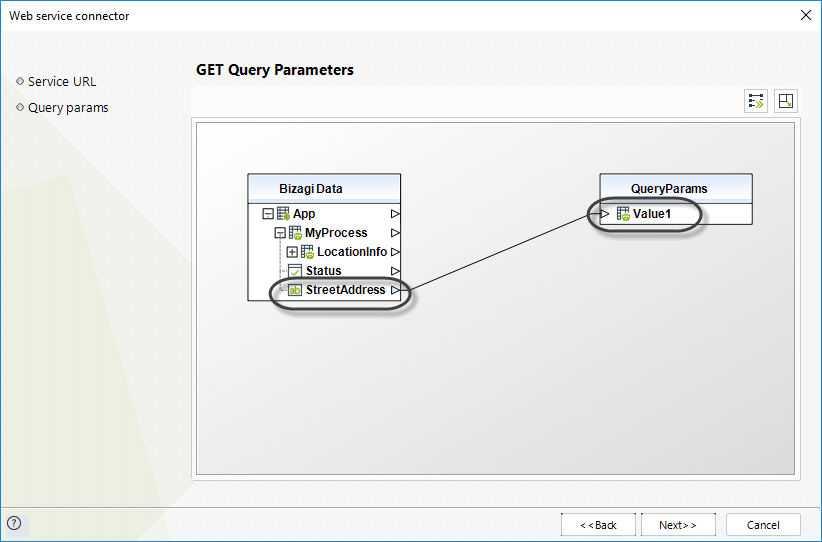
When needed Runtime entities information is available to be mapped, from the Case attribute, just above the Process entity. They are displayed in the simple mapping (advanced mapping is not supported).
|
Take into account that if any of the parameters sent contain a backslash (\), this character will be escaped and replaced for "%5C". For example, if the StreetAddress parameter sent is "Street 12-34 \\ house 77\", the value received by the QueryParams is "Street 12-34 %5C%5C house 77%5C". |
Then click Next.
Mapping the response information returned by the service
Now we will specify how to store the response information to attributes in our Bizagi Process data model.
For this, we will need to include the REST service's response structure in the Response Data.
This example is oriented to XML-formatted or JSON-formatted response.
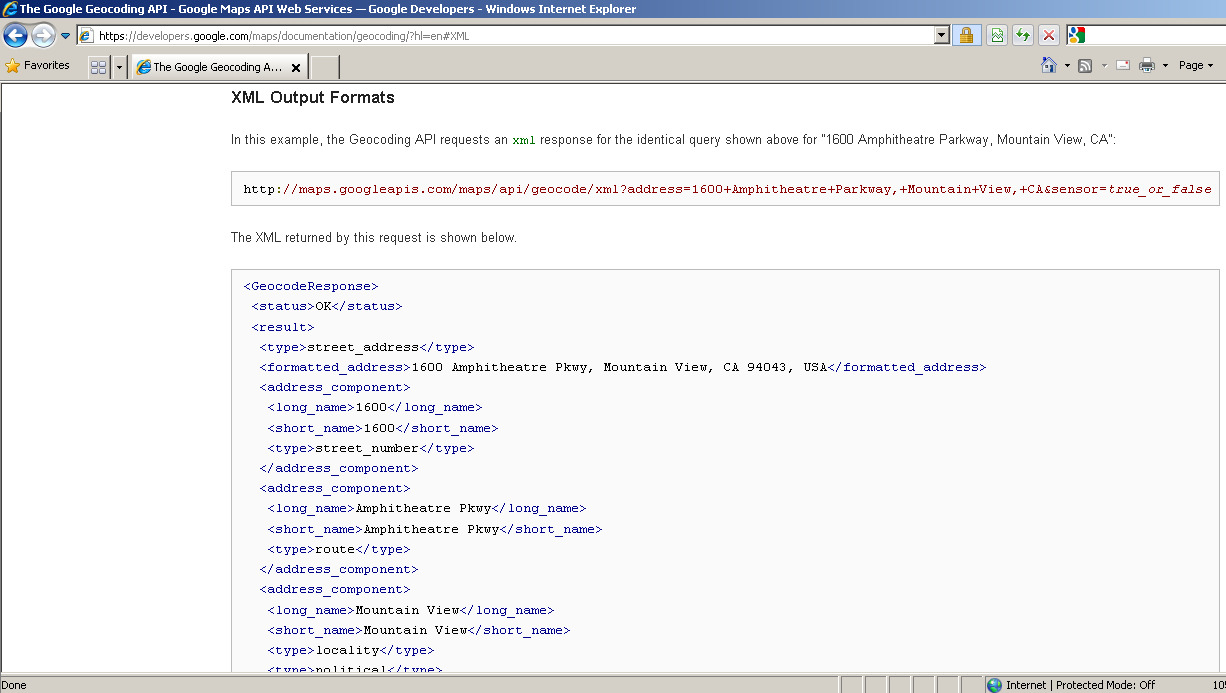
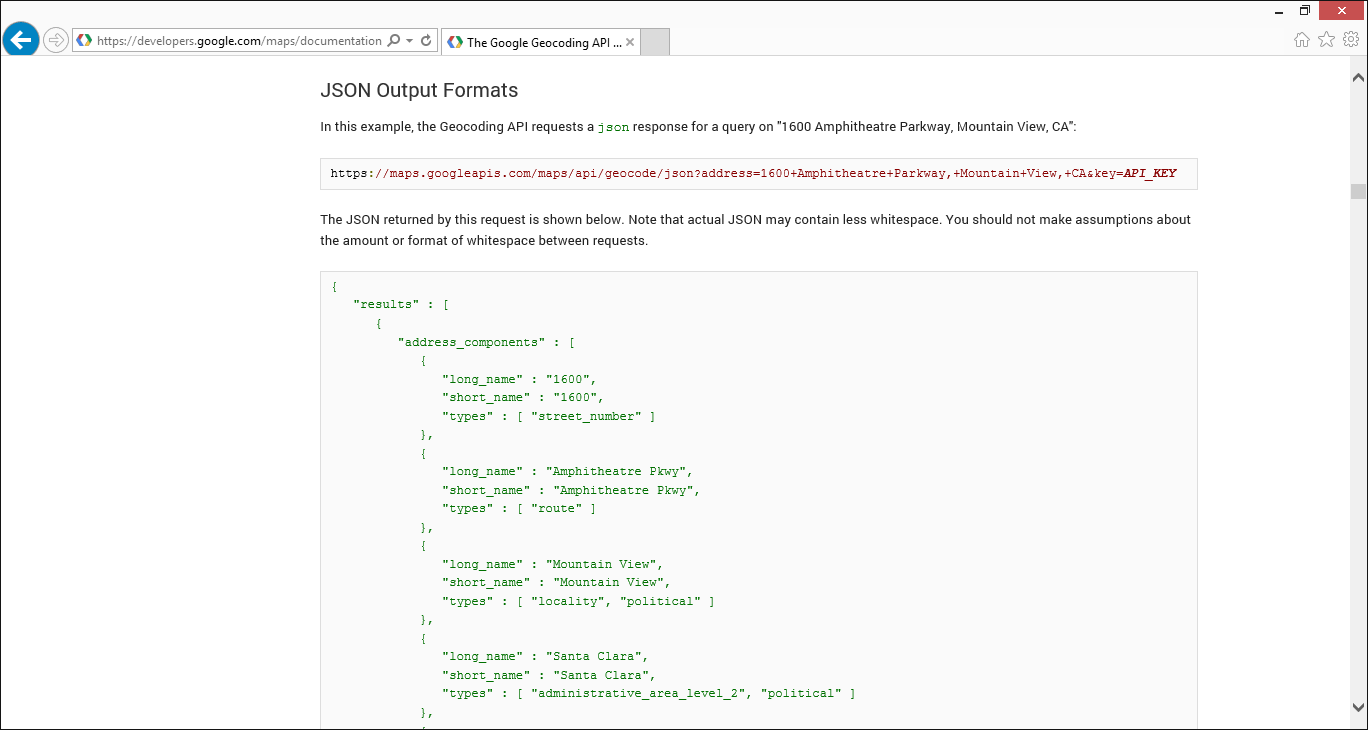
The chosen response structure is consulted at the REST service API's web page. Based on this, if the invocation expects an XML-formatted, then we go to developers.google.com/maps/documentation/geocoding/?hl=en#XML, otherwise, we go to developers.google.com/maps/documentation/geocoding/?hl=en#JSON,
Copy the presented sample text into an file with the respective extension (.xml or .json).
XML Format
JSON Format
|
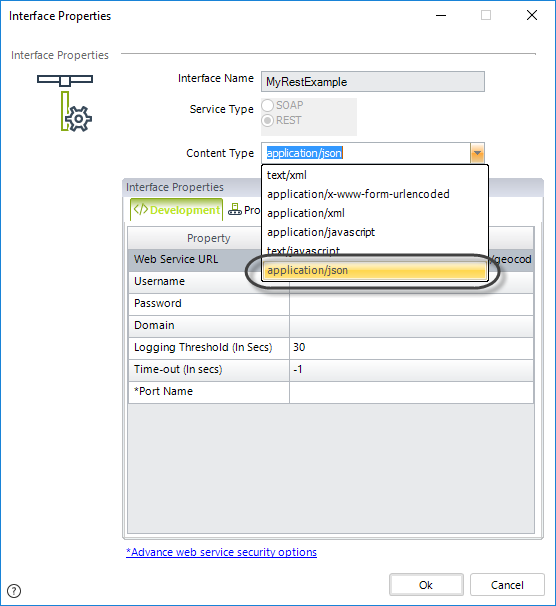
For JSON Format, the Content Type needs to be set in the Interface properties located in Expert > External systems > Default (or other name), Interfaces > your interface name.
|
Right-click the table at the left and enter the response structure.
This may be done manually (by adding nodes), or in an automatic manner by loading the structure from a physical XSD, XML or JSON file.
Click for more information about REST configuration options.
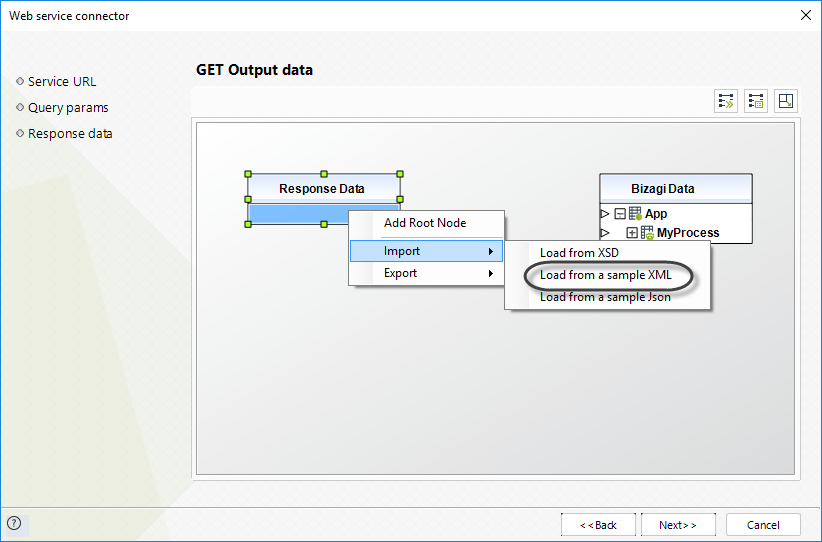
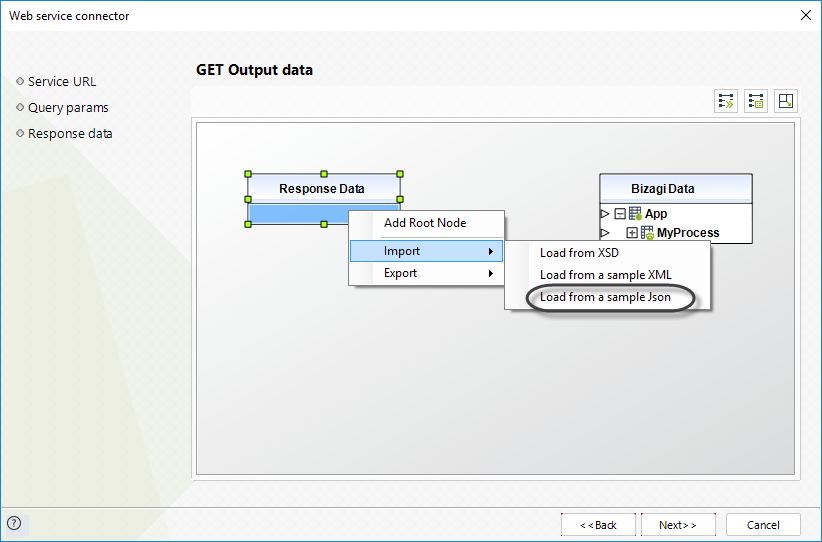
In this example, we choose the Import option to load the structure from the saved file (locating the copied structure previously saved):
For the XML file, we chose Load Sample XML
For the JSON file, we chose Load Sample Json
|
If you load a JSON sample, you cannot add new nodes or exporting the mapping:
If you need to add more nodes, see Adding more nodes with a JSON sample. |
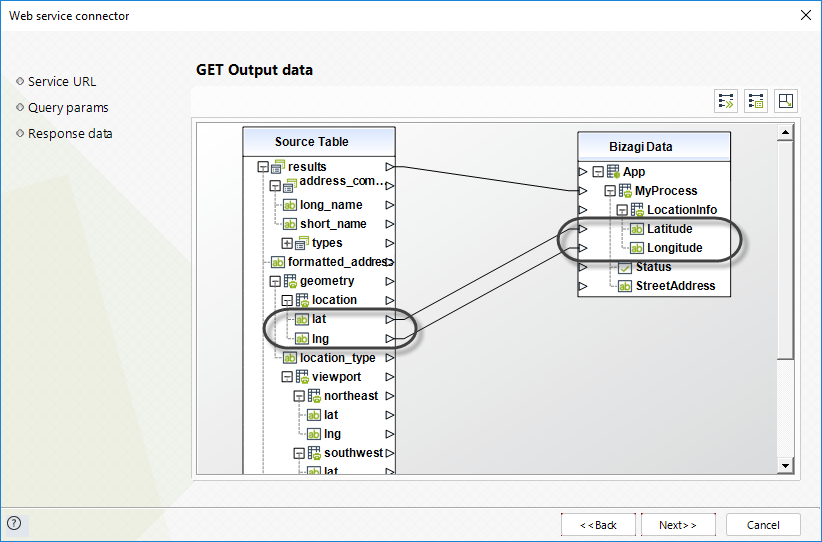
Once we have the XML/JSON structure in our Google Maps Response Data table, we proceed to map the latitude ("lat") and longitude ("lng") incoming values to our attributes in Bizagi.
To map these values, remember that you may either: click first on the source attribute (Response Data) and then on the target attribute (Bizagi Data), or also drag and drop a connection from the source to the target.
In the end, the mapped response information for our example will be as follows:
Click Next.
|
When mapping outputs to Bizagi, you have the possibility to include a custom XML transformation file (XSLT). To do this, use the Advanced mapping options accessed when clicking on this icon:
For more information about the advanced options, refer to Advanced mapping. |
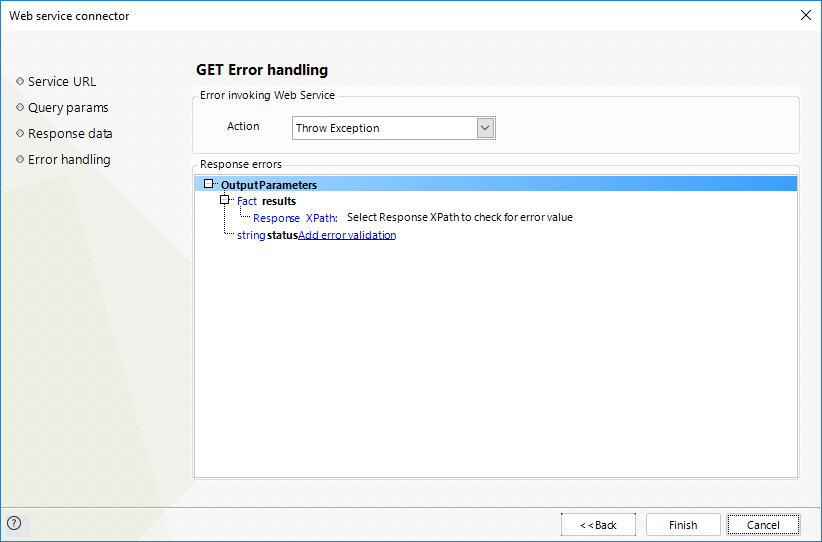
Configuring optional error handling
Lastly, no error handling validation is needed for this example.
To view more information about error handling options, refer to Interfaces Error handling.
Click Finish.
Execution
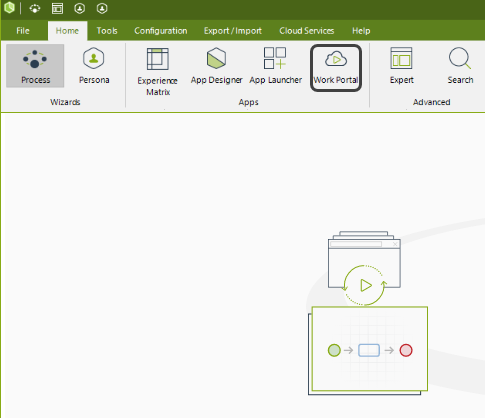
Run the Create Vendor Process, and test the invocation result in the Work Portal.
To do this, click the Work Portal button in the Home tab:
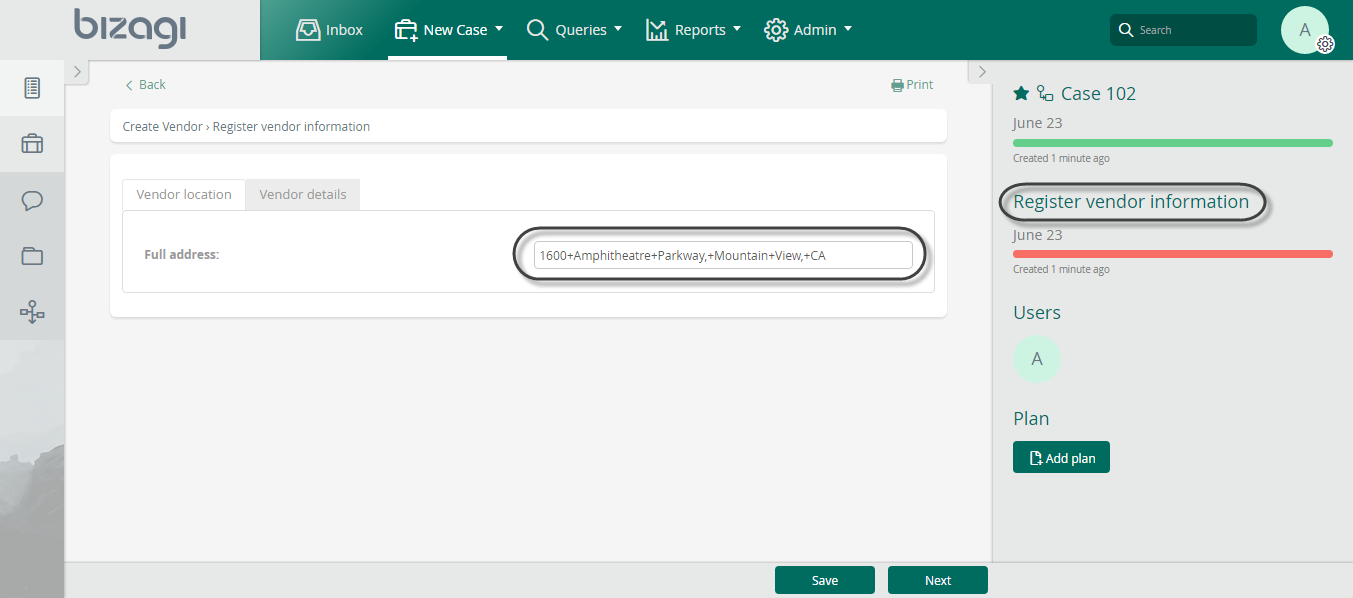
In the Work Portal, we create a new Create Vendor case and enter the vendor's address in the "Register Vendor information" Task field.
For this REST service example, all text which make up the address are separated by the "+" character:
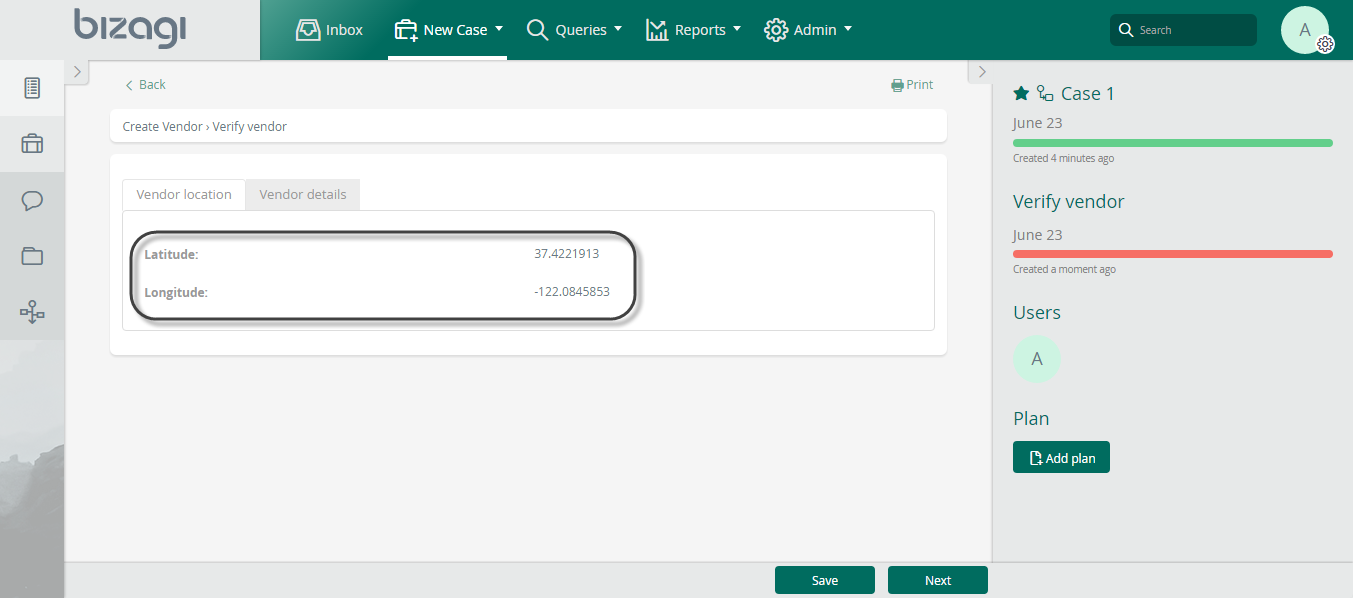
After Google Map's REST service invocation, we will obtain the latitude and longitude coordinates for the Vendor's address:
Adding more nodes with a JSON sample
If you load a JSON sample and you need to add more nodes, follow these steps:
Maximize the window to see more mapping options, then:
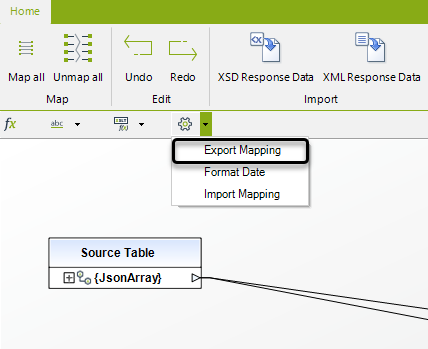
1. Export the current mapping:
2. Export the parameters:

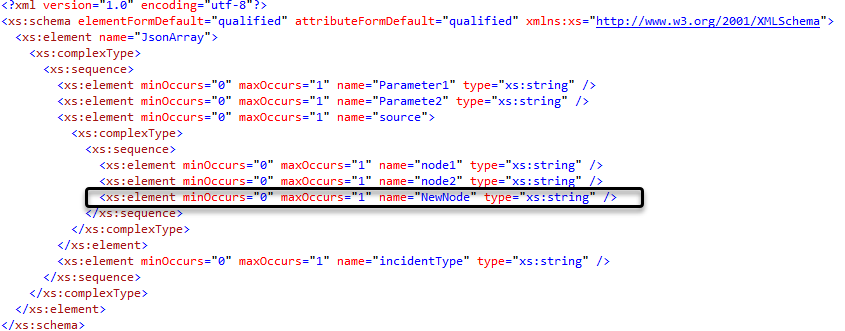
3. Add the new nodes editing the XSD
4. Import the XSD

5. Import the mapping XML obtained in step 1
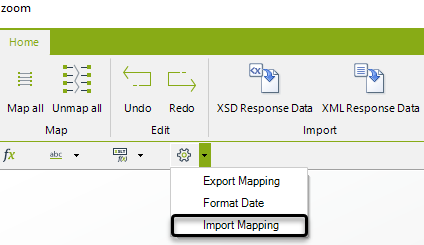
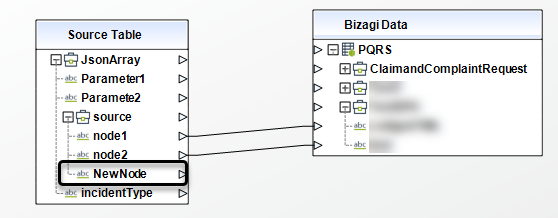
Now you have the previous mapping and the new node:
Last Updated 3/11/2024 8:59:35 AM
