Overview
For Process-level integration in which Bizagi Processes invoke external Web services (or REST services), Bizagi offers the possibility to use common mapping functions and features in its interfaces wizard configuration.
Such functions include: concatenation of fields, or assignment of constant (default) values. Mapping features involve quick-access commands for a friendlier and guided configuration.
These options ease and allow data-matching in the integration, by having Bizagi apply a transformation to guarantee that both systems (Bizagi and the external system) have an "understanding" of the exchanged data.
In addition to this, Bizagi supports integration with Web services using SOAP headers.
Use the Maximize option in input or output mapping steps to access these functions and features:
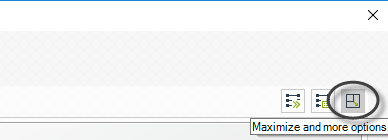
Mapping functions and features
While the mapping window is maximized, it is possible to use the new buttons and functions from the Home tab bar as shown below:
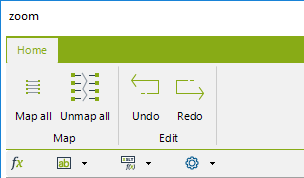
Quick-mapping Options
Quick-mapping options help you save time to map when managing multiple inputs or outputs. These are:
Using the 'Map all' button
This feature will set an automatic mapping so that the left table's fields are connected into your right table's fields. This mapping is matched according to the fields' names when equal.
Using the 'Unmap all' button
Pressing this button will reset the mapping done for all of the fields.
Using the 'Undo' button
Pressing this button will undo the latest action made.
Using the 'Redo' button
Pressing this button will redo the latest action undone.
Additional Mouse options
Additional mouse options enhance the usability of the mapping features. These are:
Resizing the tables
Alongside the quick-configurations options such as: Map all, Unmap all, Undo and Redo; it is also possible to change the size of the tables by clicking on the name of the external system (which is seen as the table header caption).
While the table is selected, various squared green dots will appear to enable edition of the table's size (using these green squares to enlarge or decrease the table):
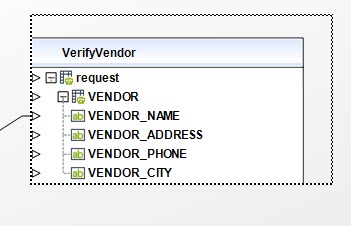
Mapping attributes
To manually map an attribute or parameter on the left-side table (Bizagi data), to an attribute or parameter on the right-side table (external system), you may choose to use any of these two options: using clicks or using drag and drop.
Using clicks
You may create the mapping connection by: clicking first on the left table's attribute or parameter.
You will notice that the attribute becomes highlighted:
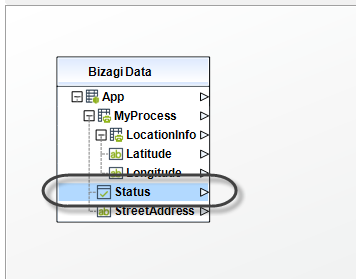
Then, clicking on the right table's attribute or parameter will draw a connection representing the mapping between these two attributes or parameters.
Using drag and drop
You may drag a connection by holding the click from the attribute or parameter on the left table's outgoing connection triangle:
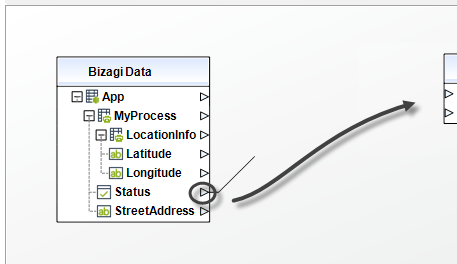
Dropping this connection into the attribute or parameter incoming connection triangle, at the right table, will create the mapping as well.
These additional options are only available for tables in which the service invocation has "REST" select as the Service Type. These REST options are provided to aid the definition construction for the service's input or output structure.
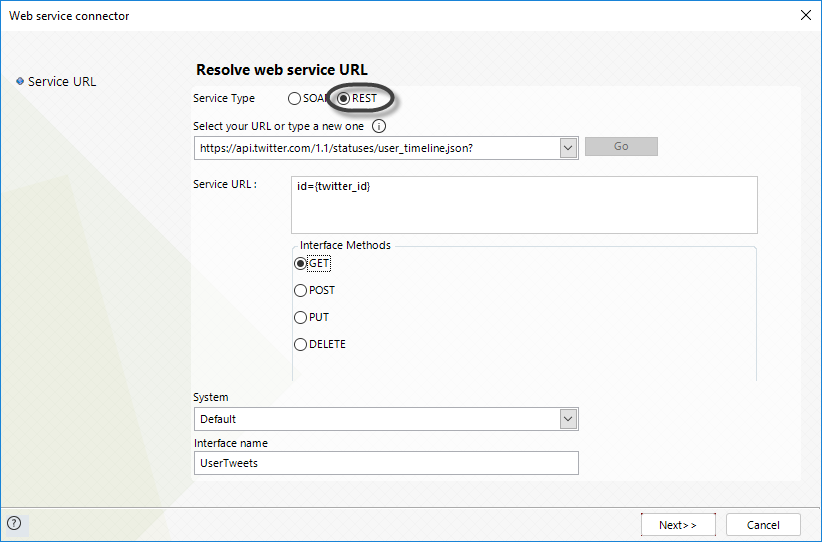
The REST options, presented in the sections below, are found by right-clicking on the REST service's table.
Bizagi's interfaces wizard supports XML-formatted responses (and not JSON formats).
For manual structure definition
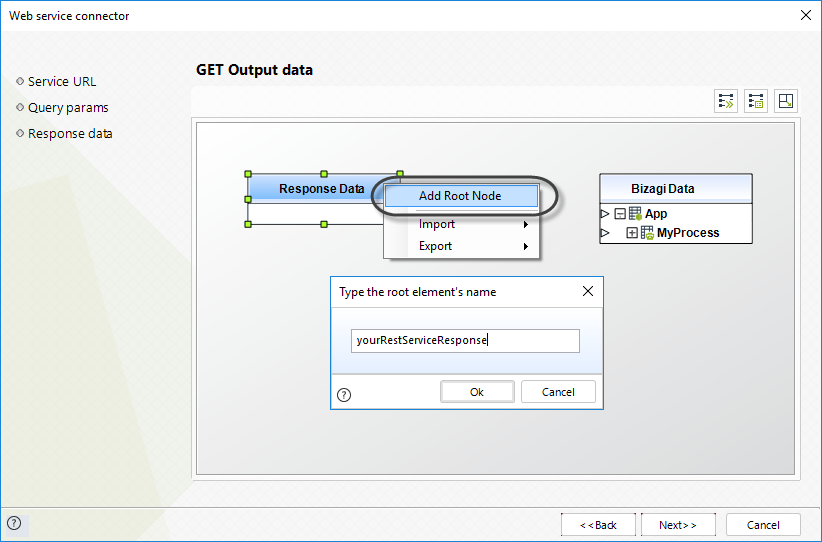
When choosing to create the structure definition in a manual manner, the first list item to select is the Add Root Node to start the XML definition.
Add Root Node
This option will add the root node for the XML structure.
To use this option, click Add Root Node and right-click anywhere in the table:
Right-click the root node to display a list of associated features.
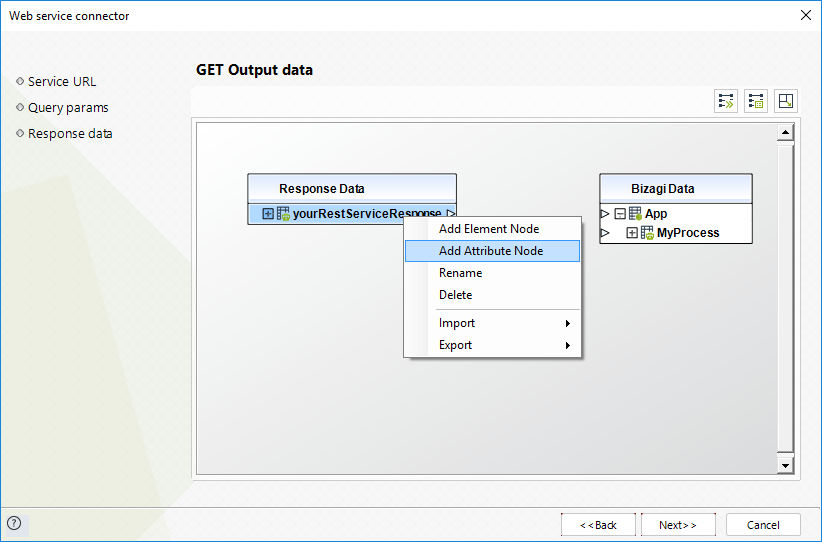
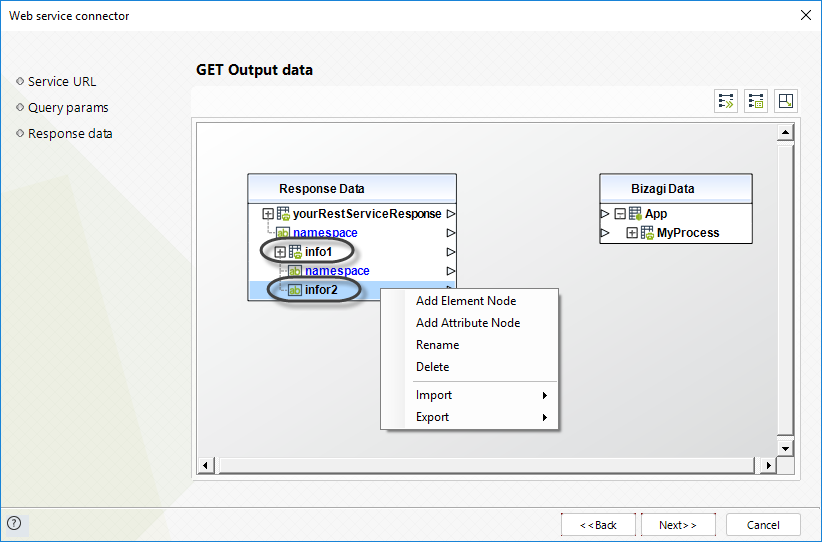
Add Element Node
This feature will add an element as a child element of the selected node.
The added element is initially represented as a string attribute with its value in black font.
Once this added element contains inner nodes, then it is automatically represented as a node.
The image below shows info1 and info2 as added elements:
Add Attribute Node
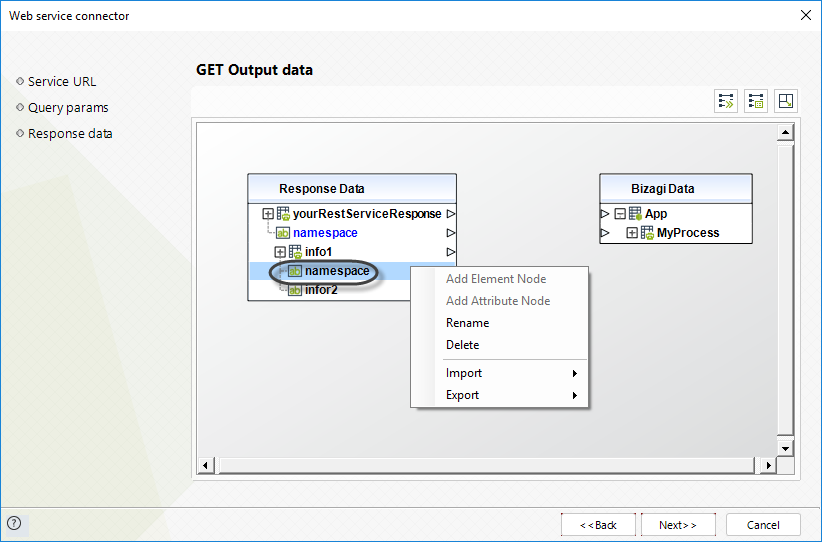
This feature will add an attribute directly below the selected node.
The added inner attribute is represented as a string attribute with its value in blue font.
Rename Node
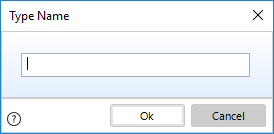
This feature will allow renaming the selected node:
Delete Node
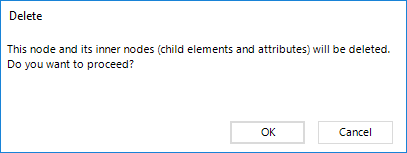
This feature will delete the selected node and all its child elements and inner attributes.
You will need to confirm the deletion:
Import (for automatic structure loading)
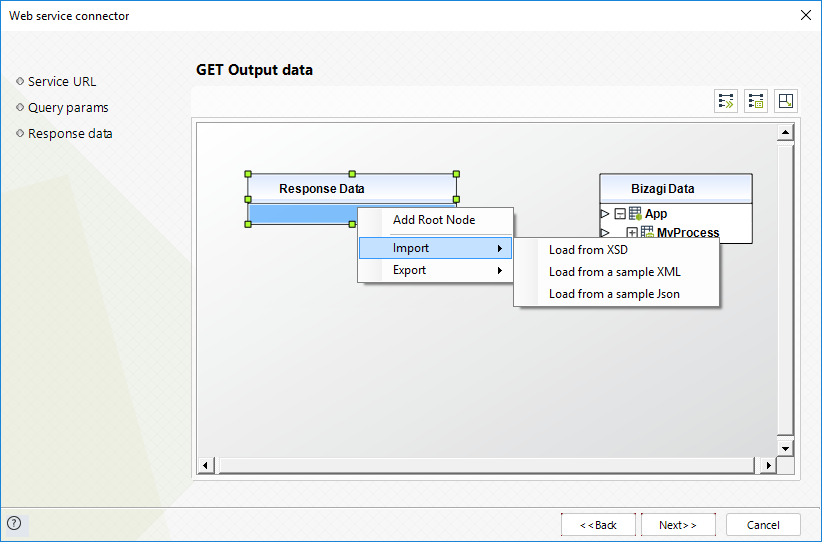
When choosing to provide the structure definition in an automatic manner, you may choose to import the response definition from either: a XSD schema file or an XML or sample file, or from a JSON sample file:
|
Any previously defined structure will be deleted when importing a new structure definition. |
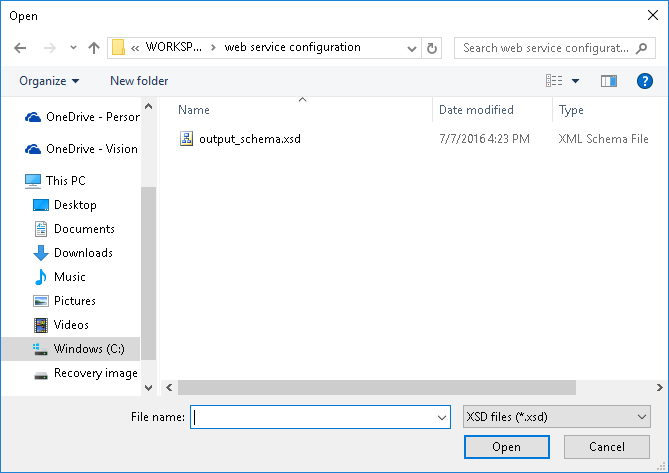
Load from XSD
This option will load the entire response structure from the selected .XSD file:
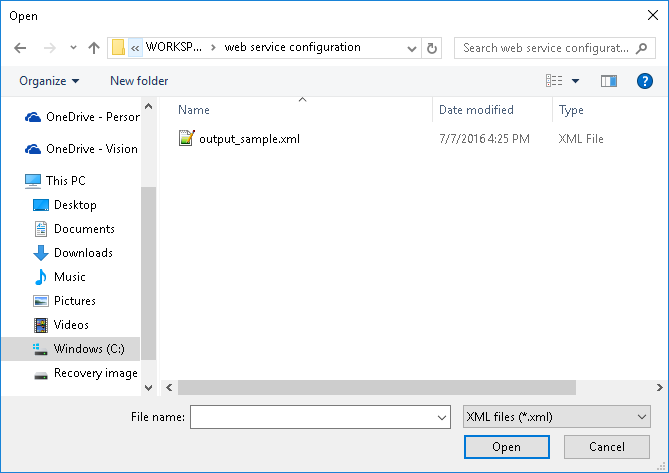
Load Sample XML
This option will load the entire response structure from a sample .XML file:
|
When loading from a sample XML, you may need to make sure that the sample file does not contain any XML reserved character (such as the ampersand "&"). If these reserved characters are present as a value in any node inside this file, make sure that it is contained inside a CDATA section (otherwise, you may get a "An error occurred while parsing..." error). |
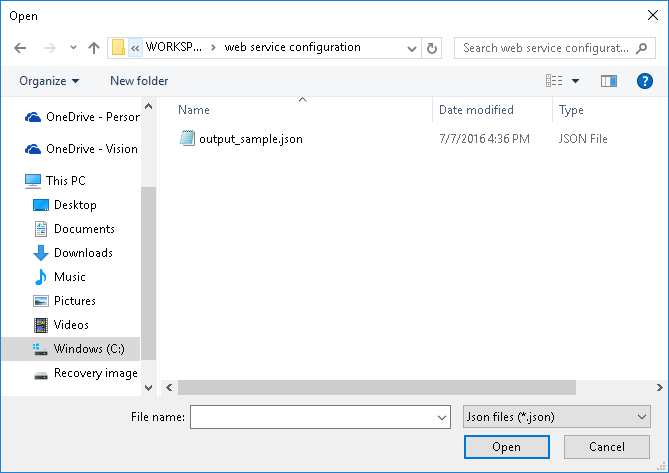
Load Sample JSON
This option will load the entire response structure from a sample .JSON file:
Export
Once you have loaded the structure, you may choose to save this definition for a future use.
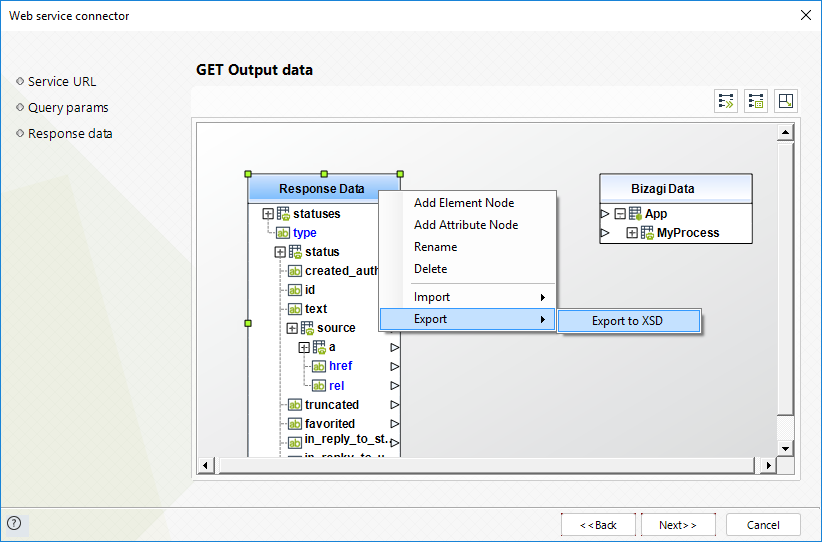
Export to XSD
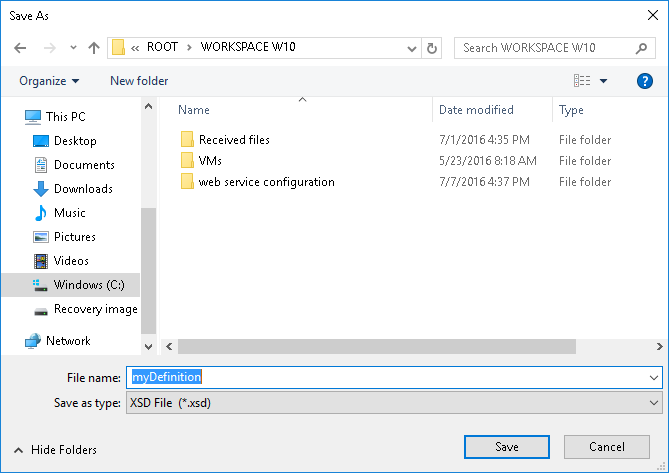
This option will save the current response structure as a .XSD file:
SOAP Headers
While invoking web services, it is often required to send out information that is unrelated to the business data itself, such as authentication information to validate that the user invoking the service has proper authorization. For these cases, it is useful to send this information inside a SOAP header (in the SOAP message protocol).
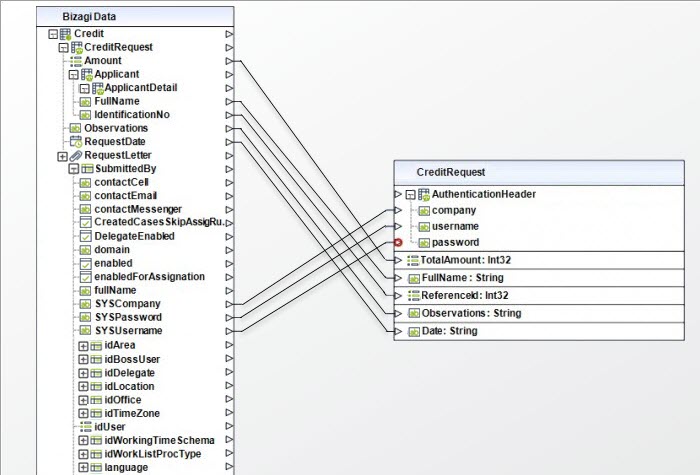
It is necessary that the definition and creation of that web service covers specifically which data is expected in the message header. Bizagi supports sending data in the SOAP header, as well as receiving it from this header with uncomplicated handling. To achieve this, just mapping the connections is required (incoming or outgoing as applicable) from or to the corresponding fields in Bizagi.
Therefore, Bizagi recognizes if a Web service expects certain information in the header. Mapping the data involved for this integration is specified the same as it is done with the data from the Web service method:
Last Updated 1/23/2023 12:05:09 PM