Overview
An Inbox page is a type of page in the App Designer that allows you to display all the cases and their information associated with the signed-in user directly on the page. In this article you can learn how to create and edit an Inbox page.
Create an Inbox page
To create an Inbox page, follow the next steps:
1.Click the menu to display the options and select the Manage button.
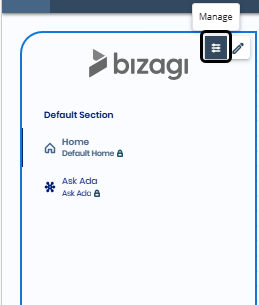
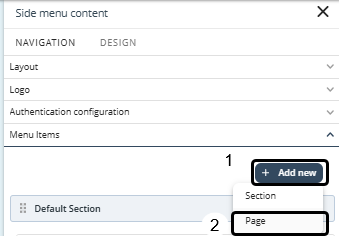
2.On the Navigation tab, under Menu Items, click Add new and select Page.
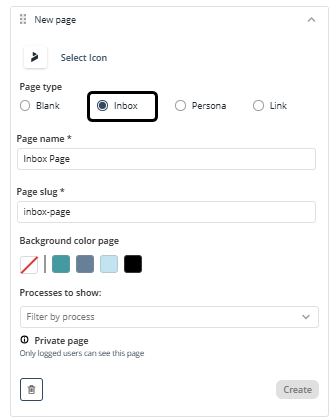
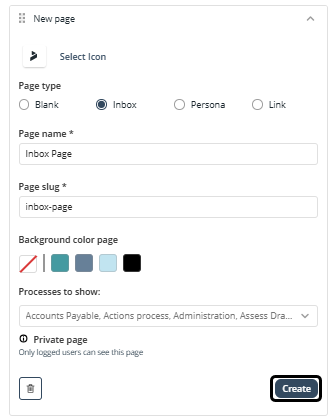
3.Select the Inbox radio button and customize your Page name, Page slug and Background color. The Page slug will be filled automatically after you type in your Page name, but you can edit it manually if needed.
|
The name of the Inbox page and its page slug support English, Spanish, German, French, Hungarian, Polish, Japanese, and Chinese characters. |

4.Use the Processes to show drop-down list to select the processes displayed in the Inbox page. You can select one or multiple processes by checking the corresponding boxes.
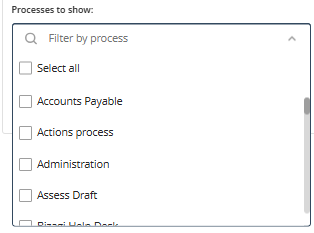
By default, no processes are selected in Processes to show, and all checkboxes are unchecked.
Click Select all to select every process, or Deselect all to clear all selections.
|
If no process is selected in Processes to show (either because the list opens empty by default or because all processes were manually cleared), the published app will display all available processes. When there is no selection, the Inbox page does not apply filtering, so it includes every process the user has access to. |
5.Finally, click Create to add the page.
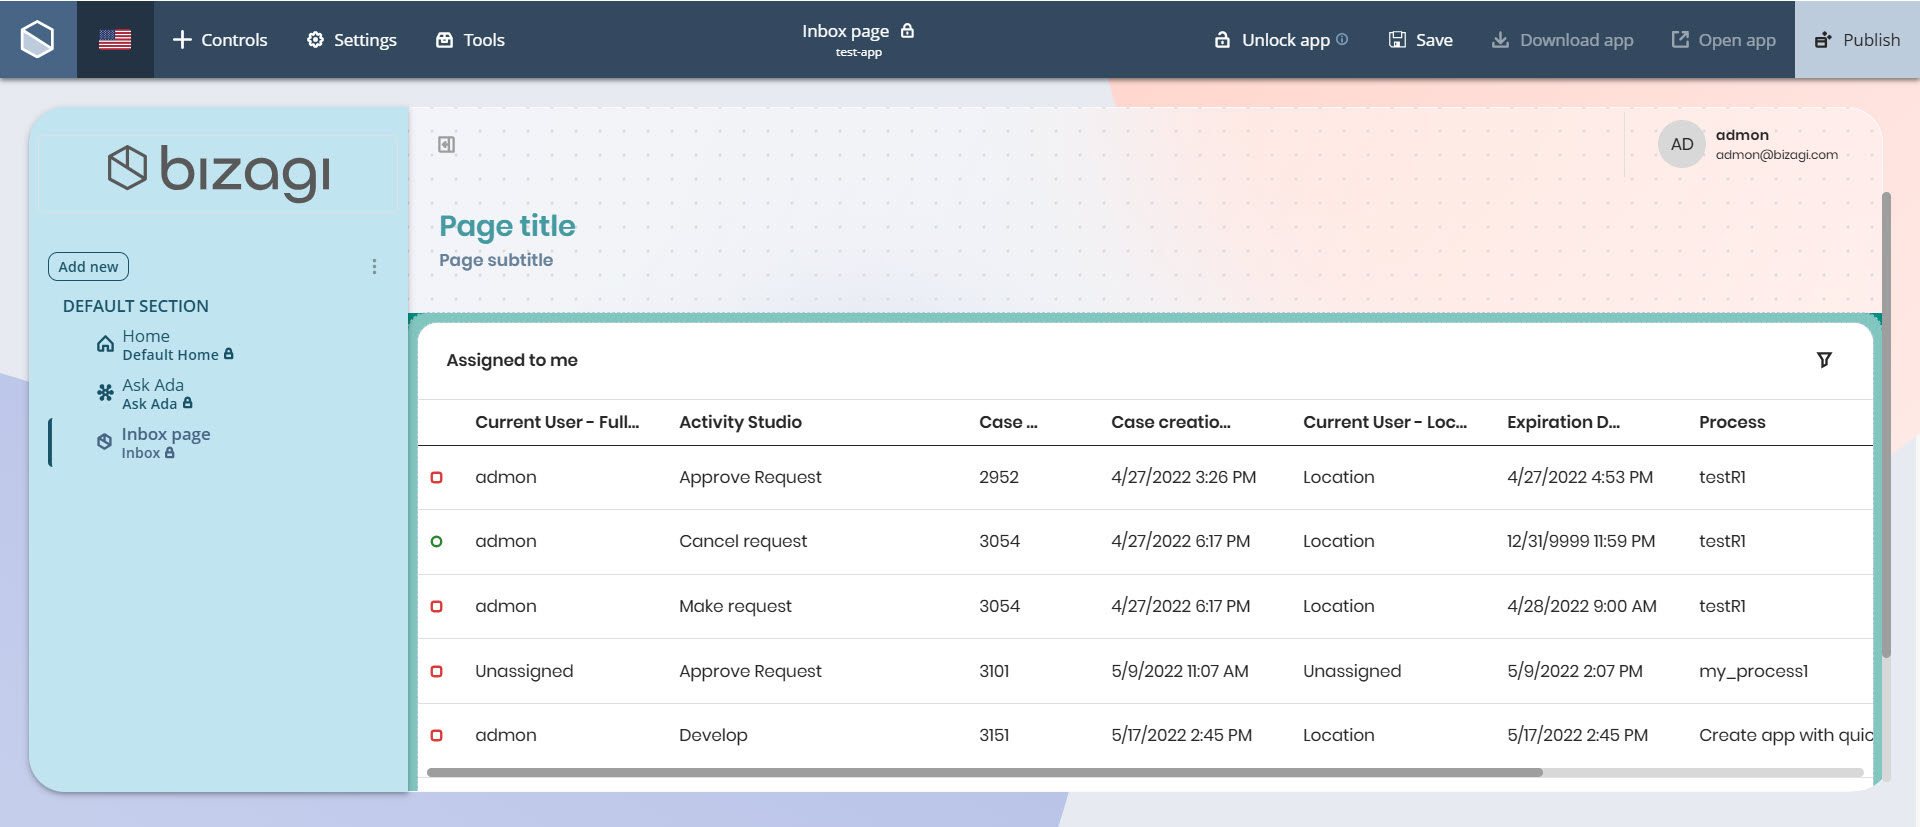
Once you have created the Inbox page, a notification confirming the page was added successfully is displayed. The Inbox page appears in the menu with the Inbox label beneath the page name.
|
You cannot add new controls to an Inbox page or modify layout sections such as Content, Section, Row, or Column. |
Adjust column width on Inbox pages
To configure the width of columns in an Inbox page:
1.Click the Inbox on the page and select the Settings configuration option to open the Design tab.
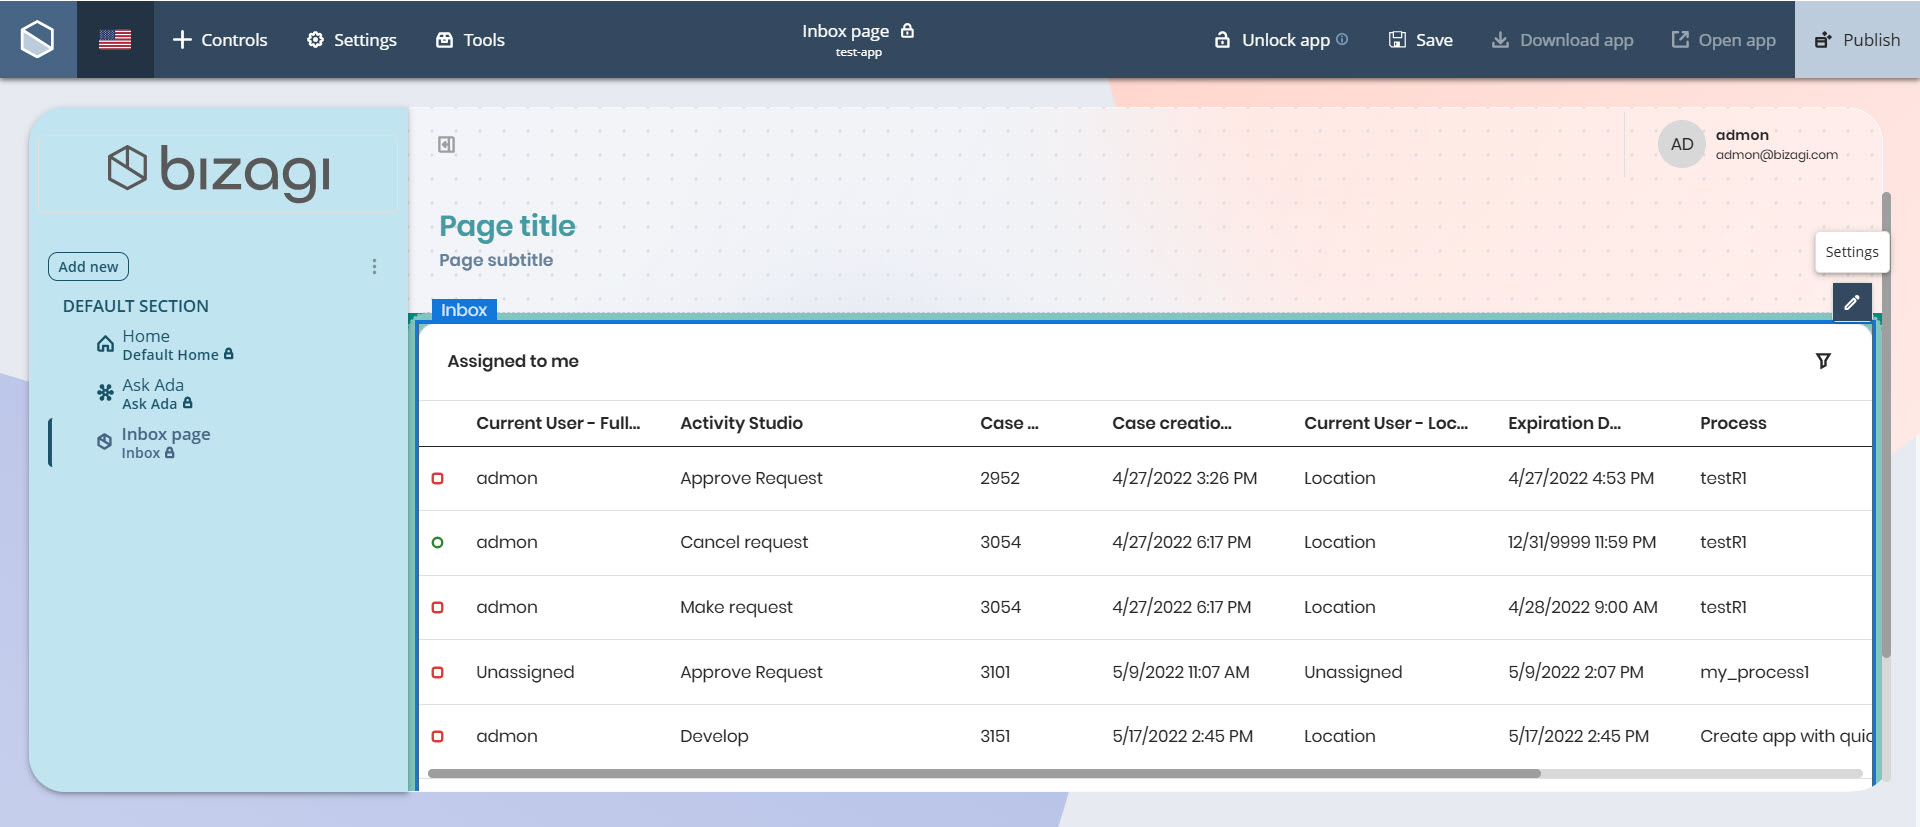
2.In the Columns section, select a column from the drop-down list. Use the slider to adjust the width of the selected column. Values range from 80px to 500px.
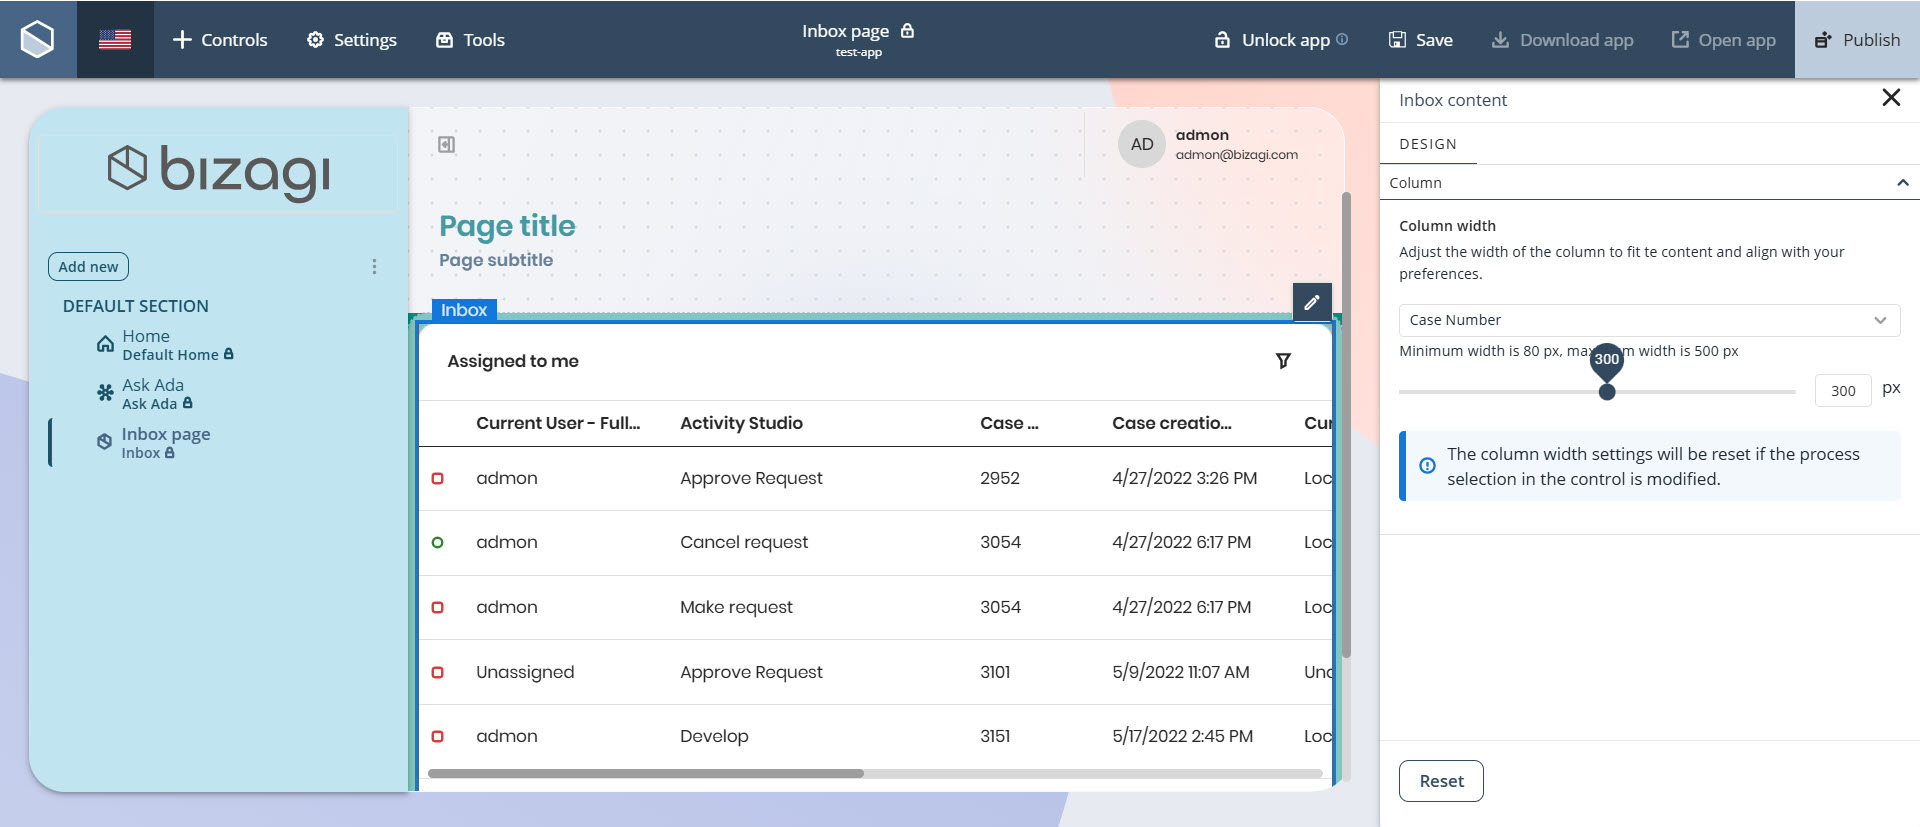
3.Repeat this process for each column you want to adjust.
4.Click Save in the top bar to apply the changes.
|
•The column width adjustments are not visible in the App Designer editor. To preview the changes, the app must be published. •Customized columns on mobile devices use the same configuration defined in Studio for Desktop. When accessing the control on mobile, cases automatically show the global or process-specific custom columns, keeping the case number in the header and respecting the configured order. If no custom columns exist, the Inbox continues to show the default information. |
Last Updated 7/15/2026 11:03:04 AM