Overview
There are two types of connectors (Easy REST and Custom) as described at Creating connectors.
This section presents a high-level sketch of steps you should carry out to create Easy REST connectors.
Before you start
It is very important that you first understand the API of that system or application you want to integrate to.
Pay special attention to the type of authentication used by that given API.
This means that you will need to browse the official documentation of that external system or application.
This information regarding the supported authentication methods should give you indications on whether you may create an Easy REST Connector or if you will need to create a Custom Connector.
For details about when you will need a Custom connector, refer to Authentication methods and REST connectors.
Bizagi has a Proxy configuration option available to connect with external services such as Rest connectors.
Steps to create an Easy REST connectors (Easy mode)
When choosing to create an Easy REST connector, these are the high-level steps you need to accomplish:
1.Make sure you have a valid account and authorized access to your external application from other applications (i.e, valid username and password, plus access tokens and further settings in that external application).
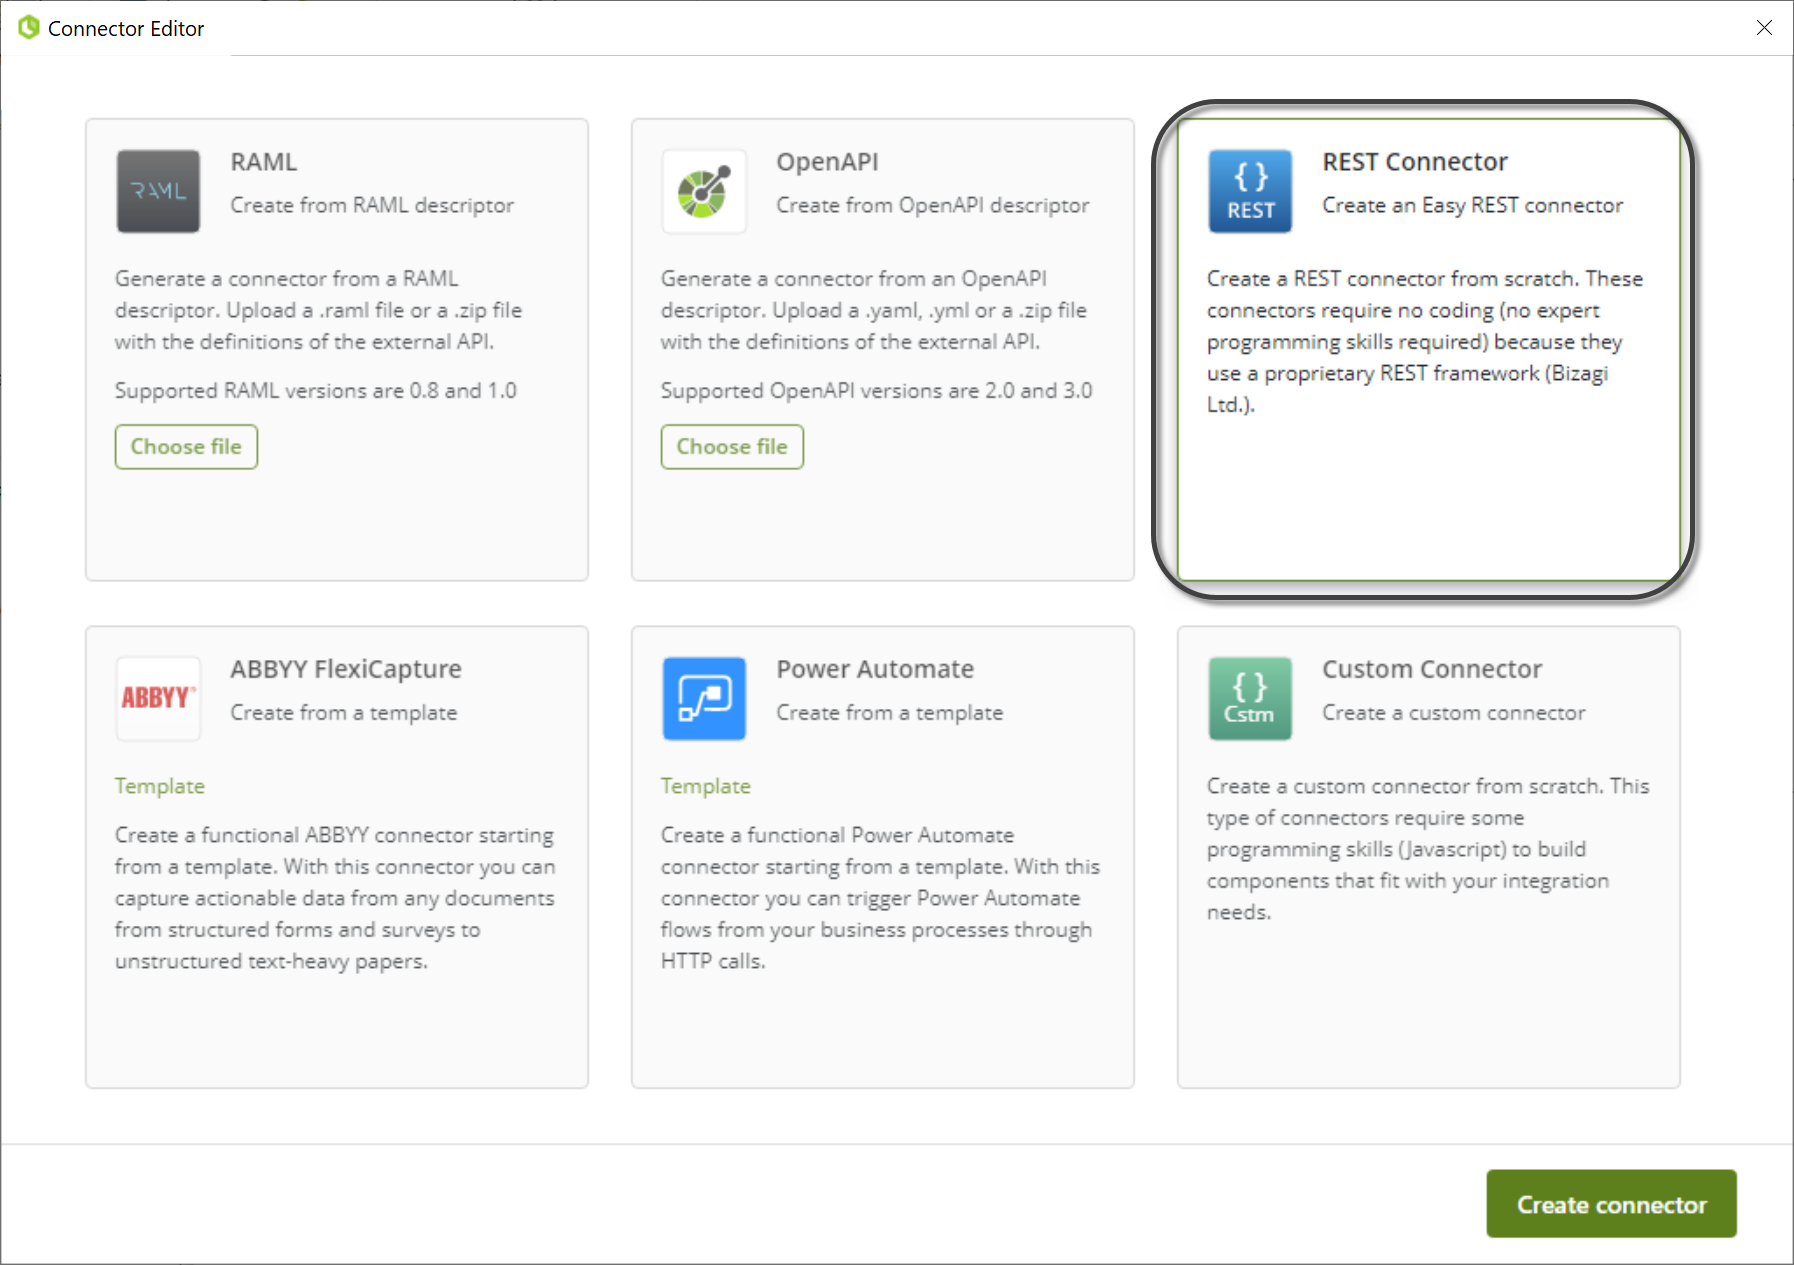
2.Use the Integration Hub to create a new REST connector.
3.You can configure a base URI for all the actions. The Base URI is a customized parameter that can be set in Bizagi Studio, where you can customize the URL for each environment. For example, you can define the Base URI for each environment as follows:
•Development environment: https://dev-api.com/services/data
•Test environment: https://test-api.com/services/data
•Production environment: https://prod-api.com/services/data
If you want to configure a base URI, enable this field and type the Base URI of your services.

|
If the actions of the connector are in different URLs, do not use this option |
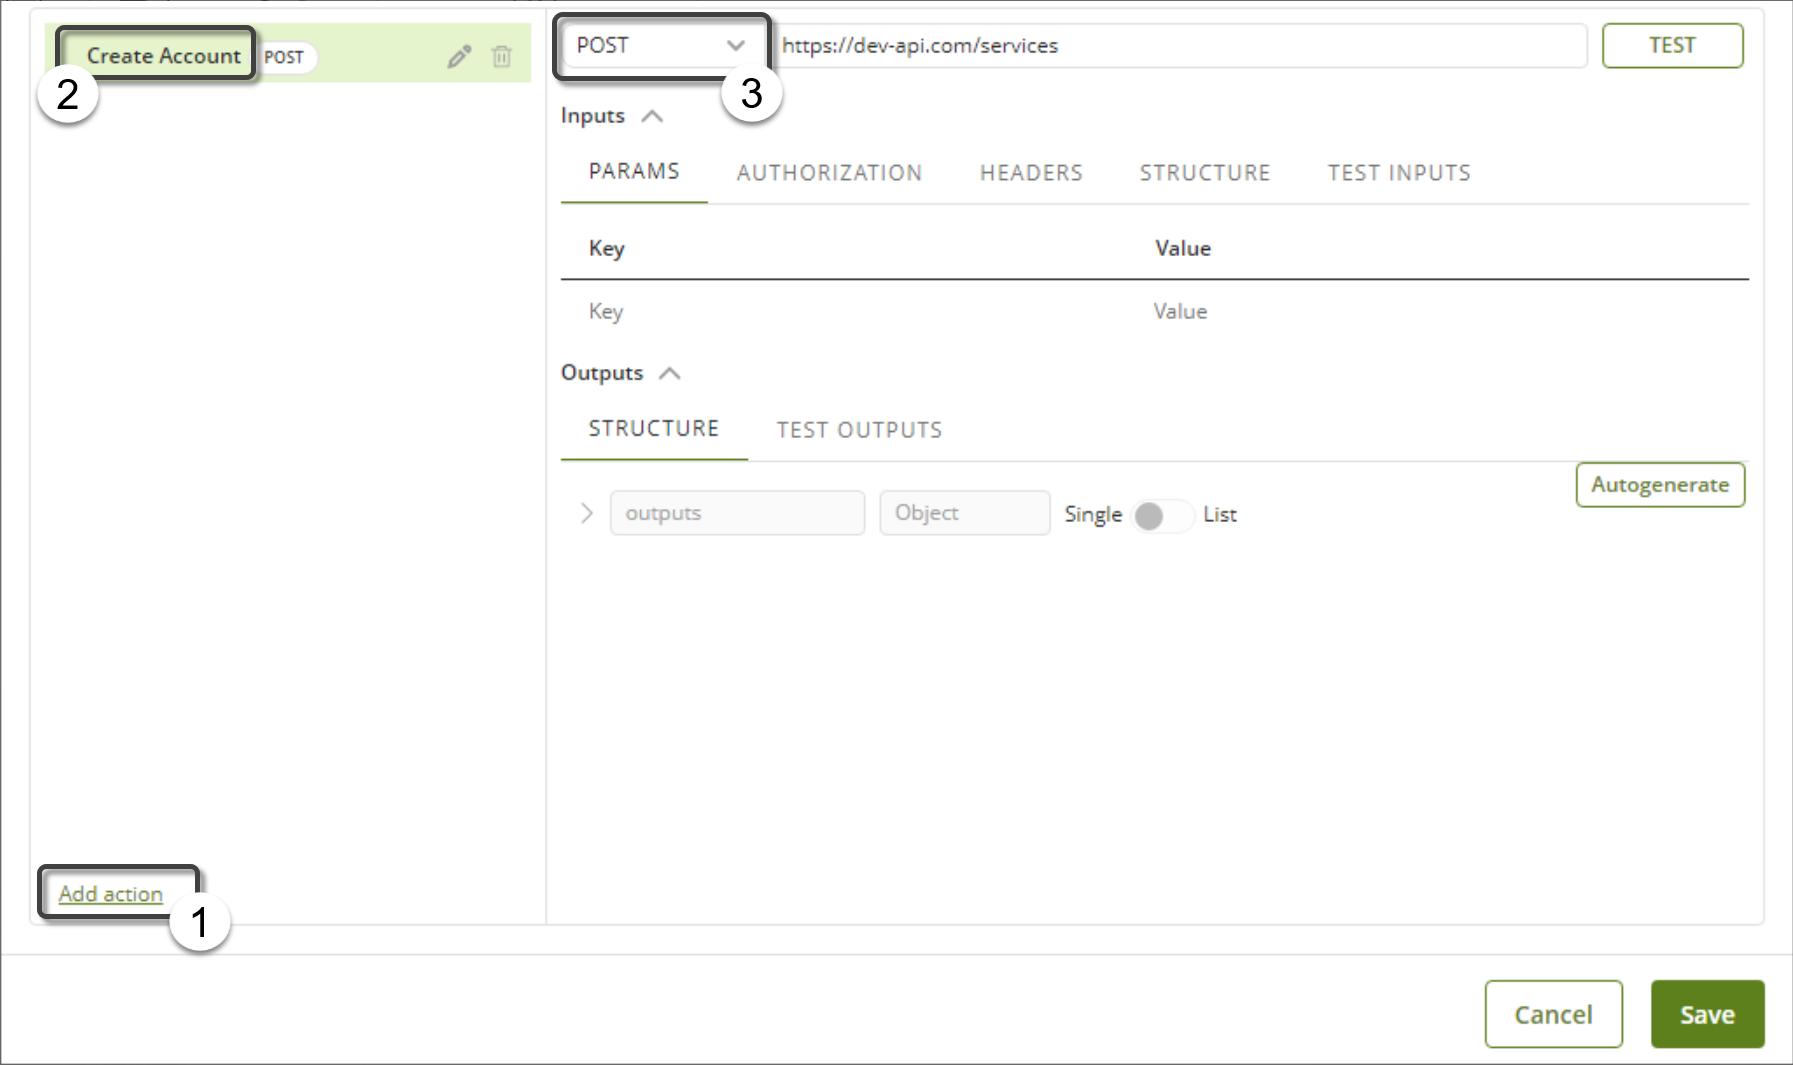
4.Create at least one action and specify its details.
|
In this step it is very important that you define its service URL (with all due query string parameters), its invocation method (GET/POST/PUT/PATCH/DELETE), its content type, and if the action uses authentication or not. |
5.Define inputs, as needed by your connector and supported by the API of the external system/application.

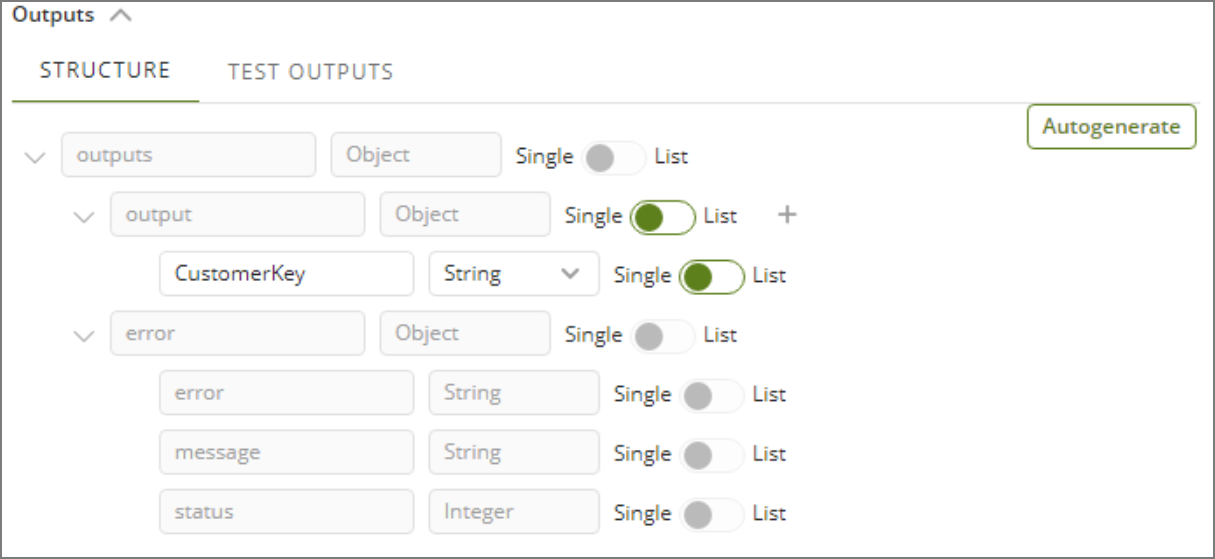
6.Define outputs, as needed by your connector and supported by the API of the external system/application.
|
In this step you may define the structure for error messages as well. |
7.If you want to, you can test your connector using the Test button.
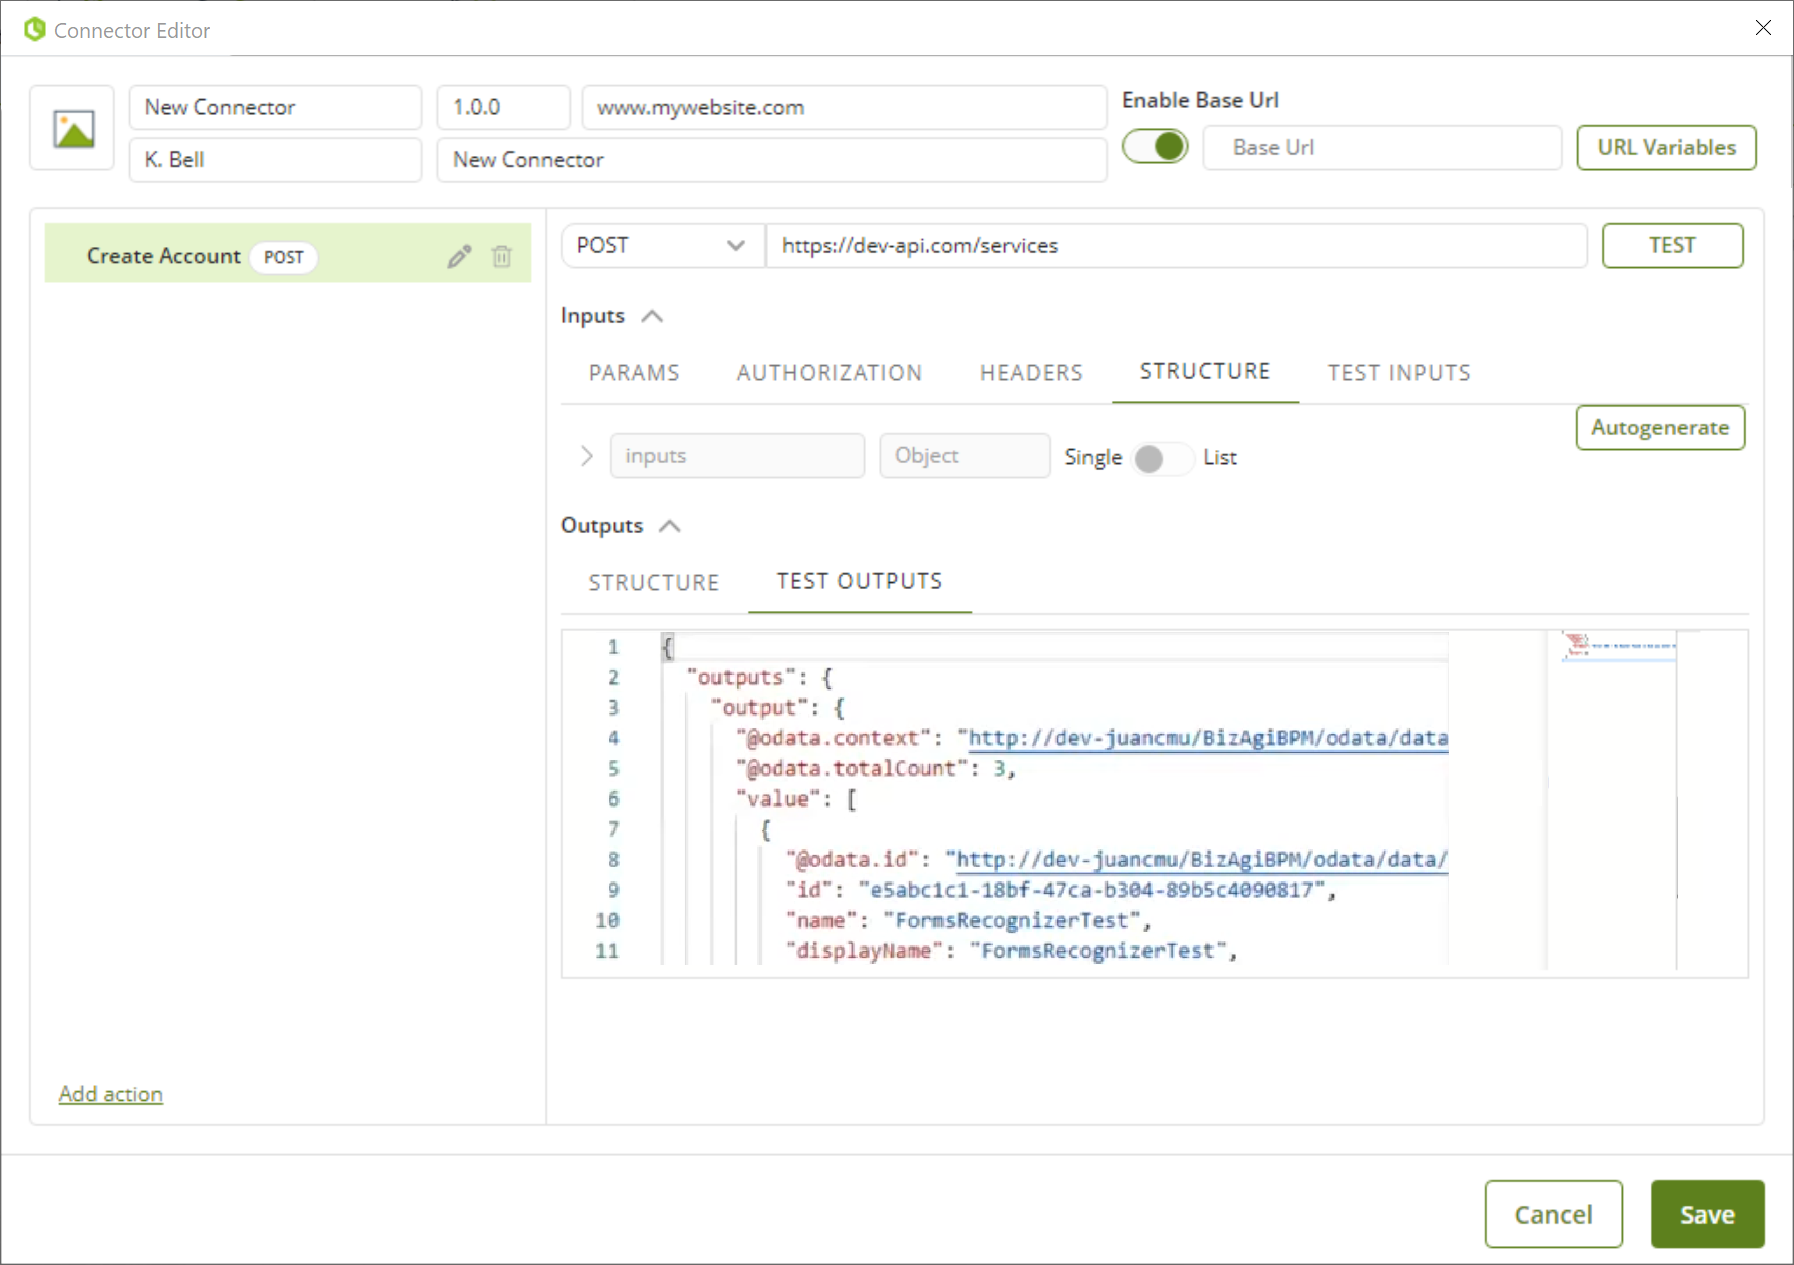
8.When ready, save your connector.
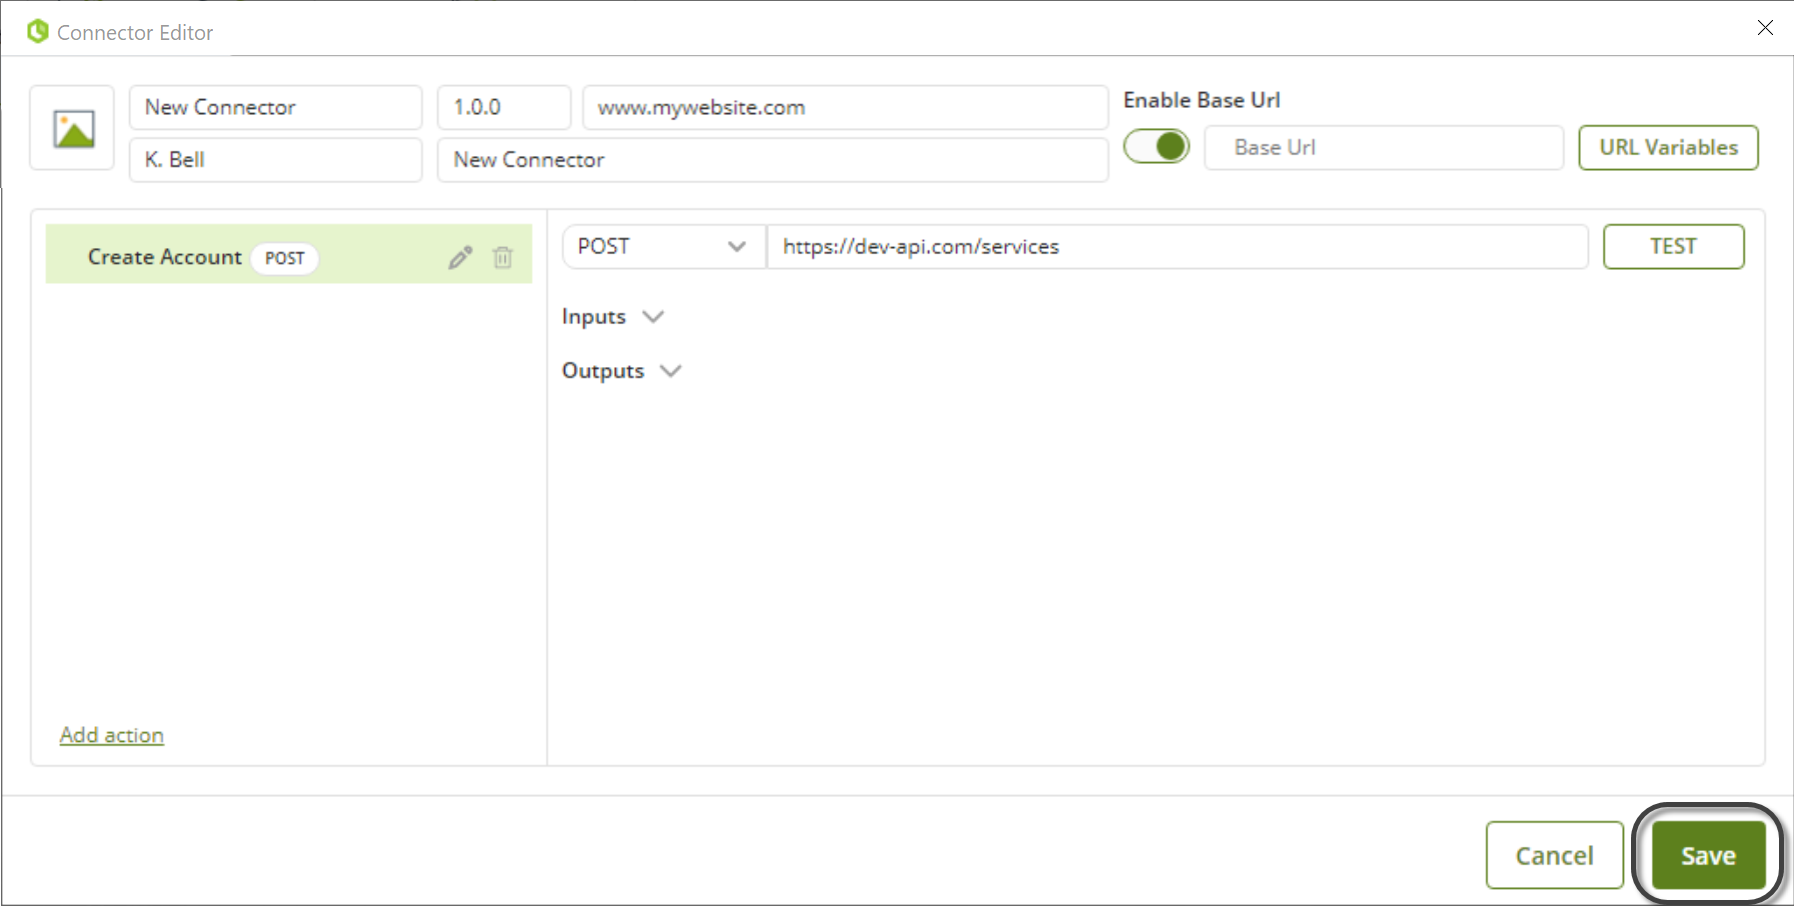
Once you have it as a .bizc file, next steps are installing it and testing it from Bizagi Studio, as described at Installing and configuring connectors.
Last Updated 1/3/2024 11:47:30 AM