Overview
Not all processes can be planned ahead of time - they arise from new circumstances. But once they have arisen, they should be managed.
Think of a meeting and all the series of activities that are left to be done.
Bizagi introduces a powerful and very dynamic capability that allows you to create plans, helping you control series of on-the-fly activities directly from your Work Portal.
With this feature you decide the activities that need to be done, the order in which they need to be executed (sequential or in parallel), establish due dates, the responsible person for each of them, and have the possibility to include a checklist.
Bizagi Plans are presented and managed under the My Plans section.

This section is part of the personalized Me menu, which is described at Me.
Plan statuses
Whenever a Plan is initially created, it falls into the Drafts status.
Plans in the Drafts status move unto a Running status whenever its owner start them, by enabling the activities to be executed.
Once started (in a Running status), inner activities of the Plan appear in the allocated user's Inbox.
Once a Plan (all its inner activities) has been finished, it falls under the Completed status.
Finished Plans are done and these cannot be reopened; a new Plan can be crafted instead.
Plans quick facts
Consider these aspects when working with Bizagi Plans:
1. Plans are available for all Personas.
2. Each Persona can create their own plans when needed, rendering that Persona as the clear owner of that Plan (even though inner activities of that Plan are appointed to others).
This means that such Plans are not shared per sé, but put into action in possible team work.
3. Users who have been allocated to activities of a Plan can create additional Plans for themselves.
4. There is no limit to the number of Plans that can be created, either for a Persona or when drilling down into detail of a "sub-plan".
Creating Plans
Plans can be either created as standalone (not bound to any process), or as part of an activity of a process (a Plan inside of an activity).
Refer to the guided steps to create Plans for either scenario.
Imagine a meeting has led to plan a series of activities to be executed that need to be controlled and followed-up.
However there is no process created in Bizagi that is previously designed to support them.
In this situation, we use Plans.
Therefore, creating a standalone Plan would be outlined as:
1. As the owner of the Plan and the responsible to design its activities, click Drafts at My Plans.
Recall that this menu is presented to end users who are explicitly categorized as Personas.

2. Click Create Plan.
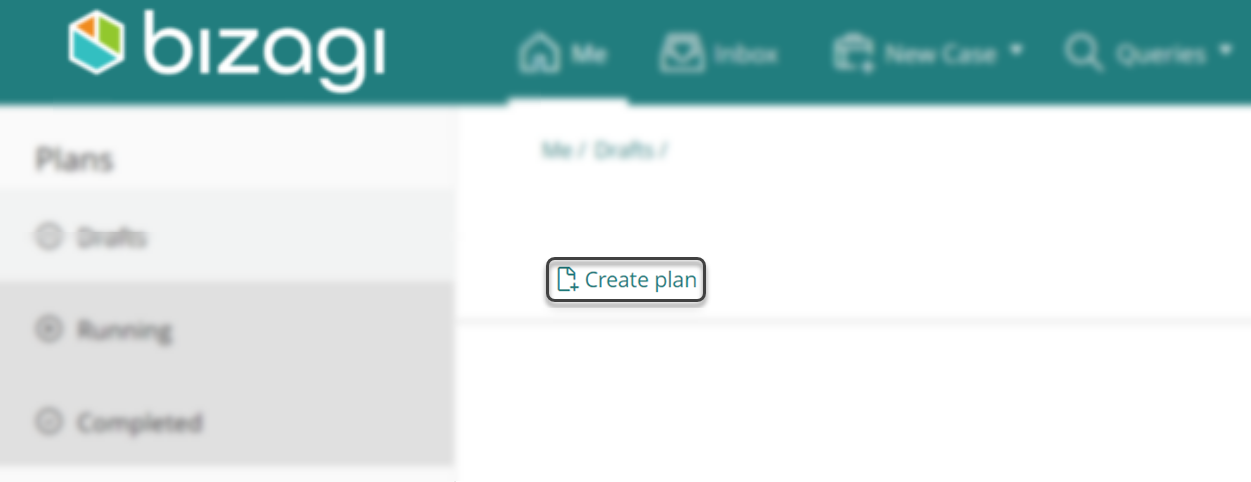
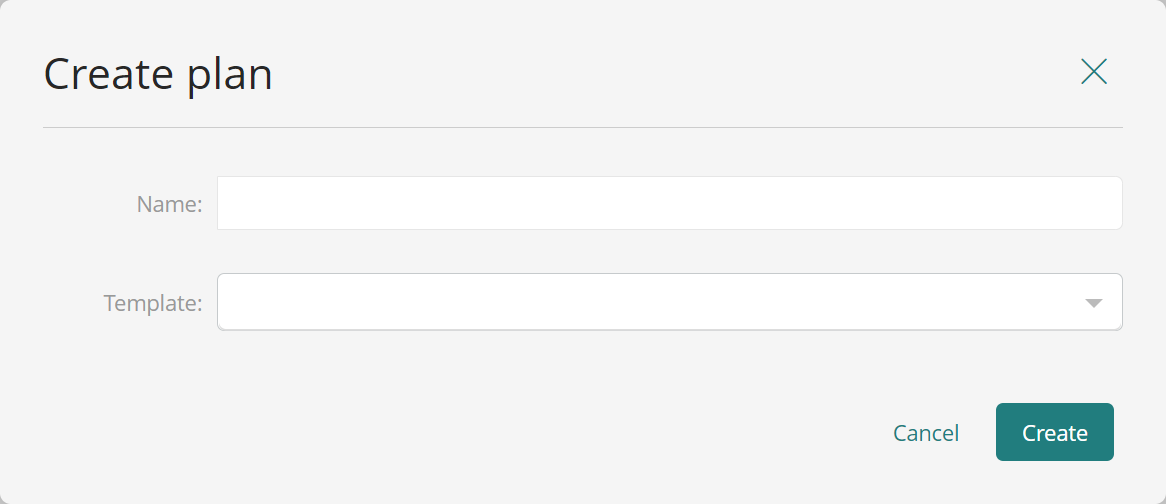
3. Give a name for the new Plan.
Notice that the first time, you will not have the option to choose from a template. However, you can select a template of a previous Plan if you have already created one that can be reused.
4. Define the activities that make part of that Plan.
Do this by inputting the name of an activity in the text field, and pressing the Enter key when done.
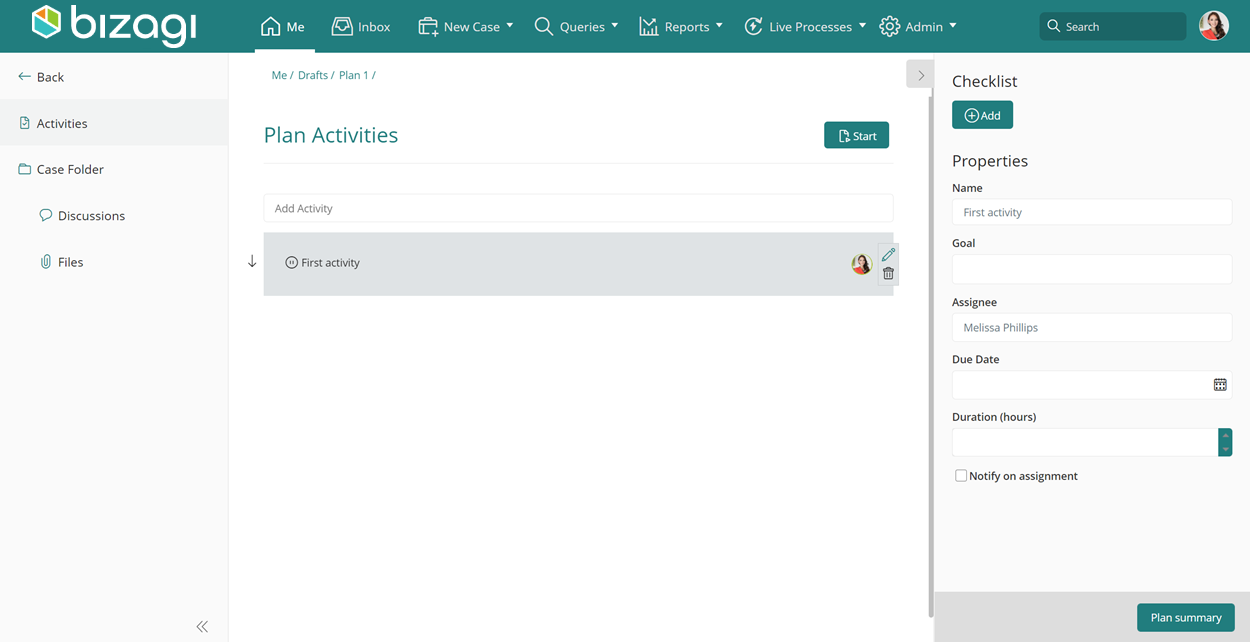
Click the created activity to edit its details: Goal it seeks to achieve, its Assignee, Due date, Duration, and Notify on assignment.
If you enable Notify on assignment, allocated users receive an email notifying the new task. The notification can be customized in Bizagi Studio's Business Configuration, in the notification named Notify on Plan assignment.
Create additional activities by going back to the text field and repeating the same procedure described above.
5. Start that Plan.
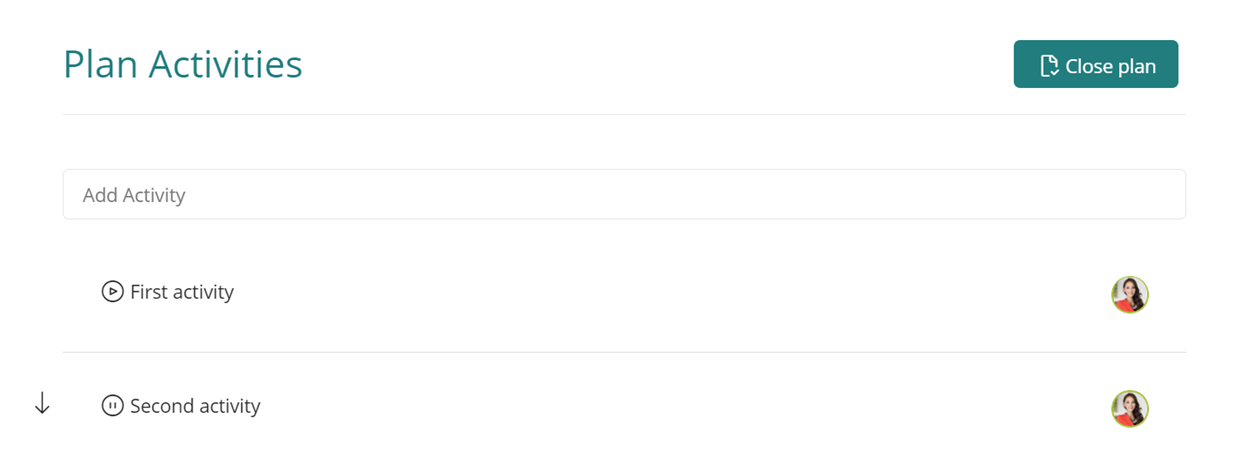
When done with the activities definition, click the Start button to put that Plan into action.
As of this moment, the Plan will be running and you now you have the option to close it.
Whenever a user is allocated to a regular activity that belongs to a process, it might happen that they require help from other colleagues to complete it.
Plans are also available within ongoing activities that are part of processes.
In this situation, we use Plans to define one that breaks down a possibly complex activity into finer-grained tasks.
This type of Plan can be seen as a definition extending that allocated activity, so that it details a checklist or series of steps.
Therefore, creating a Plan as part of activities, would be outlined as:
1. As the end user working on an allocated activity, and while doing so, click Add plan.
Recall that working on an activity of a process does not demand that an end user has to be categorized as a Persona.
Any end user can define a Plan to get their colleagues' assistance as needed.
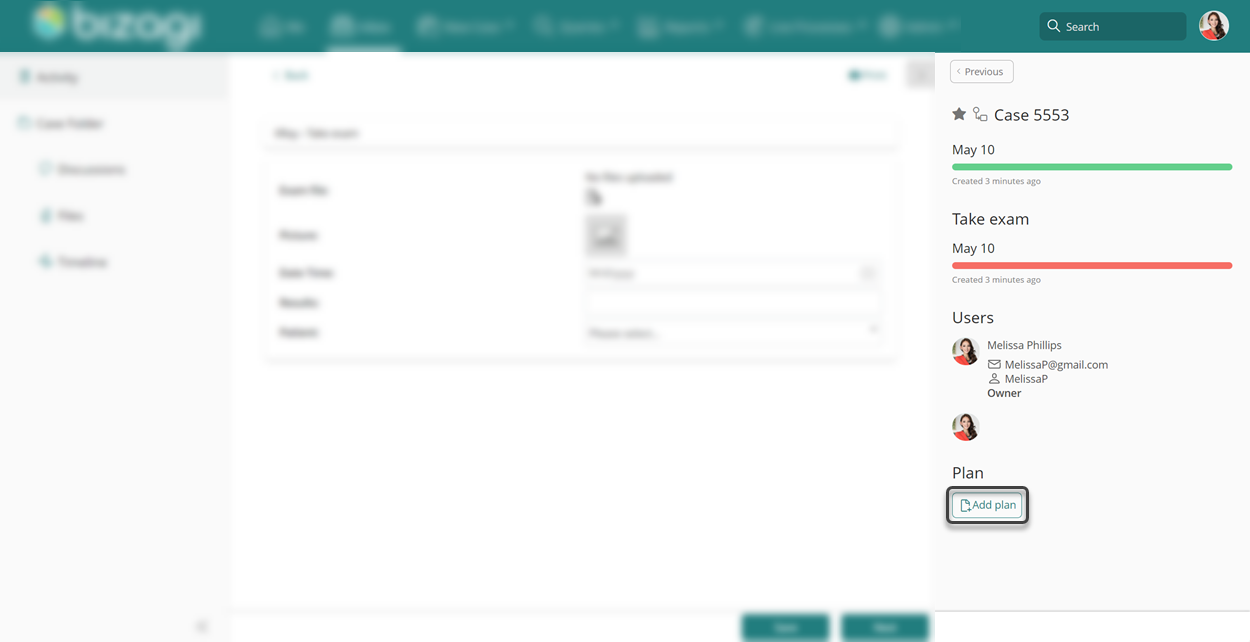
2. Click Create Plan.
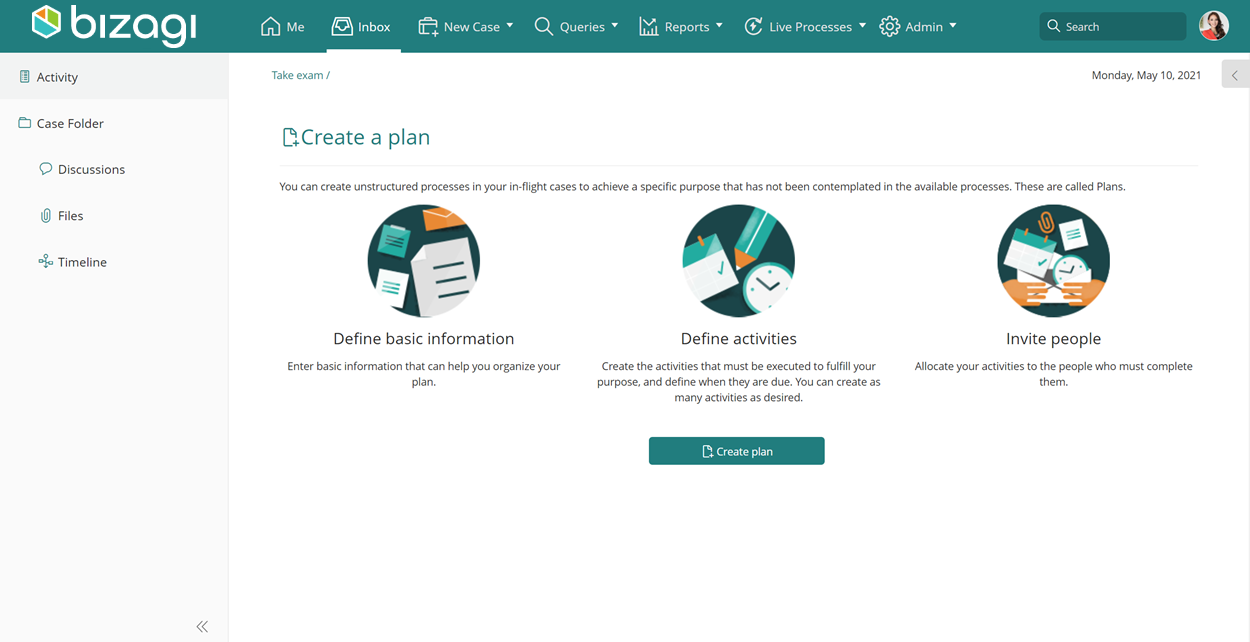
At this point, the steps to define the Plan's properties (i.e., Name) as well as its inner activities are the same to those presented when creating a Standalone Plan.
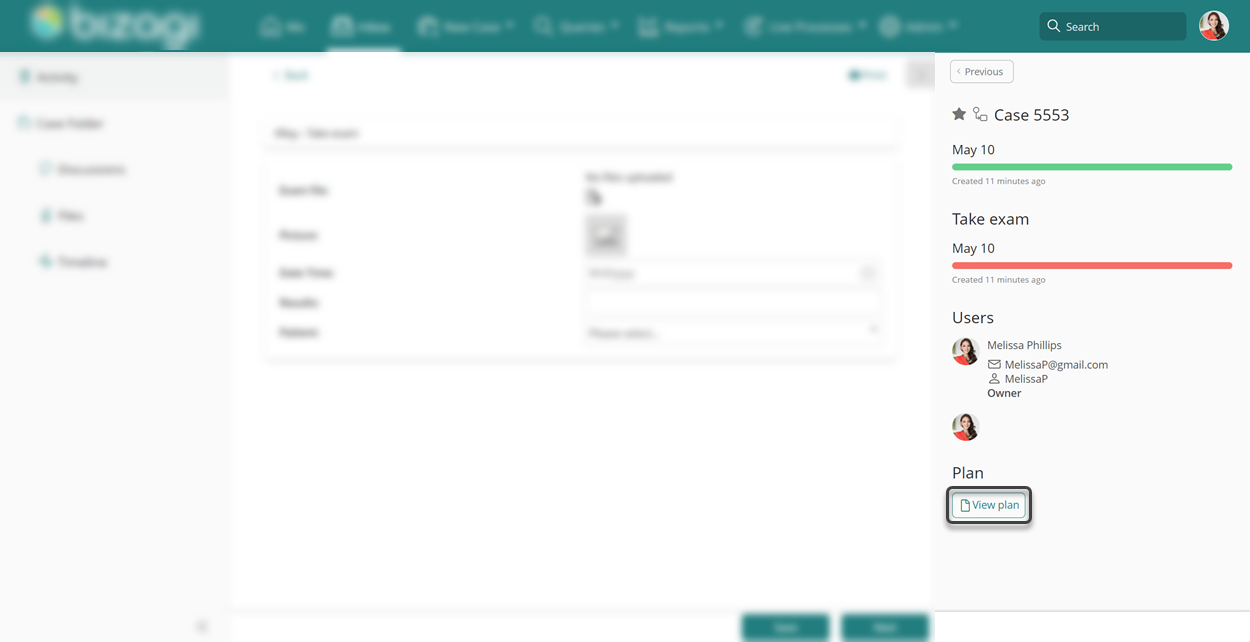
From the activity that originated the Plan, you can manage that Plan by clicking the View Plan button.
This enables the edition view to add new activities, follow up the ones already created, save the Plan as template, or close it.
Personas can create as many activities as required.
Activities inside of a Plan are shown to end users in the Work Portal just as regular activities of a process are shown (listed at the Inbox).
The image below shows an activity named First Activity at the Inbox; which is an inner activity defined in the scope of a Plan:
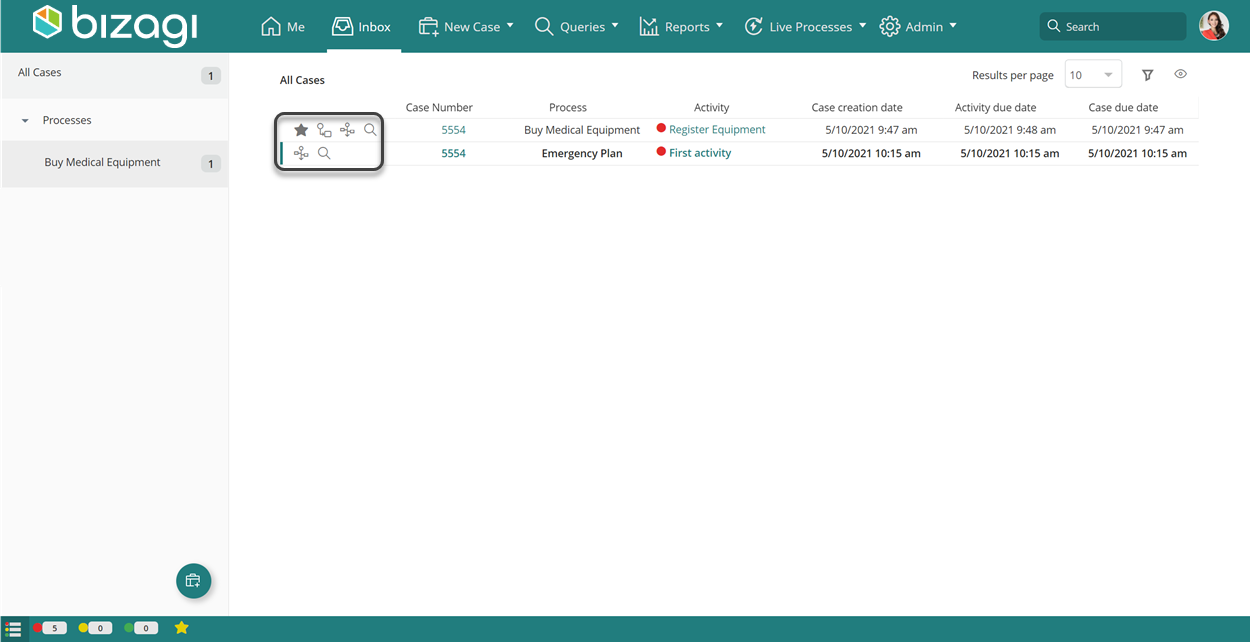
Notice there would be subtle differences when looking at activities inside of a Plan when compared to activities which are part of processes:
•The graphic query of the process option is not applicable.
•The Following mark is not available given that the inner activity does not belong to a case.
•Even though the inner activity does not belong to a case, Bizagi generates a unique identifier so that you can easily locate such activity (i.e., from the search box).
The identifier is automatically generated and it does not support custom naming or tagging (does not use prefixes, suffixes or custom sequences).
Regarding defining these activities, whenever a Plan is created, the Add Activity text box is displayed so that you can just type the name of the activity and press the Enter key to define as many as needed.
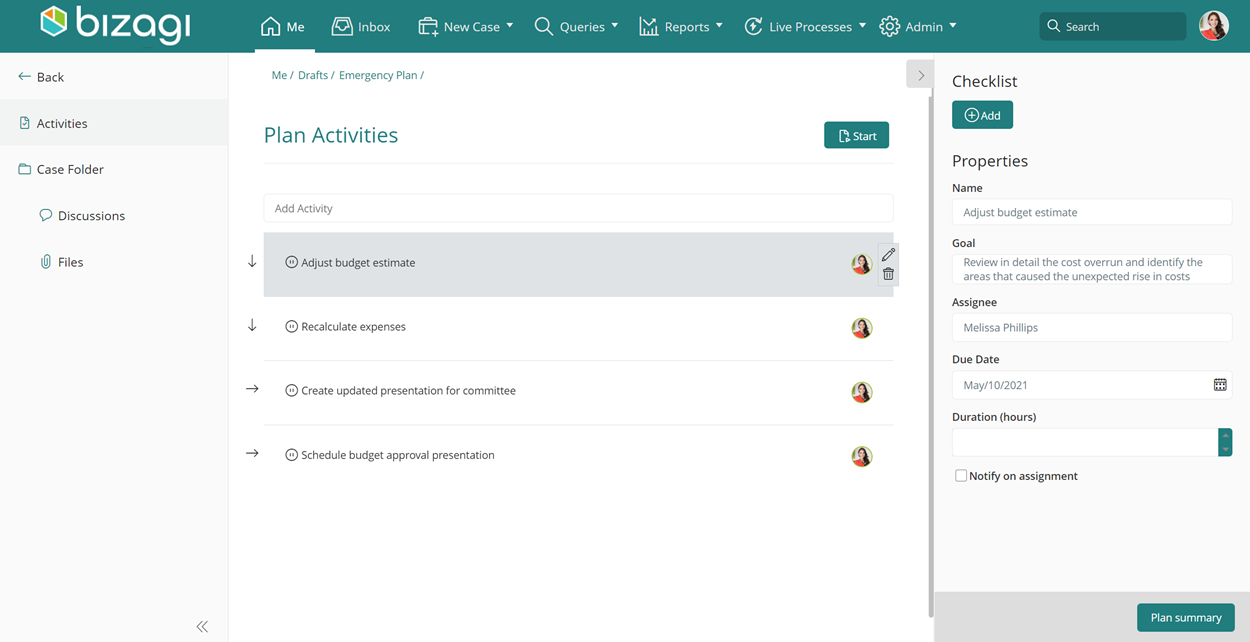
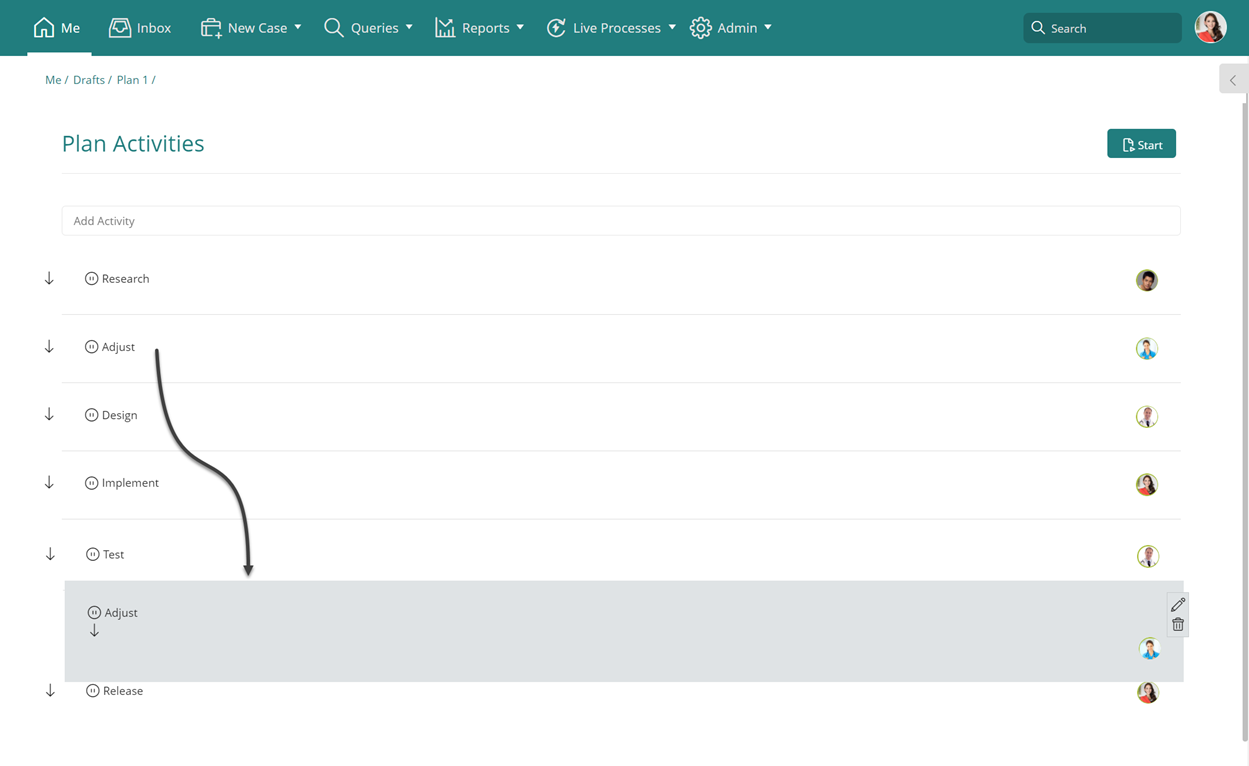
You can reorder these activities by dragging and dropping them into the desired position:
Sequential or parallel activities
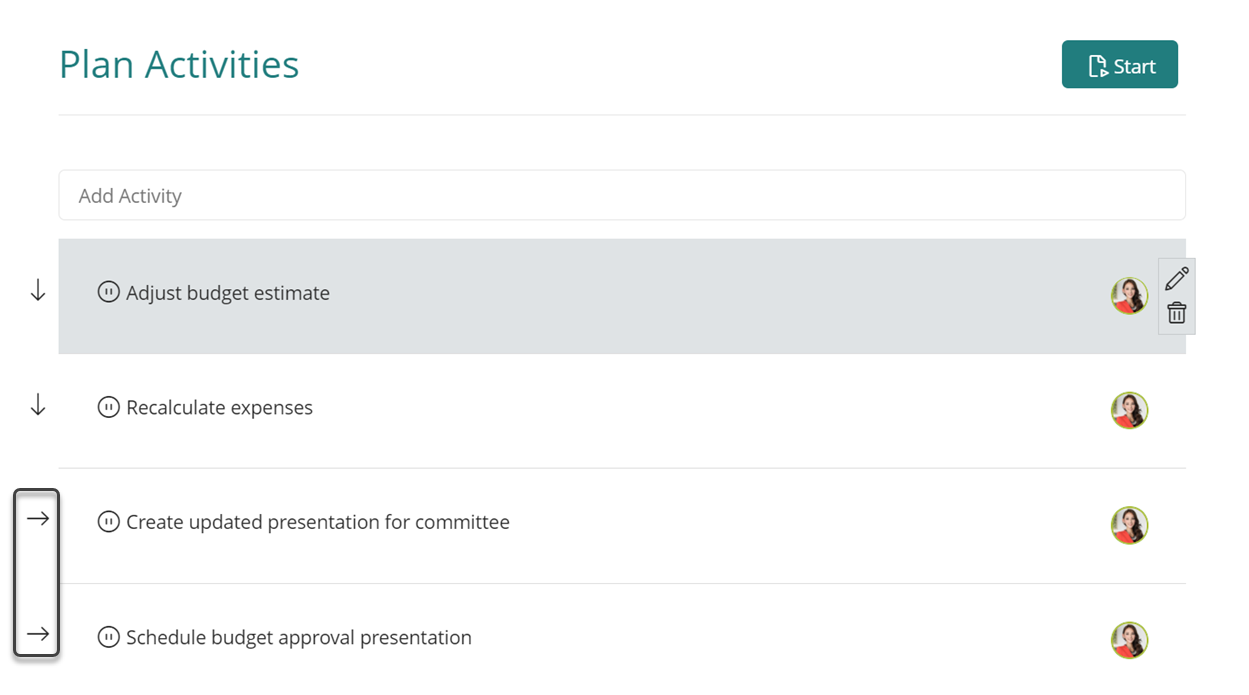
You can create two or more activities to be executed in parallel.
That is, they are enabled at the same time and as they are completed, the next non-parallel activity is enabled.
Note that by default, activities are set to be executed sequentially.
To define parallel activities, click the arrow on the left of the activity name so that it switches to have a horizontal direction ( ![]() represents sequential, and
represents sequential, and ![]() represents parallel).
represents parallel).
When having two or more activities in a parallel mode, one after the other, they are set to be executed in parallel.
Activity details
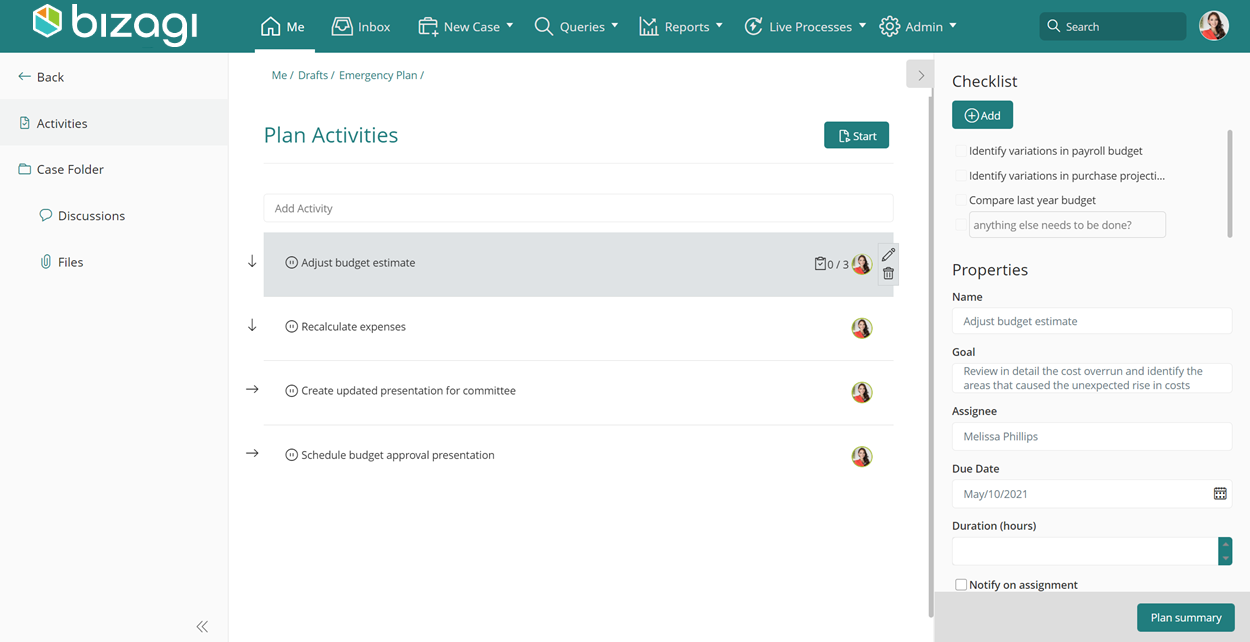
Whenever an activity is created (or selected), the right panel displays its details.
Such details consider:
•Checklist: A list of items which are presented each with checkboxes.
Use the Add button for the Checklist, so that inner activities of a Plan present a checklist.
Adding items to the Checklist is done by typing the name and pressing the Enter key.
Items of the Checklist work as mandatory fields in a form (meaning that to be able to complete the activity, the whole set of items of that checklist must be checked).
Note that regardless of adding a Checklist, end users have the possibility of defining their own Checklist for them to check upon completion.
•Name: A descriptive name to identify the activity.
•Goal: A meaningful description to elaborate on what the activity seeks to accomplish overall.
•Assignee: The end user in charge of performing such activity.
Make sure you type the username to select if from the autocomplete list.
•Due Date: The date on which the activity is expected to be completed. Such SLA determines when the activity in the Inbox is shown as overdue (expired), at risk, or on-time.
When filling out a Due Date, it is not necessary to fill out Duration.
•Duration: The time in hours to which the activity is expected to be completed. Such SLA determines when the activity in the Inbox is shown as overdue (expired), at risk, or on-time.
When filling out a Duration, it is not necessary to fill out Due Date.
Once all the activities, goals, allocated users, due dates, and checklists are in place, you can start the Plan having it show a progress percentage:
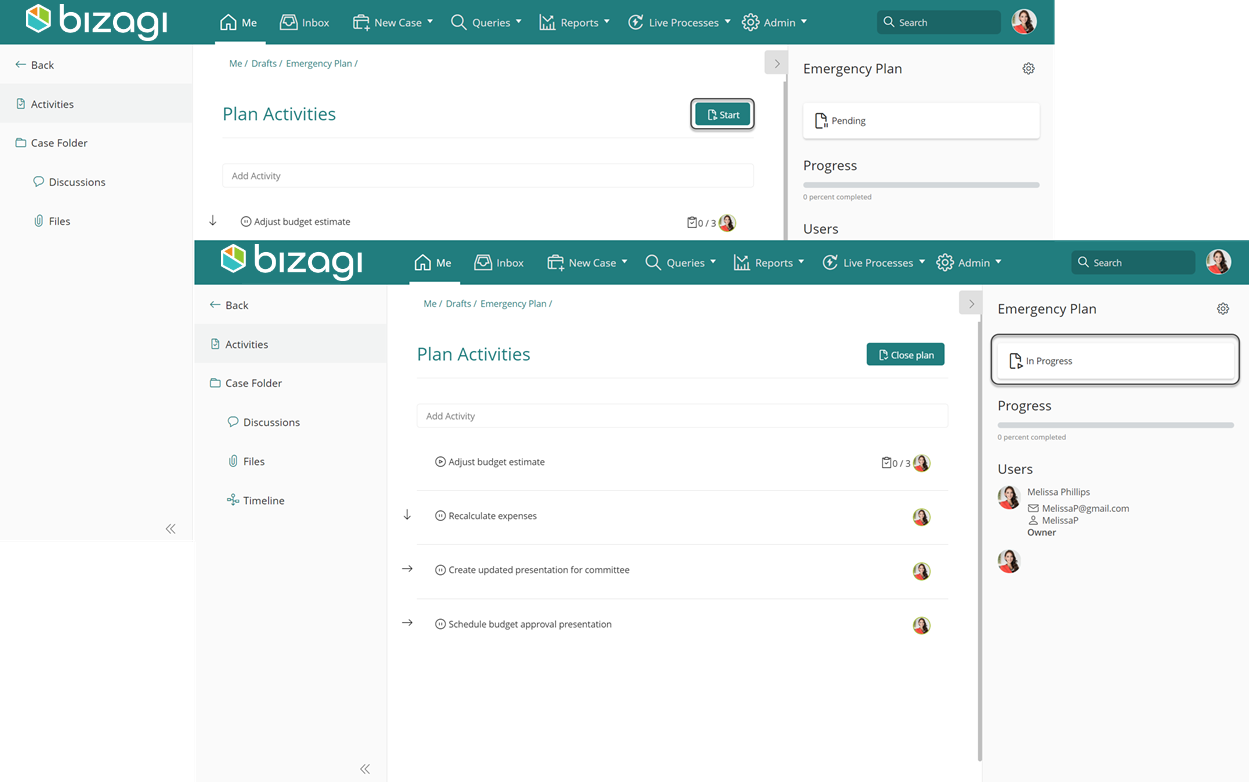
By clicking Start, activities are immediately appointed in the Inbox of the corresponding assignees:

To learn how a creator of a Plan can manage one (close, edit, delete, or save it as a template), refer to Managing Plans.
To learn how end users work with the appointed Plan's activities, refer to Working with running Plans.
Last Updated 11/24/2023 9:40:22 AM