Overview
You can manage access to resources based on roles. However, it is common to have a group of users sharing multiple roles from different services. For example, a group all the services' subscription owners like Modeler and Automation service. Customer Portal groups let you gather multiple roles in one group, so you can control access to resources based on groups.
For more information about Bizagi cloud platform roles, refer to the Cloud services users and roles article.
Description
Groups are managed from the Customer Portal. A group is a gathering of roles, so users in the role are assigned to all roles included in the group. Consider the following example:
You want to gather the following roles in a group: Modeler Subscription Owner, Automation Subscription Owner, and Studio Subscription Owner. You create a new role group named Company Subscription Owners group. Within this group, you include two users, John and Ana. Therefore, they inherit all the permissions of all the roles included in the group.
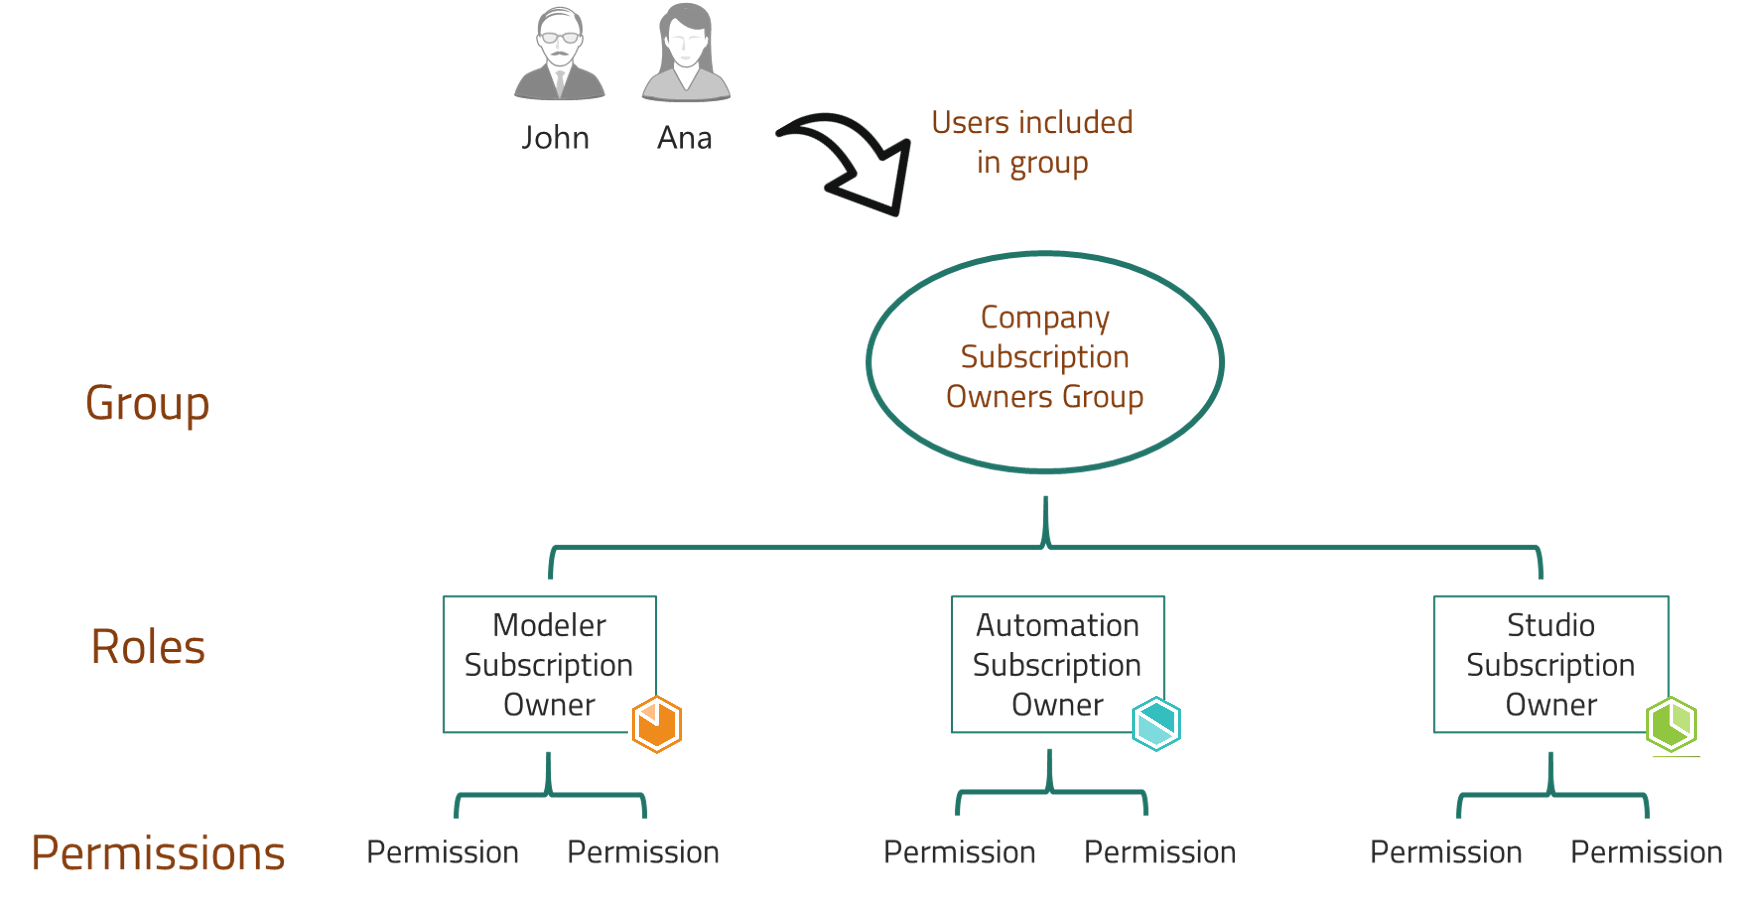
When you add a user to a group, the user will be assigned to all the roles included in the group. Therefore you can also see it in the roles section. See Manage users by role.
|
Only users as Company Administrators can create and manage Groups. |
A Company Administrator can:
Before you Start
Before creating groups it is important to understand the different roles available in the Customer Portal. For further information about roles see Customer Portal users and roles.
What you need to do
To create a group and assign roles to it you need to follow these steps.
1. Create a Group
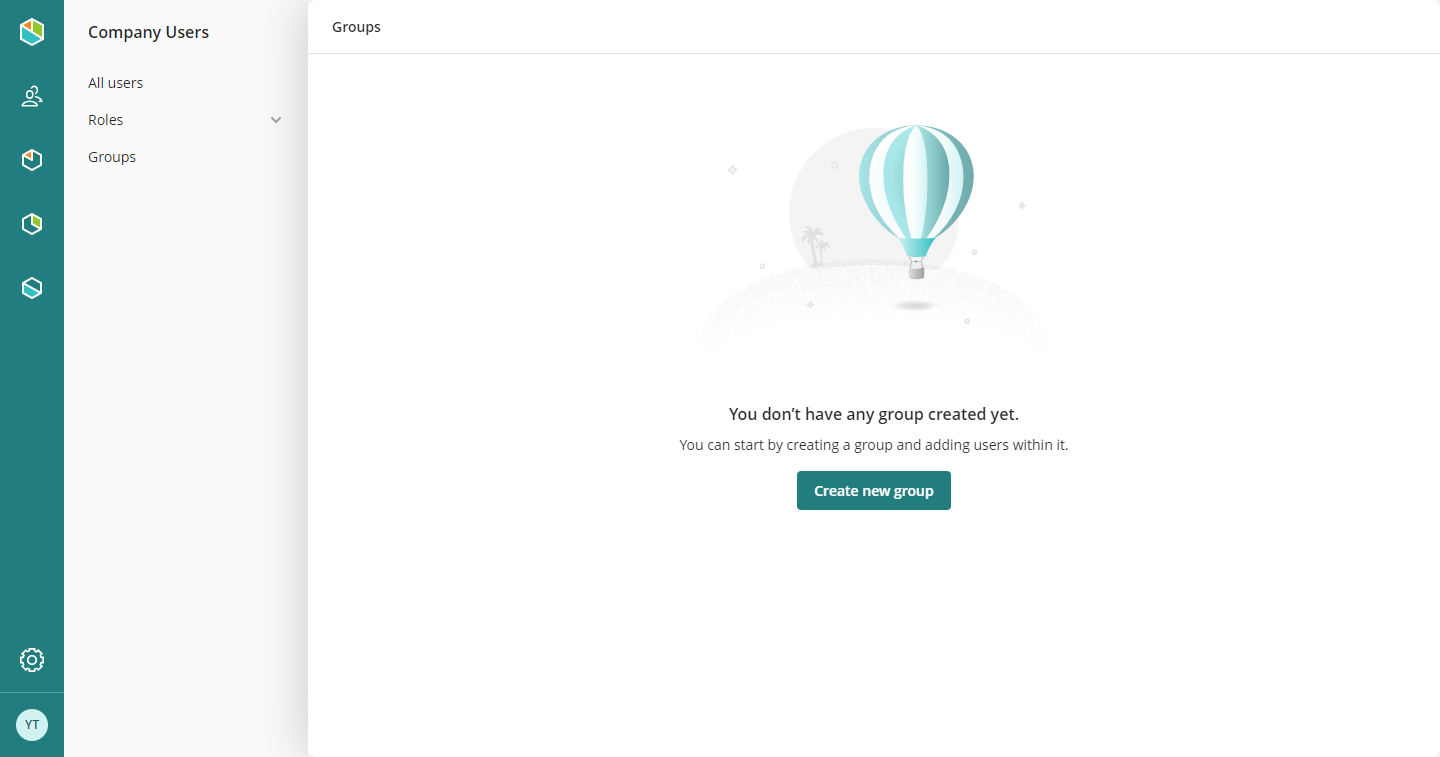
The Company Administrator has to open the User administration module and click the Groups section. Click the Create new group button.
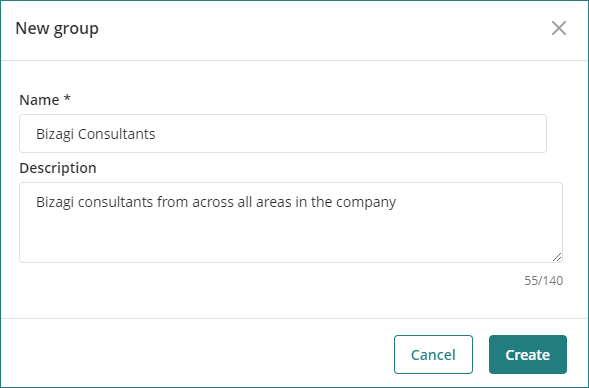
Register the group name
2. Assign Roles
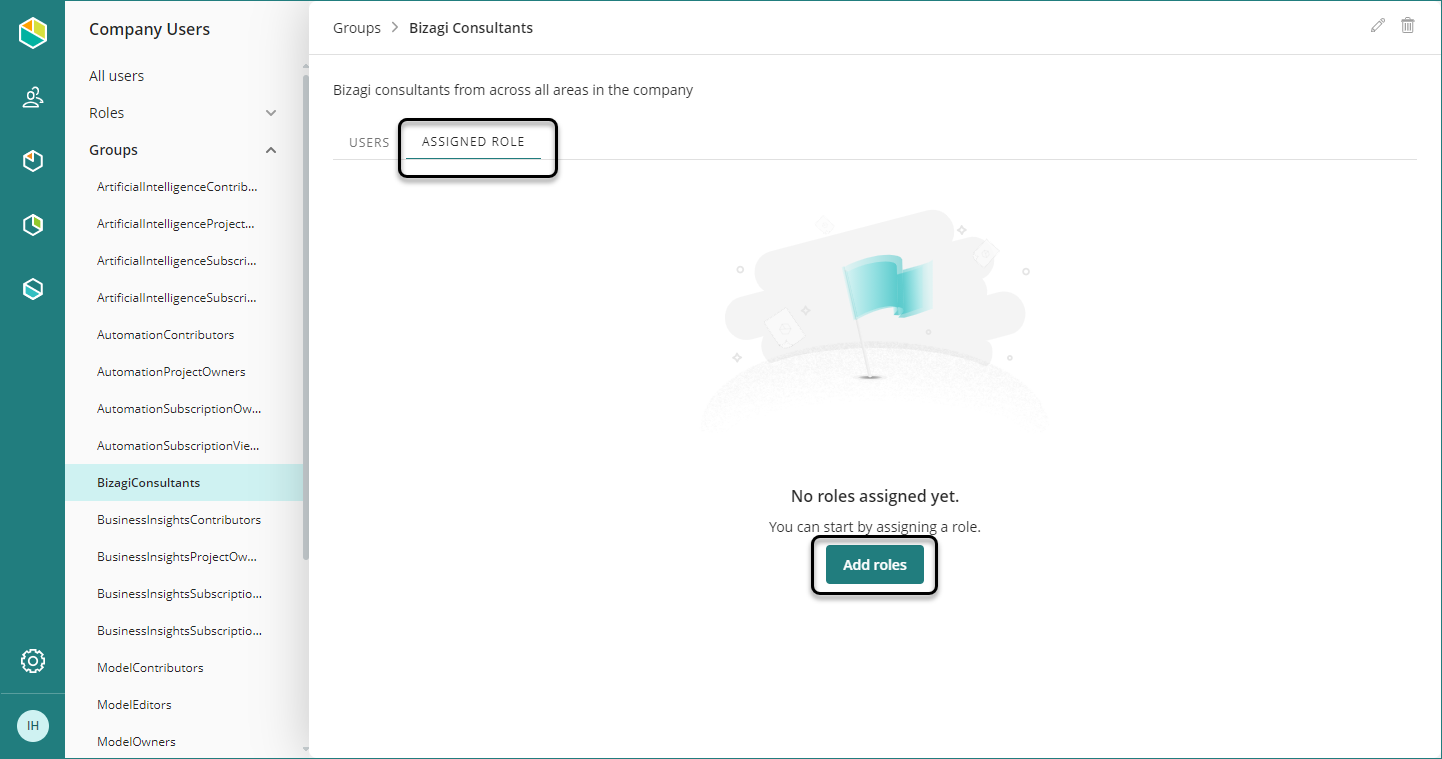
You need to define the roles associated with the group. All users included in the group have automatically the same roles defined in the group. After creating the group, or selecting it from the list click the Assigned Role tab and click the Add roles button.
Then select the following options:
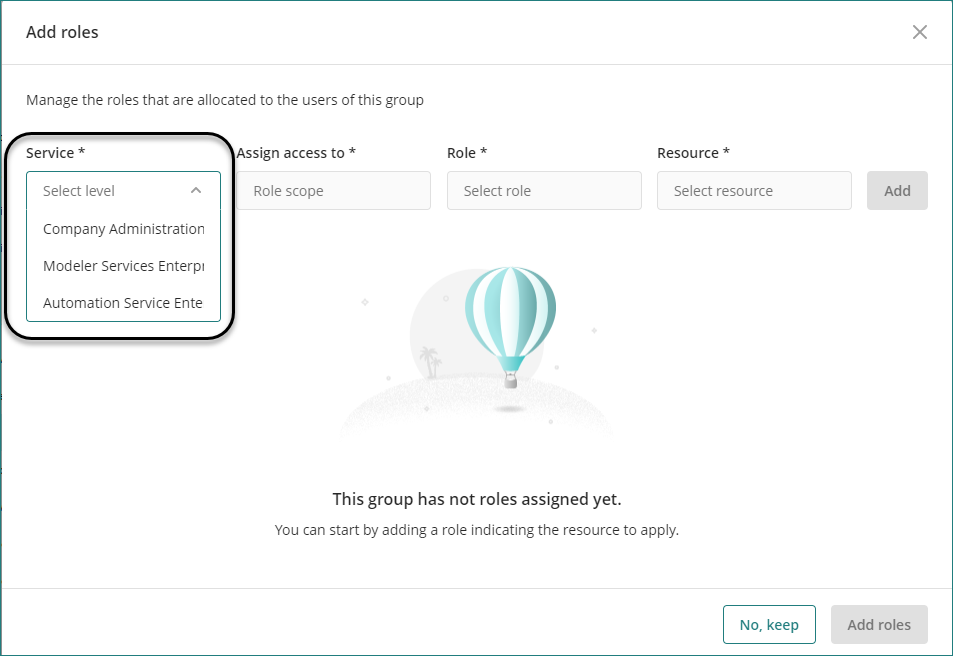
Service
Select the level at which the role is located. This can be at the company level, for the Automation service, or other services purchased by the company like Modeler Service or Studio Cloud Services.
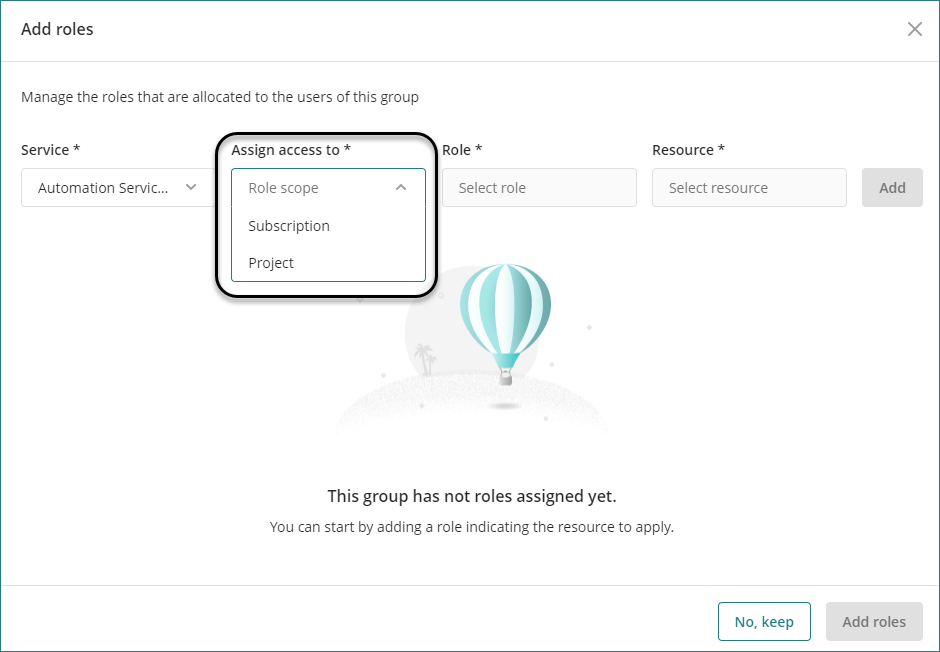
Assign access to role
Define if the role you are adding belongs to the subscription level or a lower level like a Project.
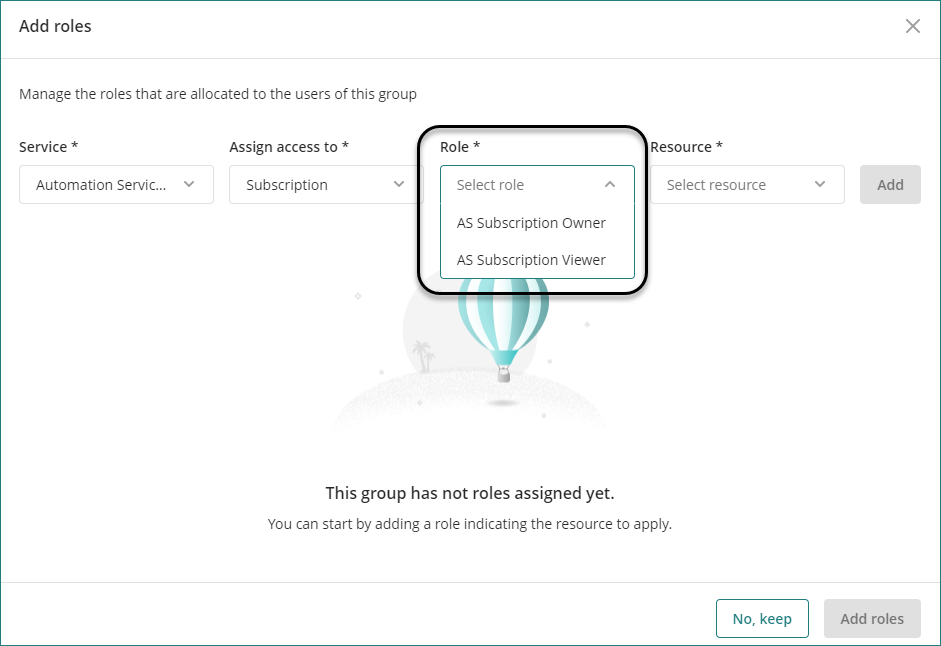
Role
Select the role you want to include in the group.
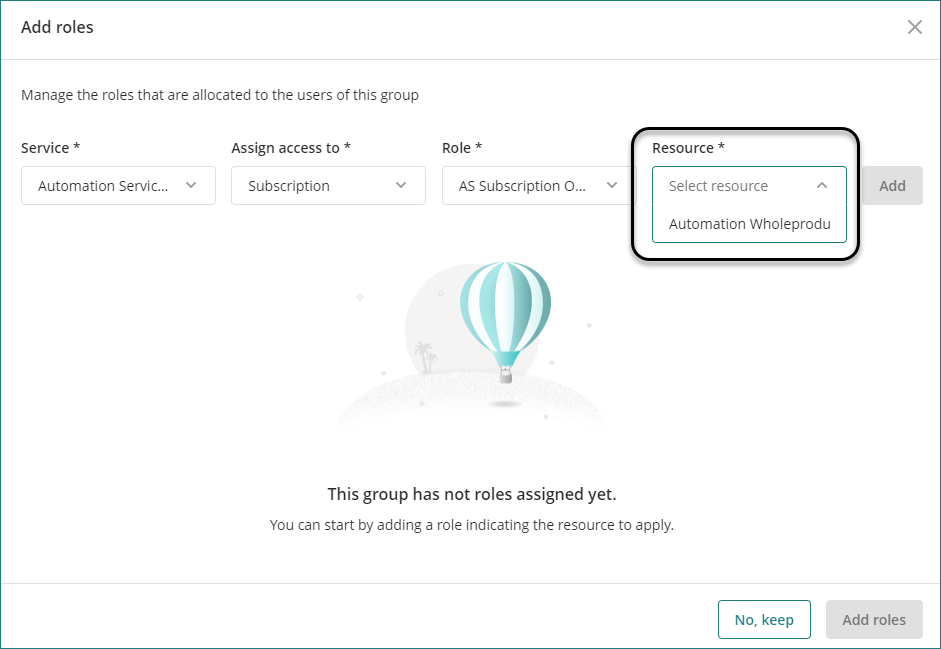
Resource
Select the resource at which the role is located. If the role is at the subscription level you must select the automation subscription. On the other hand, if the role is at the project level, you must select the project. Then click the Add button on the right-hand side.
After you select all the roles you want to include in the group, click the Add roles button.
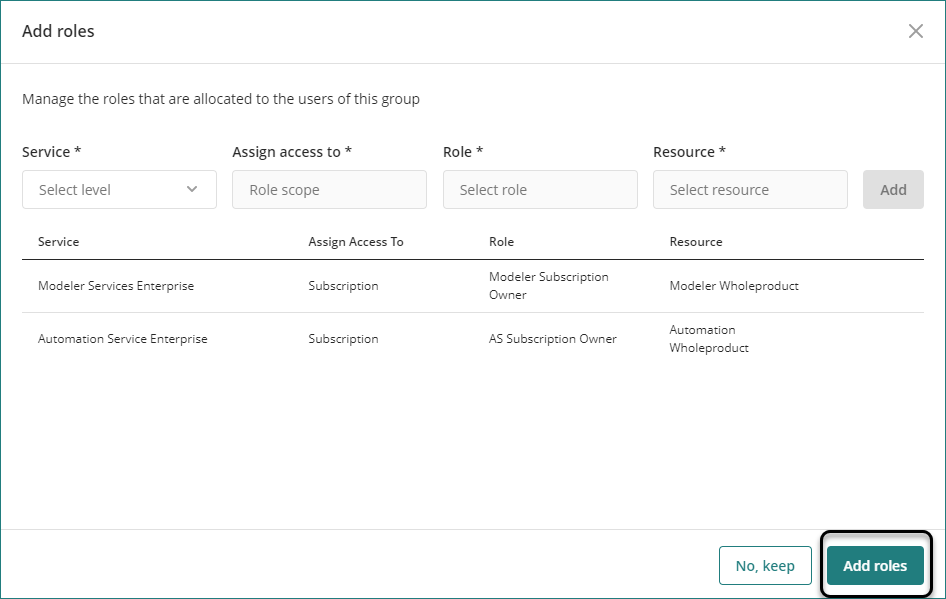
You can see the summary of all roles included in the group.

3. Add Users
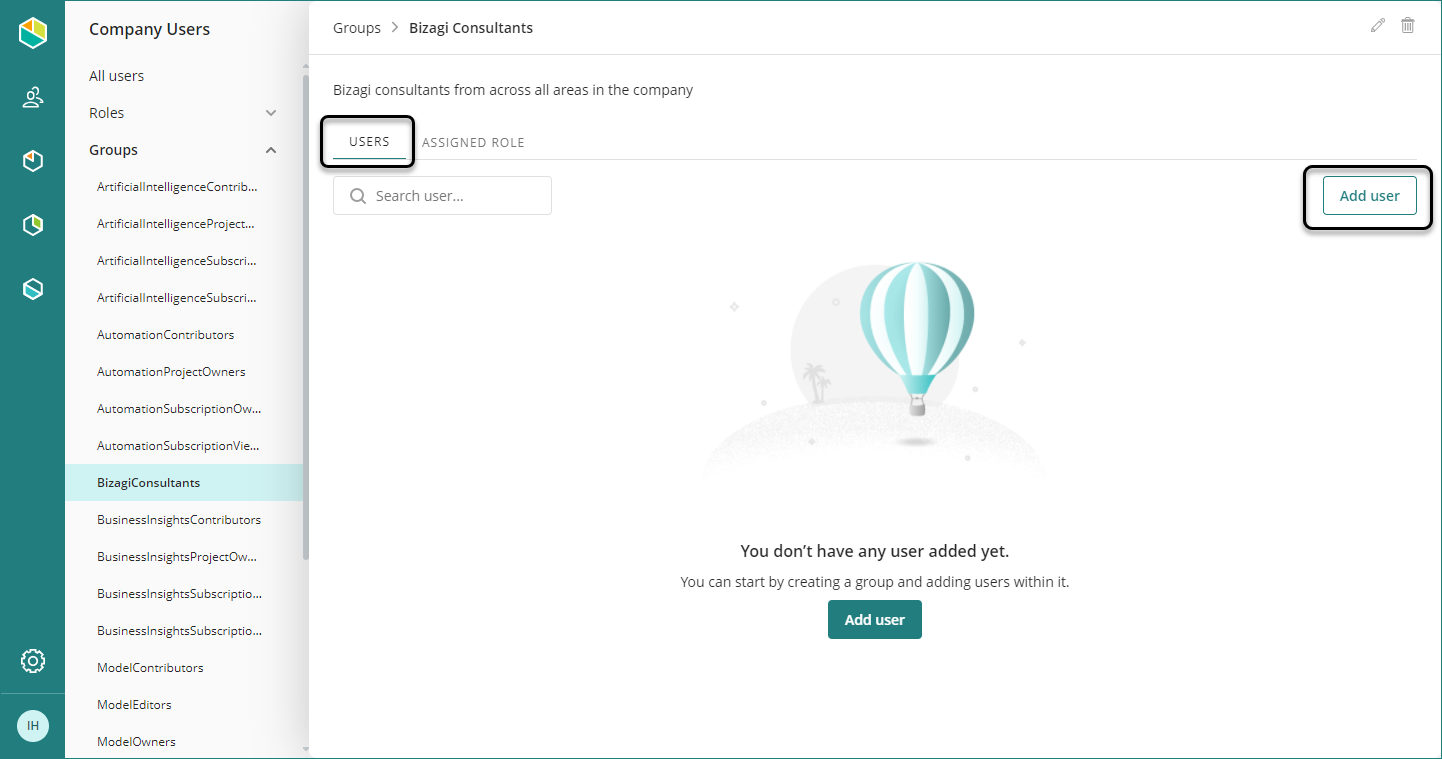
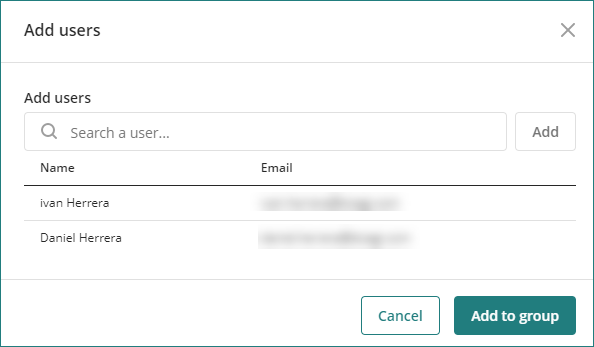
Now you can include the group users. Once you include users, they will have the same roles that you define in the group in the previous step. To add a user select the group, open the Users tab, and click the Add user button.
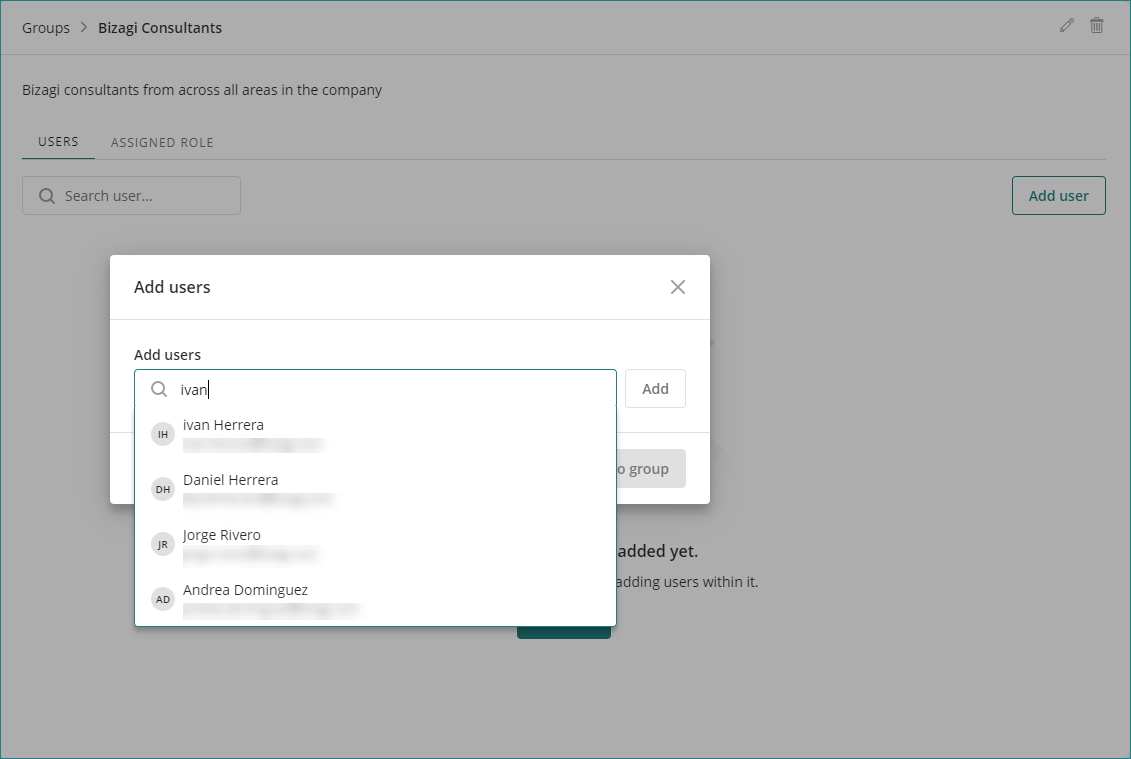
To search a user you can type either the name or the email.
You can search multiple users, then click Add.
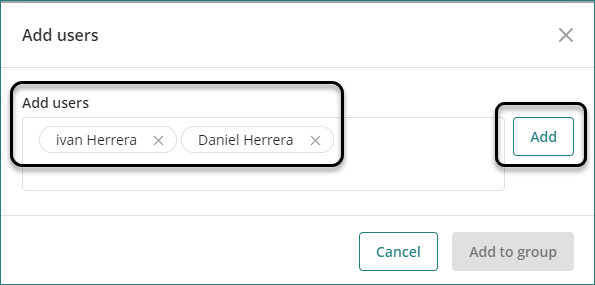
After you confirm all the users click Add to group.
Managing Existing Groups
You can perform any of the following actions in an existing group:
Remove users
If you want to remove a user from a group, access the group, select the Users tab, and select the user(s) you want to remove. After selecting at least one user, the Remove selected button appears.

Click Remove in the confirmation window.
When you remove a user from the group, all the roles associated with the group are removed from the user.
Remove roles
If you want to remove a role from the group, access the group, select the Assigned Role tab, and select the role(s) that you want to remove. After selecting at least one role, the Remove selected button appears.

Click Remove in the confirmation window.
Edit or delete the group
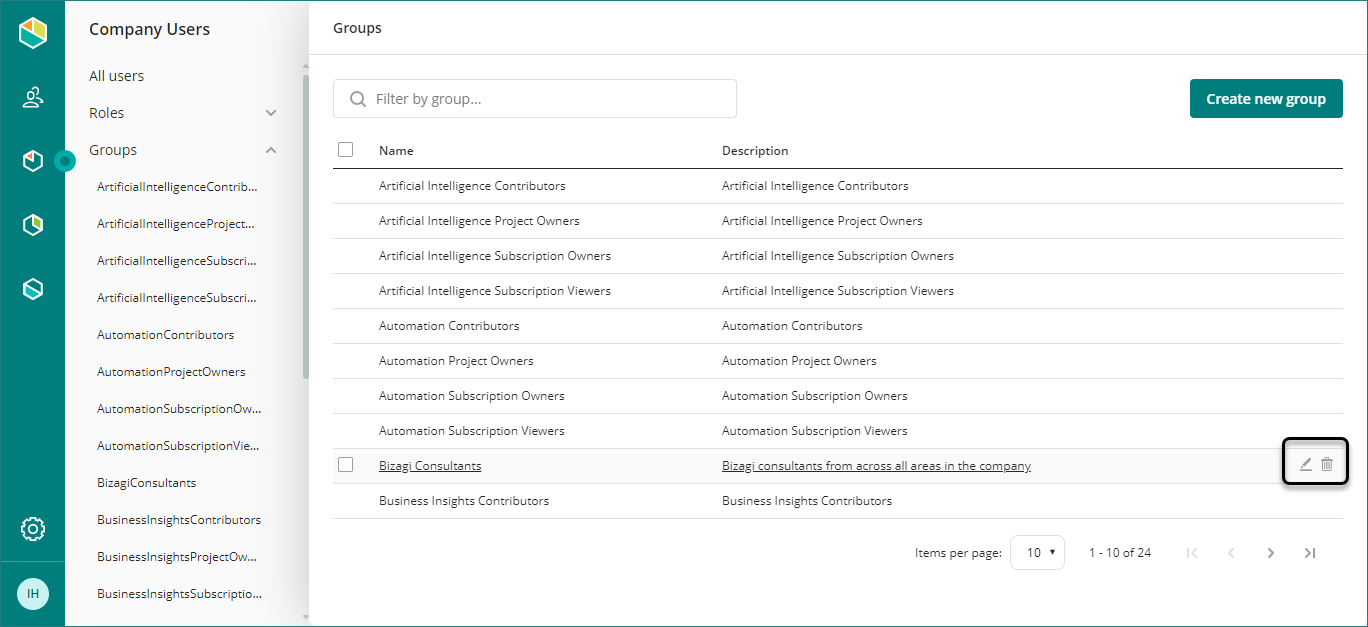
You can edit the group's name from the group options, clicking the edit icon or deleting it by clicking the trash icon.

Or in the list of groups. You can find the same options.
Last Updated 1/20/2025 11:35:42 AM