Use
The File upload control is used to upload and attach files to the application.
Considerations
•A single File attribute may store several files.
•Ensure documents have content before uploading to a file attribute, empty files are not supported.
•The maximum allowed size (in bytes) of files to be uploaded is defined in the Environment Configuration, with a maximum of 25 MB. However, you can define a customized maximum file size.
•You can define the maximum number of files to be uploaded in a single File attribute and also if the uploaded files can be deleted.
•You can define the valid extensions of files to be uploaded.
•You may enable the send as attachment icon, to provide end users with a quick option to send files by e-mail.
•Uploaded files are related to the Entity record to which the file attribute belongs. It is important to note that the File might be shared and hence viewed among cases. For example, if a contract is uploaded to a Client Master Entity, the contract File is visible in any case related to the Client where the contract is shown in a Form.
•If you need to copy Files from one attribute to another, refer to How to manipulate Files using expressions.
•When a file is uploaded or removed from a form, the change is saved automatically to the activity's scope.
If the user clicks Back in the Work Portal's and then returns to the activity, they will see that the change persists.
Related to attribute types
This control is related to File type attributes.
Properties
Every control has a set of properties that allow to customize its behavior in the Work Portal. However, some properties are exclusive to a specific control. The following are exclusive properties for the File upload control:
Advanced tab
PROPERTY |
DESCRIPTION |
||||||||
|---|---|---|---|---|---|---|---|---|---|
Allow Delete |
This property enables/disables the option to delete uploaded files. |
||||||||
Max files |
Defines the maximum number of files that can be uploaded to a control. |
||||||||
Valid Extensions |
Defines the allowed file extensions for uploaded files. Separate different extensions using a semicolon. (e.g., doc; xls; png). |
||||||||
Maximum Size (bytes) |
Defines the maximum size (in bytes) that a file can have before it is deemed unsuitable for an upload. Bizagi will compare the size given in this property versus the one set in the Environment Configuration and will take the smallest of them as the maximum limit. Consider the next table in order to convert to bytes the most common units of measurement for data storage
|
||||||||
Enable "send as attachment" icon |
Shows an icon for end users to easily send the file as an attachment in an e-mail. This option is not available in the Add form of a Suggest control. |
|
Clicking the Set to default value icon will reset the properties. |
Example
In a Purchase Request Process, end users need to upload a Purchase Order once the request has been approved.
A File upload Control is needed in the form to be able to upload the file.
The File upload Control must comply with the following conditions:
•To avoid duplicities and mistakes, stipulate that only one file can be uploaded.
•To make sure integrity of the document, purchase orders can only be uploaded in PDF format.
•The maximum size allowed for the document is 2,000 bytes.
•It is desirable to allow the end user to delete the file in the event that a mistake is made.
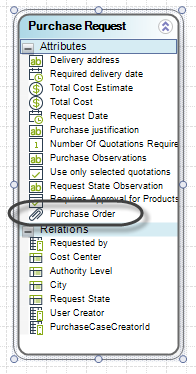
1. You need a File-type attribute related to the Process Entity. In this example we will create one called Purchase Order.
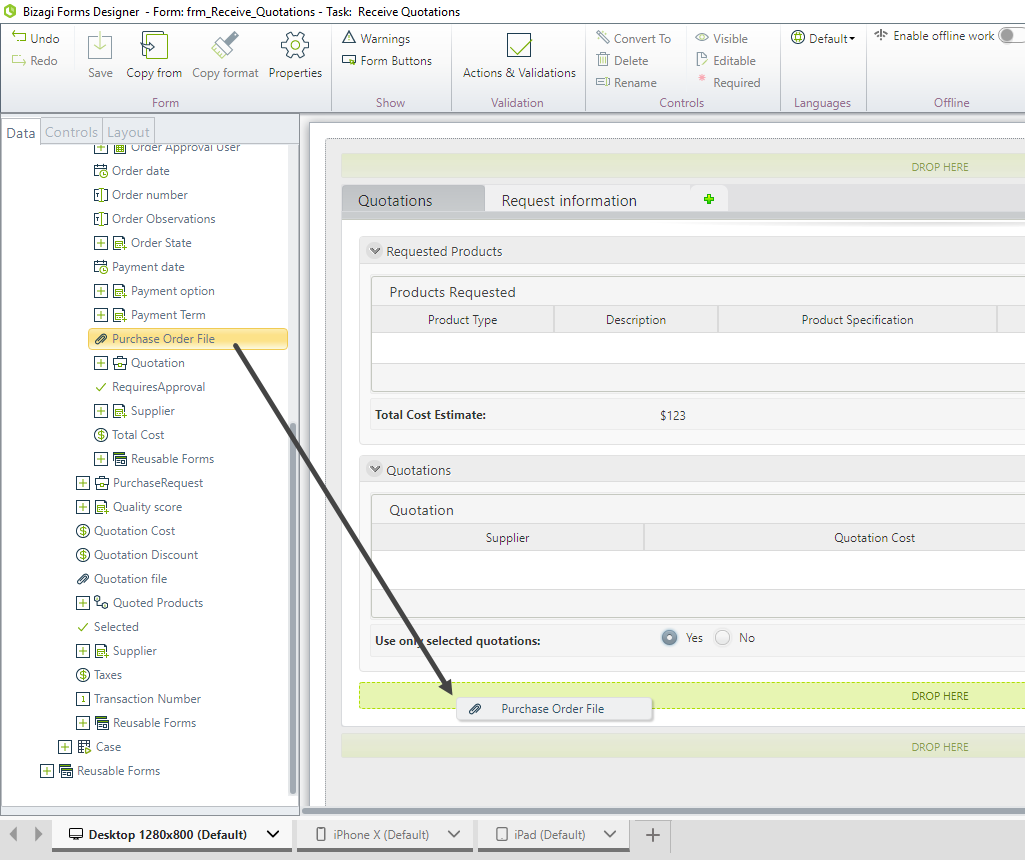
2. On the Form where the Purchase Order has to be uploaded, drag and drop the Purchase Order file-type attribute from the data model. This will be interpreted automatically in the form as a File upload control.
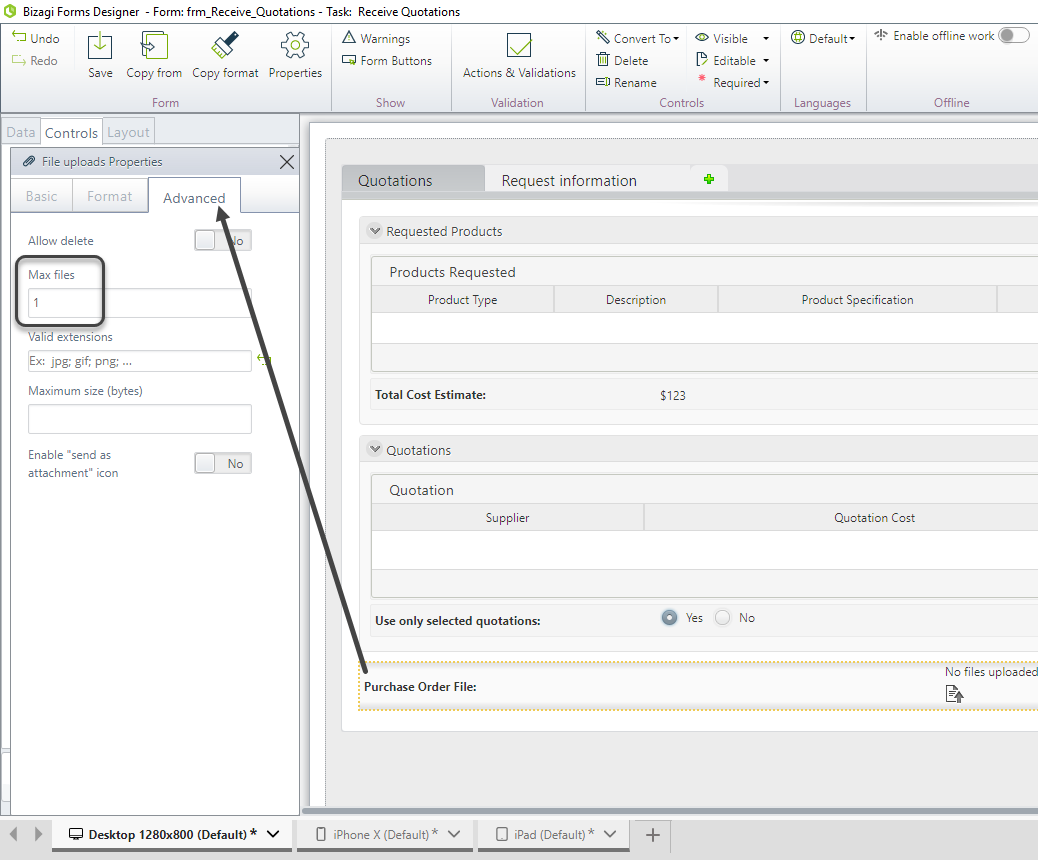
3. Only one file can be uploaded in the control. To configure this stipulation go to the Advanced tab and type "1" in the Max files property.
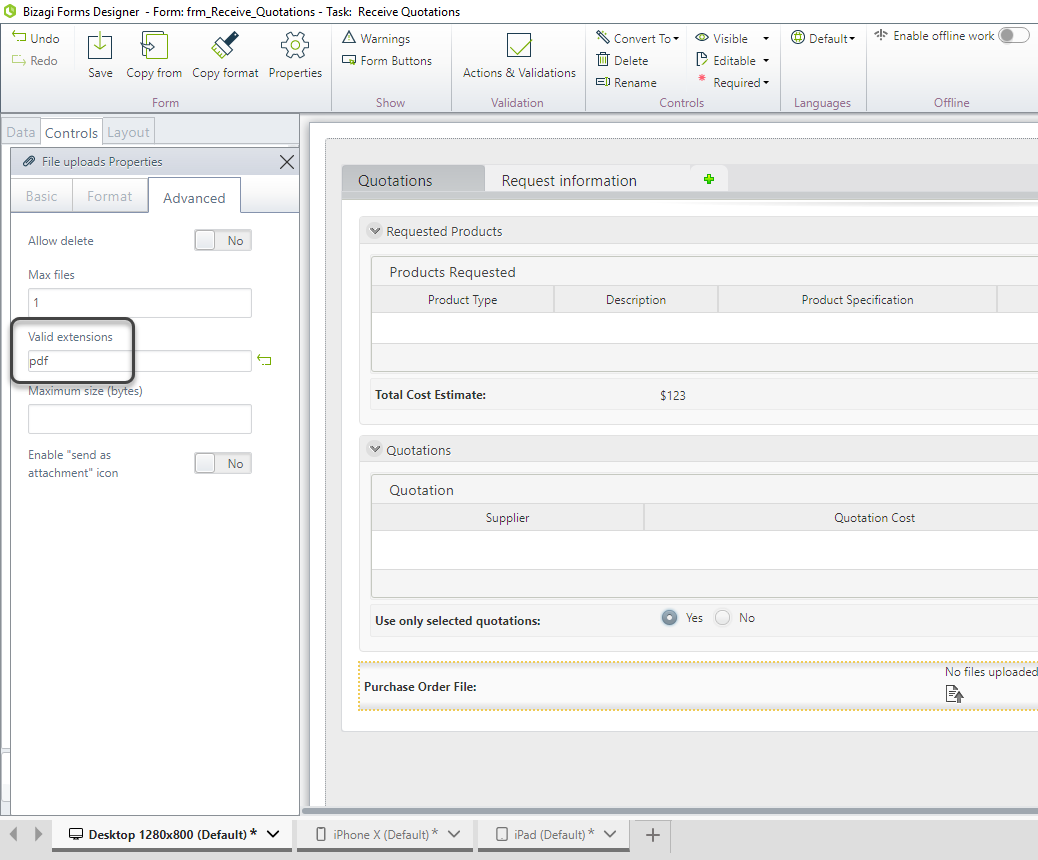
4. In the Valid Extensions property type pdf in order to restrict the uploaded file to pdf format.
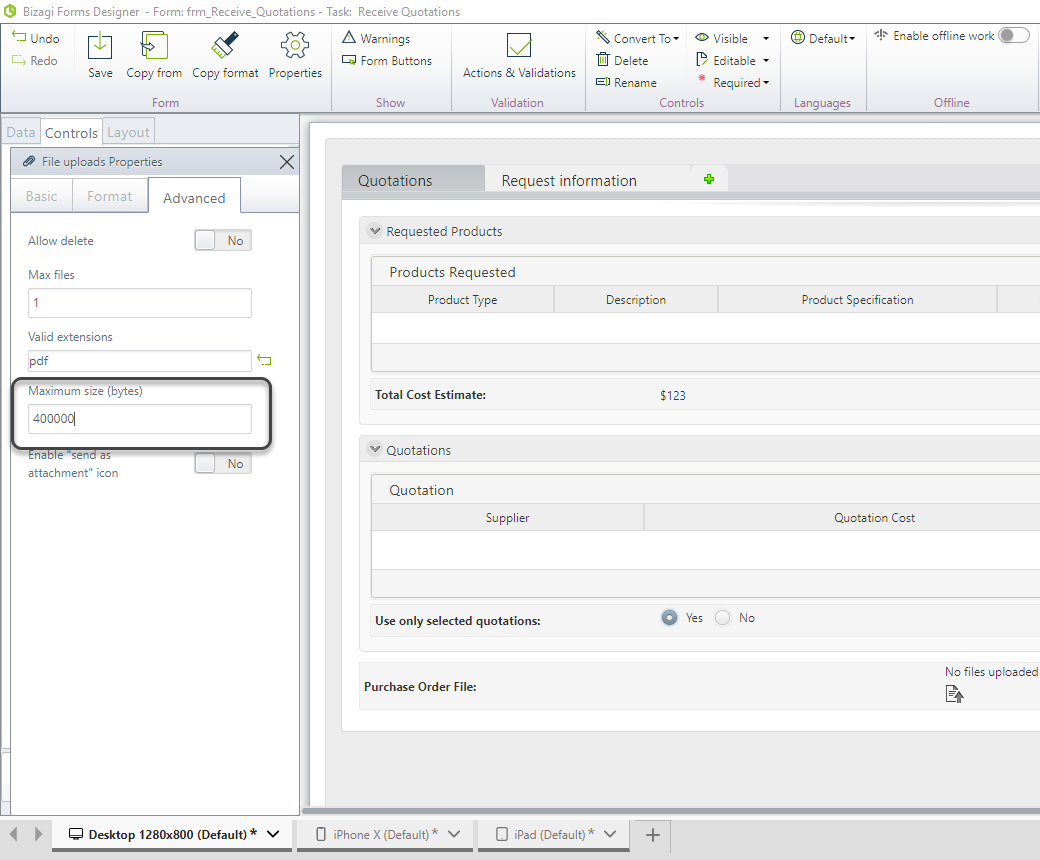
5. Define the maximum size allowed typing 400000 ≈ 390 Kb in the Maximum size property.
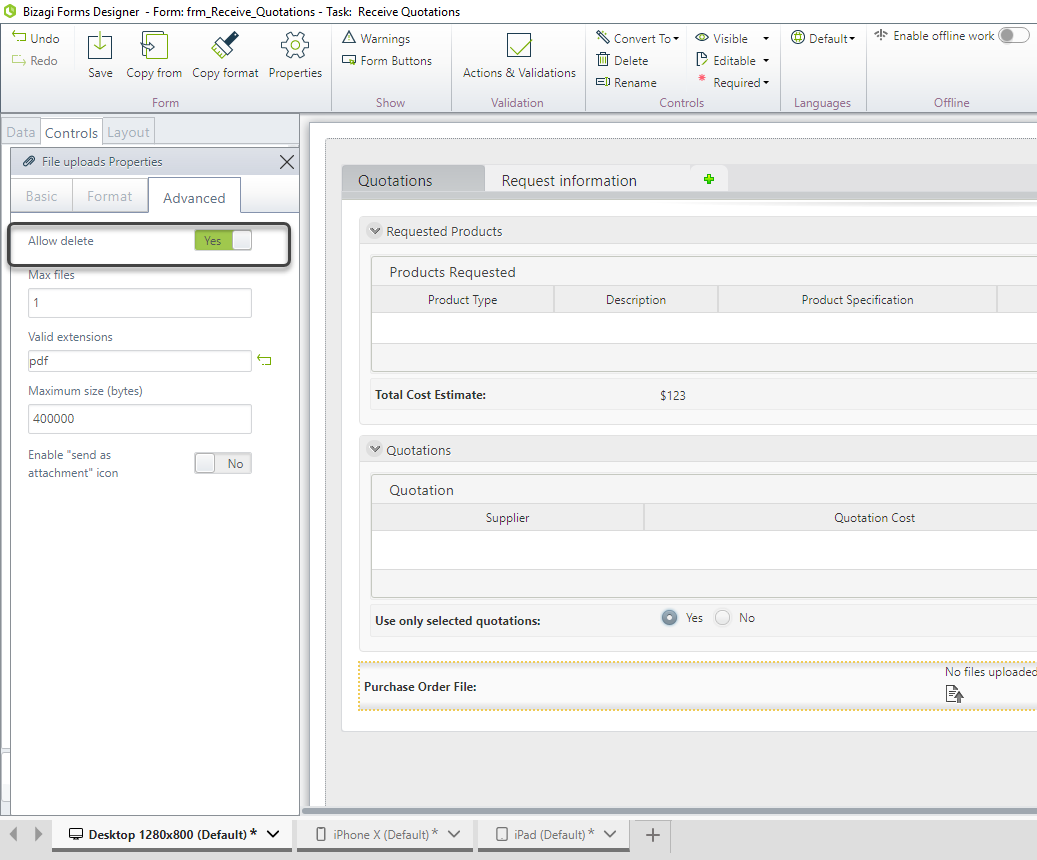
6. Finally enable the Allow delete property in order to allow the delete option.
Click the Upload icon to attach a file. A new window will display to search and select the desired file.
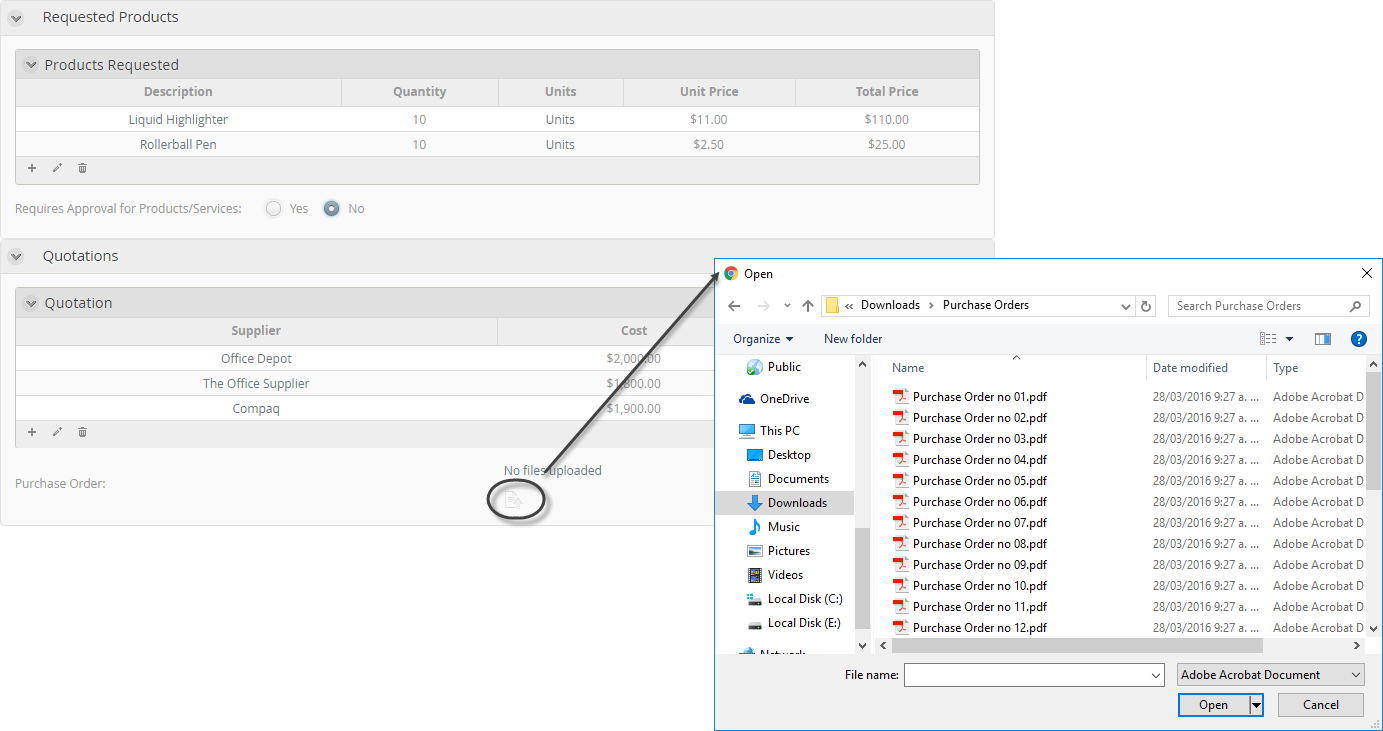
When the end user reaches the maximum number of files to upload, the upload Icon will no longer be visible.

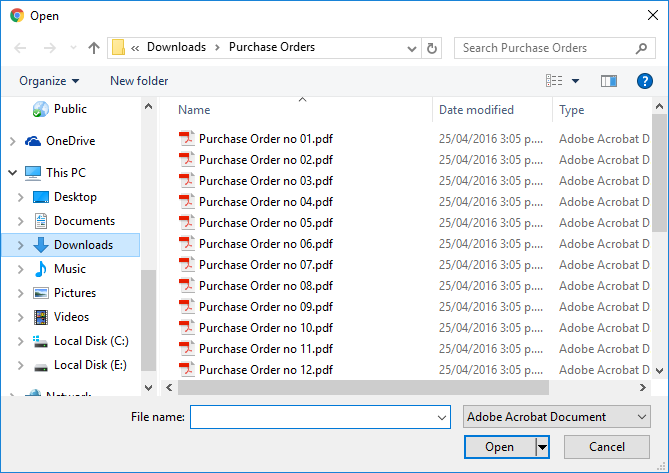
When you are uploading a document, only PDF files will be available for selection.
If you try uploading a file larger than 400000 bytes the following validation will be displayed.

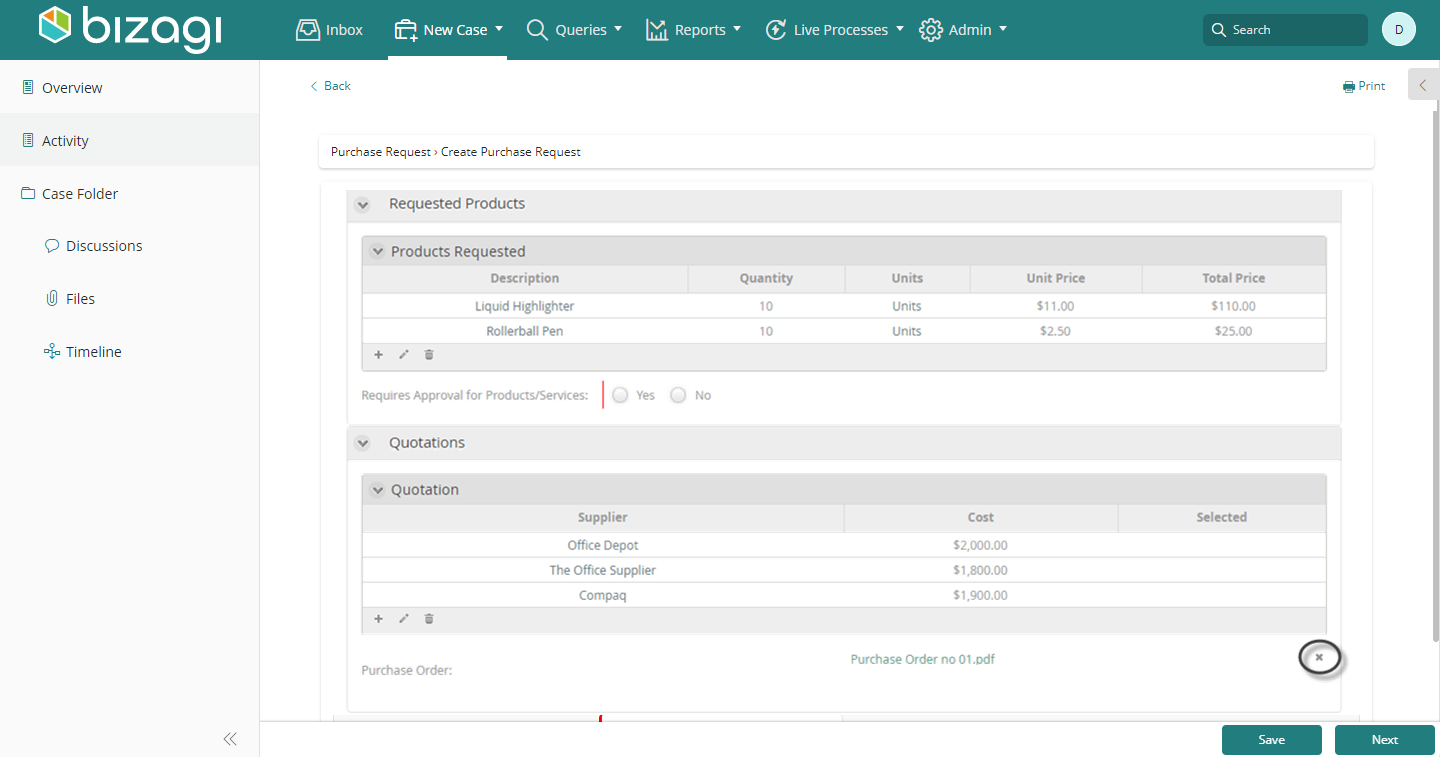
Finally note you can delete the uploaded file by clicking the Delete icon (![]() ) that displays when hovering the mouse pointer over the file.
) that displays when hovering the mouse pointer over the file.
Last Updated 7/7/2025 5:02:52 PM