Overview
Before start creating Models in Bizagi Modeler, you must invite and manage the users who have access to the subscription and models.
The subscription owner receives a URL of the Customer Portal with the following format:
https://customer-portal-[customerName].bizagi.com
Log in the Customer Portal. See Accessing the Customer Portal the first time.
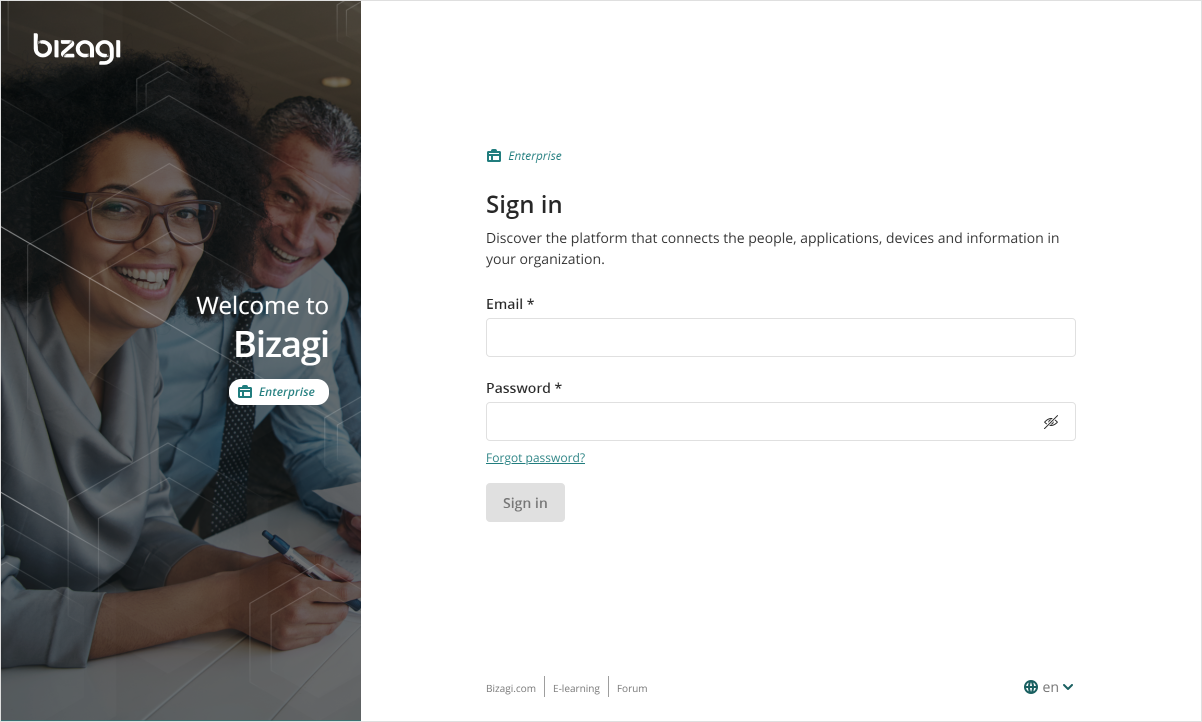
|
We recommend changing your password before the first log in. |
Sign in configuration
To use Bizagi Modeler you need to sign in to your subscription by using your registered email to get started. Bizagi provides an Accounts module where the sign-in to your subscription is handled. However, if you want to take advantage of the Single Sign On capability, you can configure your authentication with different external identity providers.
User configuration
Then you must follow these steps:
1. Add users to the company user's pool in the Customer Portal
2. Invite users to the subscription
3. Invite editors or contributors to the model
For further information consult Managing Modeler Services Users.
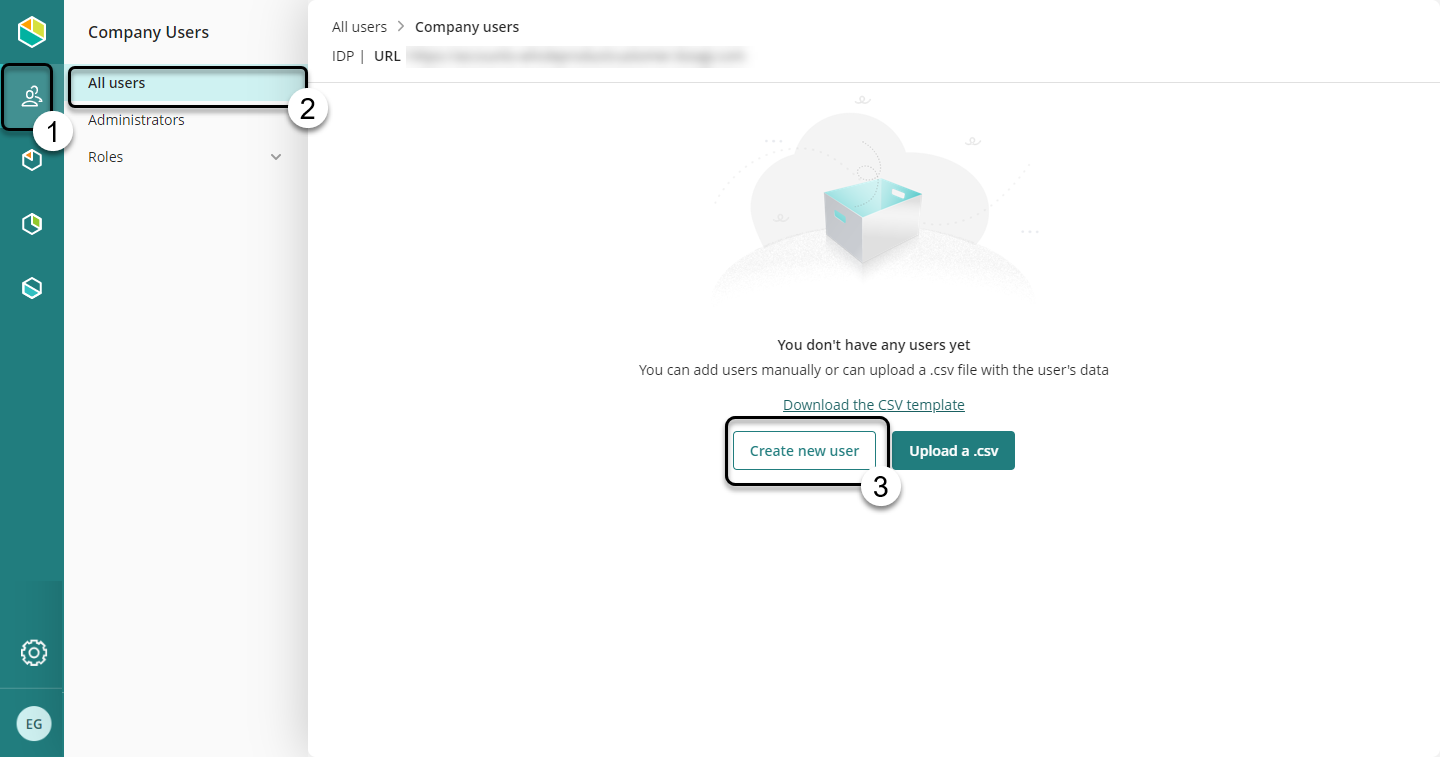
1. Create users in the company user pool
The Customer Portal holds users for all the services of the Bizagi cloud offering. Therefore, users of your Modeler subscription must belong first to the company user's pool. You need to create a new users in the company pool. See Create users in the company user's pool.
|
To create users in the company user's pool you must be a Customer Portal administrator. |
2. Invite users to the subscription
Once users are part of the company user's pool, the subscription owner must invite users to your subscription. Log in the Customer Portal, then access Modeler Services, and then add users.
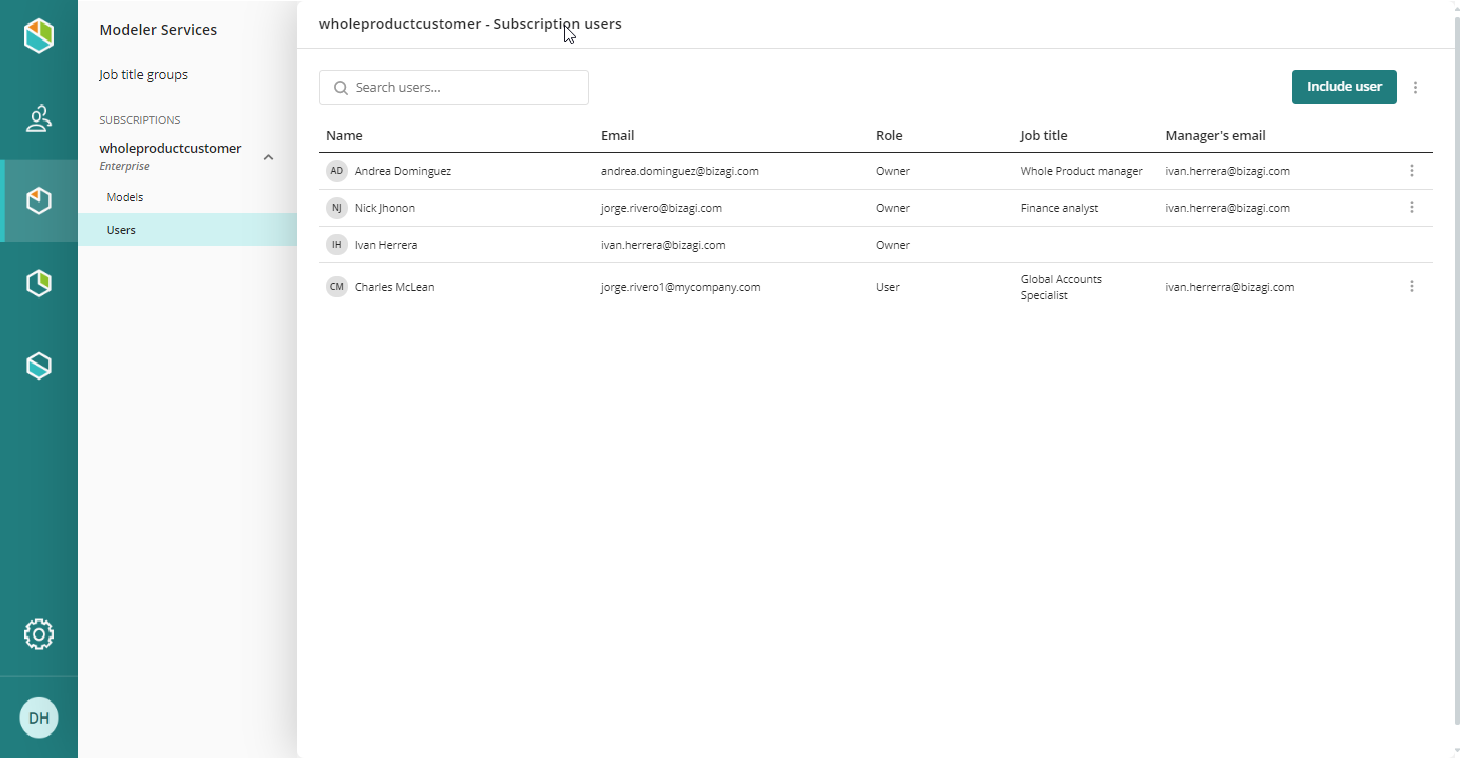
We recommend to activate the Notify by email option. This options sends an email so users can activate their account.
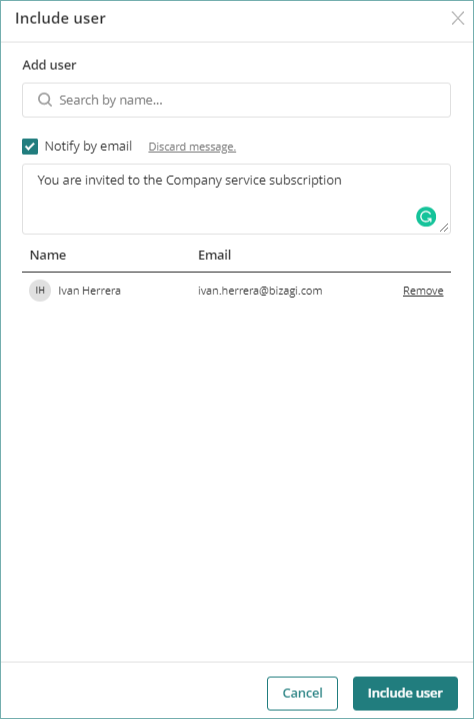
For more information, see Add users to a service subscription.
Only after users validate their accounts, they can open Bizagi Modeler under your Bizagi Modeler subscription.
Accessing the first time using Bizagi Modeler
Users can use Bizagi Modeler to access the subscription and start working on models.
After users are included in the subscription from the Customer Portal. They can install Bizagi Modeler. See Installing Bizagi Modeler.
|
The installation associated Bizagi Modeler with your Modeler subscription. Every time you open Bizagi Modeler, it will be synchronized with your cloud-based subscription. |
The user who creates the Model is considered as the Model Owner. Both, the Model owner and the Subscription Owner can invite users to contribute. Any of them must log in the Customer Portal, and invite users to collaborate in the project(s). See Share a workspace. Select the model, and right-click the model, select Share model.
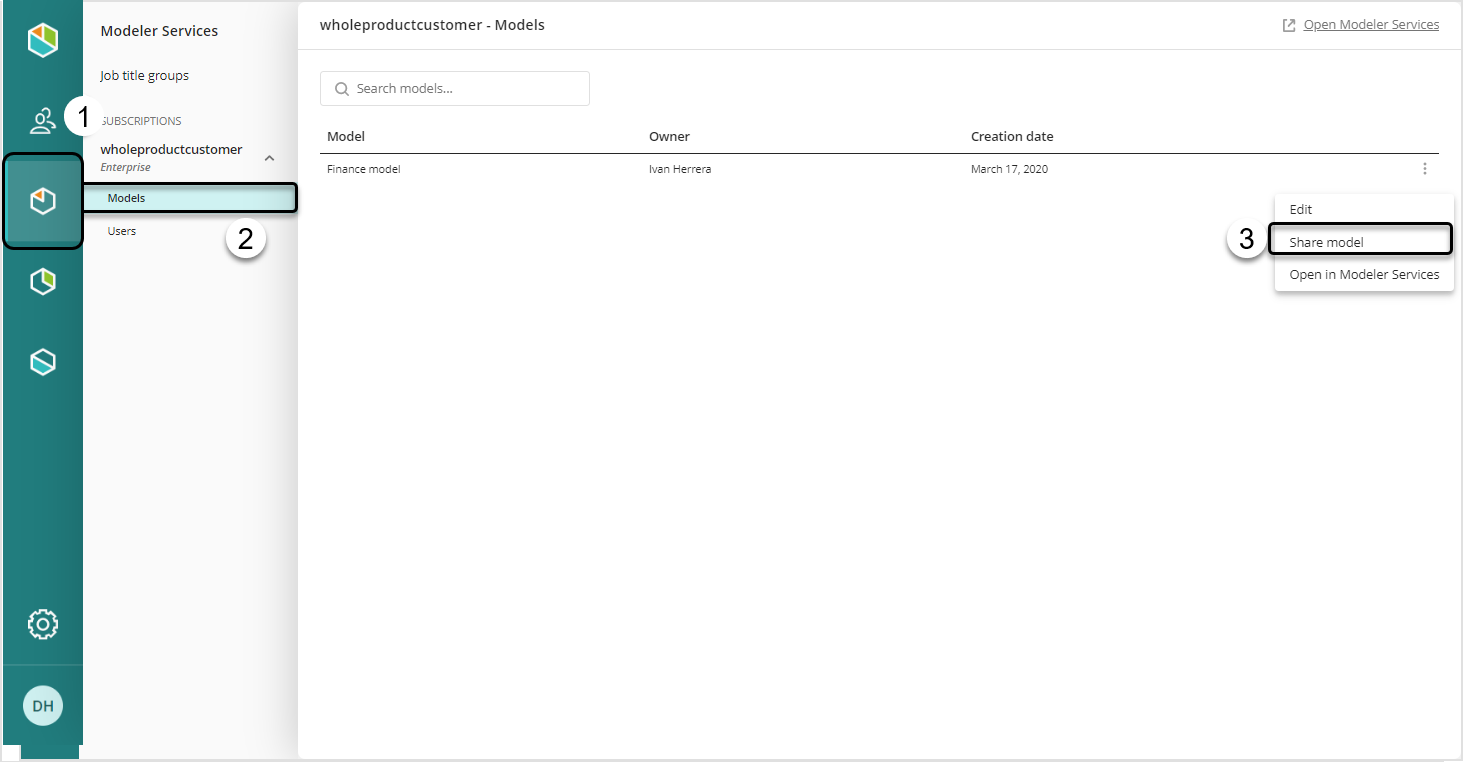
Search for the user(s) and select their permissions:

You can also add users in batch. Only a user as a Customer Portal administrator can do this operation. See Add users in batch.
Last Updated 7/4/2025 8:56:39 AM