Overview
The Twitter connector for Bizagi is available for download at Bizagi Connectors Xchange.
Through this connector, you will be able to connect your Bizagi processes to a www.twitter.com account in order to use the social networking Twitter services.
For more information about this connector's capabilities, visit Bizagi Connectors Xchange.
Before you start
In order to test and use this connector, you will need:
1.Bizagi Studio previously installed.
2.This connector previously installed, via the Connectors Xchange as described at https://help.bizagi.com/platform/en/index.html?Connectors_Xchange.htm, or through a manual installation as described at https://help.bizagi.com/platform/en/index.html?connectors_setup.htm
3.An account at www.twitter.com, as well as a developer profile at twitter (https://developer.twitter.com/).
How to create a developer profile
Si es la primera vez que ingresa y no cuenta con perfil de desarrollador, debe realizar los siguientes pasos:
1. Go to the following link: https://developer.twitter.com/ and the following interface will show up. Click Create an App.

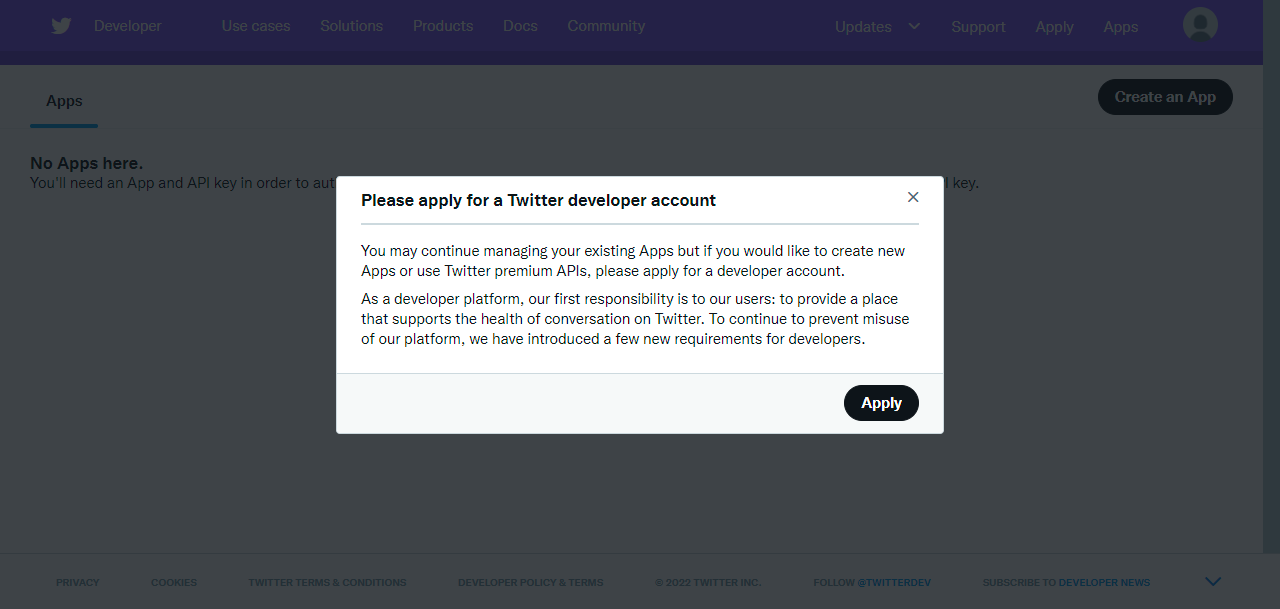
2. As you do not have a developer profile yet, the following message will appear. Click Apply to generate your account.
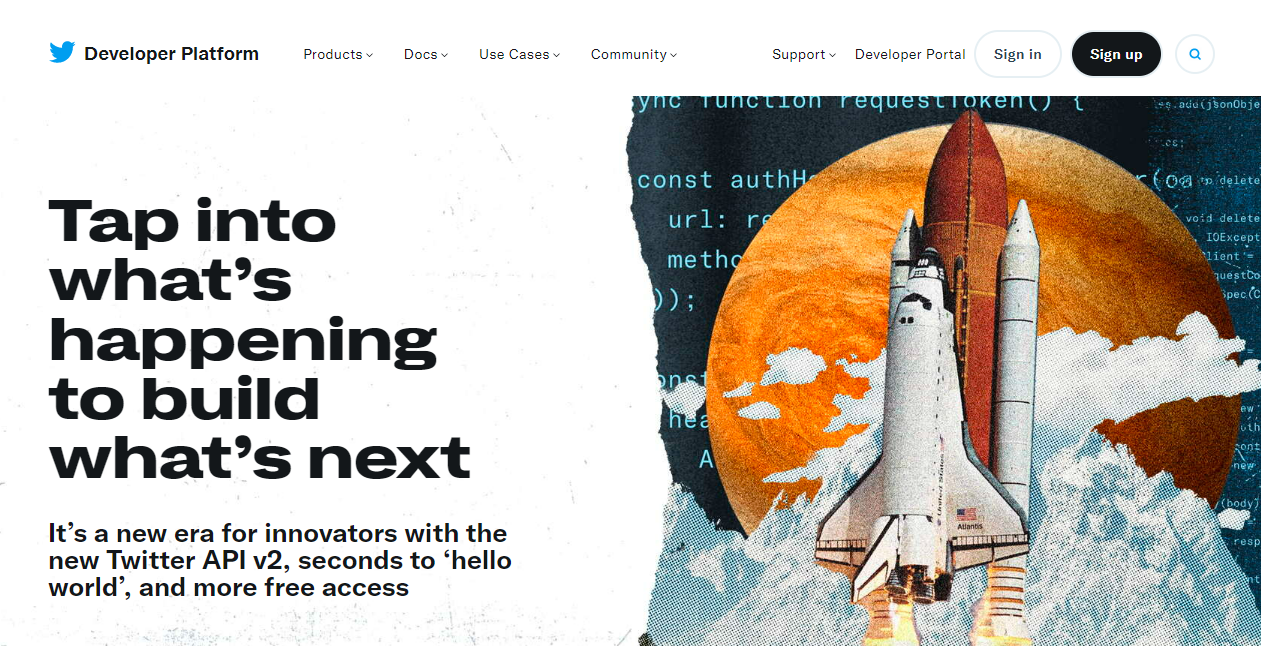
3. Once you have created your profile, you can log in from Twitter's official website > Sign in.
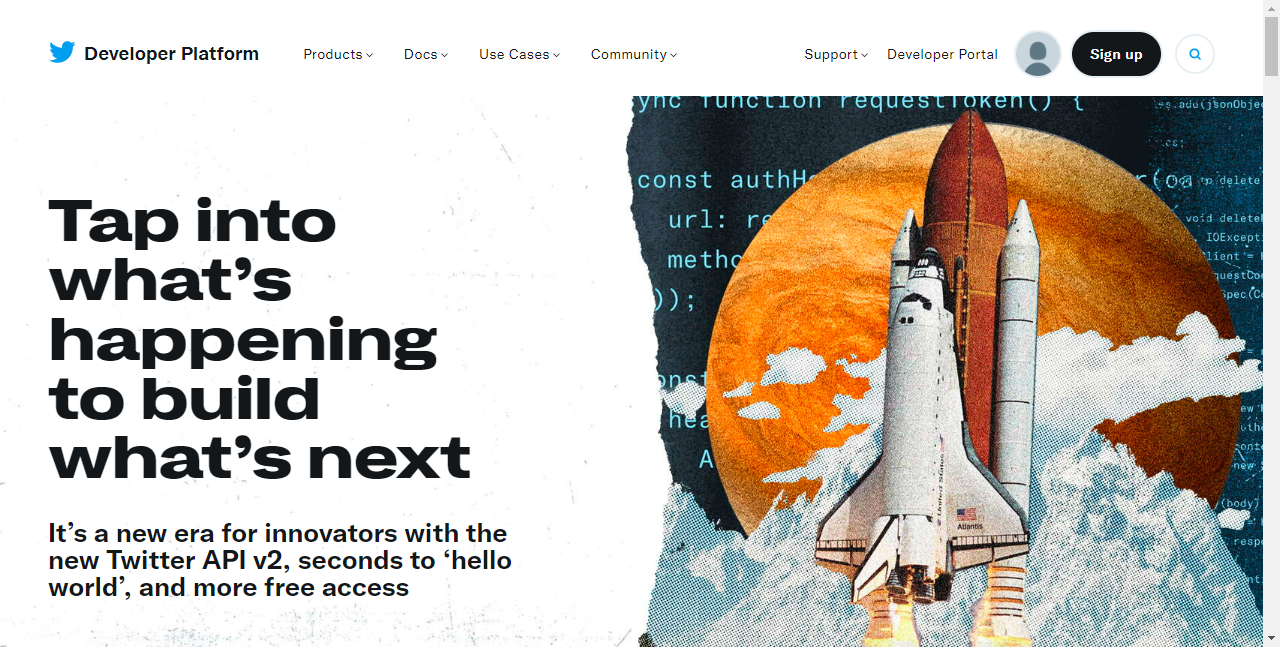
4. Once logged in, the Developer Portal option appears on the left side of the profile so you can start configuring your application and application credentials.
Steps to create a Twitter app
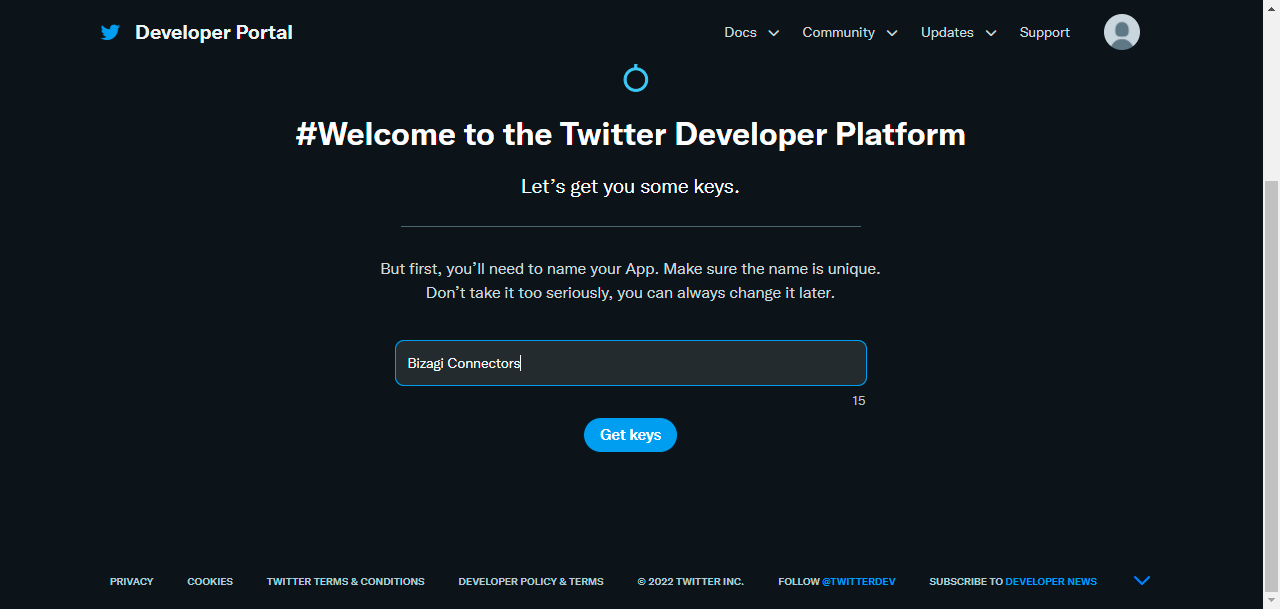
1. Once the developer profile is generated, the following interface will appear, where you must name the application, and this can be modified.
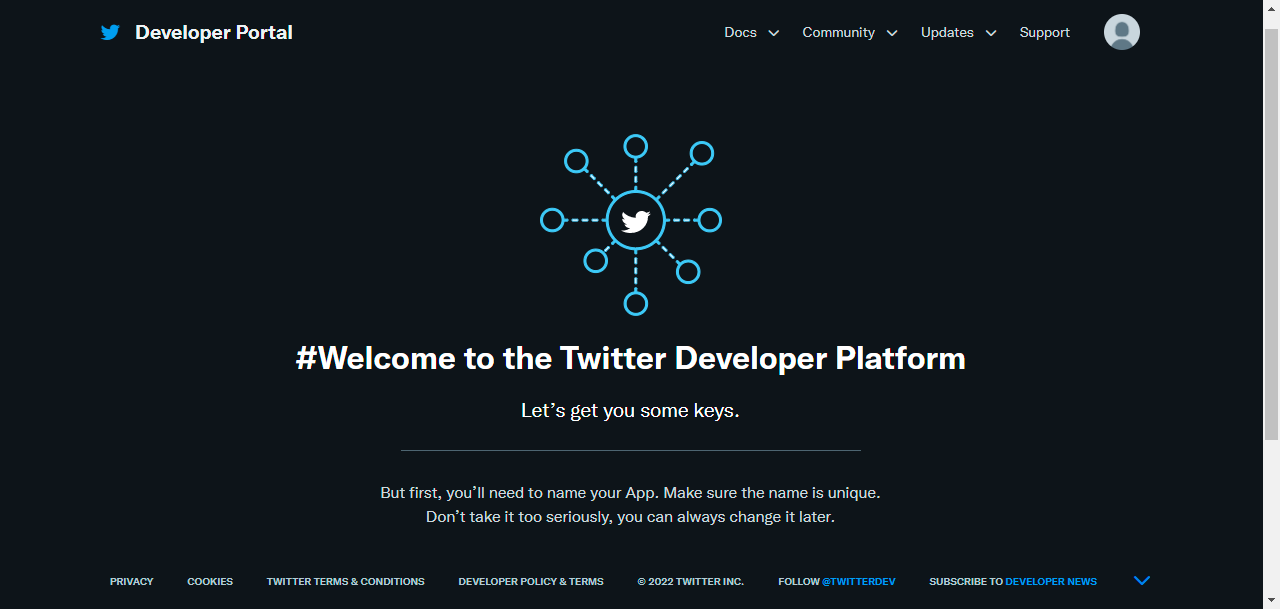
2. Once the name is entered, click Get keys to start with the application configuration and obtain the authentication credentials.
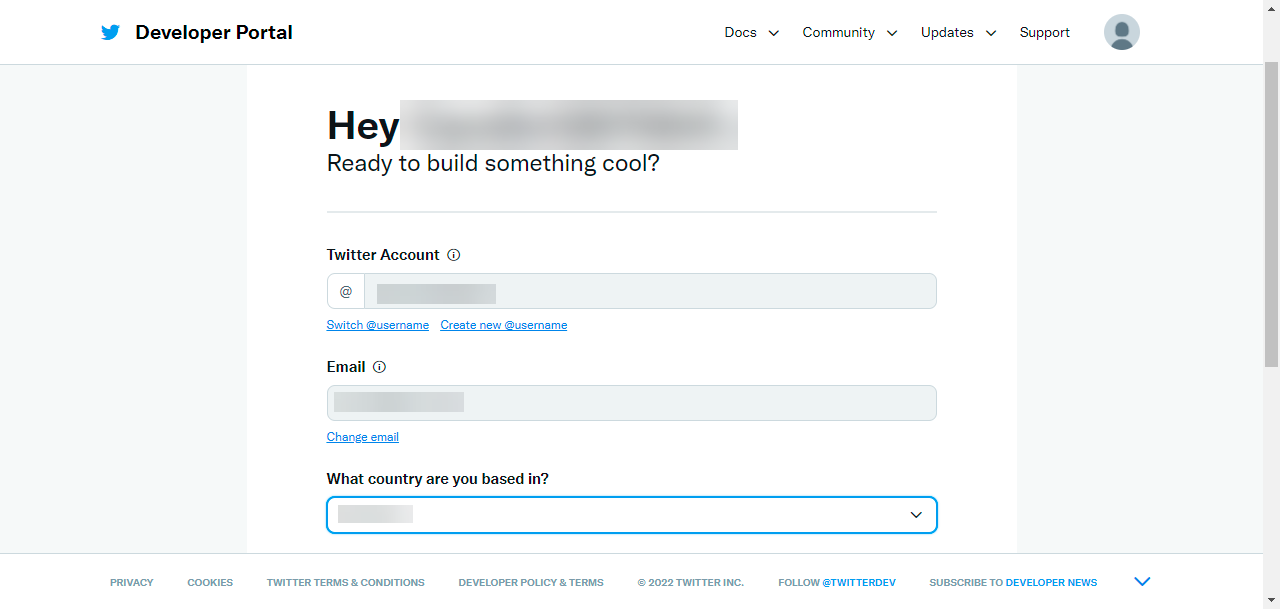
3. In the first part you will see the Twitter Account and the email with which you register the application. It allows the option to change the account name and email. There is also a drop-down to select the country where the developer is located.
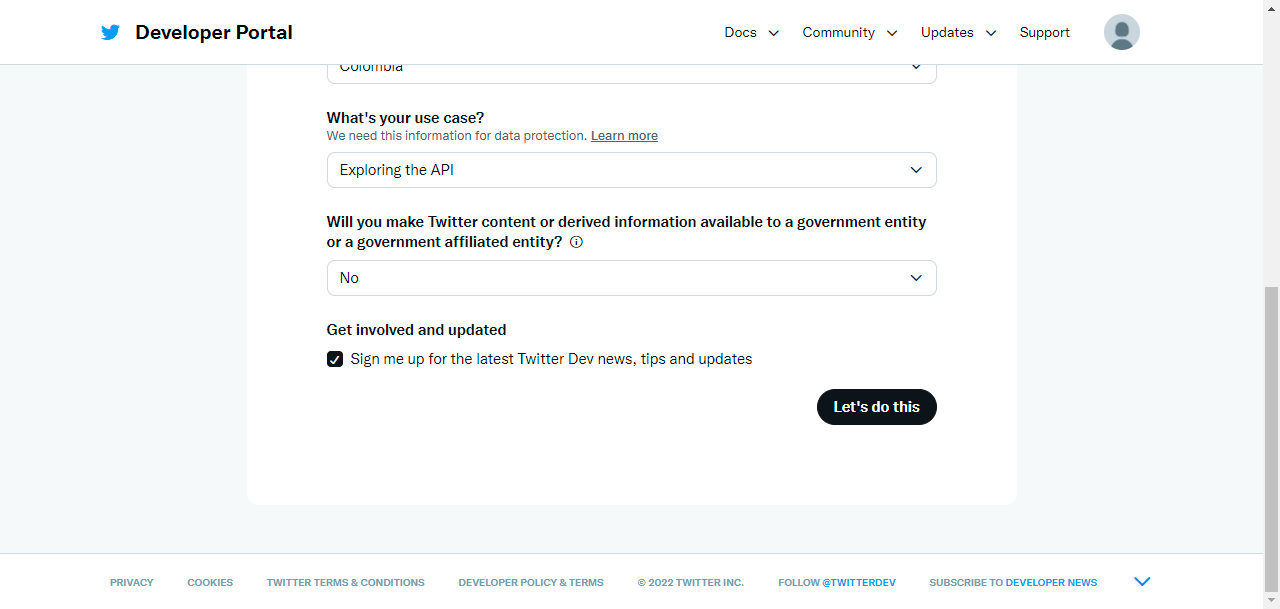
4. Then, it asks you to select in drop-down fields the use case and if you are going to work with information from governments or governmental entities. It also has a check box to receive news and updates and ends by clicking Let's do this.
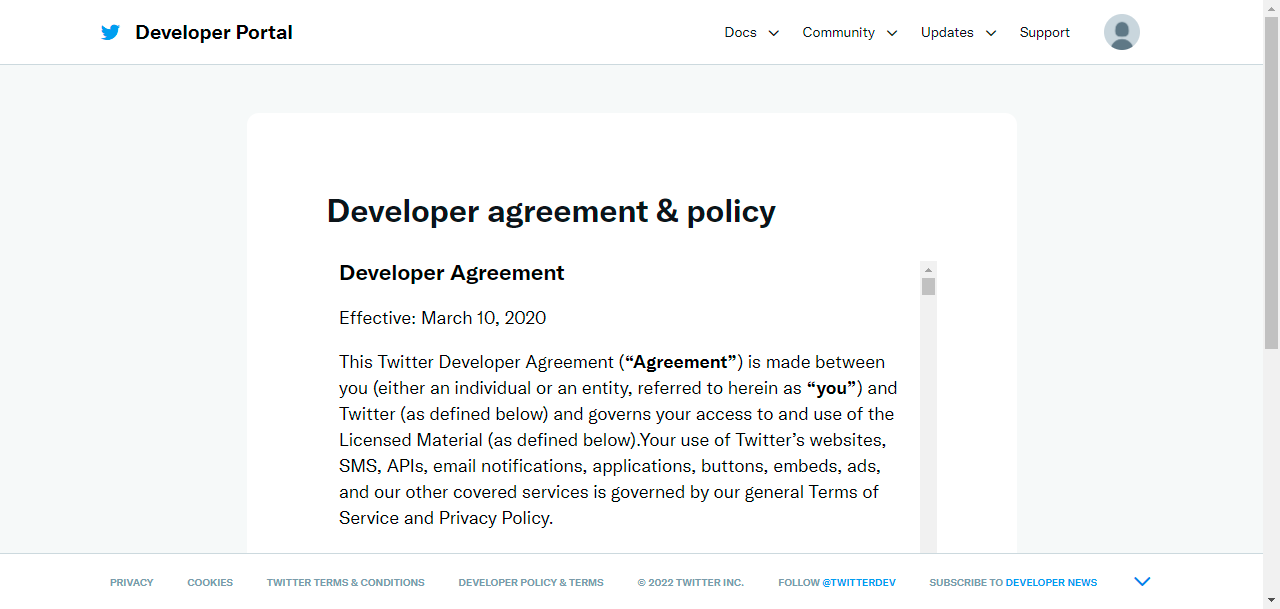
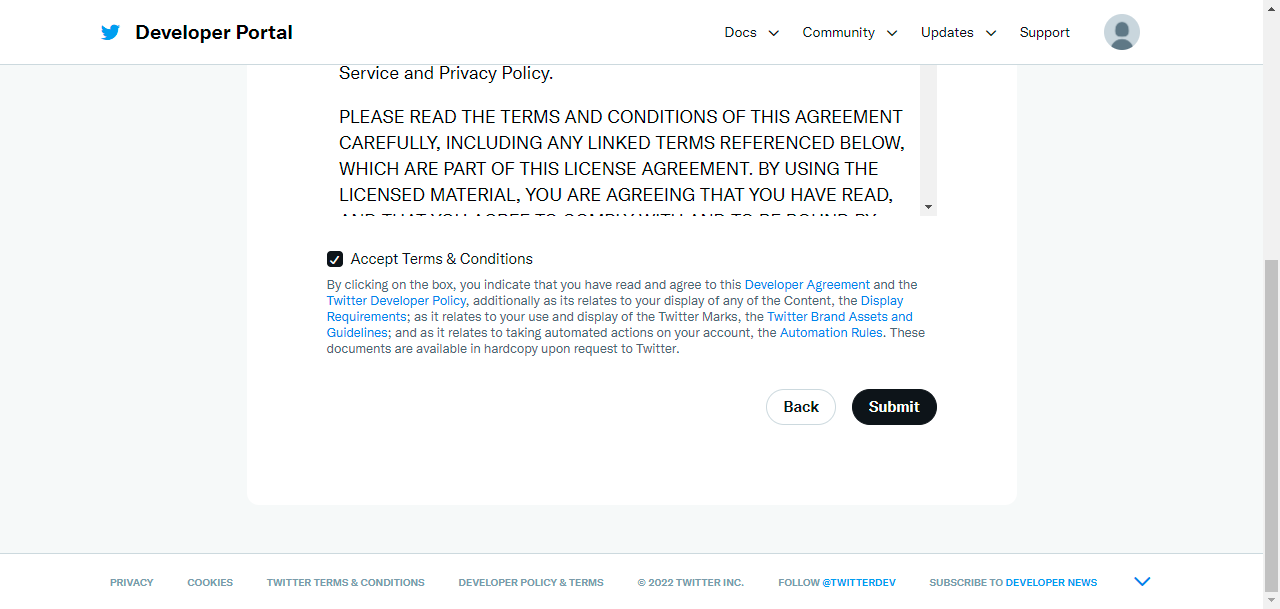
5. It ends with the Developer Agreement and Policy. Check the acceptance of the terms and conditions box and then click Submit.
How to obtain the authentication credentials
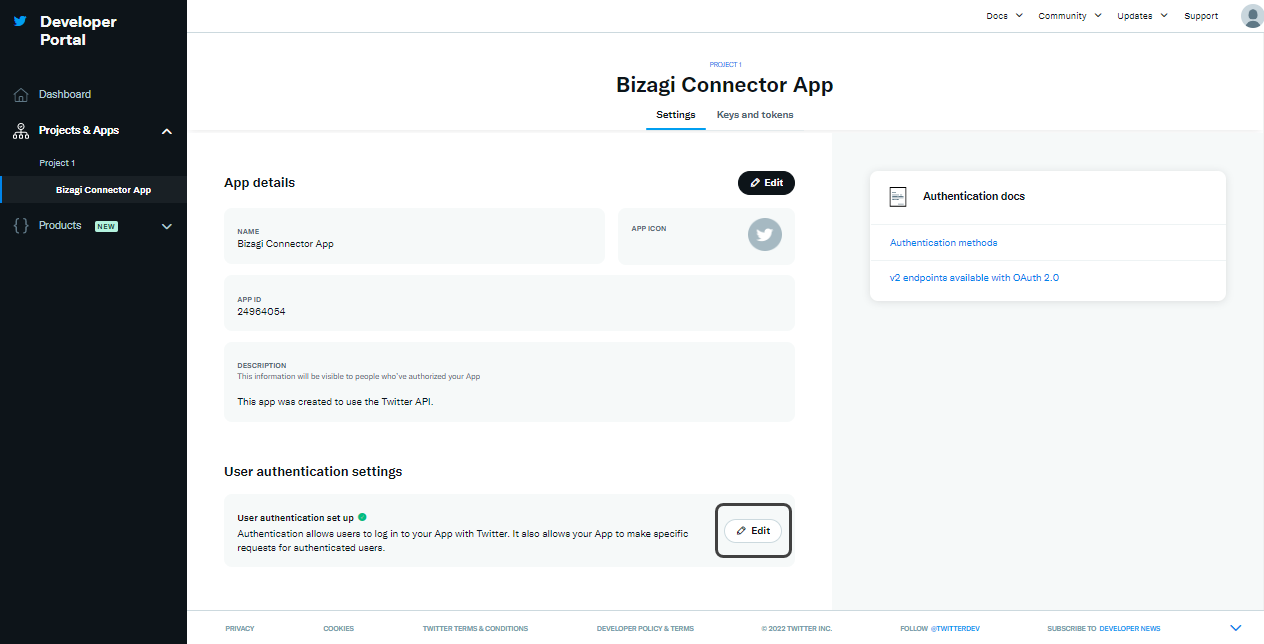
1. In the Settings tab, you will find two sections: App details and User authentication settings. In the first one, you can modify the application name and customize it. In the second, to configure the authentication credentials, click Edit.
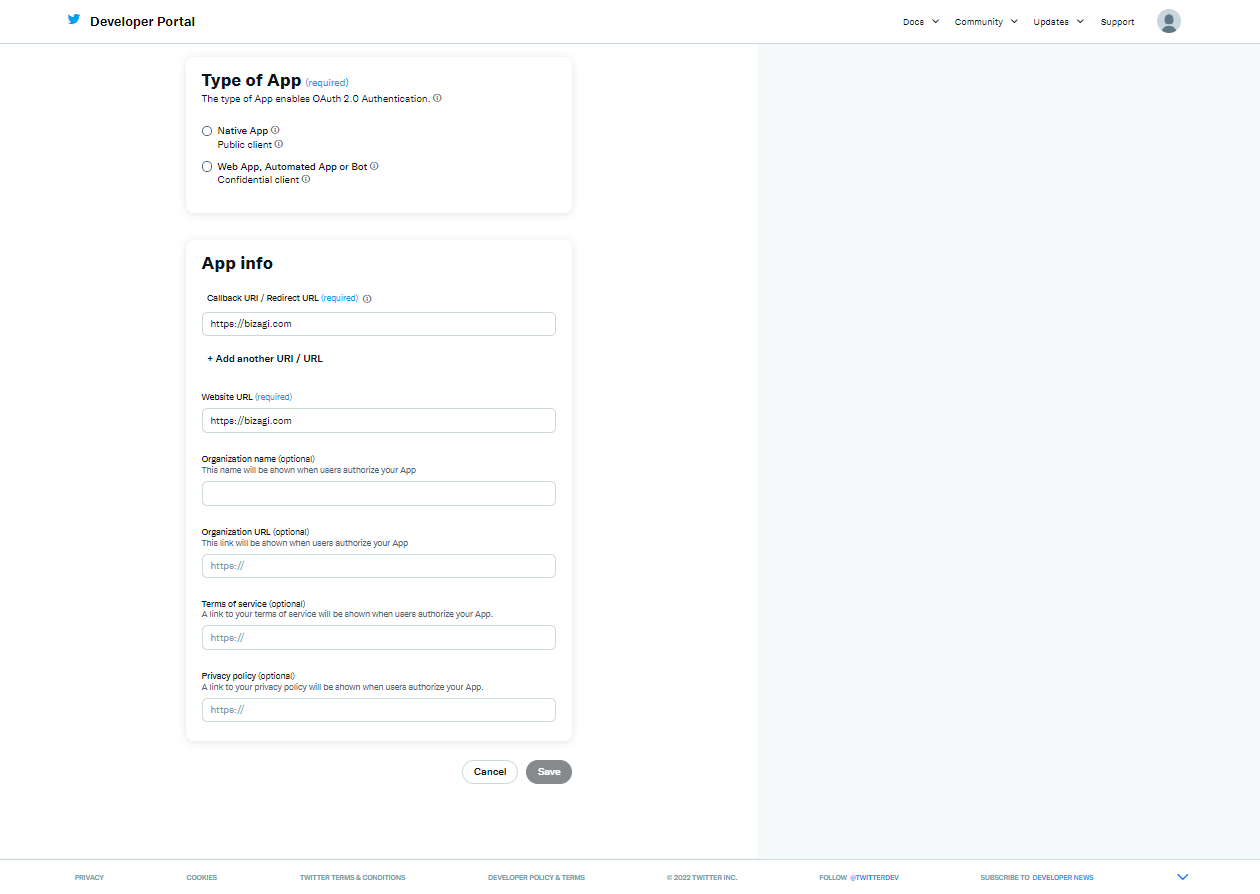
2. For Oauth 1.0a, you must select the Read and write option in the App permissions section.

3. In the App info field, in the fields marked as mandatory, type the following URL: https://bizagi.com and click Save once the procedure is completed.
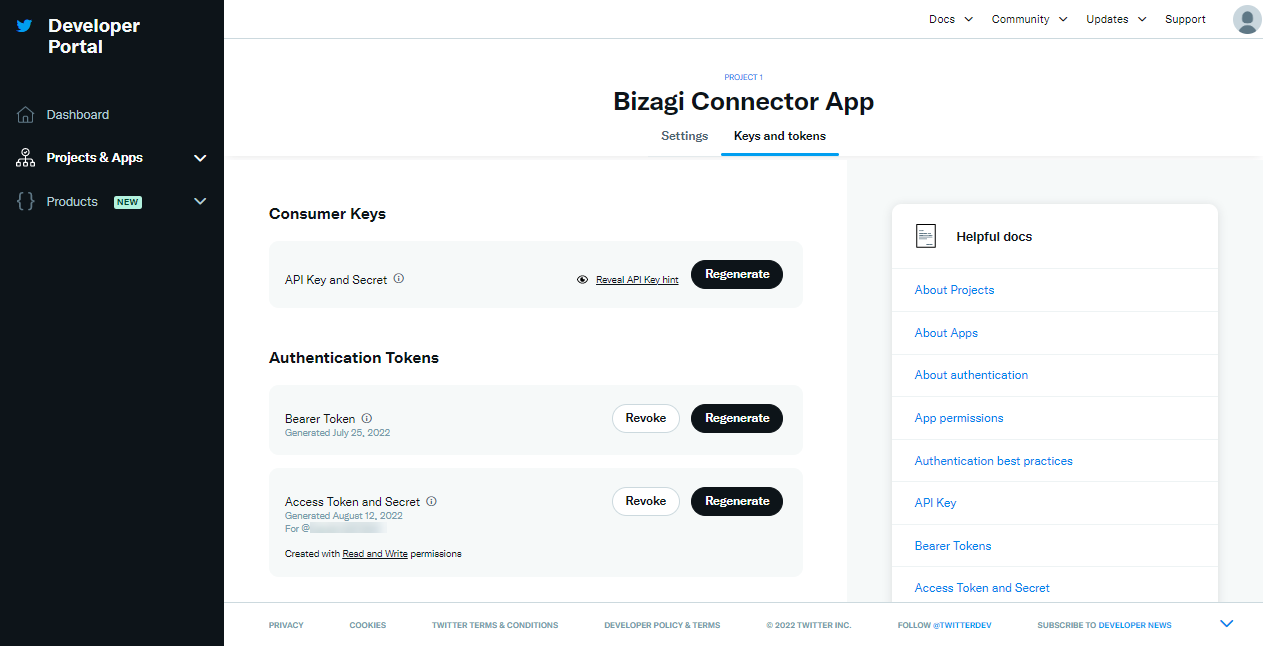
3. Depending on the type of authentication you are going to use, in the Keys and tokens tab, you have access to the Consumer Keys (API Key - API Secret) and the Authentication Tokens.
In Authentication Tokens, for Oauth 1.0a, you must use the Access Token and Access Secret and for Oauth 2.0, you must use the Bearer Token.
And your app will end up being granted to access your account, which is verifiable at https://developer.twitter.com/en/portal/dashboard.
Configuring the connector
In order to configure the connector (i.e its authentication parameters), follow the steps presented at the Configuration chapter in https://help.bizagi.com/platform/en/index.html?connectors_setup.htm
For this configuration, consider the following authentication parameters:
•Authentication method: Custom.
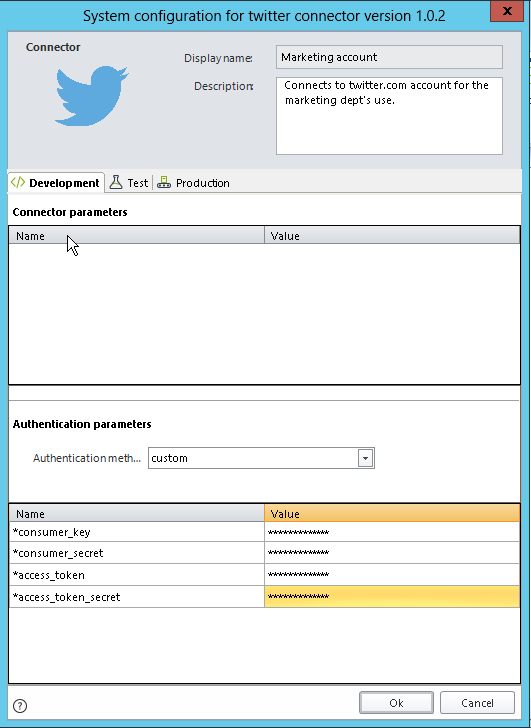
•Consumer key: The API key of your specific Twitter app (as given at https://apps.twitter.com/app/[your_app_ID]/keys).
•Consumer secret: The API secret of your specific Twitter app (as given at https://apps.twitter.com/app/[your_app_ID]/keys).
•Access token: Your Twitter account's access token (as given at https://apps.twitter.com/app/[your_app_ID]/keys).
•Access token secret: Your Twitter account's access token secret (as given at https://apps.twitter.com/app/[your_app_ID]/keys).
|
Note that you will need to previously authorize your Twitter app at your Twitter account (https://developer.twitter.com/en/portal/dashboard. |
Using the connector
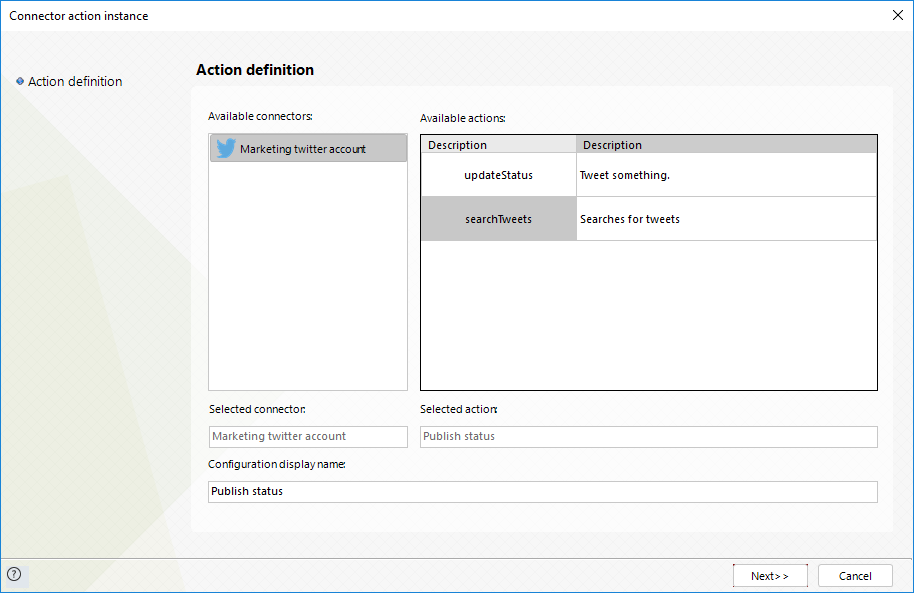
This connector features two available methods of Twitter's services: Posting a new tweet or search for tweets.
To learn overall how/where to configure the use of a connector, refer to https://help.bizagi.com/platform/en/index.html?Connectors_Studio.htm.
When using the connector, make sure you consider the following details for each of the two available methods.
Posting a new tweet
Post an status update in twitter (i.e, a new tweet).

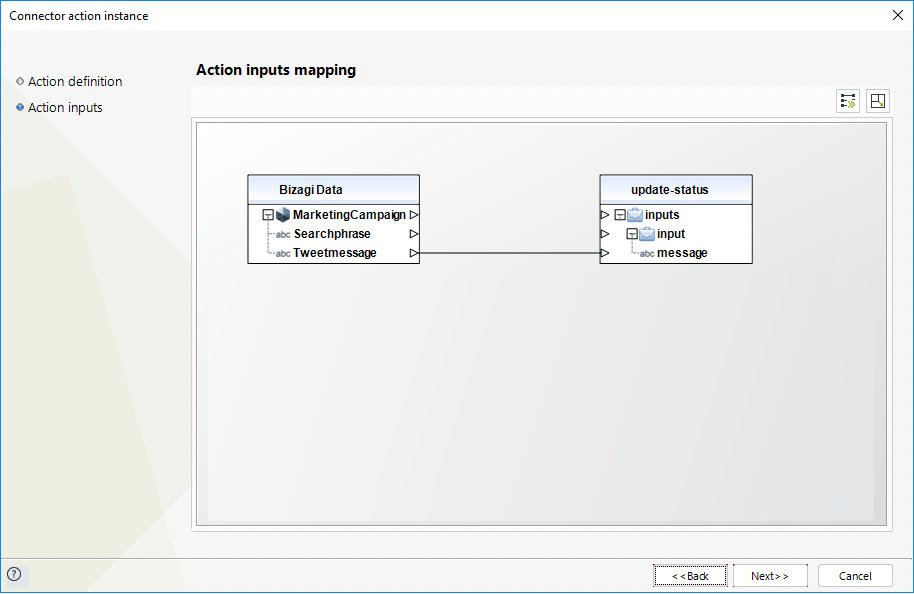
To configure its inputs, consider:
•Message: The actual tweet content. Regular tweet rules apply, such as the maximum number of characters.
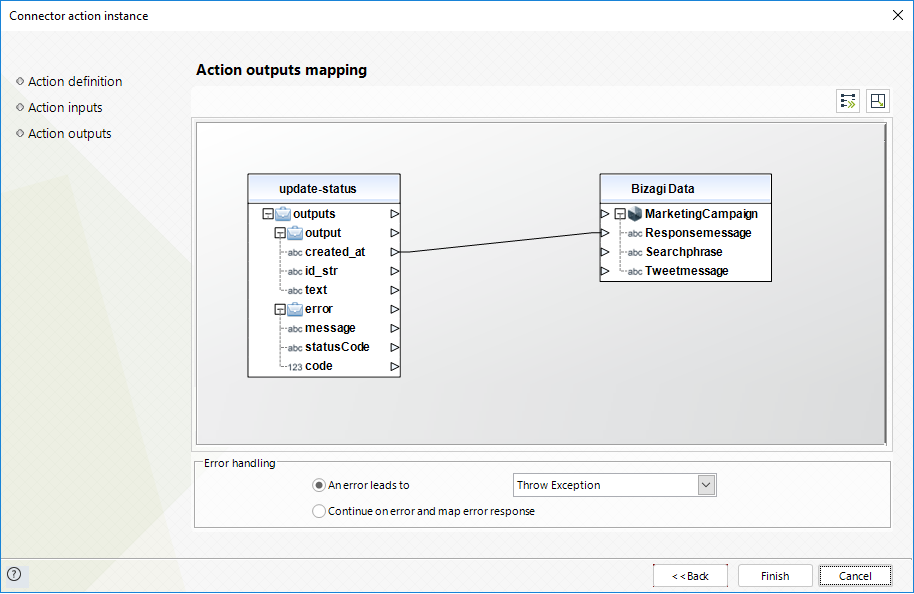
To configure its outputs when getting started and testing, you may map only the created_at part of the response.
Search for tweets
Retrieve tweets that match a given phrase or hashtag.
To configure its inputs, consider:
•Query: The phrase or hashtag to filter and search for tweets, as it can be inputted in twitter.com search box.
This means that usual wildcards and search characters apply as supported by Twitter (e.g, double quotes, minus or plus sign, pound sign, etc).
•ResponseCount: The maximum amount of tweets to fetch.
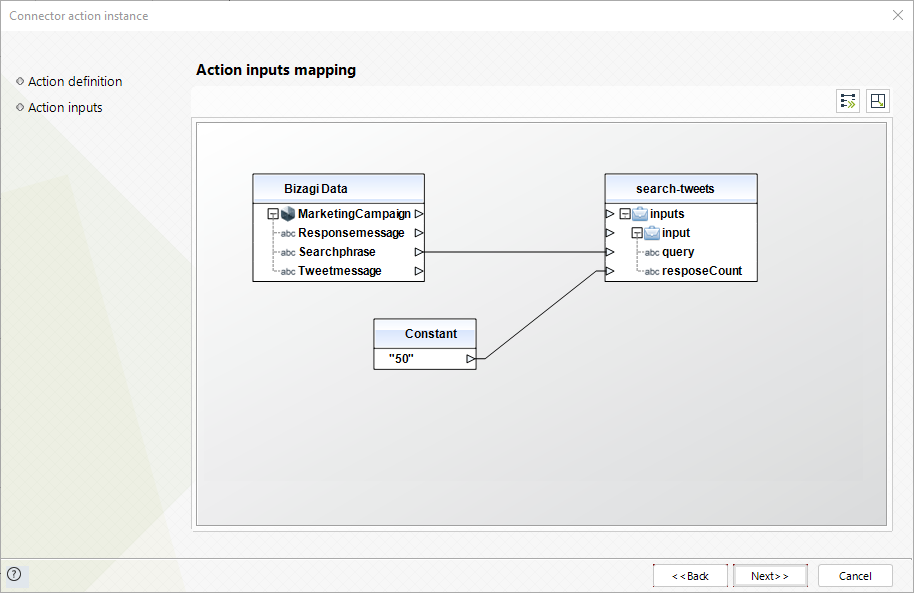
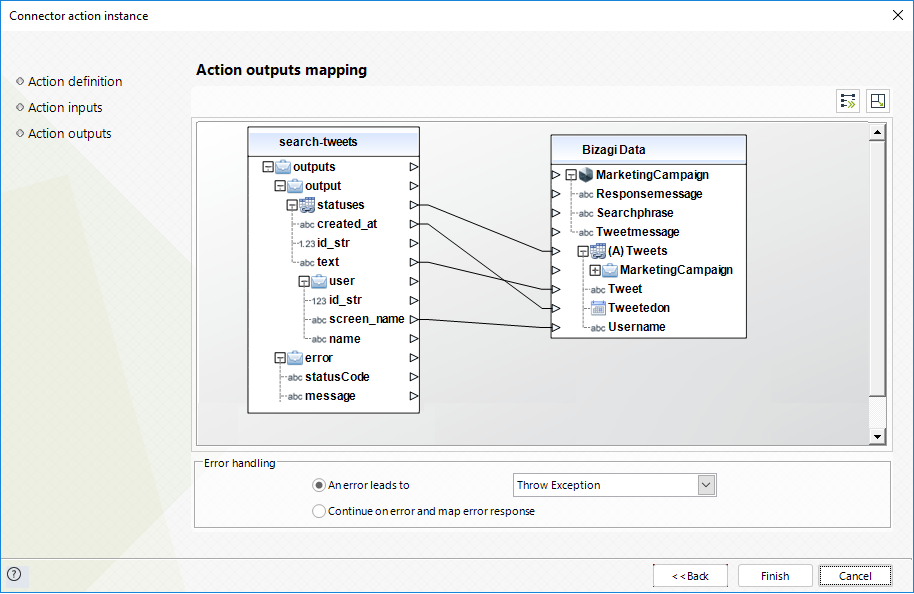
To configure its outputs, consider:
•Statuses: Should match an existing collection of your process data model.
•created_at: Stores the date when the tweet was posted, and should be mapped to an attribute inside the collection.
•text: Stores the actual tweet content, and should be mapped to an attribute inside the collection.
•screen_name: Stores the name of the user who posted the tweet, and should be mapped to an attribute inside the collection.
Last Updated 11/23/2022 2:07:48 PM
