Overview
The UBER connector for Bizagi is available for download at Bizagi Connectors Xchange.
Through this connector, you will be able to connect your Bizagi processes to www.uber.com services in order to use its API.
For more information about this connector's capabilities, visit Bizagi Connectors Xchange.
|
This Connector was developed according to the contents of the API and the information about it provided by UBER. Bizagi and its subsidiaries will not provide any kind of guarantee over the content or error caused by calling the API services. Bizagi and its subsidiaries are not responsible for any loss, cost or damage consequence of the calls to UBER's API. |
Before you start
In order to test and use this connector, you will need:
1.Bizagi Studio previously installed.
2.This connector previously installed, via the Connectors Xchange as described at https://help.bizagi.com/platform/en/index.html?Connectors_Xchange.htm, or through a manual installation as described at https://help.bizagi.com/platform/en/index.html?connectors_setup.htm
3.An account at www.uber.com and a generated app.
Configuring the connector
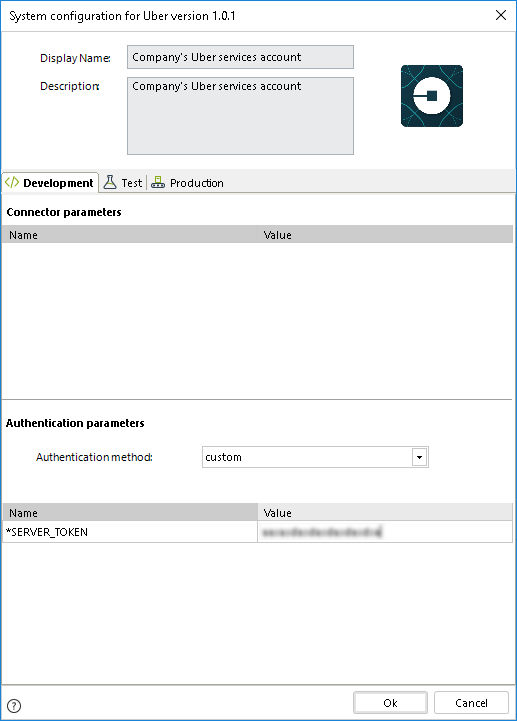
In order to configure the connector (i.e its authentication parameters), follow the steps presented at the Configuration chapter in https://help.bizagi.com/platform/en/index.html?connectors_setup.htm
For this configuration, consider the following authentication parameters:
•Authentication method: Custom.
•Server token: The token generated for your app, as requested for an UBER app at https://developer.uber.com/dashboard.

Using the connector
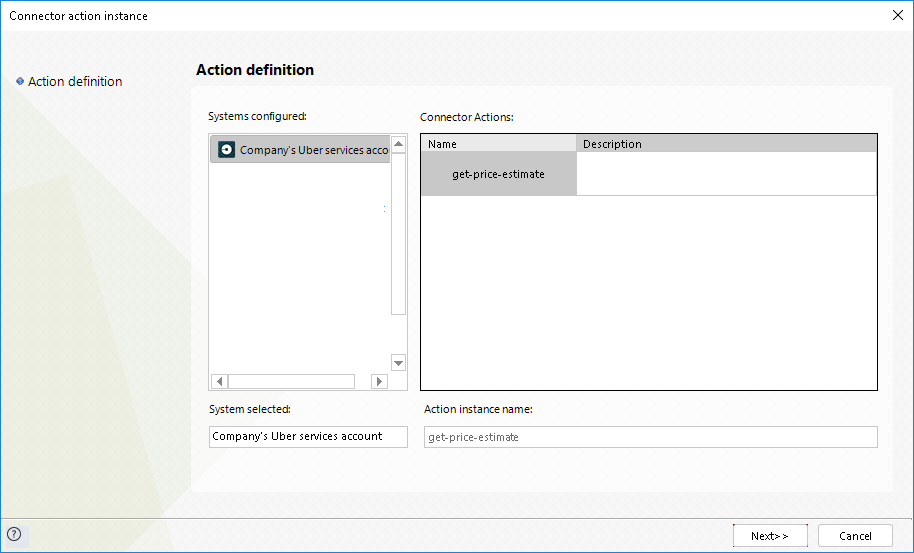
This connector features an available services of UBER which allows you to get fare estimation on ride services.
To learn overall how/where to configure the use of a connector, refer to https://help.bizagi.com/platform/en/index.html?Connectors_Studio.htm.
When using the connector, make sure you consider the following details for each of the two available methods.
Get price estimate
This action allows you get a estimate on fares for ride services, according to the pickup location and destination (as similarly calculate in UBER's web pages at https://www.uber.com/fare-estimate/).

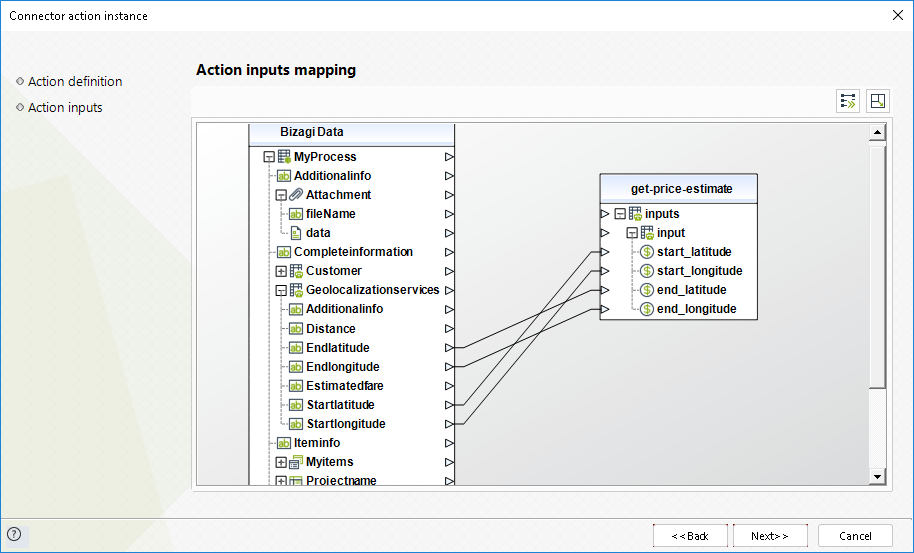
To configure its inputs, consider:
•Start latitude: The latitude coordinate of your pickup location.
•Start longitude: The longitude coordinate of your pickup location.
•End latitude: The latitude coordinate of your destination.
•End longitude: The longitude coordinate of your destination.
Note that you may rely on maps.google.com in order to see the coordinates of a given location (upon clicking on a location, its URL should show first latitude and then longitude).
For example, Charing Cross Underground Station in London, has a latitude of 51.5080221 and a longitude of -0.1310788.

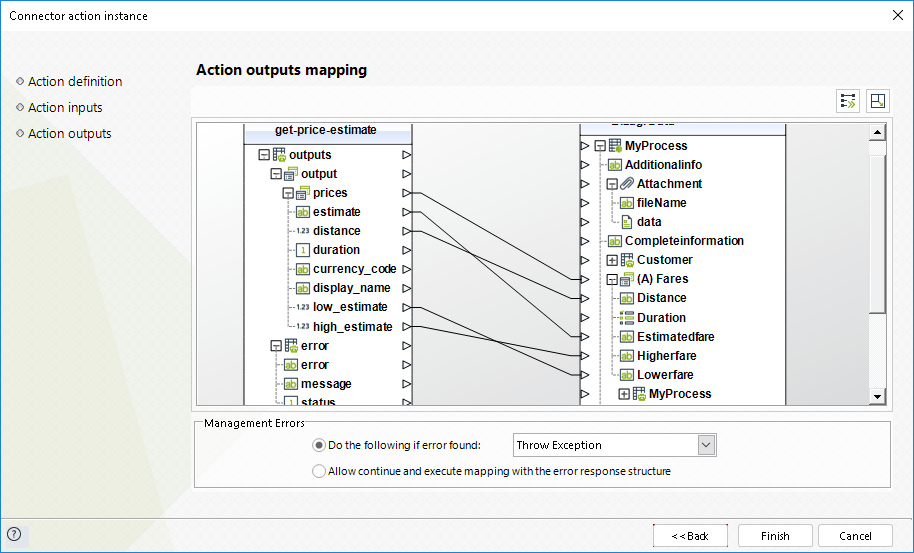
To configure its outputs when getting started and testing, you may map the Prices collection into a collection in your Bizagi data model.
And, map its internal fields such as: Distance, Estimate, low estimate, high estimate, etc.

For more information about this method's use, refer to UBER's official documentation at http://developer.uber.com/docs.
Last Updated 10/27/2022 2:36:45 PM
