Overview
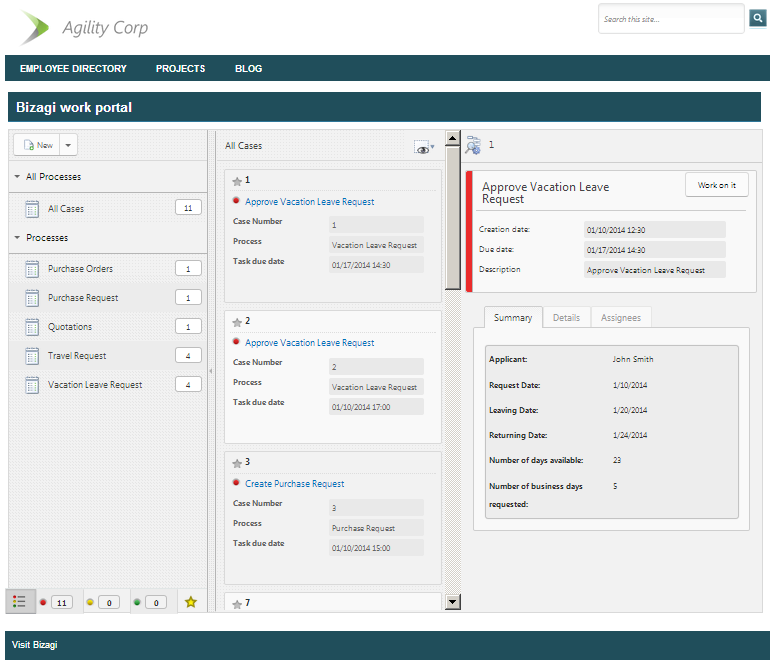
The following example shows how to integrate Bizagi in SharePoint throughout the Work portal Web Part (the fastest and most direct option).
This option adds Bizagi Work portal as a whole inside SharePoint content and requires minimal configuration, since it embeds Bizagi into any page you choose.
This page can be new or existing, but for best usability, we recommended including this Web Part to a new page.
For more information about custom and advanced options Bizagi Web Parts separately, refer to Custom options and advanced settings.
Configuring the Work Portal Web Part
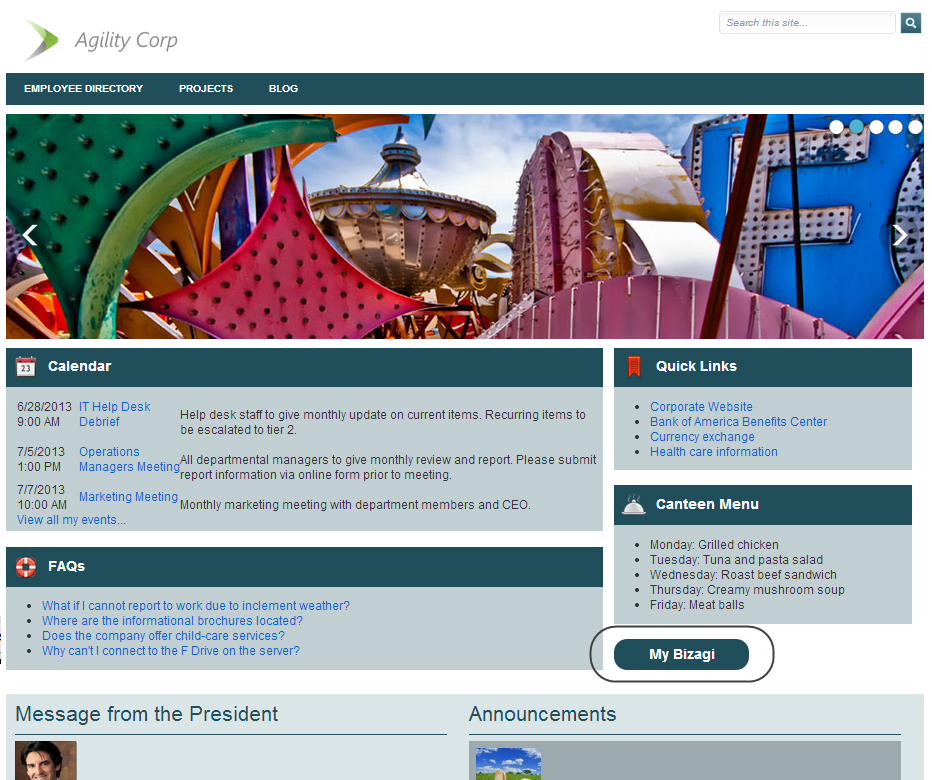
In this example, we start with a sample corporate intranet:
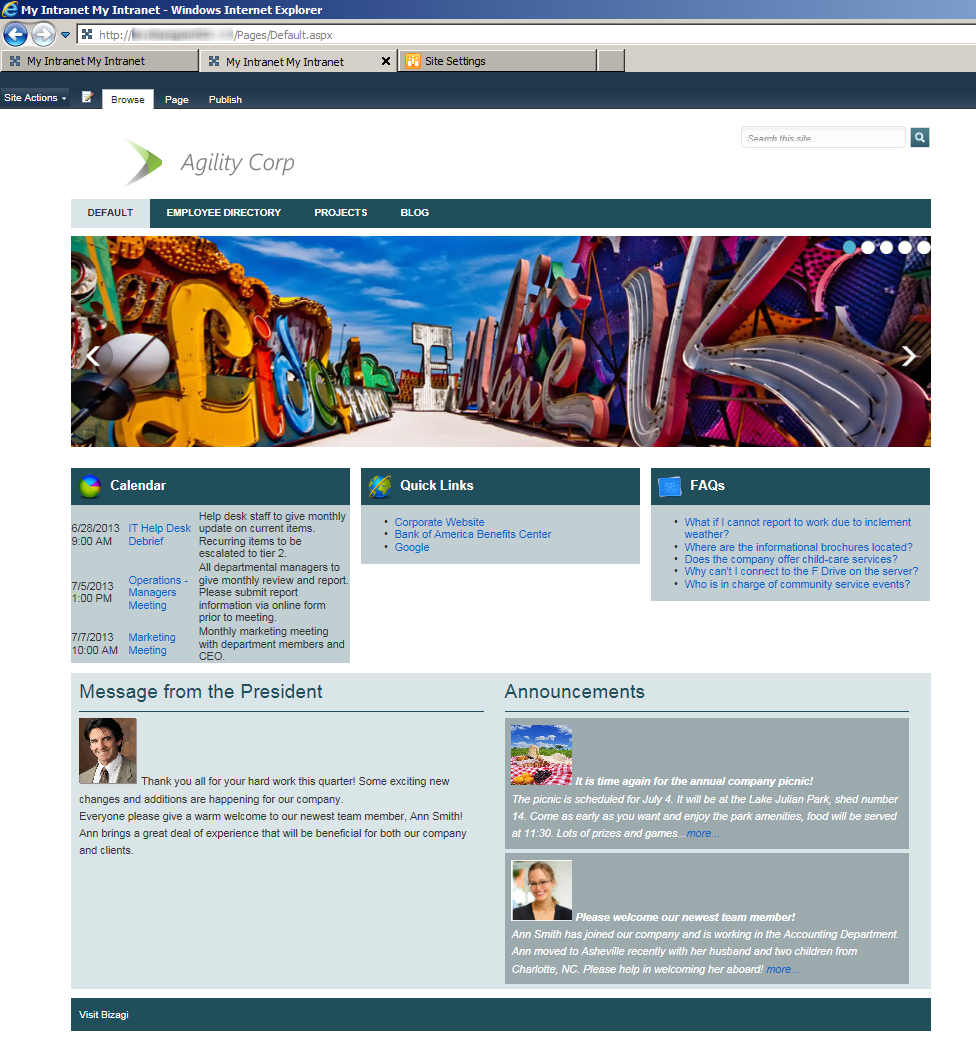
We want to integrate Bizagi's Work portal into it (either directly in this page, or by having it in a separate one and using a hyperlink to direct to it). To do this, we will edit this page to include the Web Part called Work portal from the set of Bizagi Web Parts for SharePoint.
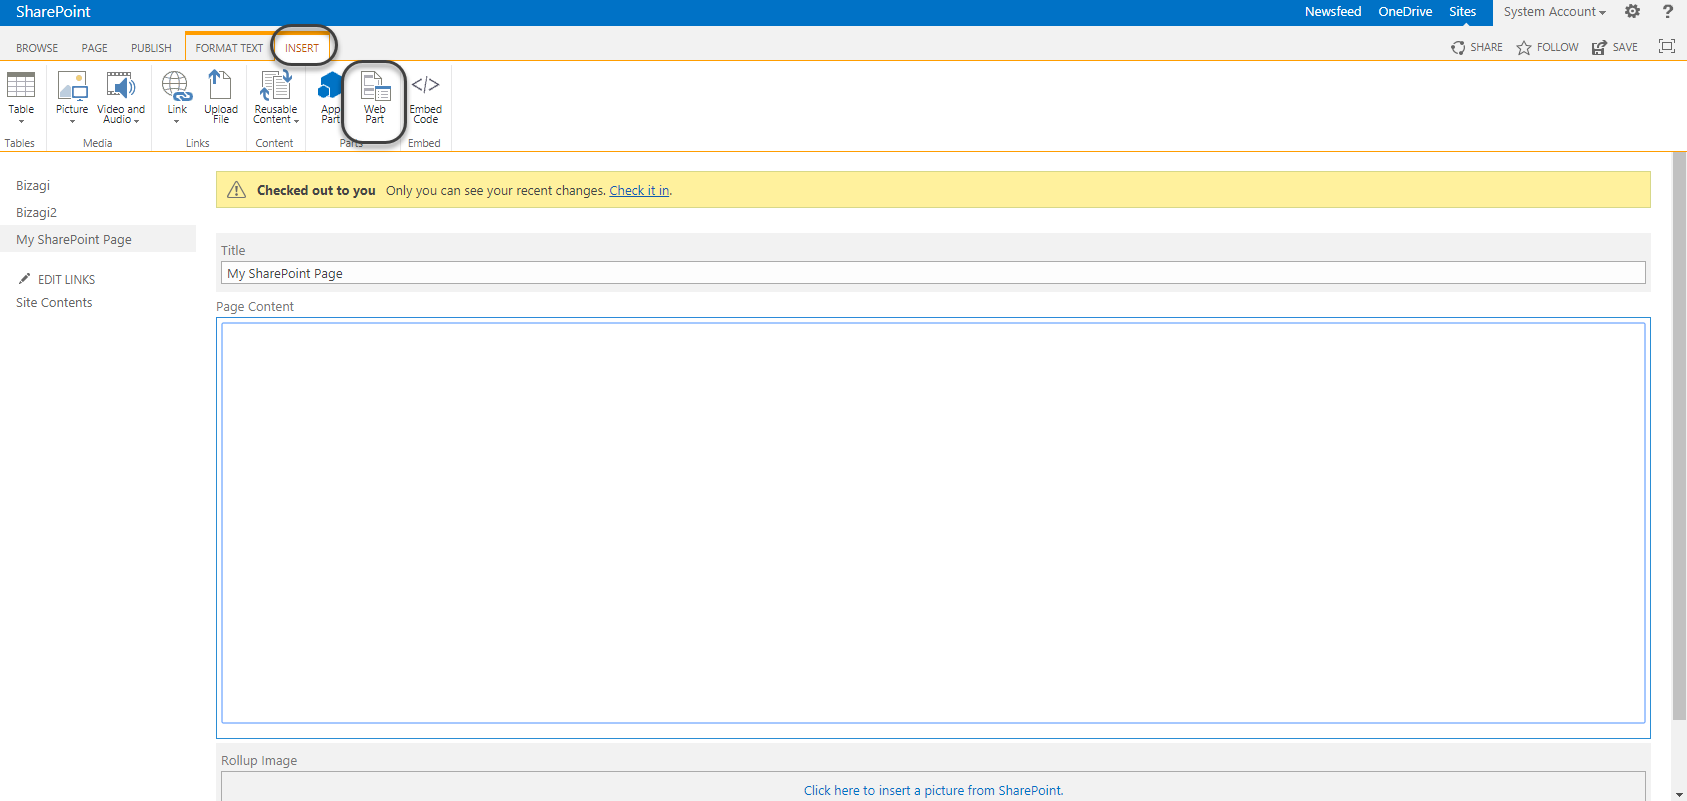
Include this Web Part in a Web Part zone, by moving it from the Web Parts available in the Bizagi category:

Once included in a zone, the Web Part is displayed in configuration mode. You may check out its description and help text for further information: We click its drop-down options to select Edit Web Part.
Notice that this will show its settings appear at the top right hand:
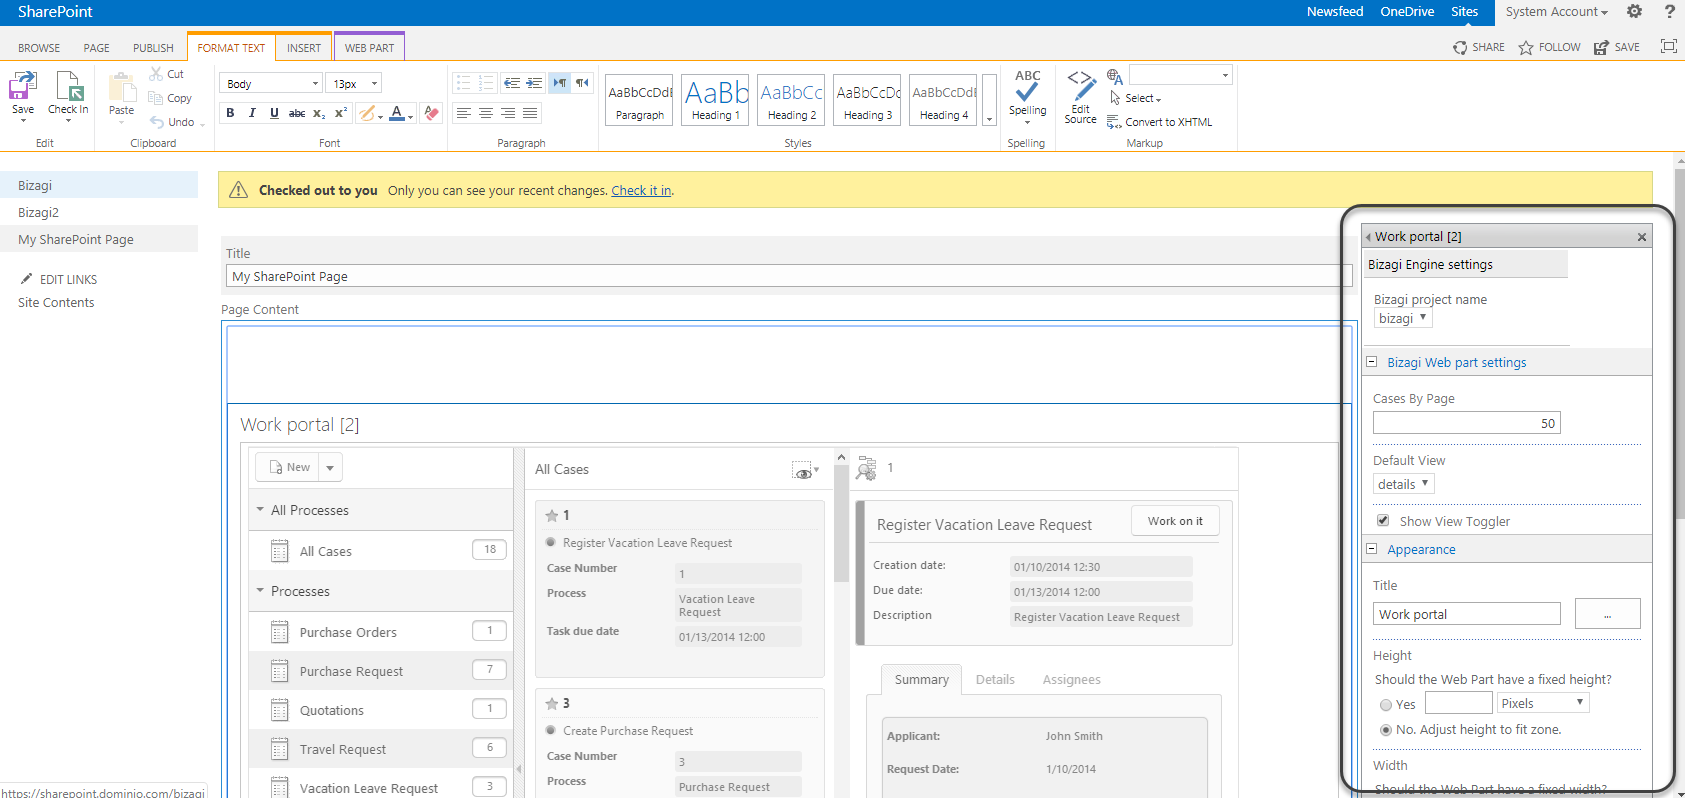
Within these settings, along with those provided by SharePoint for any Web Part (such as Appearance settings), you will find:
SETTINGS GROUP |
SETTING |
DESCRIPTION |
|---|---|---|
Bizagi Engine settings |
Bizagi project name |
Select from this drop-down list the item from the Bizagi configuration list that has the connection details to your Bizagi project (as per defined in the central configuration). |
Bizagi Web Part settings |
Cases by page |
Define how many pending cases (by pages) you wish to list for your users' inboxes. |
Default view |
Choose if you wish to show by default the Details or grid view of the cases. |
|
Show view toggler |
When enabled, the Work Portal lets users to switch between a details view, and a a grid of the listed cases. |
To configure the Web Part:
•For this Work portal Web Part, you may leave the defaults and click OK. If you want to configure the appearance o other general properties, refer to Appearance and general properties.
At this point, you are have configured the Work portal Bizagi Web Part!
Once you save changes on this page (and eventually check-in and publish the new content), your users will log in to SharePoint once, and immediately have access to their Bizagi Inbox (as if they were working in the actual Bizagi Work Portal).
For more information about how the Work portal works in Bizagi and about its options, refer to Bizagi Work portal.
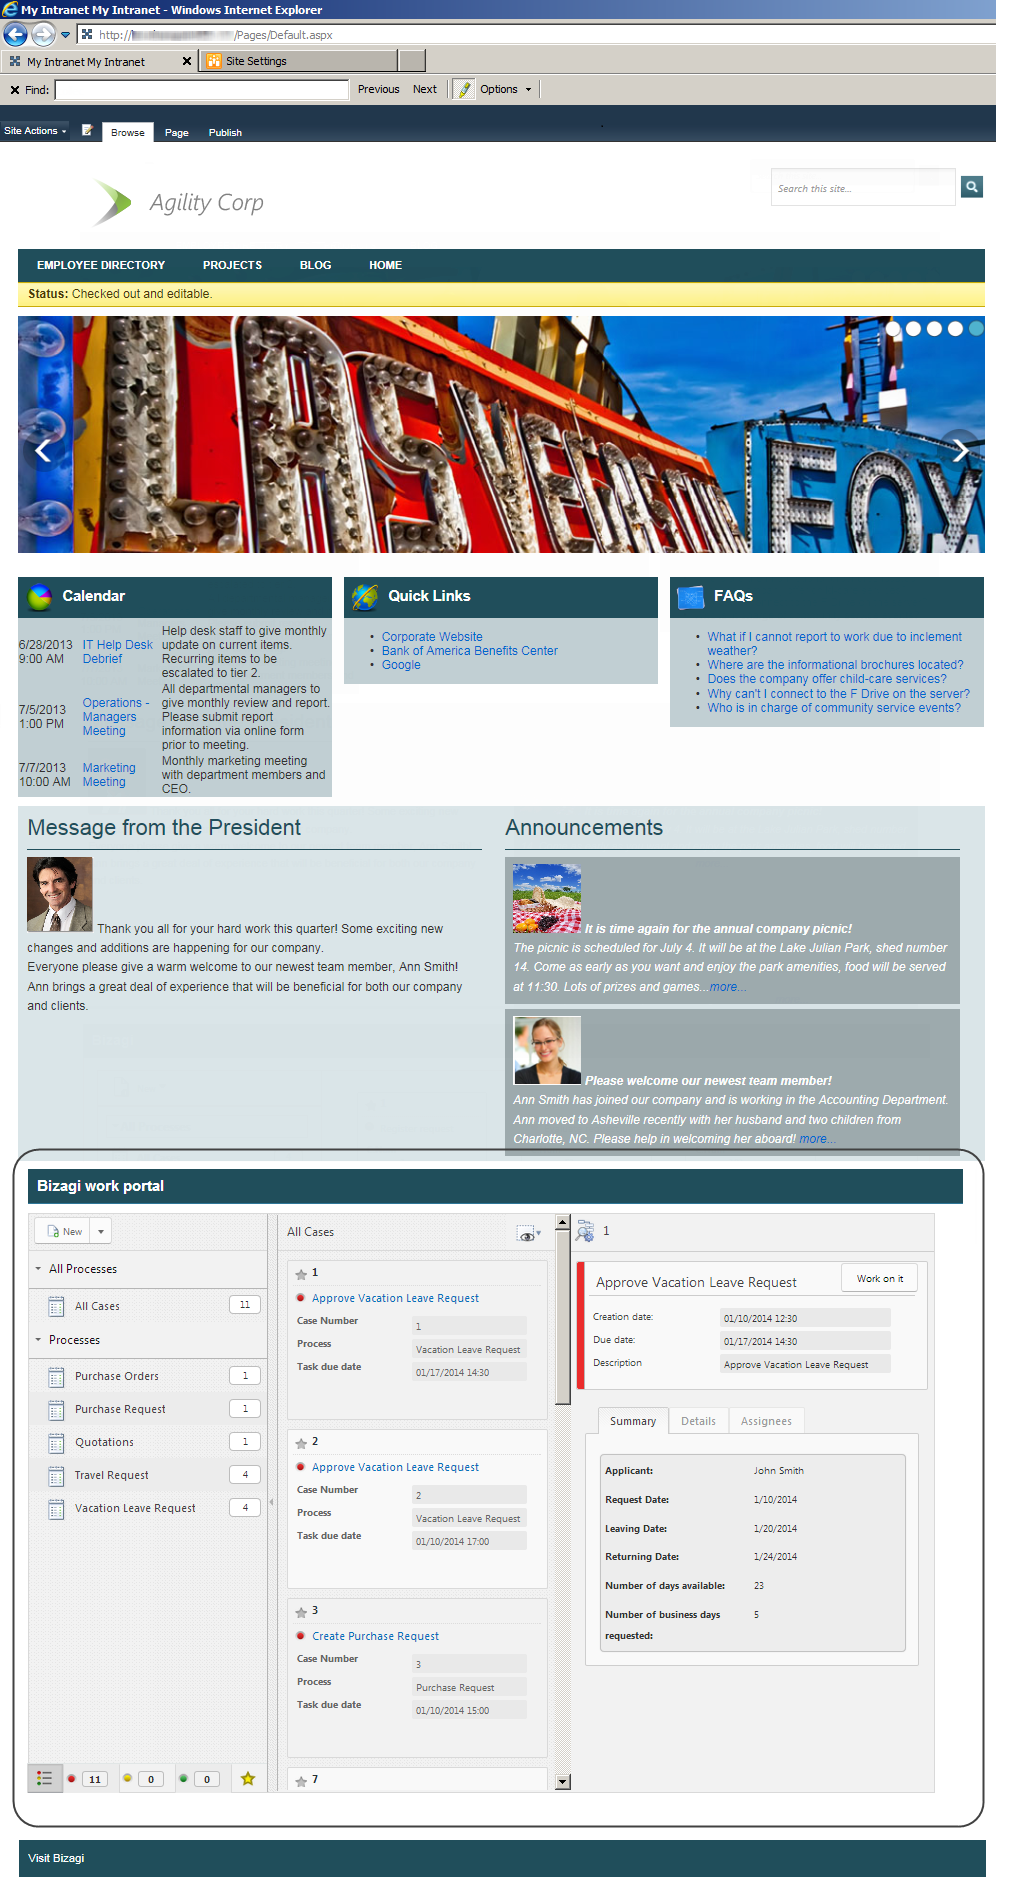
To display the Work portal Web Part in a separate page, you may use a hyperlink in your homepage to direct your users to it:
What is next?
You may also customize the styles used by this Web Part.
If you do not wish to use the default styles, refer to Web Parts styles.
Last Updated 1/23/2023 12:05:10 PM