Overview
Bizagi allows you to reassign work to handle situations beyond standard business logic. Some reasons for reassigning an activity include:
•The allocated user lacks the necessary skills to complete the activity.
•Another user can manage the case more effectively.
•Balancing workloads.
•A higher level of authority is required to complete the activity.
Bizagi lets you reassign activities in different ways:
1.Through the Cases administration options: You can select a new allocated user between all active Bizagi users.
2.Enabling allocated users to reassign activities: Non-admin users (i.e., users who are not Bizagi or Process administrators) can select a new allocated user between all active Bizagi users.
3.Enabling allocated user to release activities: Non-admin users can release activities, which are then automatically reassigned according to predefined allocation rules.
4.Enabling administrators to release activities: Admin users can release activities, which are then automatically reassigned according to predefined allocation rules.
5.Enabling administrators to delete activities that have not been released.
|
Work reassignment can be executed exclusively through the Work Portal. |
Reassigning work through the Cases administration options
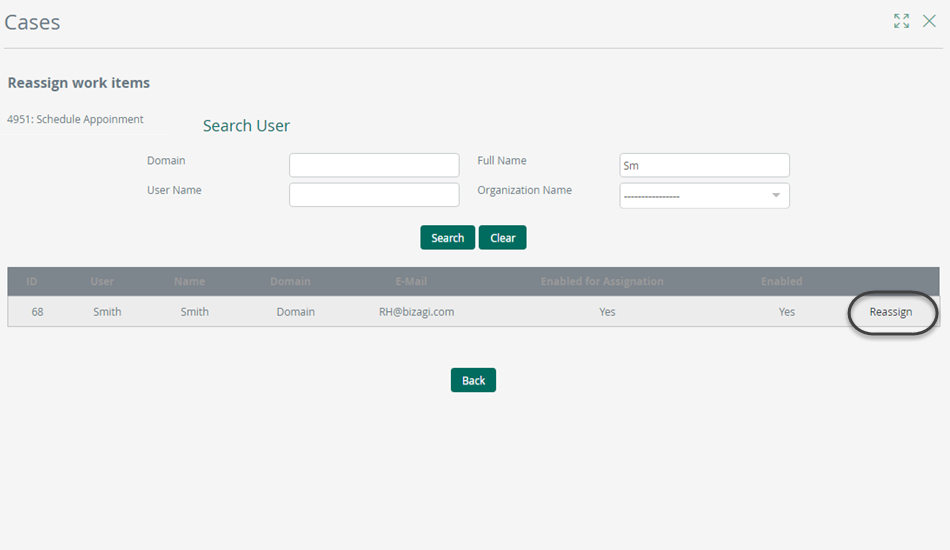
This option is enabled in the Work Portal exclusively for Bizagi or Process administrators, accessible under the Admin options.

From here, administrators can select the activity to be reassigned and choose the user to be allocated from the list of active users.
For further information, refer to Cases administration.
Enabling an allocated user to reassign an activity or intermediate event
This option allows the allocated user of an activity or intermediate event to reassign the task by selecting a user from the list of active users. Activities or intermediate events that can be reassigned display the Reassign button on the right panel under the task name.
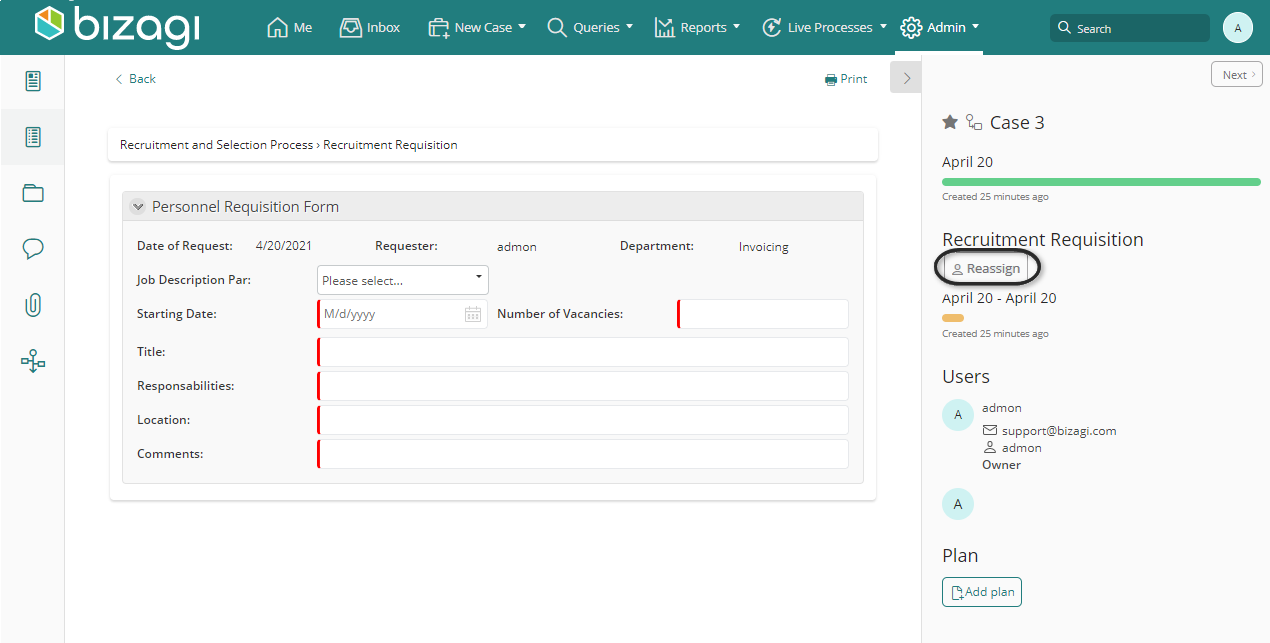
Once you click the Reassign button, a new window appears, allowing you to search for and select the user to be allocated.
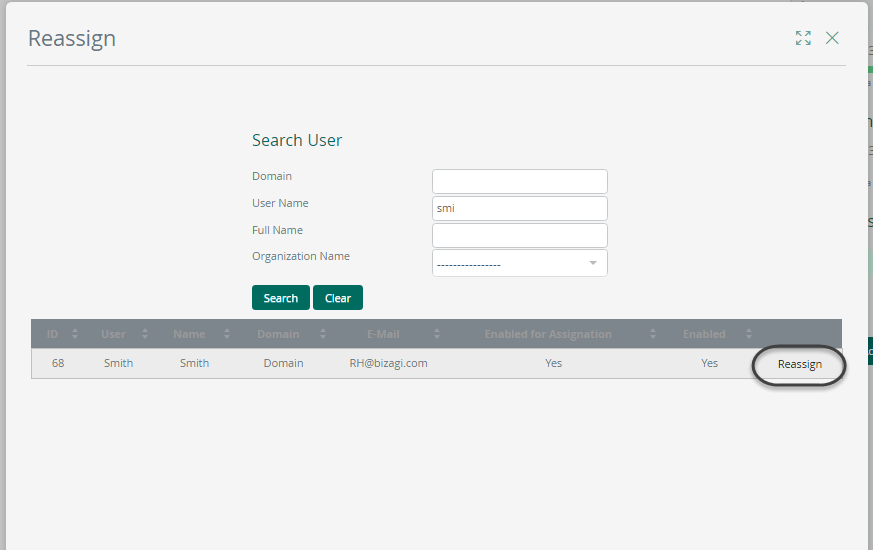
A message confirms that the activity or intermediate event has been reassigned.

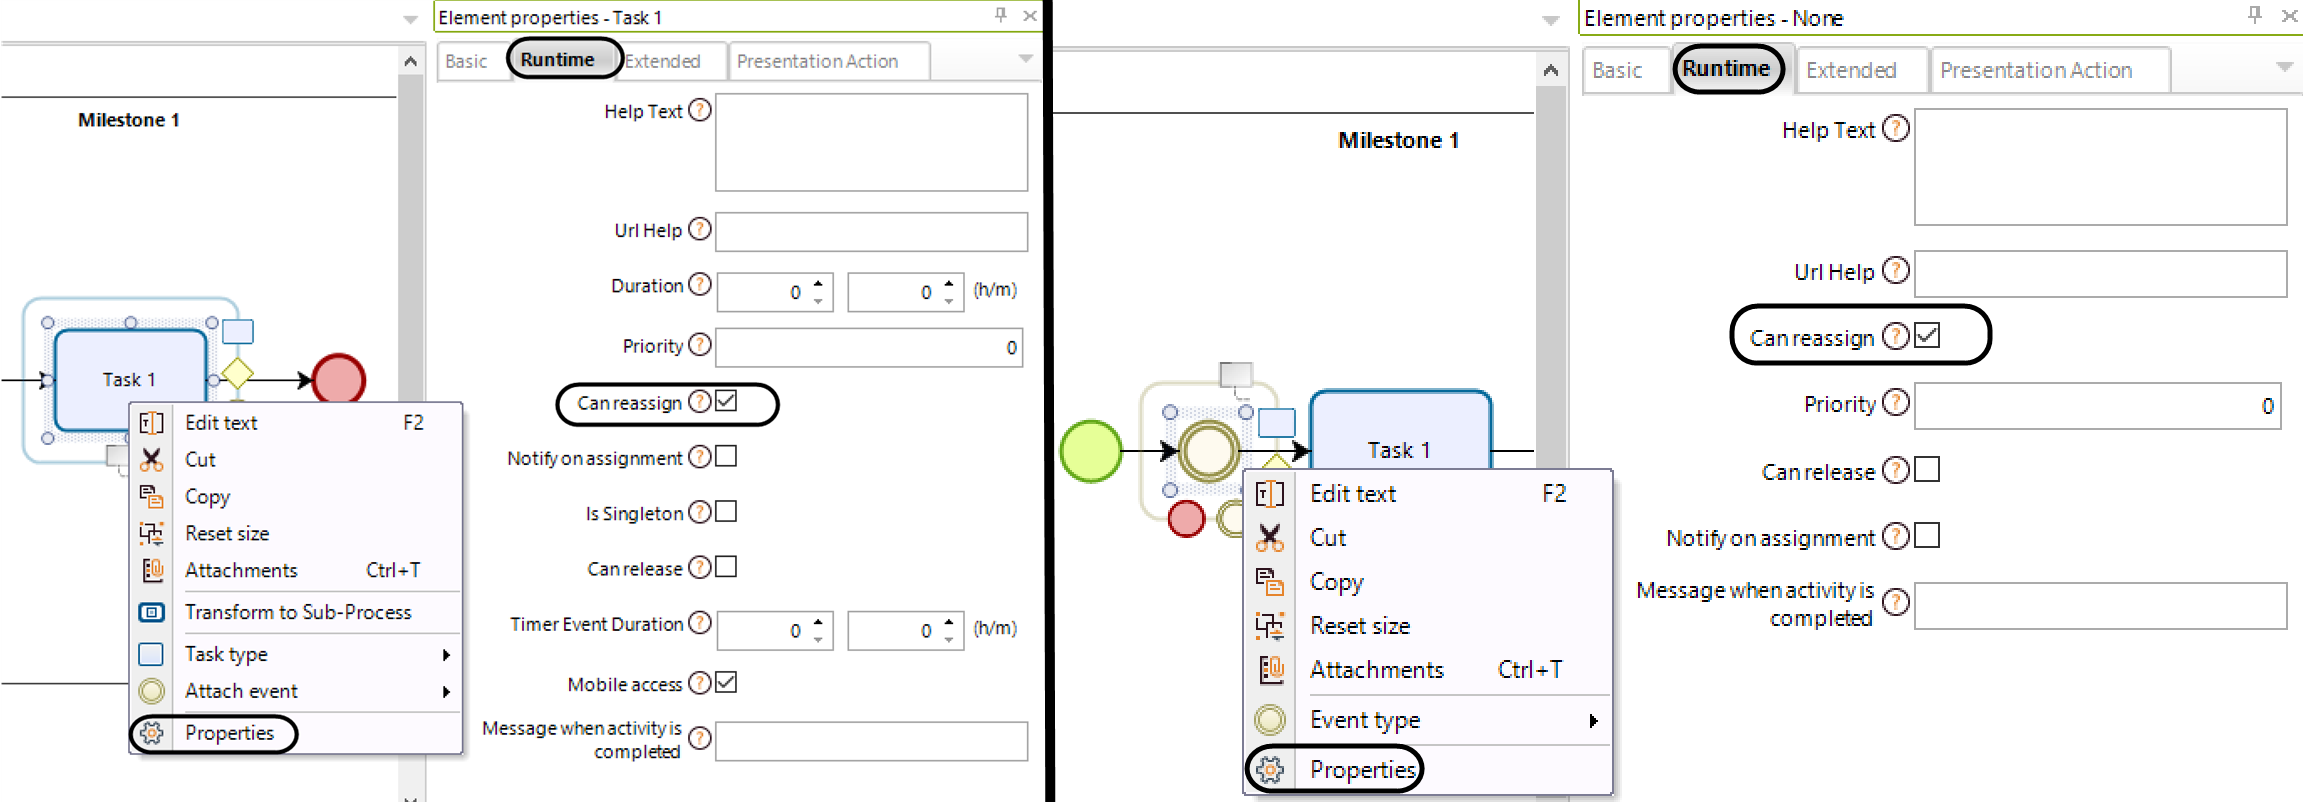
To enable an activity or intermediate event to be reassigned, go to the Process diagram (the first step of the Process Wizard) and select the Can reassign checkbox found in the element's Properties under the Runtime tab.
Enabling an allocated user to release an activity or intermediate event
This option allows the allocated user of an activity or intermediate event to release it. Once an activity is released:
•The defined allocation rules are executed to allocate the activity again, and the user who releases the activity is included in the new allocation.
•If no user meets the allocation rules, the activity is allocated to the default user, regardless of whether this user is the same one who released the activity.
Activities or intermediate events enabled to be released display the Release button beside the Print option.
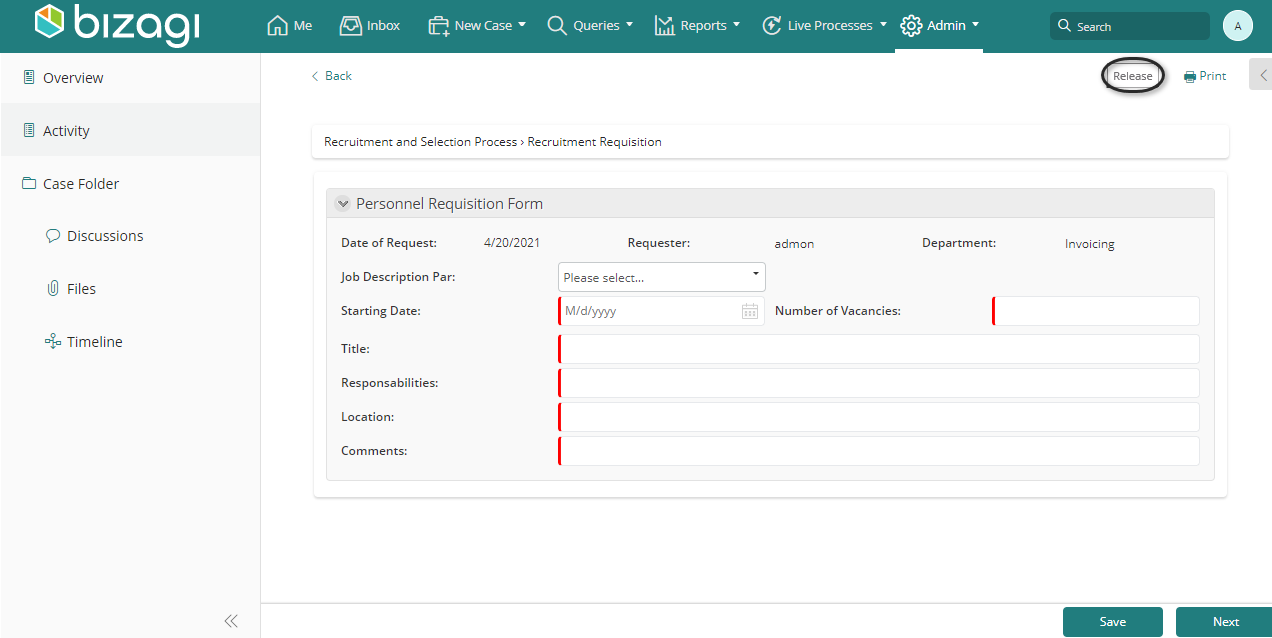
Once you click the Release button, a pop-up window appears asking you to confirm the release of the activity or intermediate event. Click Release.

The activity or intermediate event is released.
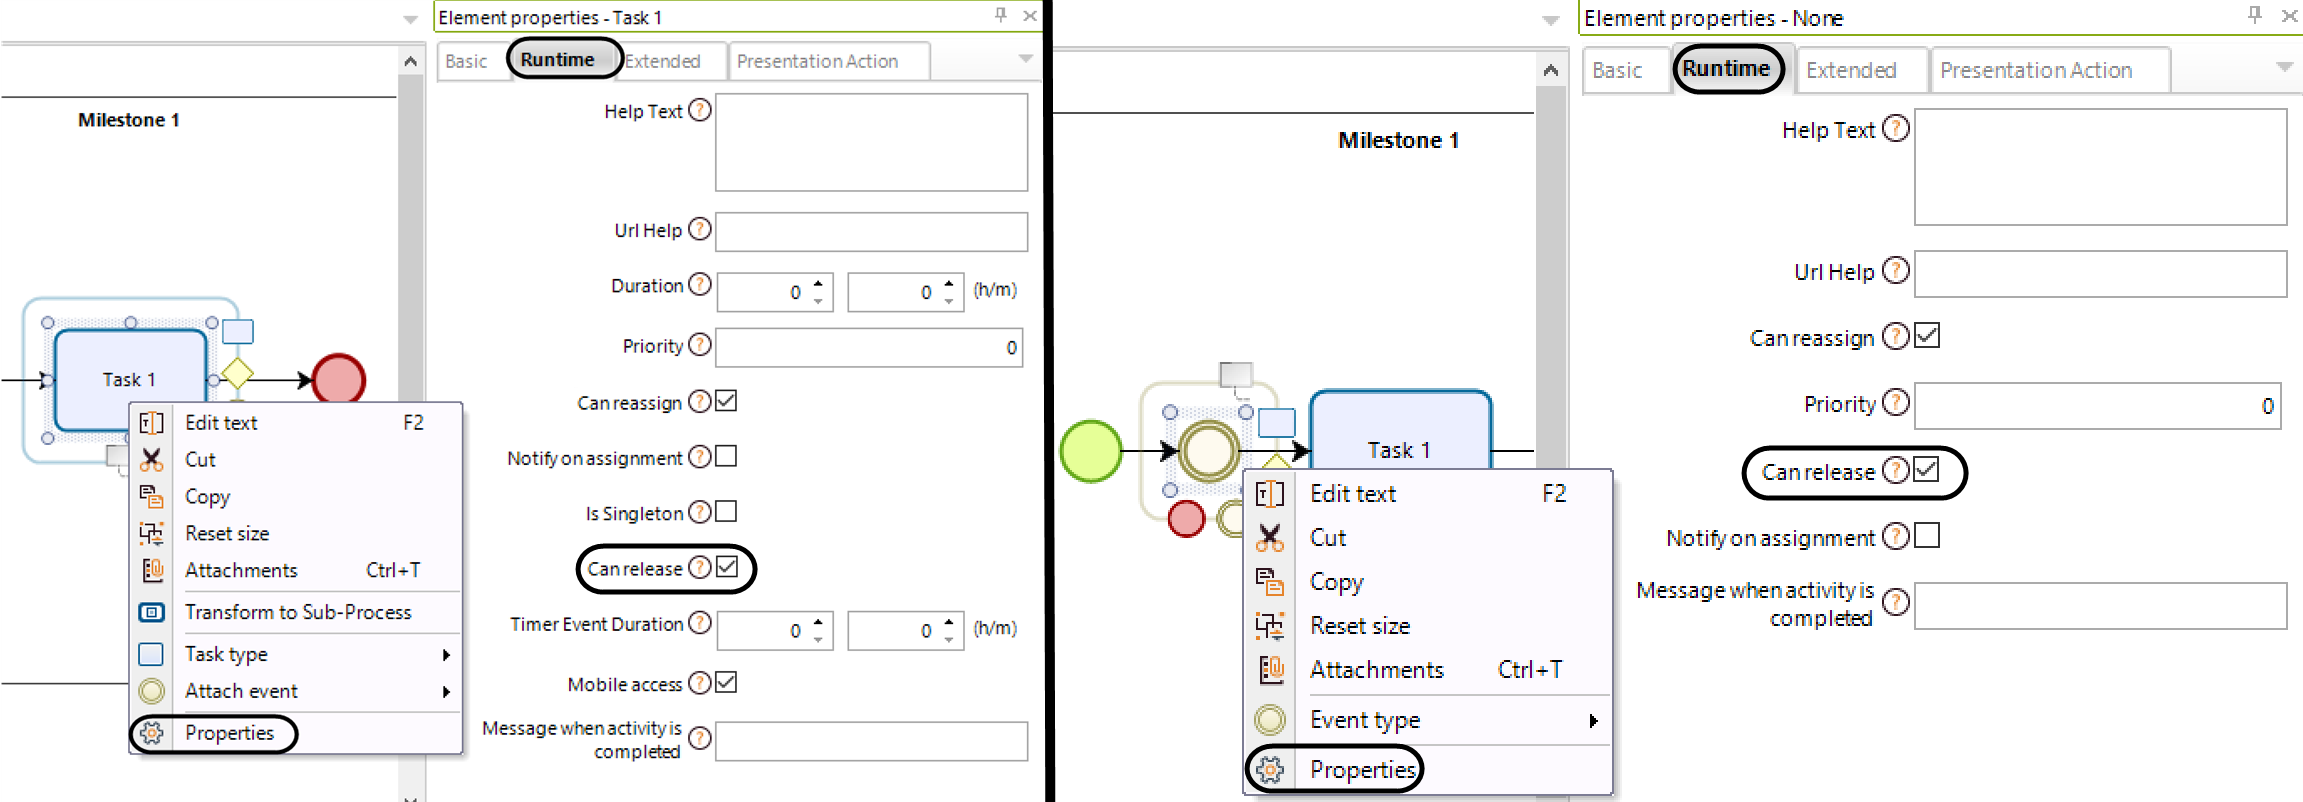
To enable an activity or intermediate event to be released, go to the Process diagram (the first step of the Process Wizard) and select the Can release checkbox found in the element's Properties under the Runtime tab.
Enabling Admin users to release activities
Administrators can release activities from the Release section of the Case Administration option to reassign them when they are taken by a user who is absent.
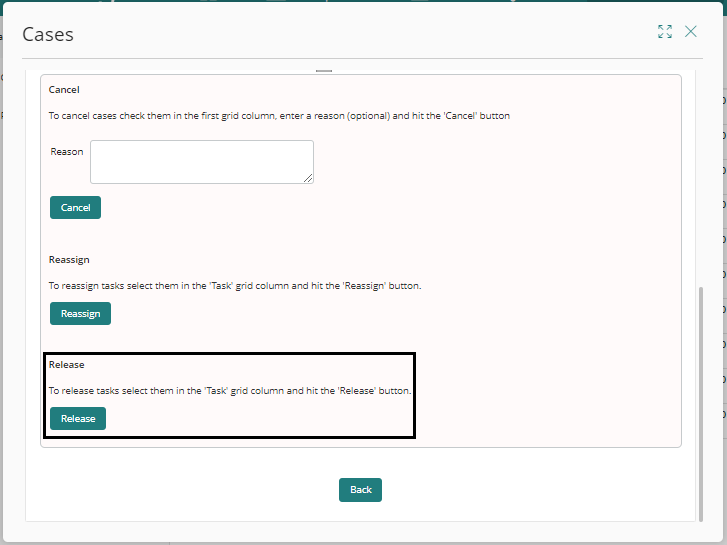
To release an activity, follow these steps:
1.Navigate to Admin>Process Management>Cases in the Work Portal.
2.Search for the desired cases.
3.Select the activity you want to release.
4.Click the Release button.
|
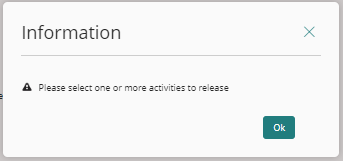
If you click the Release button without selecting an activity, a warning message appears, stating that one or more activities must be selected to continue.
|
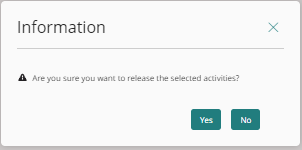
5.Click Yes on the information message that appears.
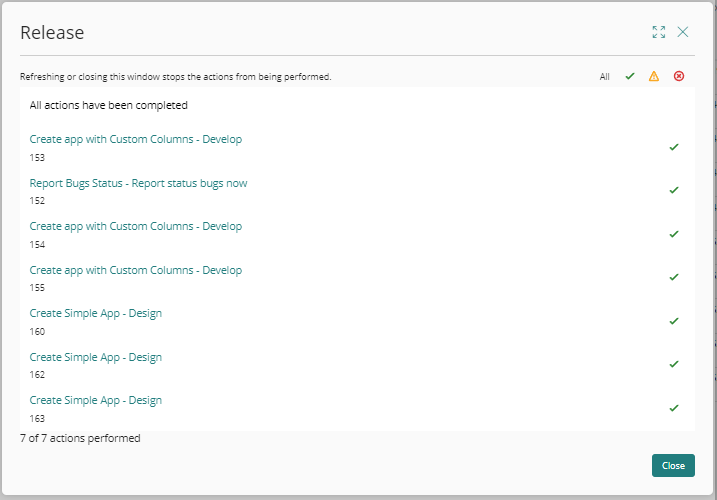
6. The Release summary window opens, displaying the released activities.
|
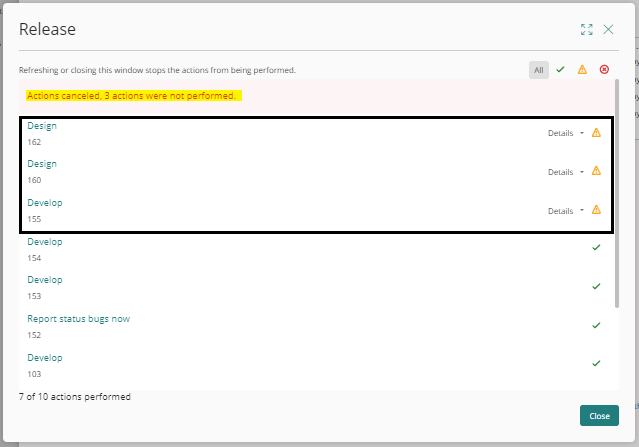
When creating or deleting an activity, a list appears along with some icons. The check icon indicates the processed activities, the cross icon indicates the activities canceled, and the warning sign icon indicates activities that were not processed. |
Enabling Admin users to delete activities that have not been released
Admin users can also delete activities that have not been released. To do so, follow steps 1 through 6 of the Enabling Admin users to release activities section and then proceed with the following:
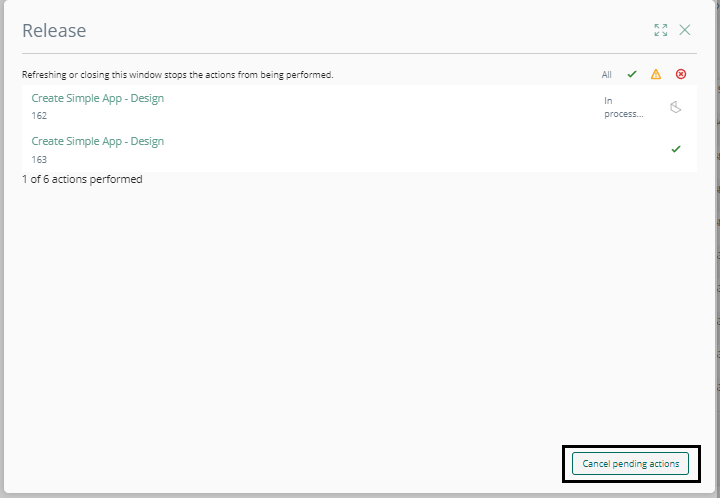
7.Click the Cancel pending actions button.
8.On the confirmation message that appears, click Yes.
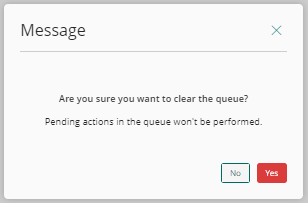
9.A message indicates the number of activities that were not processed, those that were processed, and the canceled activities.
Last Updated 11/21/2025 2:41:00 PM
