Overview
The Widget Editor features simulation capabilities for you to try out your Widgets before including them in Bizagi.
For more information about the Widget Editor, refer to the Widget Editor user interface explained.
Before you start
When creating your own Widgets, note that you will be alerted on key input, about syntax errors that you may have in your Widget.
The Widget Editor will highlight these aspects:
•Information (marked with an i): Notifies about an expected best practice, though the code will work.
•Warning (marked with an !): Warns about a code that works but may not as expected.
•Error (marked with an X): Alerts where you have errors that need adjustment.
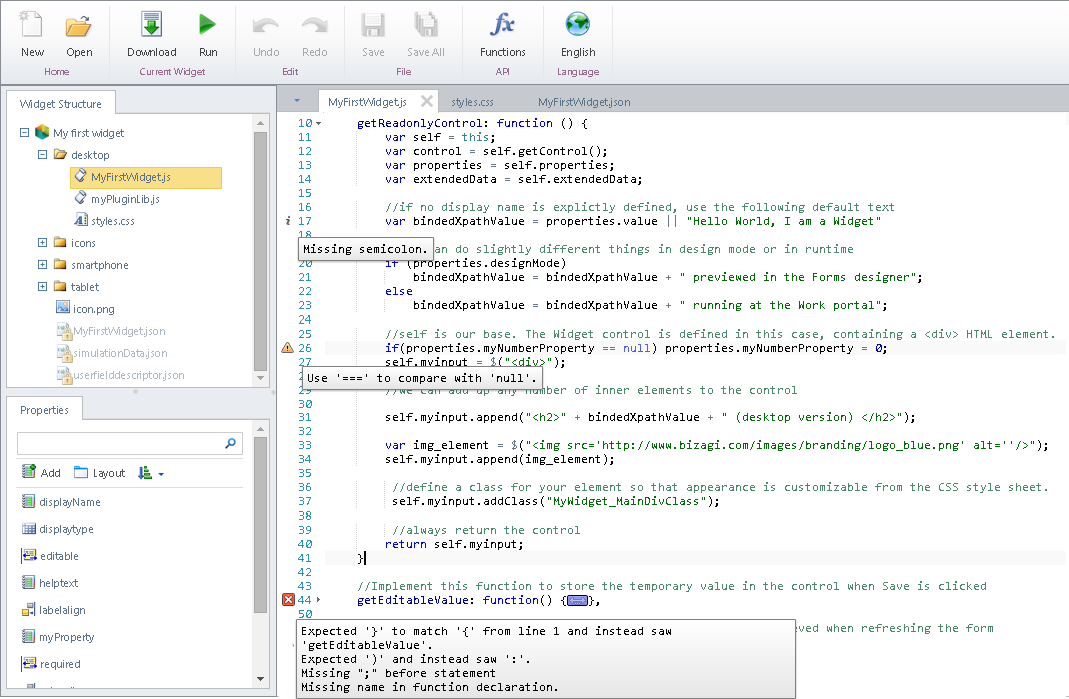
You should make sure these notified code lines are adjusted before moving into Simulation options.
Simulation
To use the simulation feature in the Widget Editor, use the Run option.
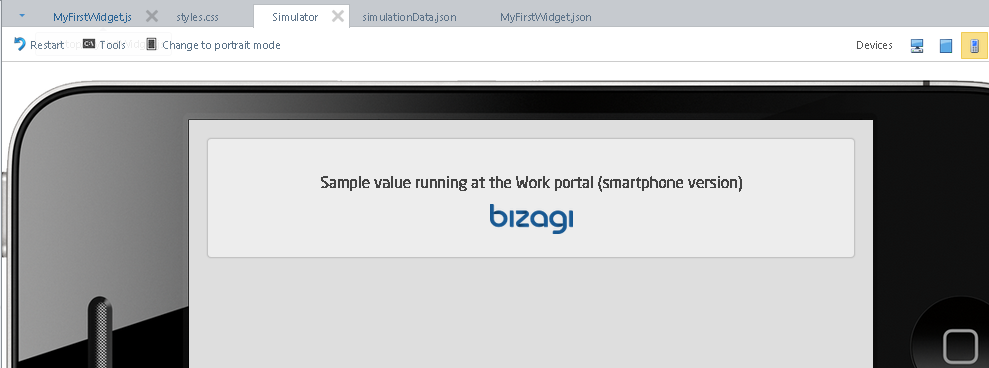
The Widget will load under Bizagi's look and feel and its UI engine. You will see the Simulation under the Simulator tab:
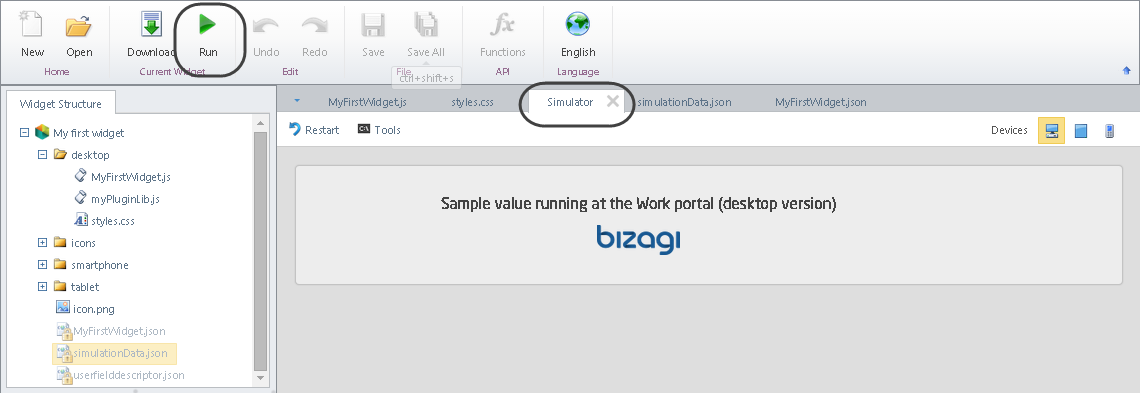
Notice that by default you will see how your Widget is displayed when accessed from mobile devices, but you may easily switch the device emulator settings so that you can consider other devices as well.
|
Even though the simulation provides you the tools to run the Widget in the different devices so that you can accelerate your development, it is still required that you test the Widget explicitly in all supported and planned devices and browsers (e.g, iPhones, iPads, other tablets and smartphones, desktops with Chrome, etc), before you roll it out (i.e publish it to a production environment). |
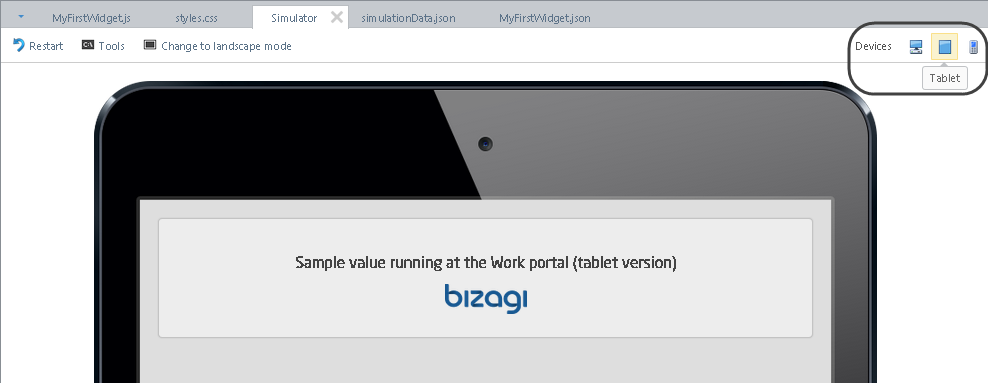
Simulation using tablet:
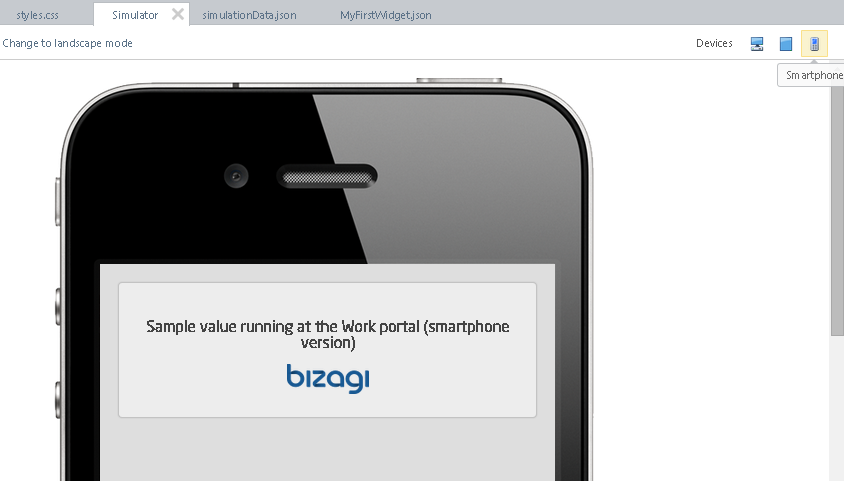
Simulation using smartphone:
You may rely on additional options such as the described below:
•Restart: Reloads your Widget in the Simulator tab taking into consideration any changes in the Simulation data.
•Tools: Takes you to the Simulation data and scenarios so that you can edit that.
For more information about Simulation data and the tools to manage scenarios, refer to the next section.
•Change to landscape mode / Change to portrait mode: Available for the smartphone and tablet simulation view, as it will emulate the turning of the device, useful to see how well the Widget adjusts to the horizontal space.
Simulation data
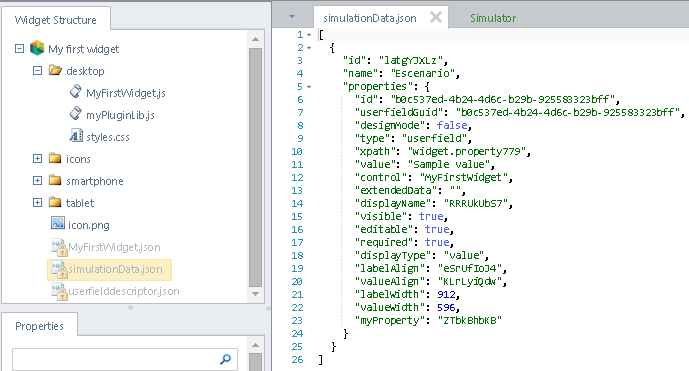
The simulation feature in the Widget Editor use a json-structured file for the incoming test values used by your Widget.
The Widget Editor will automatically generate random samples of information according to the data type of your Widget's properties.
For further possibilities and to manage multiple simulation scenarios, or if you wish to edit and include additional simulation data, it is recommended to rely on the Simulation tools as described in the next section.
|
Notice that advanced users may also edit the incoming value (seen above as "Sample value") that is simulated as if it were saved in that XPath. You may also, change the editable property from true to false so that you test your Widget when the control is set to both. |
Defining multiple scenarios
Through the tools options when simulating your Widget, note that you may include additional scenarios (e.g, one to run the Widget as read-only and one to run it as editable).
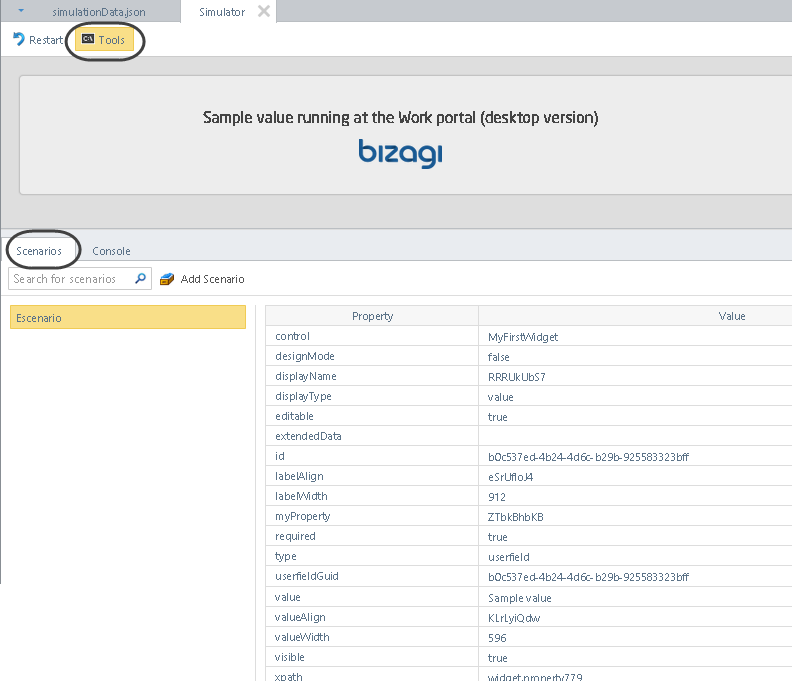
To do so, use the Add Scenario option and click the scenario to rename it.
Click on the scenario and locate further options to manage that scenario: Run it or Delete it.
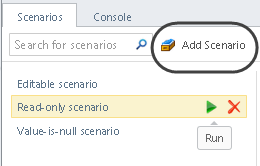
You may edit the values of each property, be it a built-in property of all Bizagi controls, or one of the specific properties you defined for your Widget:

Rely on the console to initially troubleshoot your Widget if it's not working as expected.
Using traces with the Simulation console
Through the tools options when simulating your Widget, note that you may rely on the console to view traces of execution checkpoints of your Widget, or to view error messages produced by your Widget.
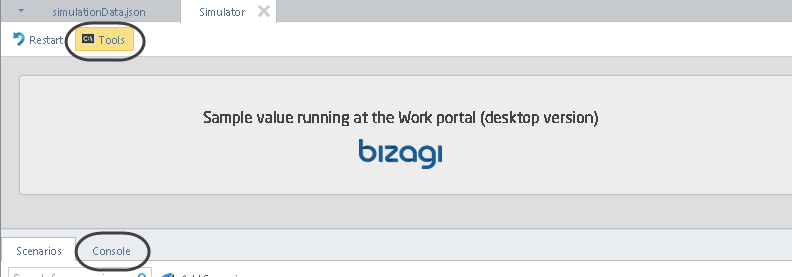
The console shows traces recorded by Bizagi when displaying your Widget, plus any custom traces you include by using console logging.
Refer to the table below to use console logging options and to determine its type of log.
Logging option |
Type of log |
|---|---|
console.log() |
|
console.error() |
|
console.warn() |
|
console.time(), console.timeEnd() |
|
bizagi.log() |
|
Options in the console allow you to filter by the above types of logs.
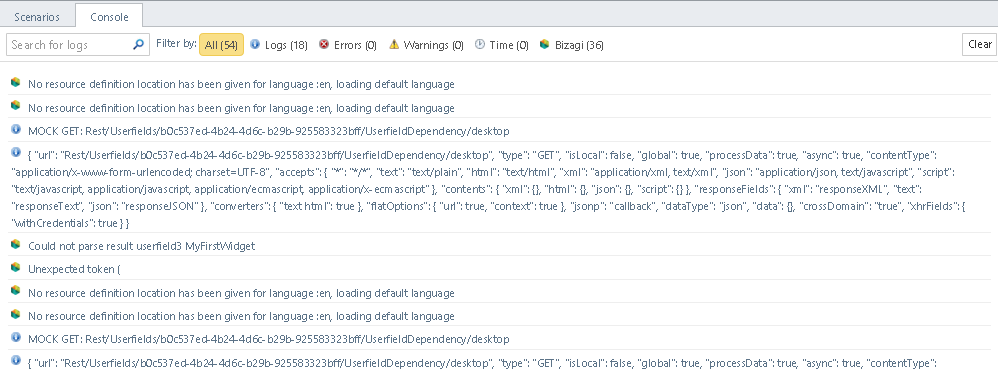
Note you may use the clear button anytime to delete previous logs for better readability of your traces.
Important
Note that the following aspects are not simulated with this option:
•How the Widget behaves along with other controls.
•How the Widget behaves when Next or Save is clicked in Bizagi's form.
Last Updated 1/23/2023 12:05:03 PM