Overview
To create a Widget, edit the [device]\[myWidget].js file by writing your own code in the functions to implement (i.e, getEditableControl(), getReadOnlyControl() and rendexComplex()).
The following information provides a quick guide to the functions you may directly use in your implementation.
For more information about the [device]\[myWidget].js file, refer to Widget structure.
Functions
Note that some of these are mandatory to implement, while others apply for specific uses and may be overridden by you (if not, then the default behavior of Bizagi will apply).
FUNCTION |
DESCRIPTION |
WHEN IT IS NEEDED |
|---|---|---|
getEditableControl() |
Returns the Widget you implement when set in Bizagi as an editable control. The Widget itself will be any number of HTML controls included inside of a <div> HTML element. You will need to return the <div>. |
As a best practice, you should always implement this function (given that editable is a property of controls that is most likely to be always up for configuration). Exceptions when this is not needed, is when your Widget will always be read-only, and therefore you don't need to present the editable property for your control. |
getReadOnlyControl() |
Returns the Widget you implement when set in Bizagi as a non-editable control (read-only). The Widget itself will be any number of HTML controls included inside of a <div> HTML element. You will need to return the <div>. |
As a best practice, you should always implement this function (given that editable is a property of controls that is most likely to be always up for configuration). Exceptions when this is not needed, is when your Widget will always be used to capture information, and therefore you don't need to present the editable property for your control. |
getEditableValue() |
Returns the current value of your Widget in a string. Bizagi will invoke this method for its onSave treatment (i.e when the Save button is pressed) to save the temporary value in the scope. |
Only needed when implementing a Widget that can be set as editable. As a best practice, you should always implement this function (given that controls should be editable in some forms, and you cannot know before hand if the Save button will be available or not). |
setEditableValue(string value) |
Assigns the incoming value as a string (currently in the scope), to your Widget. Bizagi will invoke this method for its onSave treatment (i.e when the Save button is pressed) to refresh the page and display the currently held information. |
Only needed when implementing a Widget that can be set as editable. As a best practice, you should always implement this function (given that controls should be editable in some forms, and you cannot know before hand if the Save button will be available or not). |
collectData (array rendervalues) |
Collects the values held by your Widget in multiple Xpaths (currently in the scope), so that Bizagi can submit these appropriately across these multiple Xpaths. |
Only needed when using multiple Xpaths for a same Widget, which is not an usual requirement. Example: collectData: function (renderValues) { var self = this; var properties = self.properties; renderValues[properties.[your_Property]] = $("[your_HTML_element]", document).val(); } |
renderComplex() |
Runs code whenever the Widget and Bizagi's form has finished completely loading up. |
As a best practice, you should always implement this function, so that it implements the behavior of the Widget (basically what you do in an HTML page by calling out JS functions). Note that both the getEditableControl() and getReadOnlyControl() should only be in charge of including/presenting the HTML elements of your Widget. |
isValid(array invalidElements) |
It will run when clicking Next so that you can add your own validations for data input of the Widget.
It allows you to return true if data inputted in your Widget is valid and all other Xpaths in the form are valid too; or false otherwise.
|
This function immediately receives an array having those Xpaths in the form which will need to be reviewed and are currently invalid (or missing). You will need to append to this array, your Widget and its validation message (and return false) in case that it also needs to be reviewed. The array and its objects are sent like this: [{XPath: "Entity.Email", message: "The <strong>E-mail</strong> cannot be empty"}]
After conducting your own validations to the Widget, if you need to add it to the array, you may rely on the jQuery .push() method. |
Actions and validations
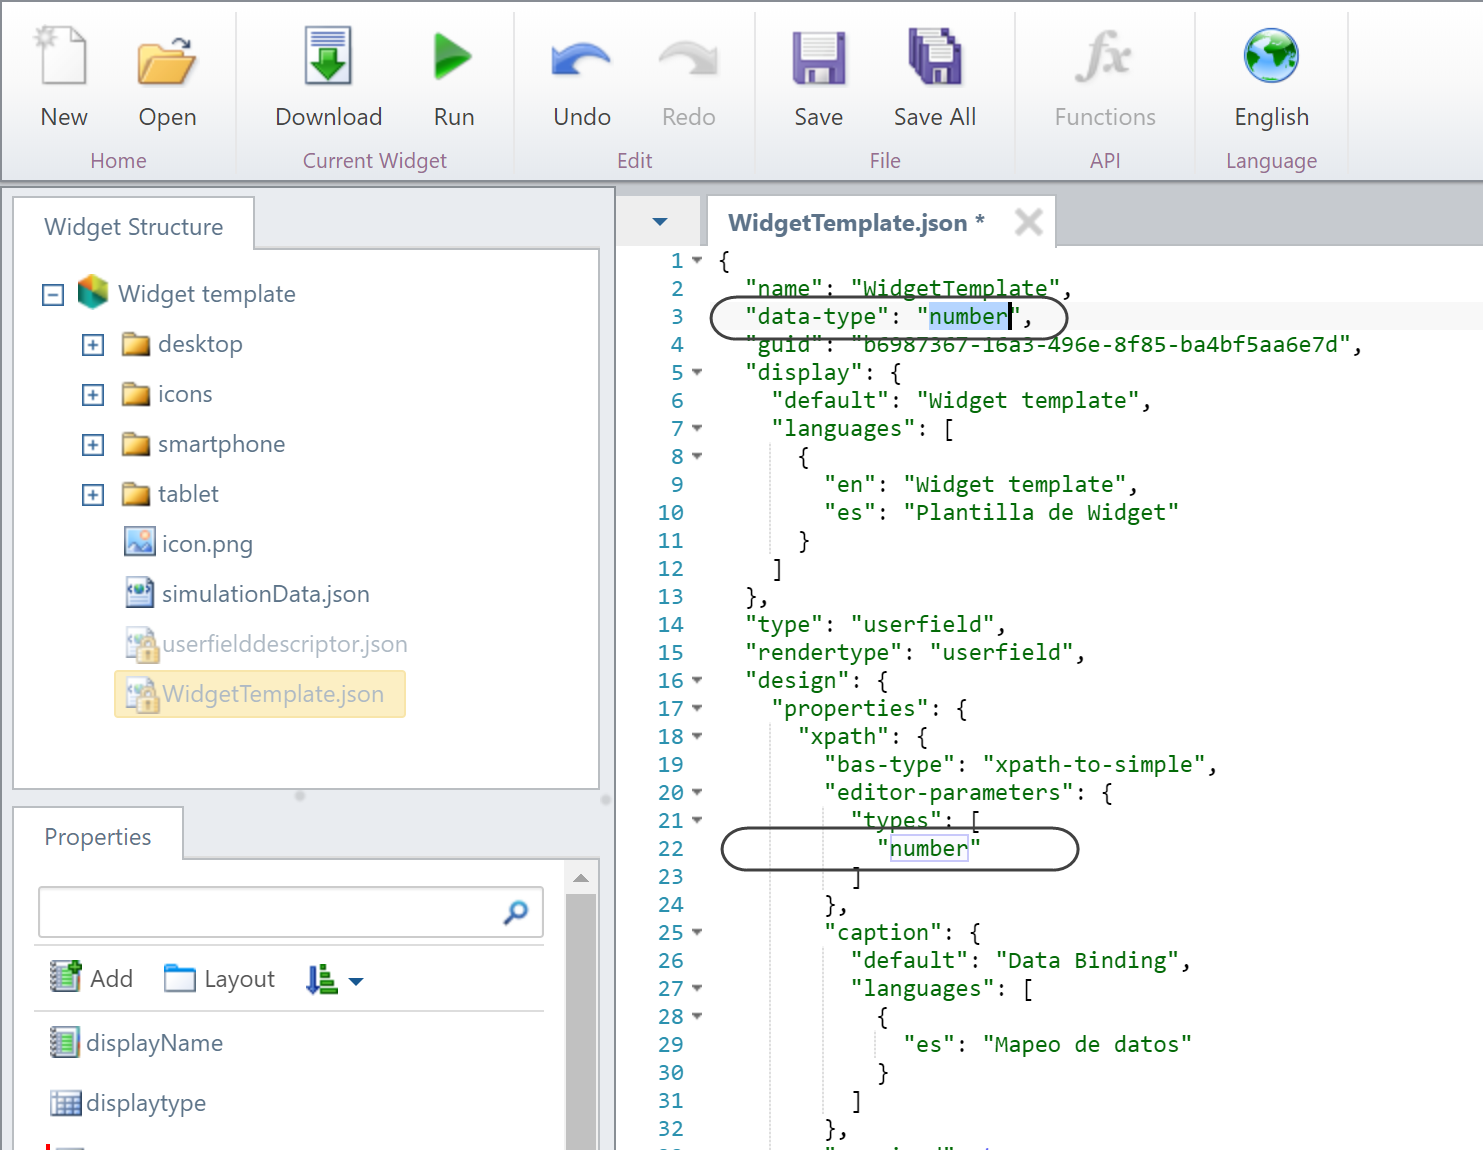
Consider that in order to make your Widget eligible for actions and validations within the form, you will need to include its data-type property set with the same data type defined for the XPath property.:

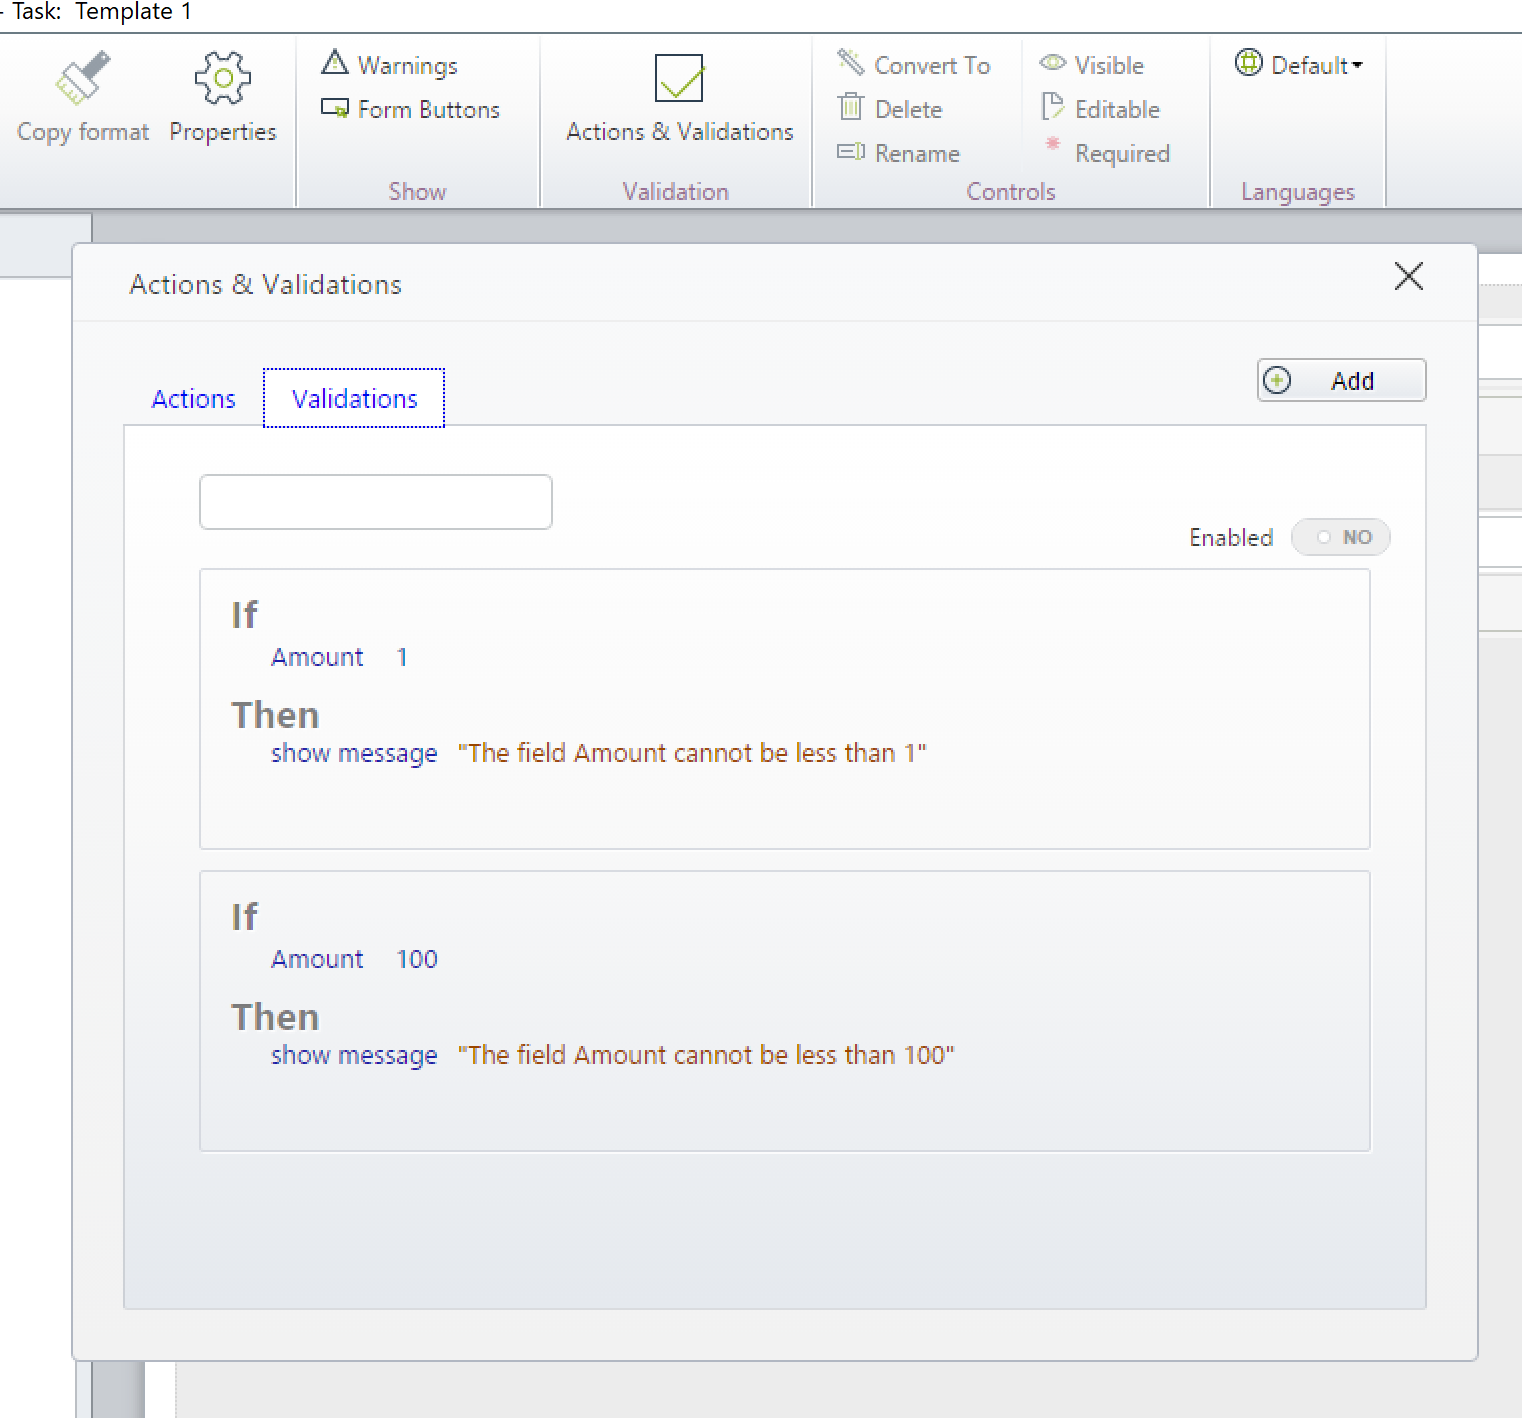
When doing so, apart from your Widget showing up as candidate to trigger actions and validations (or as a target reacting to them), you will see that it will list its current validations for instance, as implemented/overridden in the IsValid() function:

|
Even though you may have your Widget become eligible for actions and validations, consider that not entirely all actions are supported for your Widget, especially depending on its XPath data type. |
Last Updated 1/6/2022 11:29:34 AM