Overview
Attended bots are intended for simple, but repetitive tasks. These bots act like personal assistants for users that need to perform specific day-to-day tasks (i.e. extracting information from a form or from an external system; or sending a simple email), allowing users to use their time in activities that add value to the company. Bear in mind that unlike the unattended bots, the attended bots run locally, which means, they perform the tasks directly in the user's station.

Before you start
Before configuring your attended bot in Bizagi Studio, take into account the following aspects:
•You need to have published your UiPath process in the Orchestrator.
•It is necessary to have the UiPath process downloaded in the UiPath Assistant, and have the UiPath Assistant opened. The UiPath Assistant is automatically installed when UiPath Studio is configured. This tool helps you to interact with the processes created in UiPath Studio. For more information about the UiPath Assistant, click here.
•Attended bots are compatible with UiPath version 2020.10 or superior. Previous versions are not compatible.
•It is neccesary to have the UiPath JavaScript Add-On installed on the Robot machine. For more information about the UiPath JavaScript Add-On, click here.
•A CORS plugin is needed in the explorer where the Work Portal is used. You can find CORS plugins in the explorers' stores. Some of the plugins that you can use are:
oFor Google Chrome: https://chrome.google.com/webstore/detail/allow-cors-access-control/lhobafahddgcelffkeicbaginigeejlf?hl=es
oFor Firefox: https://addons.mozilla.org/es/firefox/addon/cors-everywhere/
•Before configuring the attended bots, you need to configure the connection with the UiPath Orchestrator.
•As the attended bots load content from the UiPath orchestrator, you need to define the Content Security Policy that allow the execution of the bot.
Considerations
•Calling attended bots through a mobile device is not supported.
How to configure an attended bot in Bizagi Studio
You can configure the execution of an attended bot directly in Bizagi Studio. To configure an attended robot in Bizagi Studio, complete the following steps:
1. Configure the bot in Bizagi Studio
2. Associate the bot to a form
3. Execute the bot in the Work Portal
Configuring an attended bot in Bizagi Studio
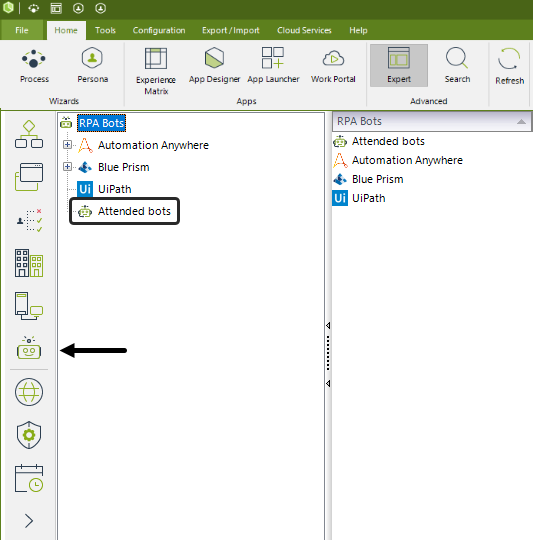
1.Go to the Expert View in Bizagi Studio and in the bots section, click Attended bots.
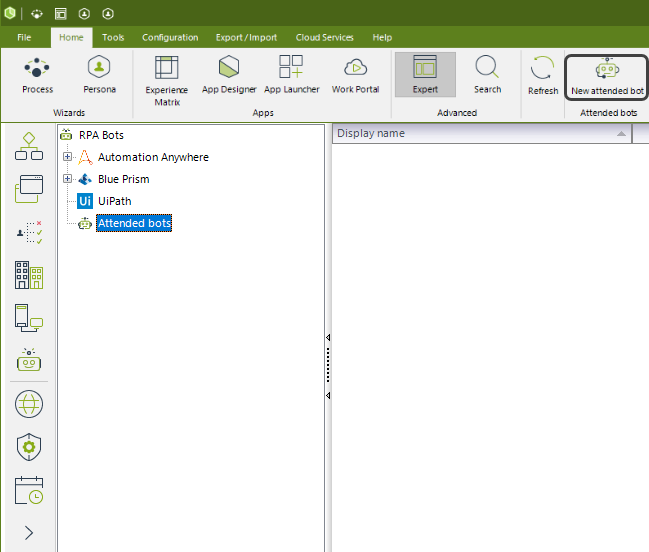
2.Click New Attended bot.
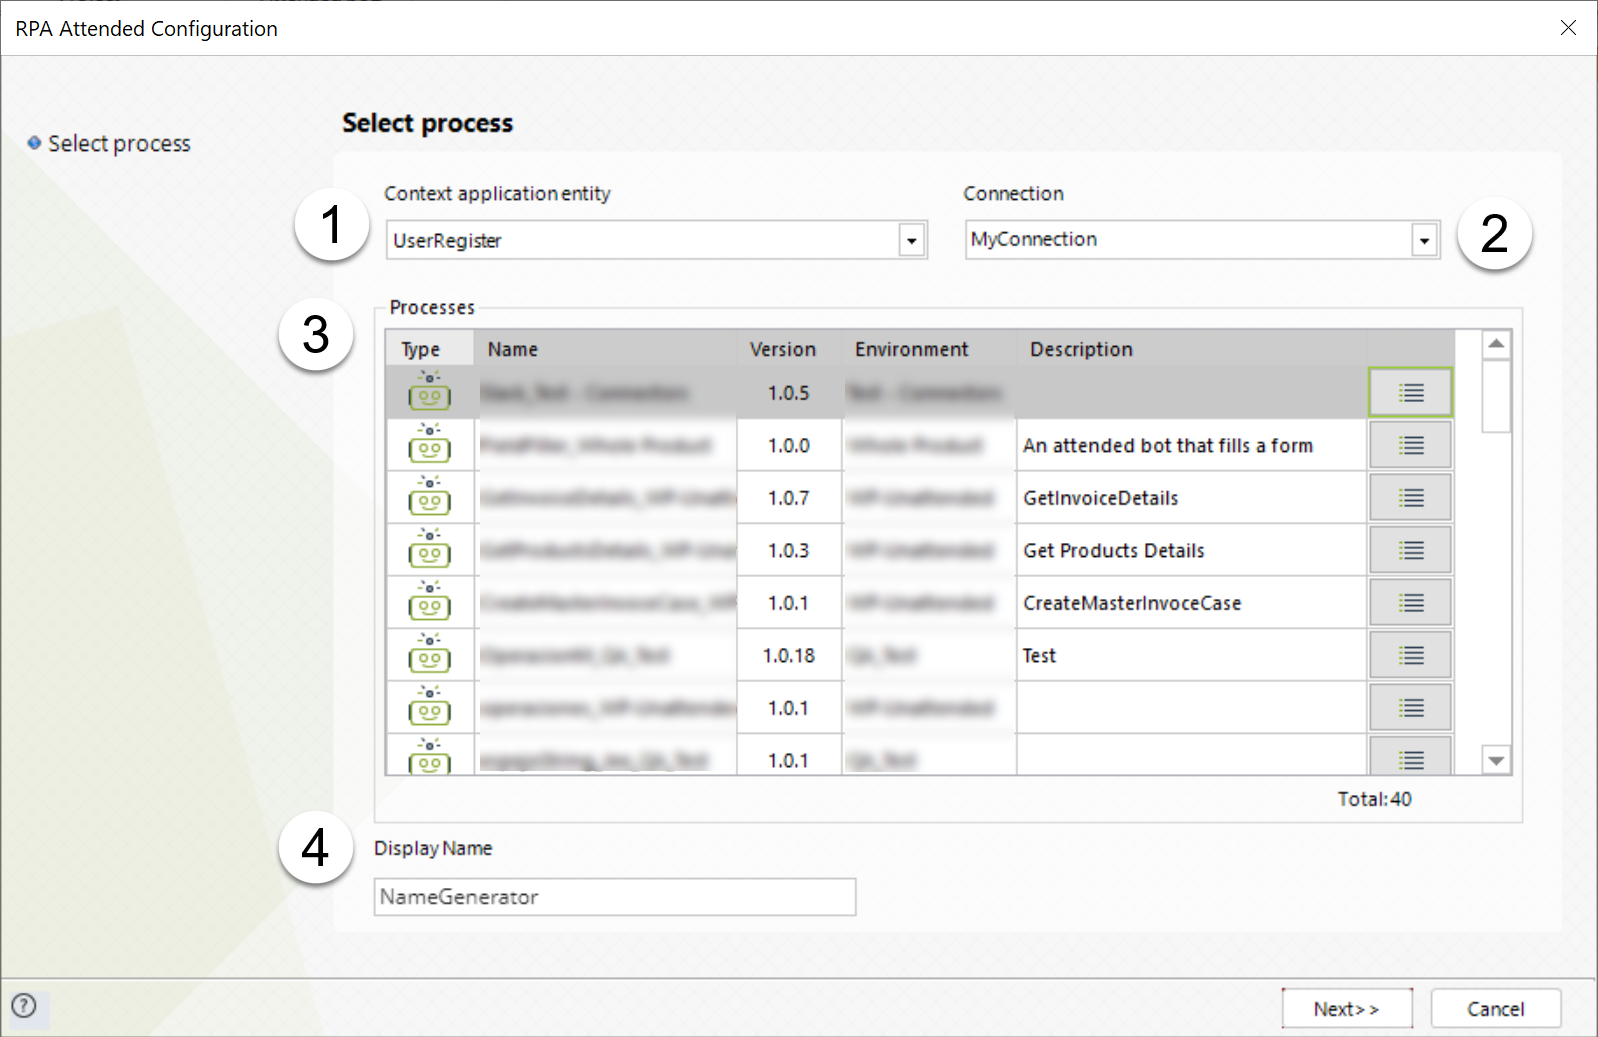
3.When you click New Attended bot, an RPA Attended configuration window appears. In this window you must configure the following parameters:
oContext application entity: attended bots can only be mapped to master or application entities. This parameter is used to indicate the master or application entity where the inputs and the outputs will be mapped.
oConnection: connection to the UiPath Orchestrator. This connection must be done before configuring the Attended Robot.
oUiPath Process: after selecting the UiPath Orchestrator connection, all the processes available in the orchestrator are listed. Select the process that you wish to configure in the attended bot.
oDisplay Name: display name given to the attended bot.
|
If you are going to use attended bots in a sub process, the Context application entity must be the process entity of the parent process. |
If you click the button next to each process, you can see the list of the robots associated to a specific process. These are the robots that can execute the selected process.

|
As attended robots run locally, only the robots associated to a specific process can execute them. If a robot is not associated to a process that needs to execute, it must first be configured through the Orchestrator. |
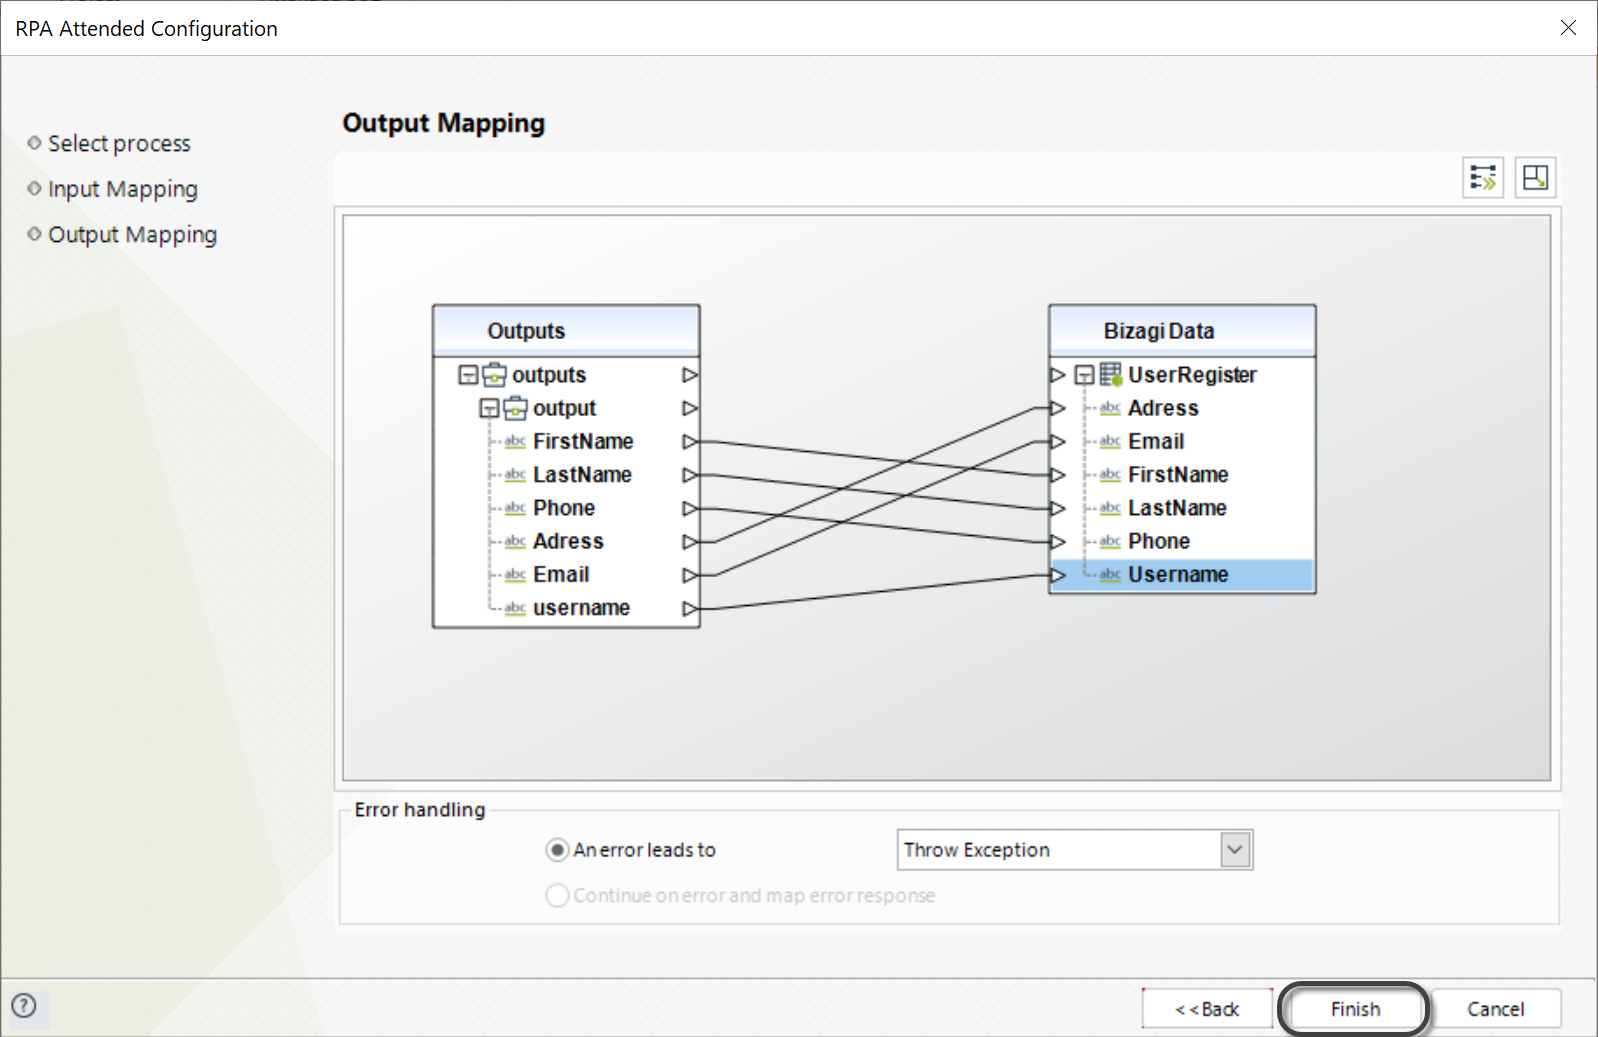
4.Map the inputs and the outputs for your process and then click Finish.
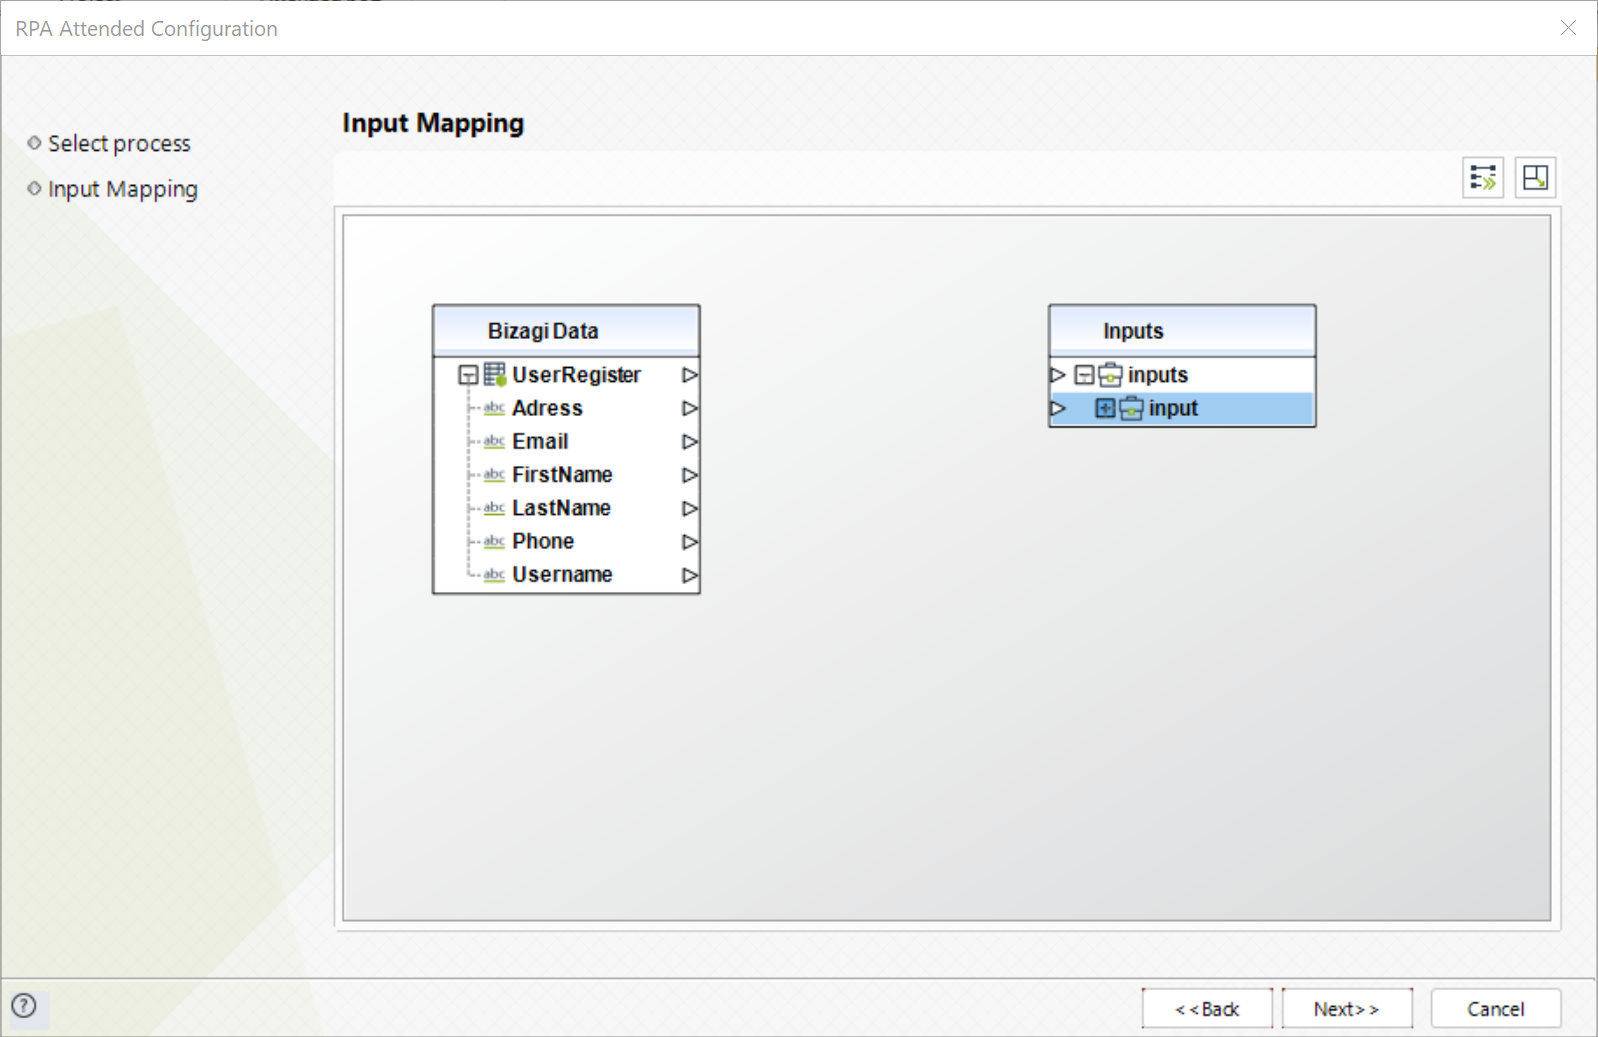
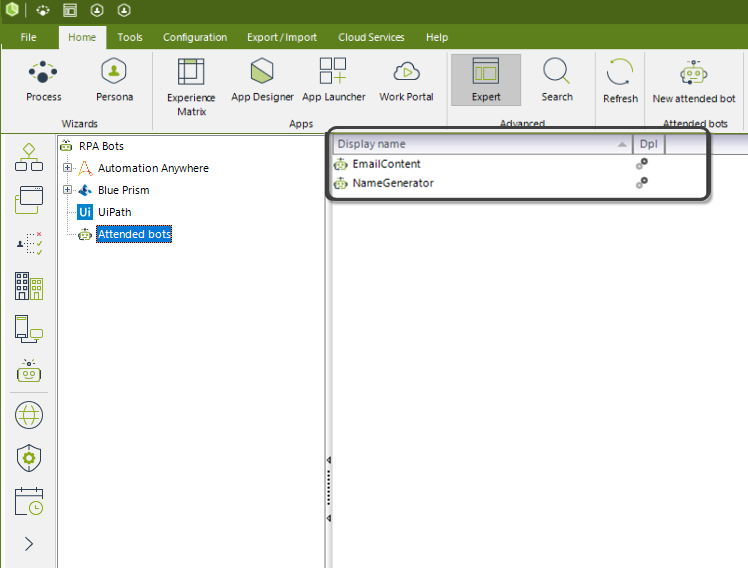
Configured bots are displayed under the Attended bots section.
Associating an attended bot to a form
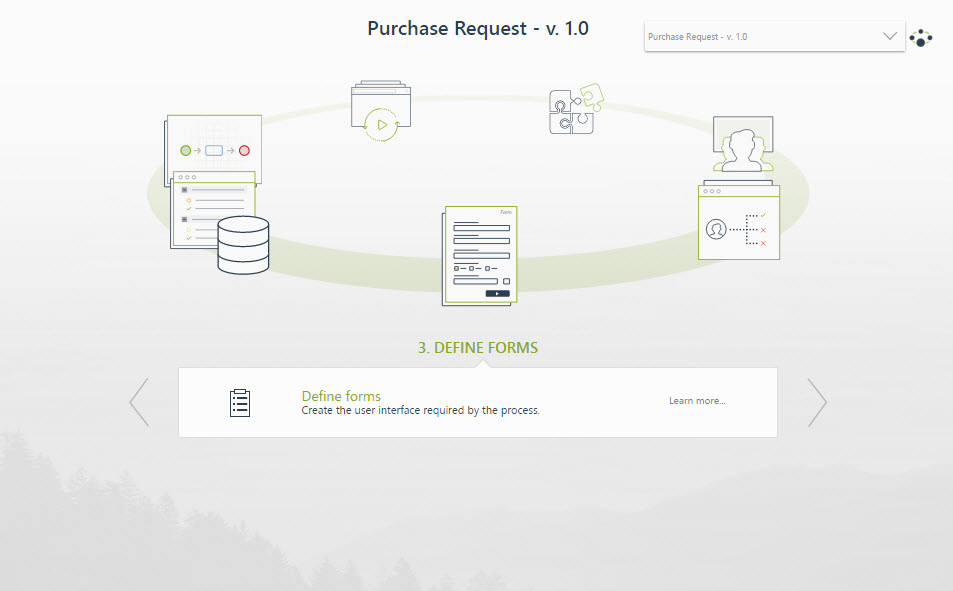
1. Go to the third step of the process wizard.
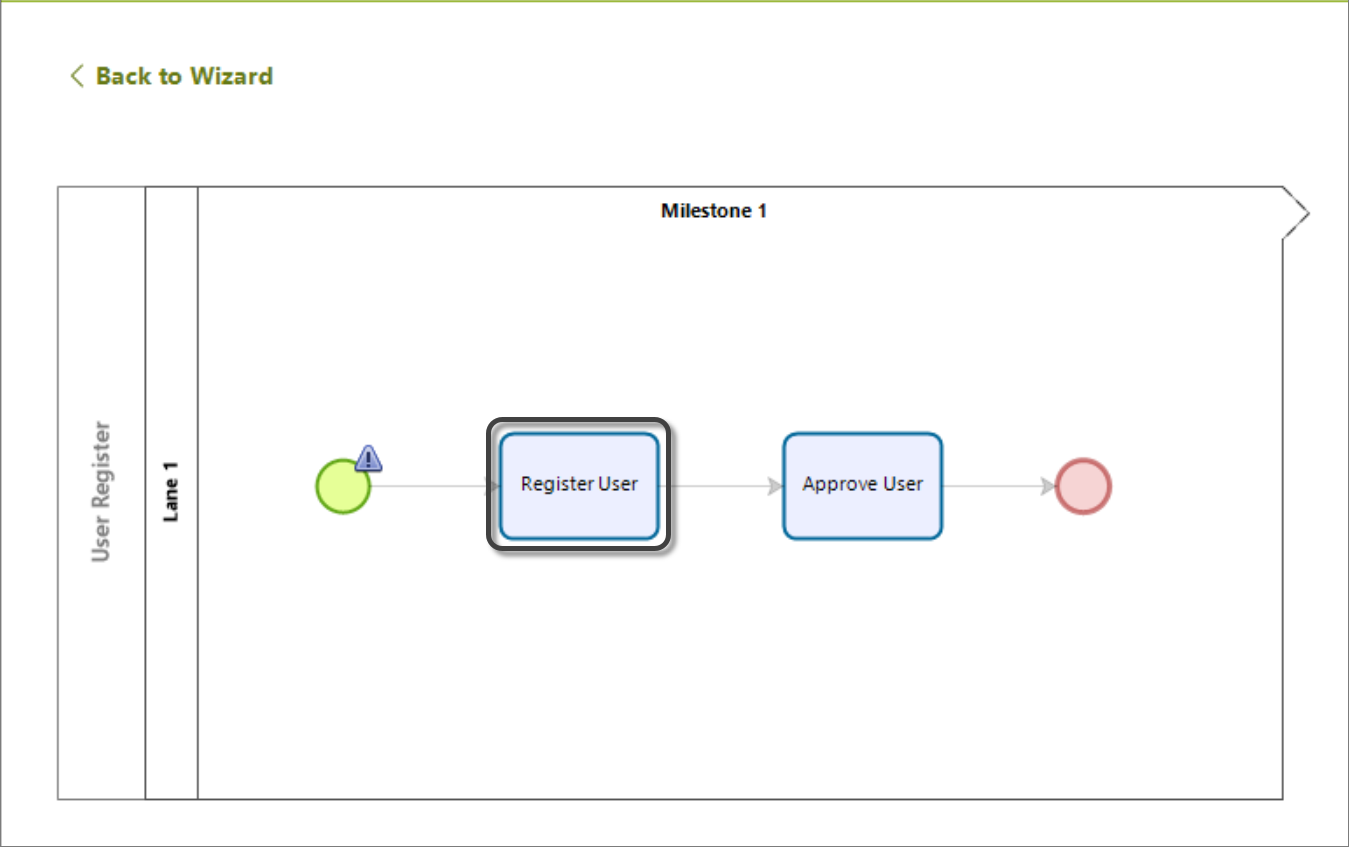
2.Select the task where you want to configure the attended bot
|
The inputs and outputs defined for the bot must be included in the form. |
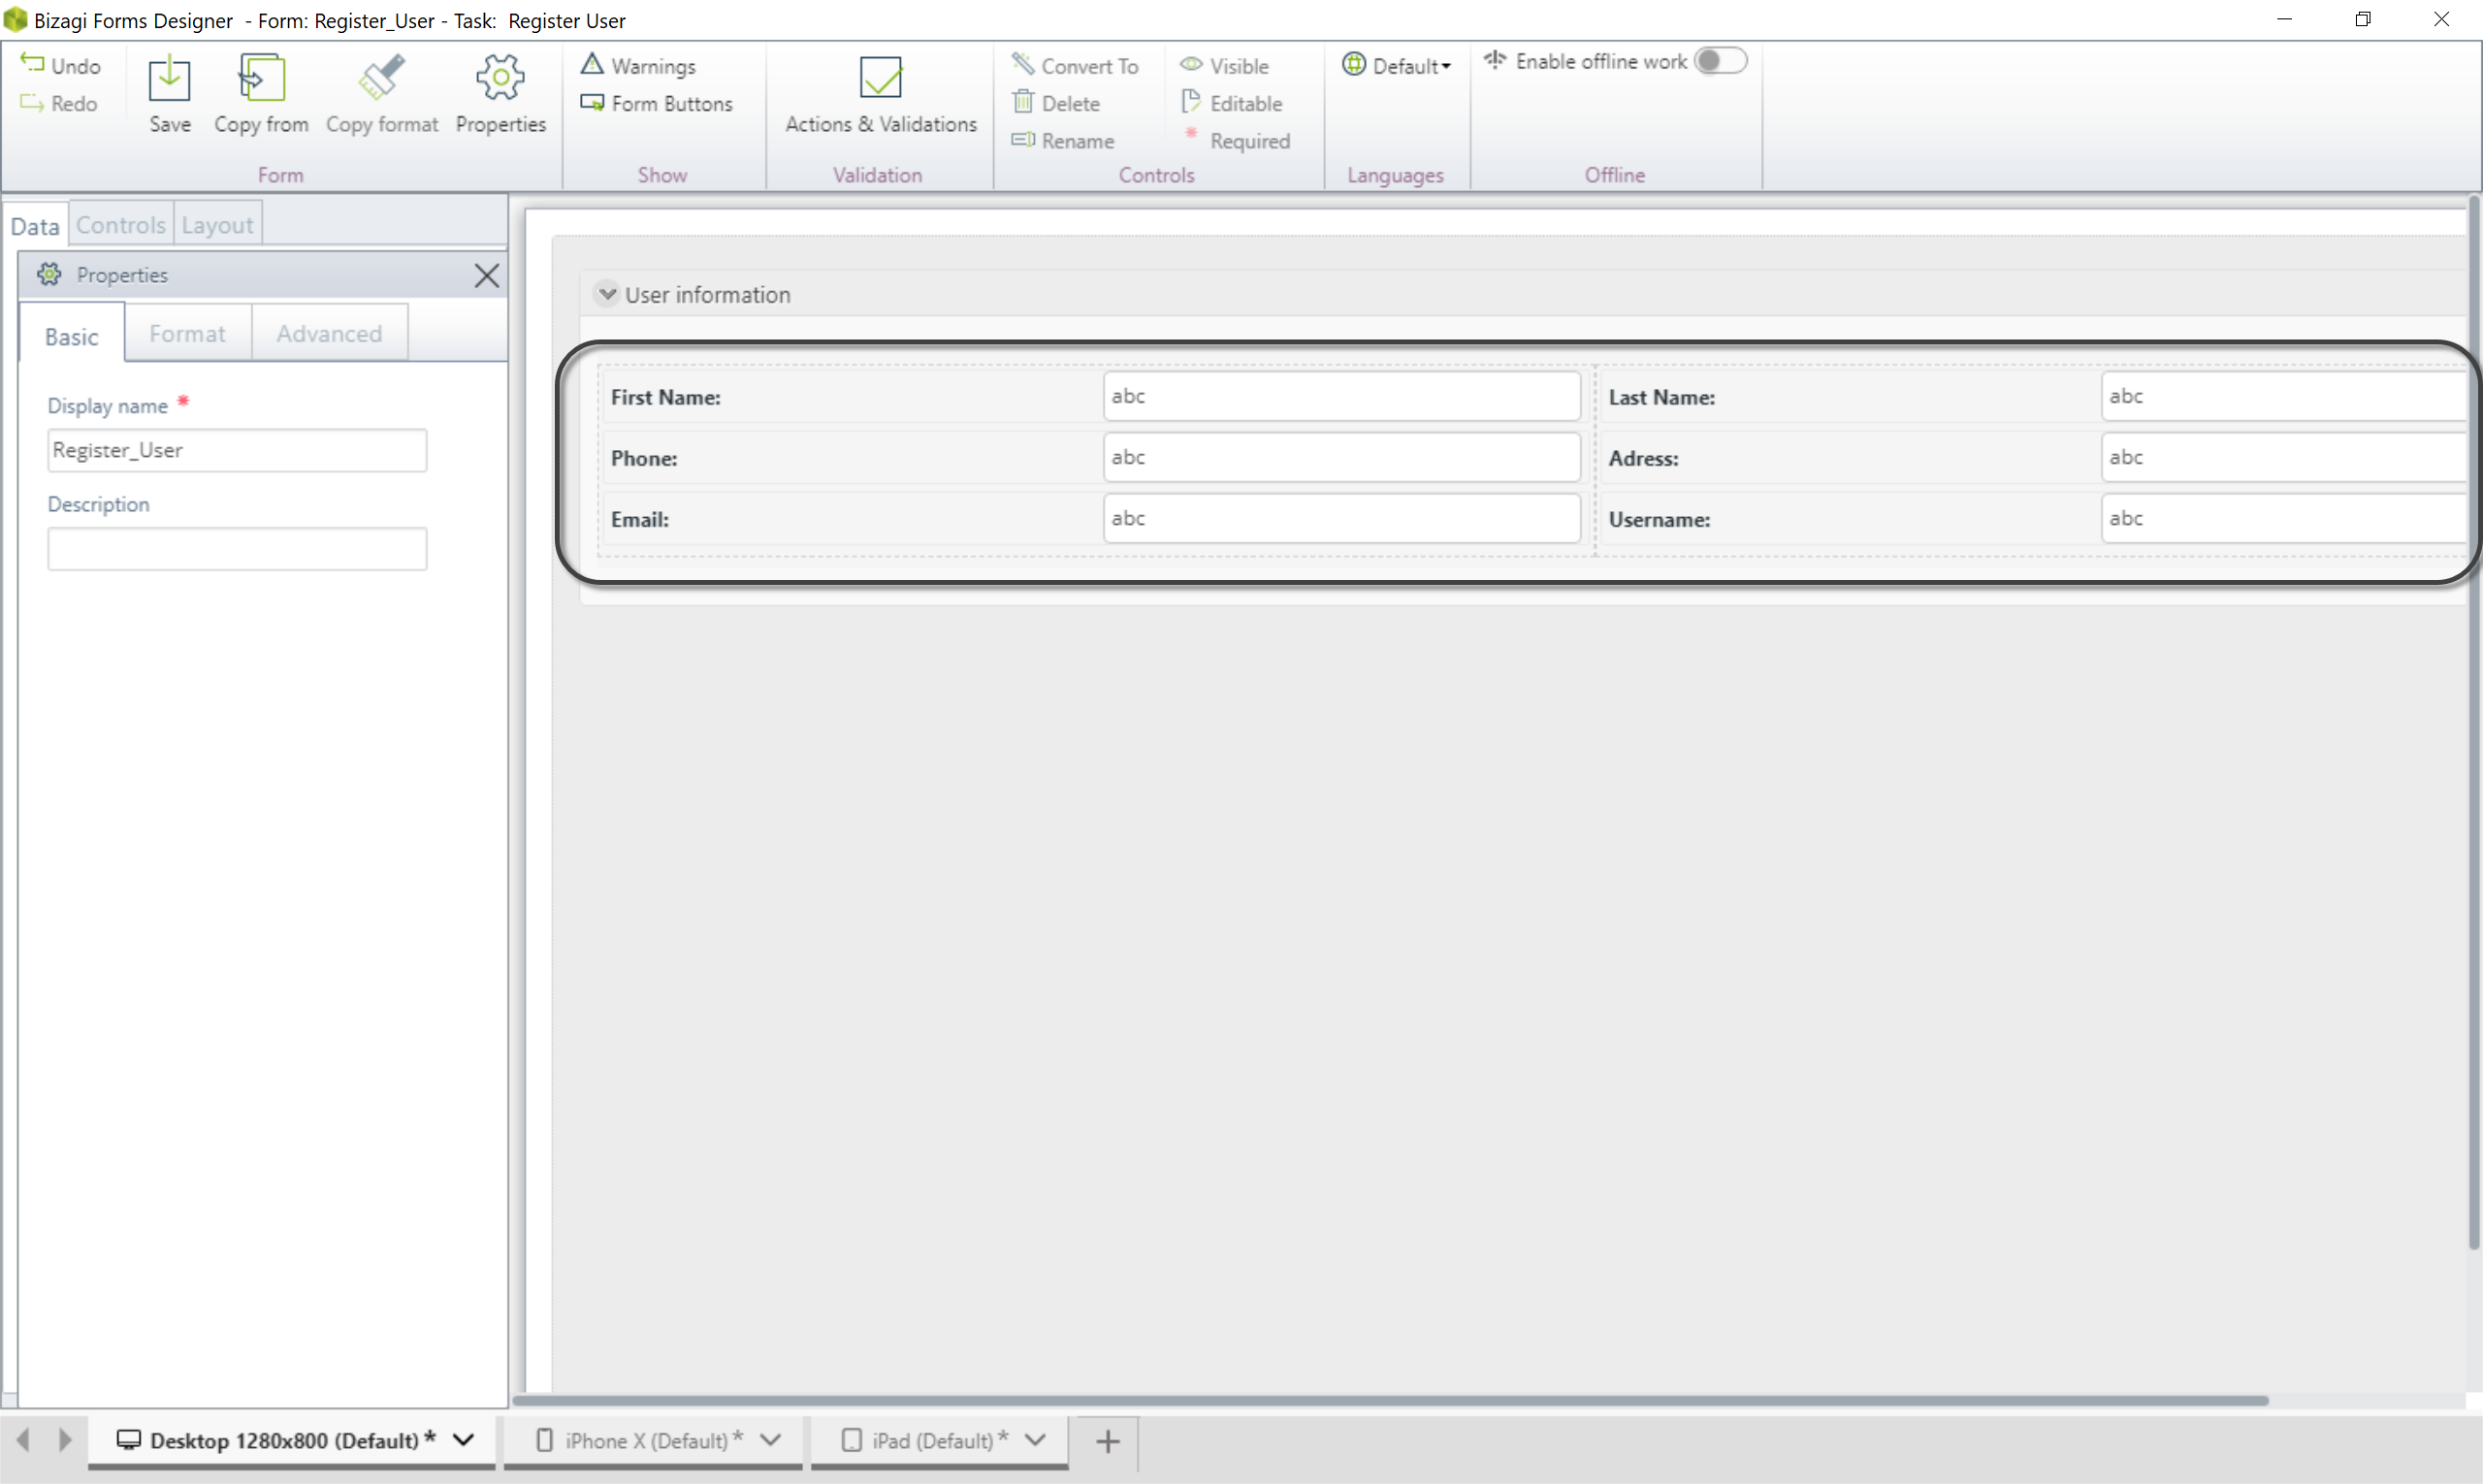
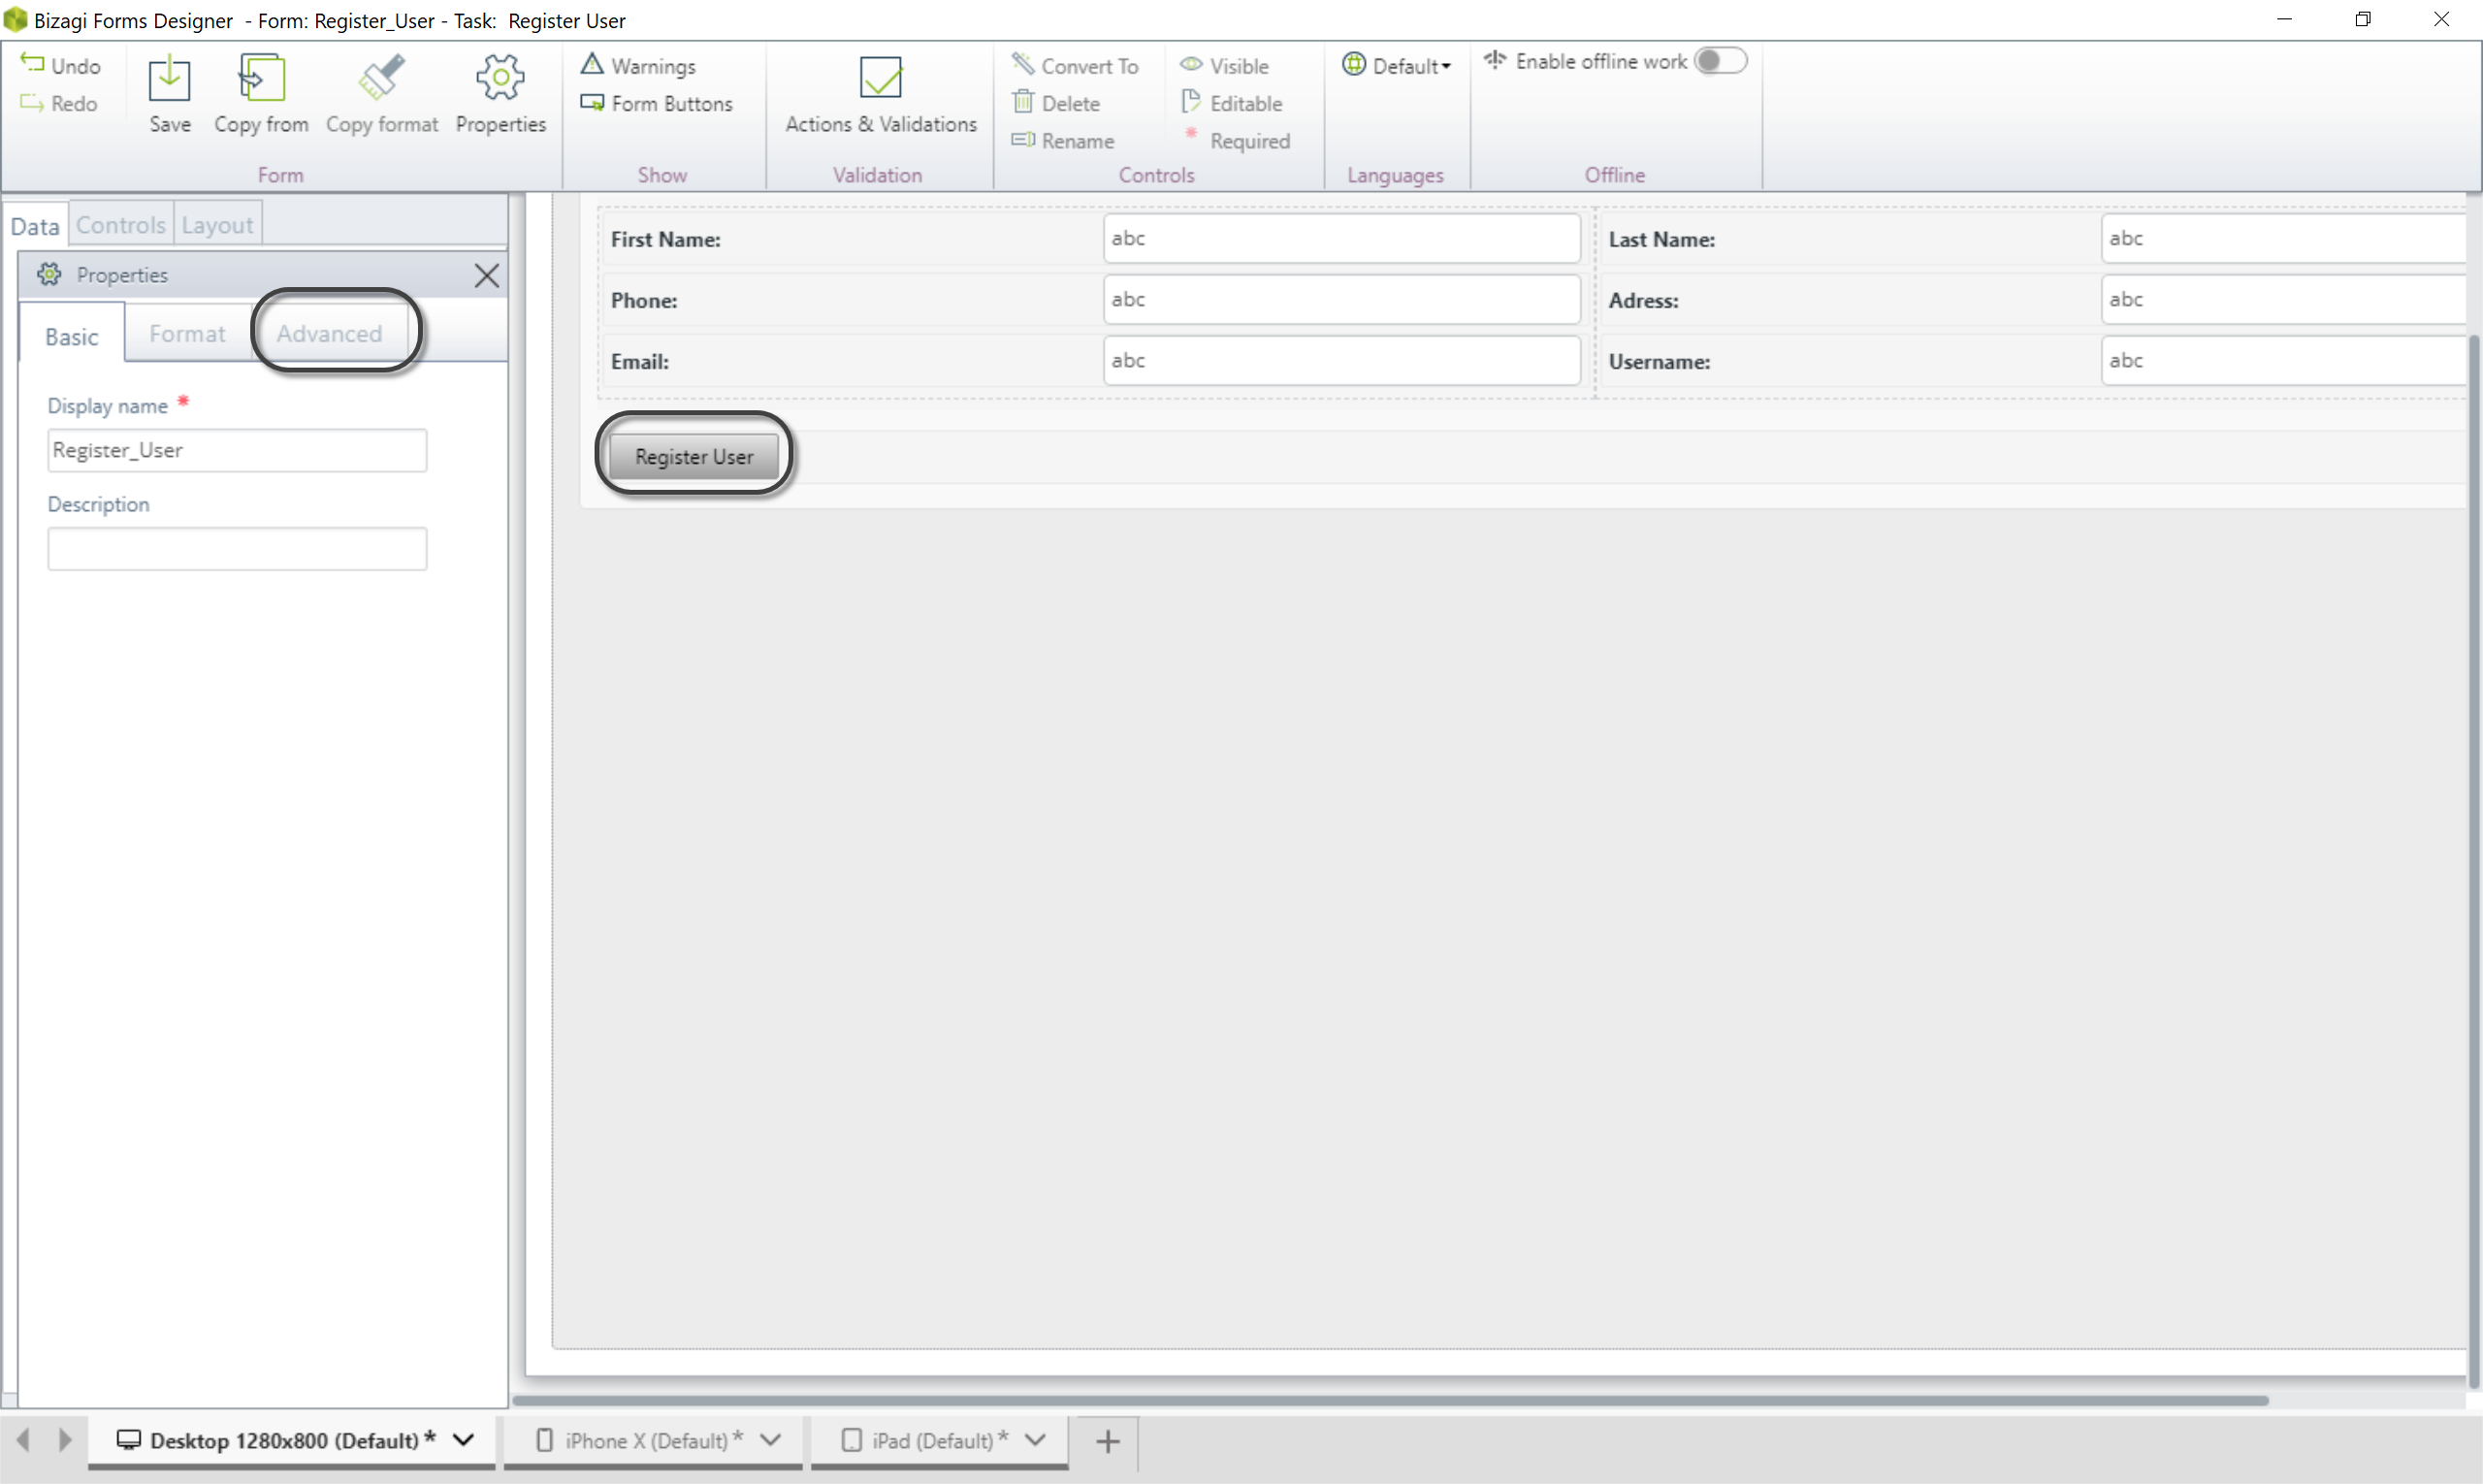
3.Attended bots can only be configured in button controls. Hence, create a new button and go to the Advanced tab.
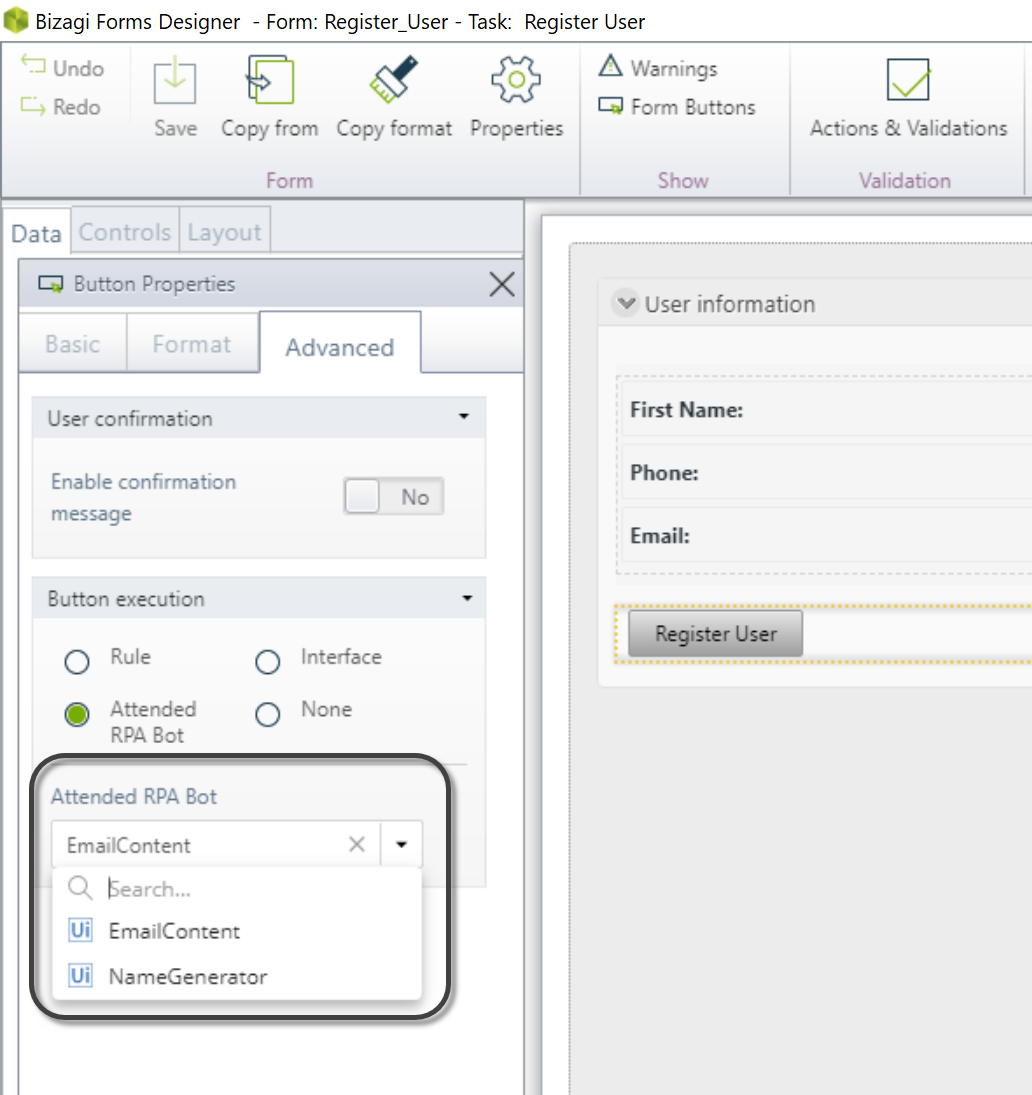
4.Select Attended RPA Bot. When doing so, the combo box below shows the attended bots that have been configured. Select the one that you want to use in the button.
Executing the bot in the work Portal
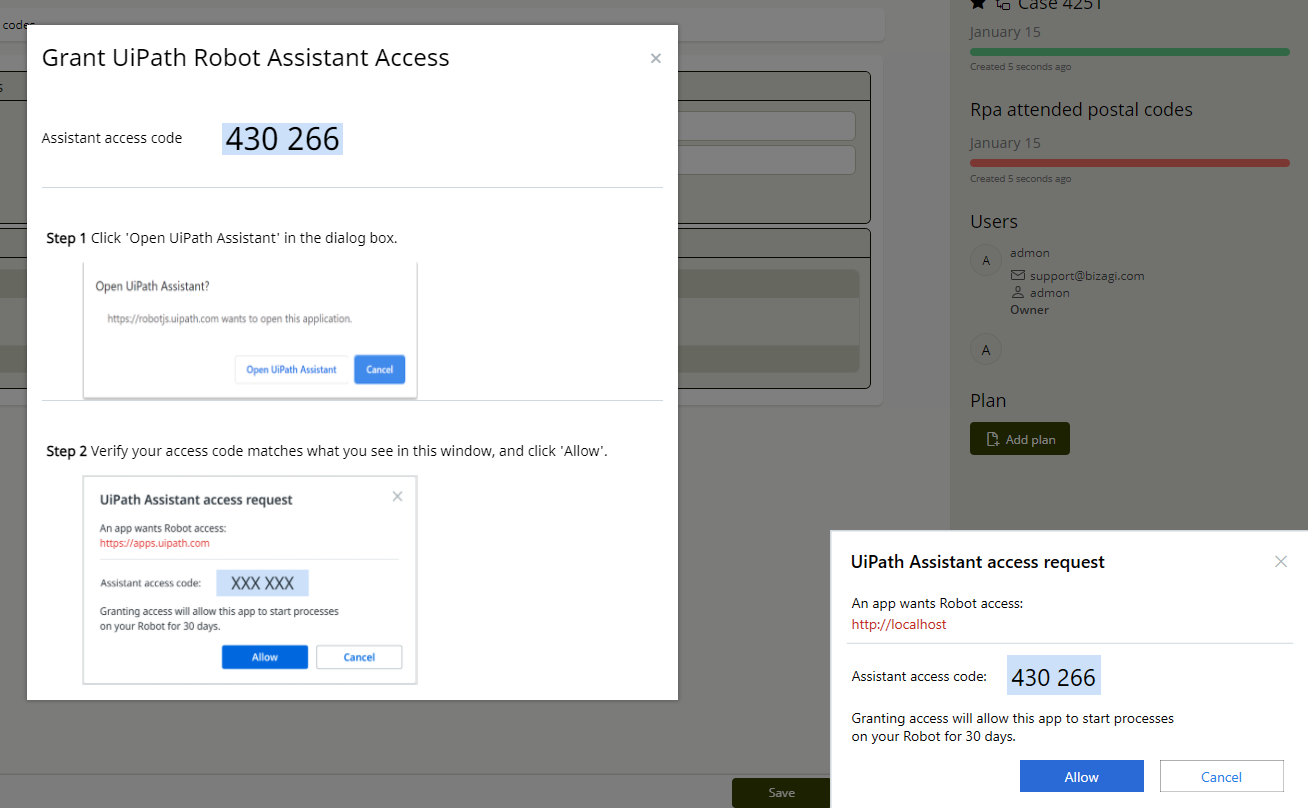
Once the bot is fully configured in Bizagi Studio, you can watch it in action in the Work Portal. When you open the form where the robot is configured, the UiPath add-on requests access permissions, as the Work Portal will send a request to the UiPath's Orchestrator. Click Allow to accept the access request.
|
Bear in mind that the bot is executed in the same machine where the user is navigating the Work Portal. Make sure that this machine is registered for the process execution, as cross calls cannot be made. For example, if you configure the bot to be executed in your local machine and open the Work Portal in a virtual machine from your computer, When calling the attended bot, the VM will not be recognized as one of the machines that can execute the bot and an error will appear. |
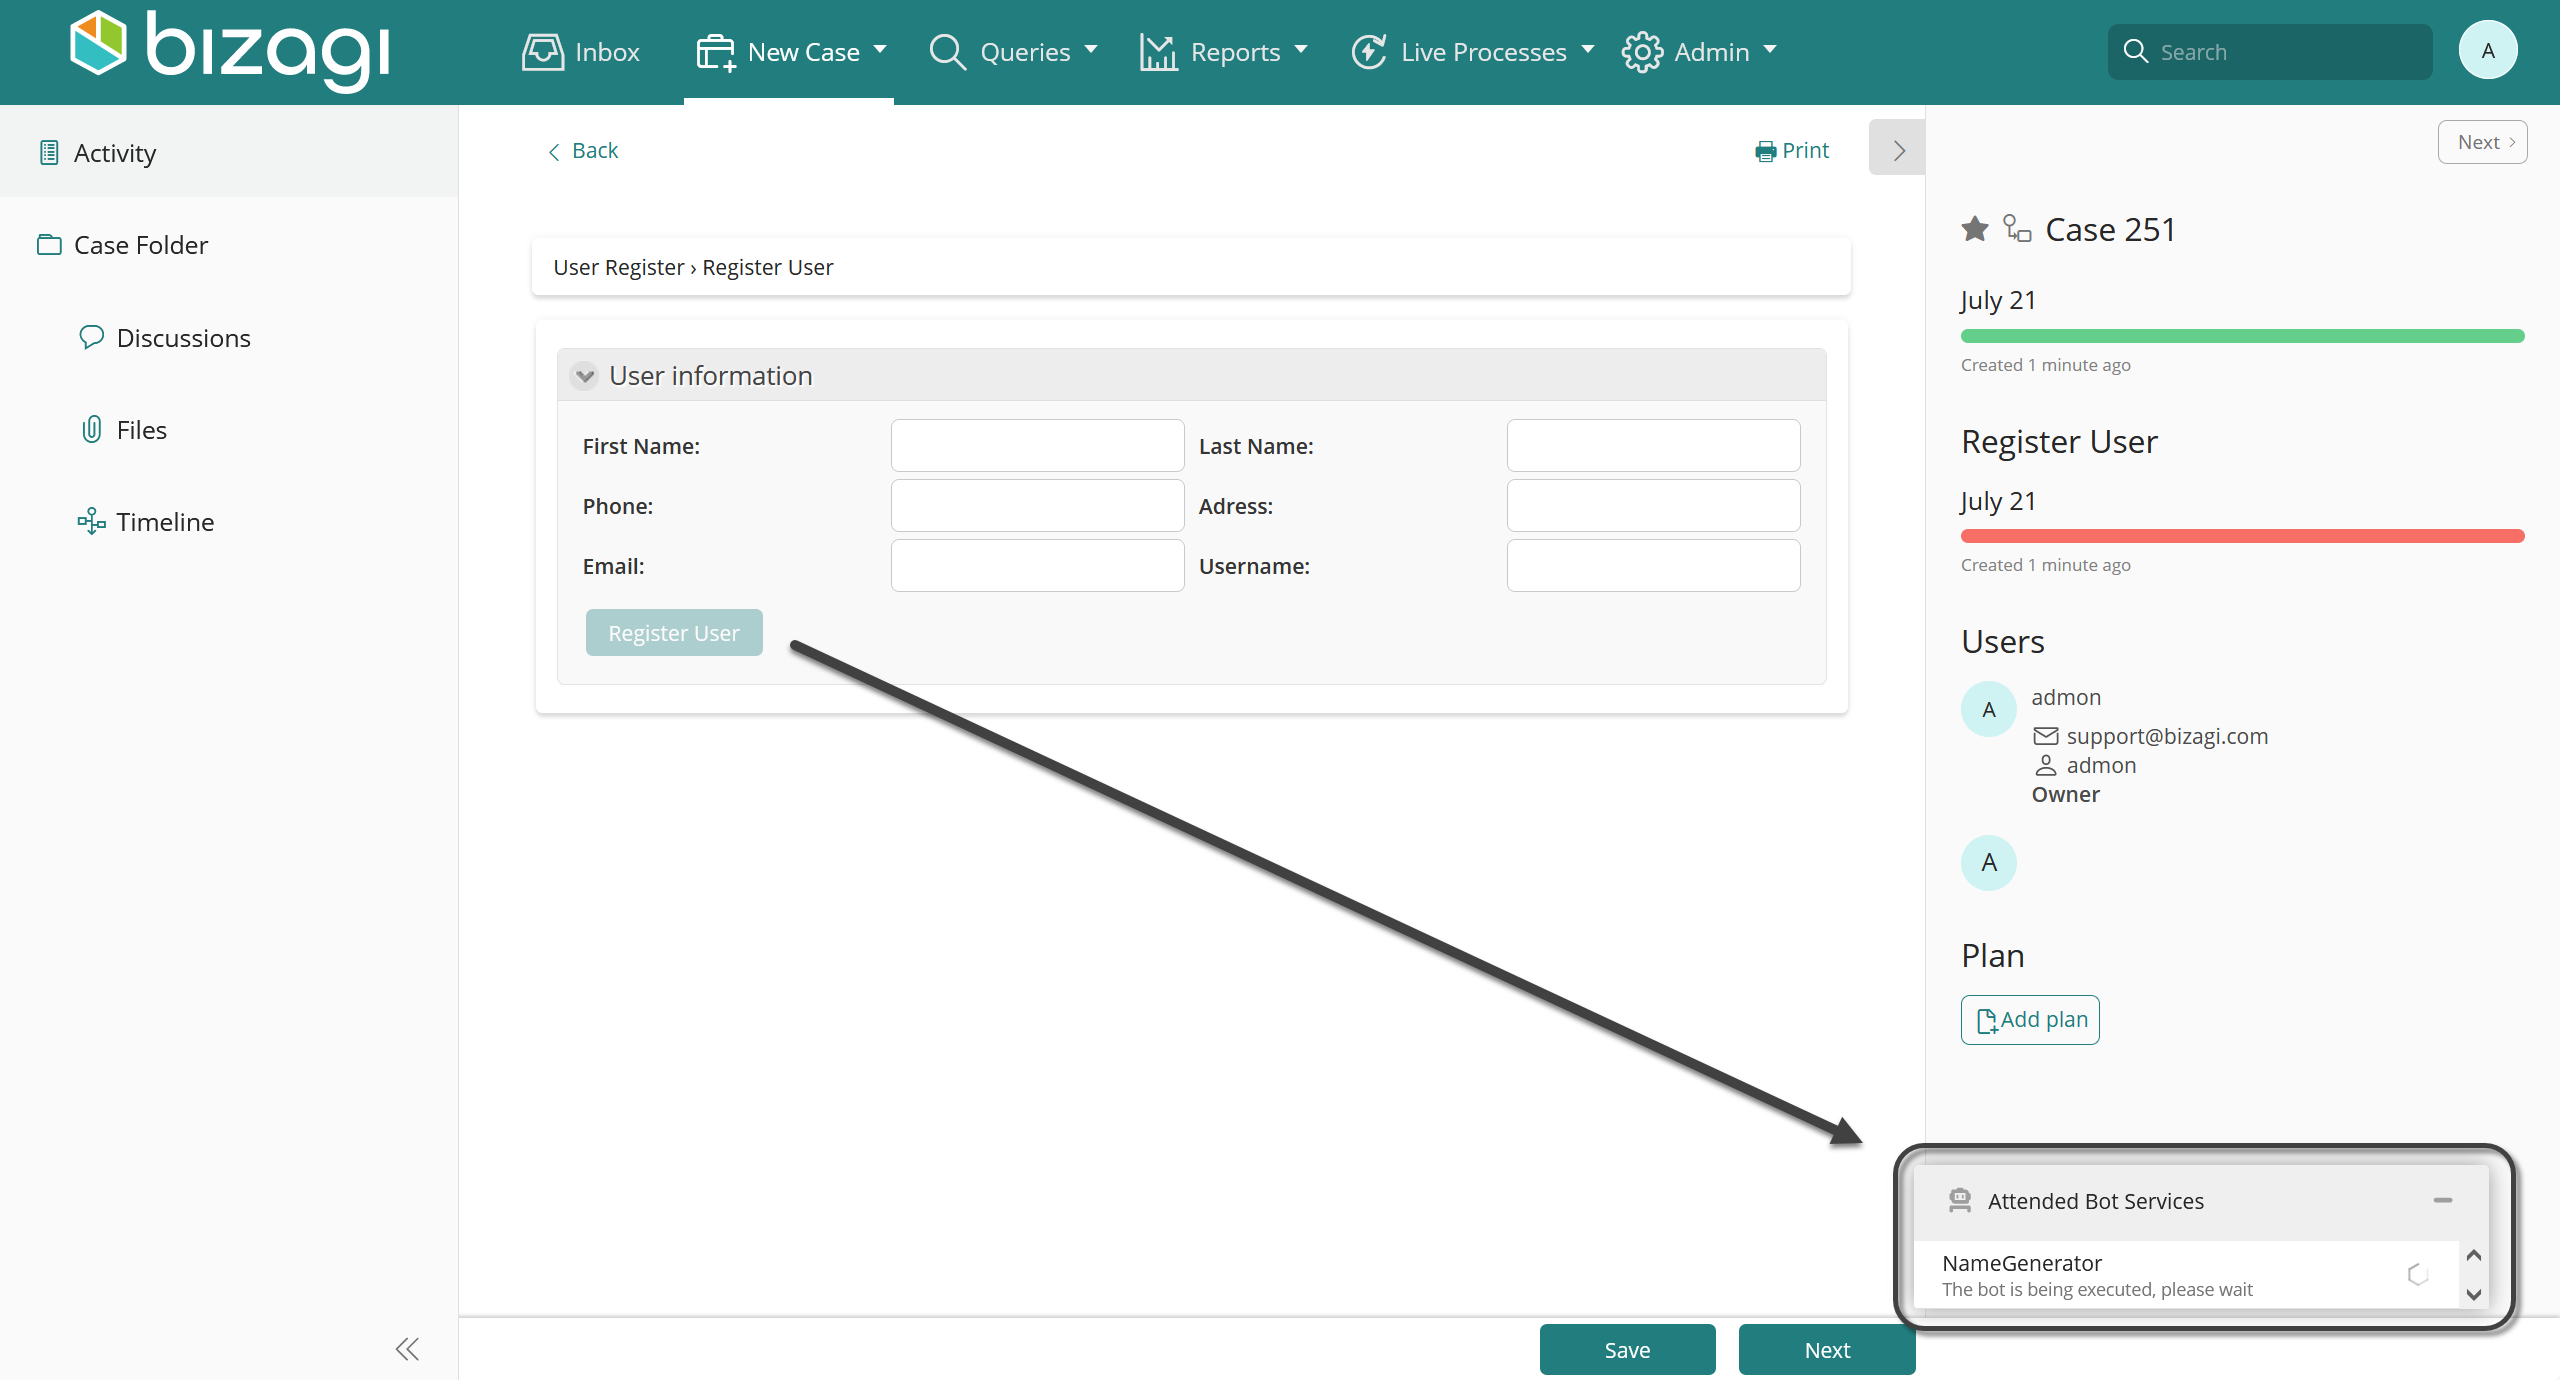
Click the button where the attended bot was configured. A pop-up window will appear in the bottom right corner indicating that the bot is being executed.
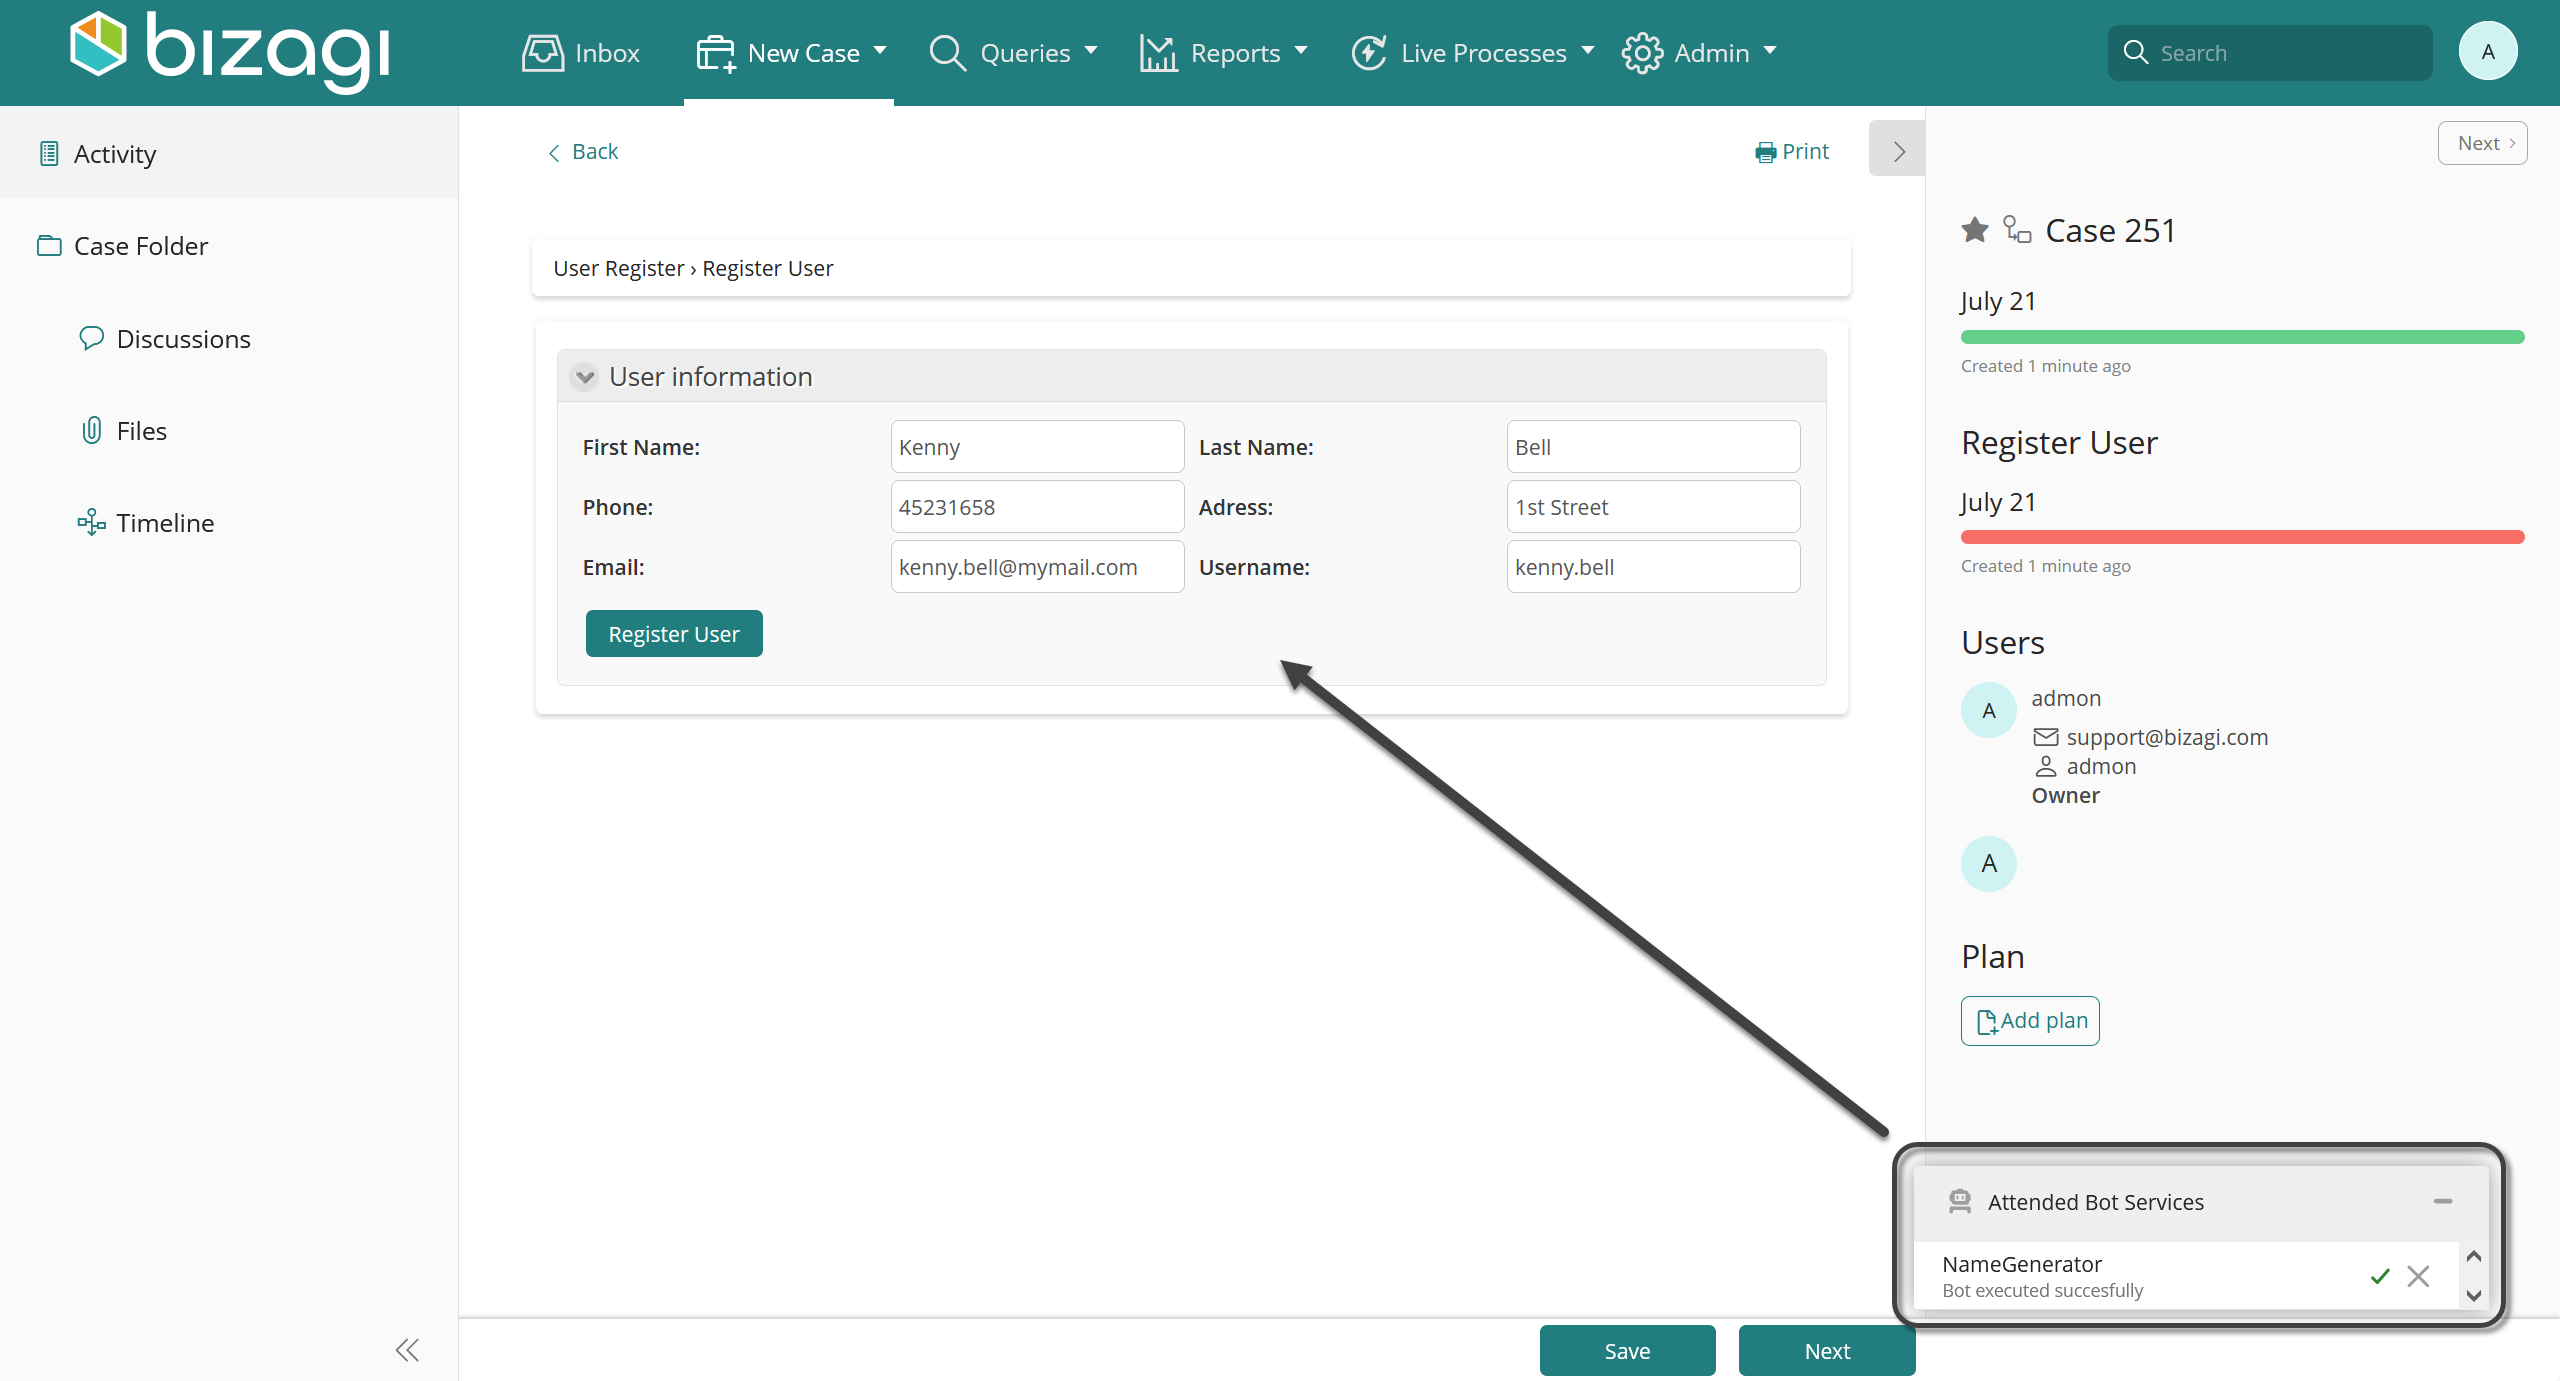
Once the bot finishes its execution, the same pop-up window will inform you.
Last Updated 1/27/2023 2:50:51 PM