Overview
Set the basis on Bizagi Studio and the administrator user's Work Portal to properly execute the LCM process. Follow the steps below:
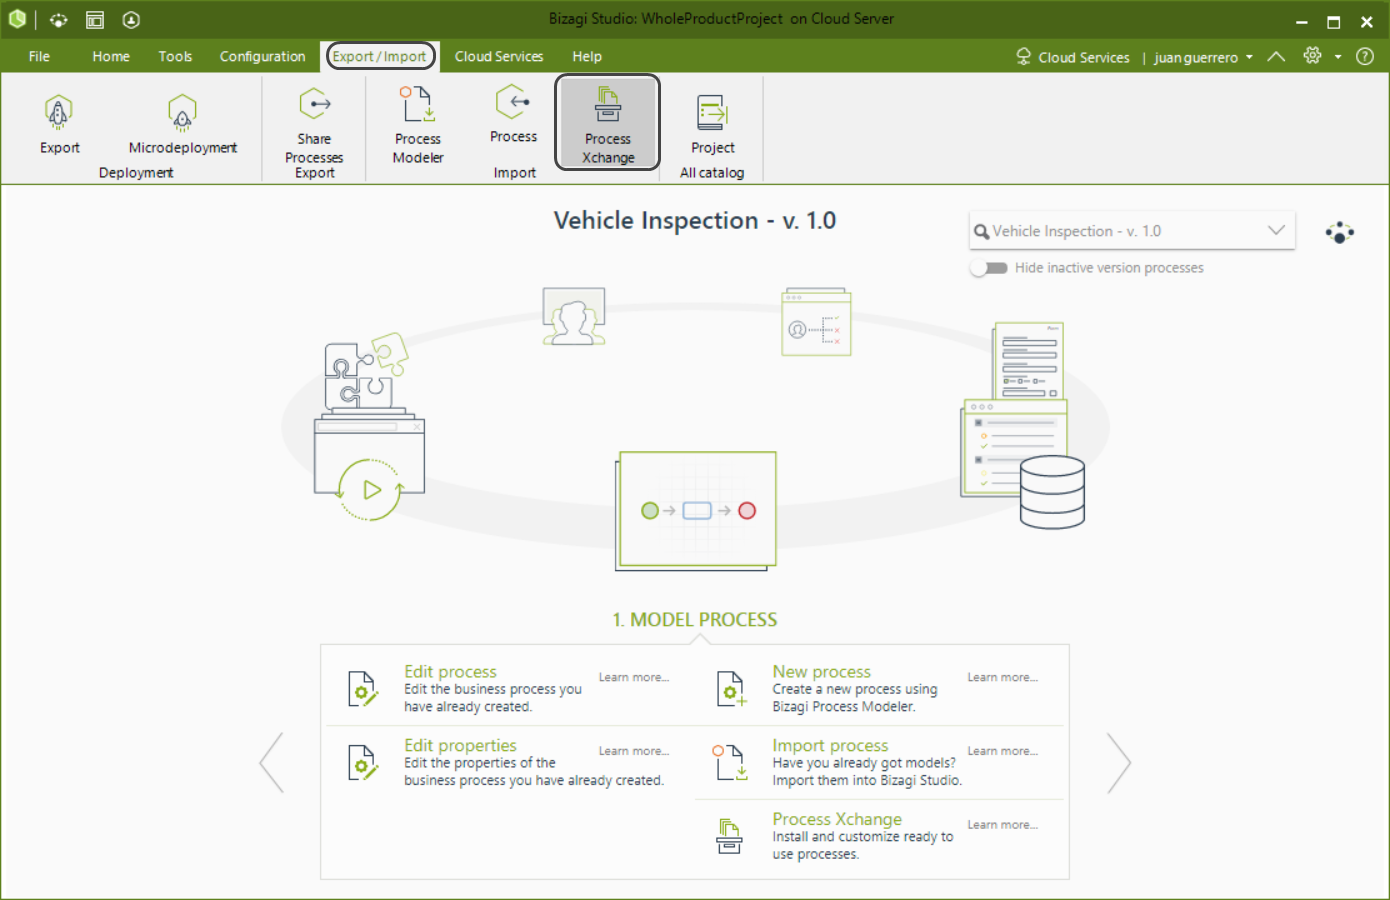
Open Bizagi Studio. Select the Export/Import tab from the ribbon. Then select Process Xchange.
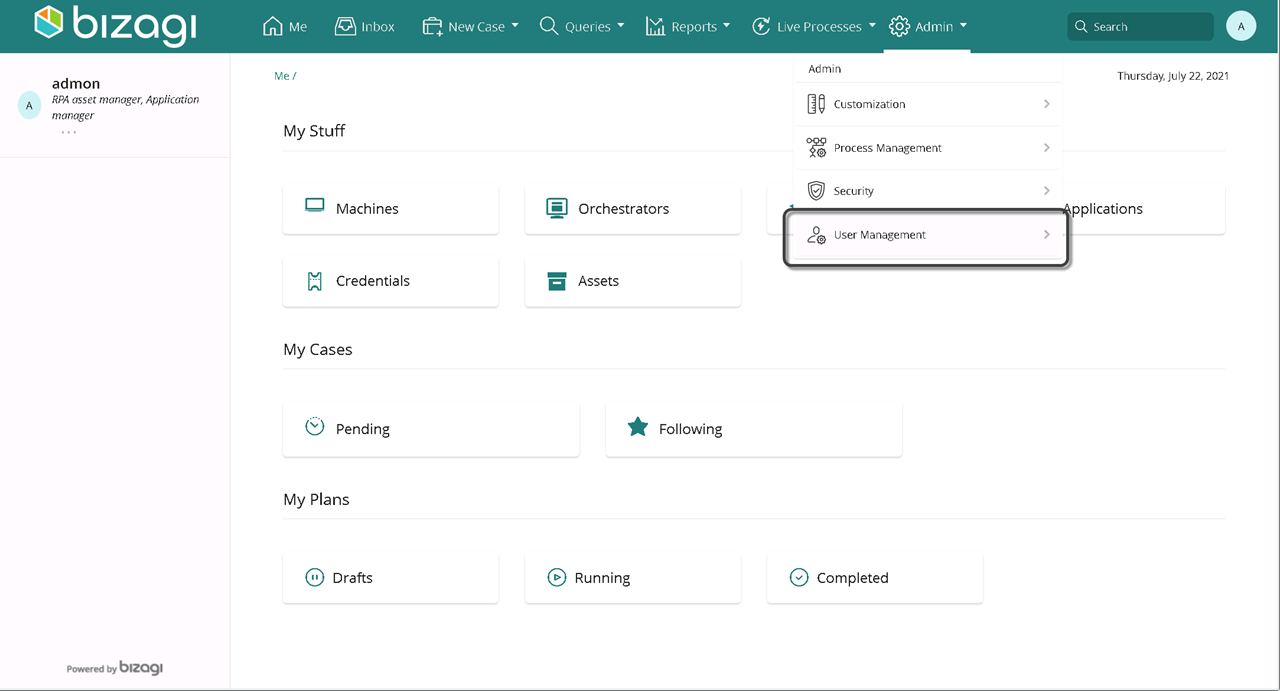
From the administrator Work Portal, access to the user management.
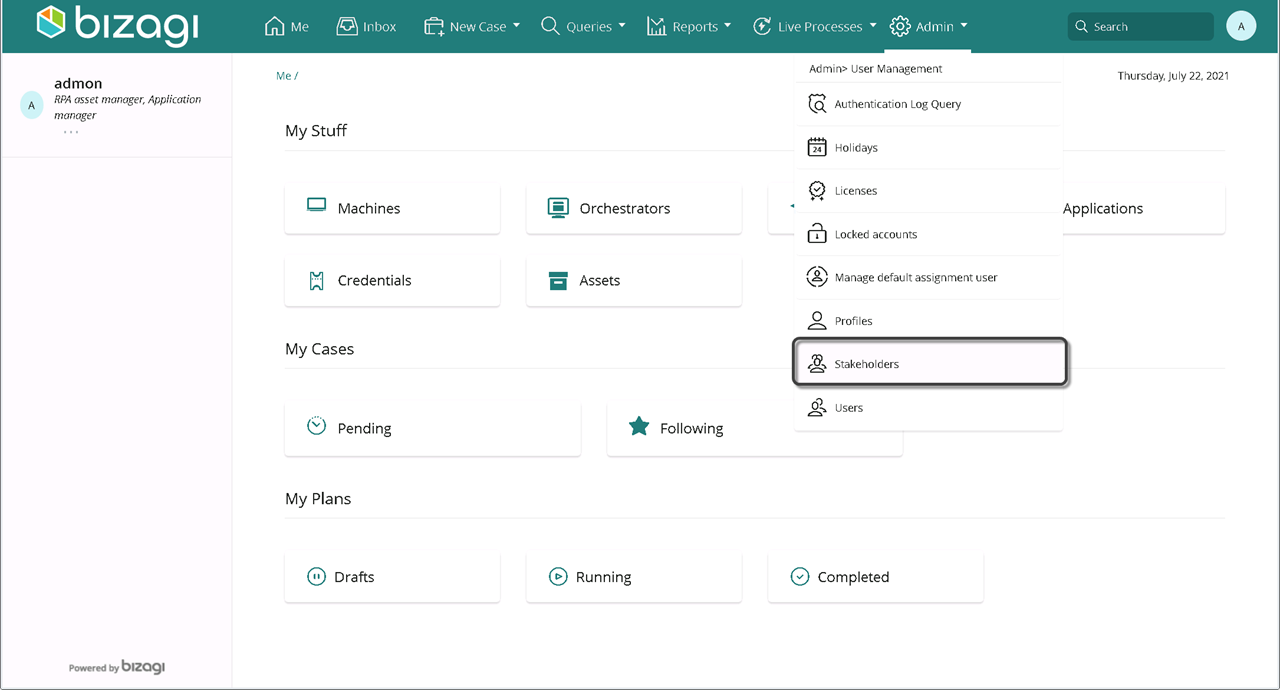
then select Personas.
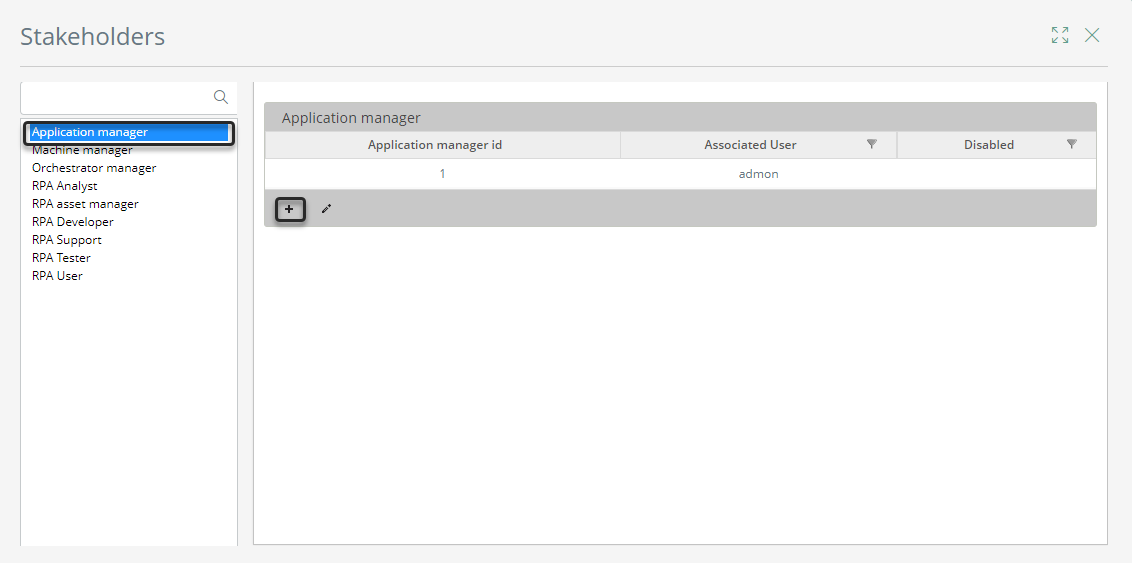
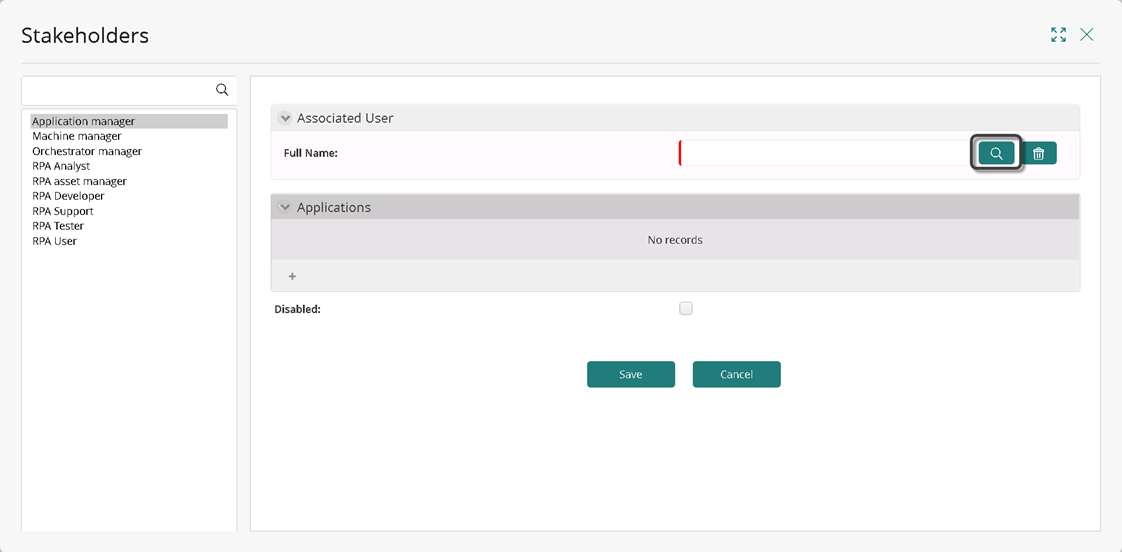
Associate users to each Persona. On the left panel select the Persona, on the right panel select the + icon.
Select the search button.
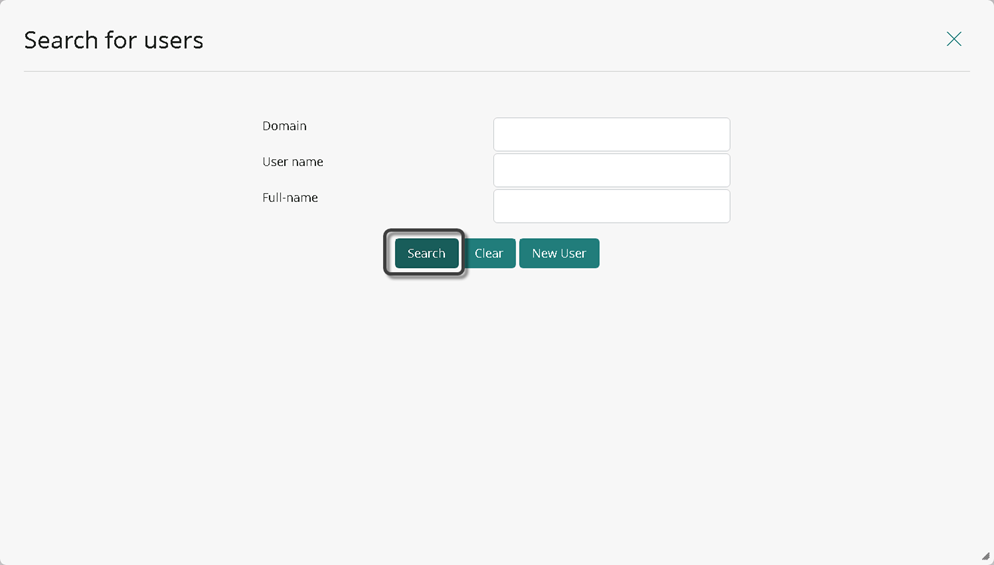
Look for the user to be associated to the Persona, select Search.
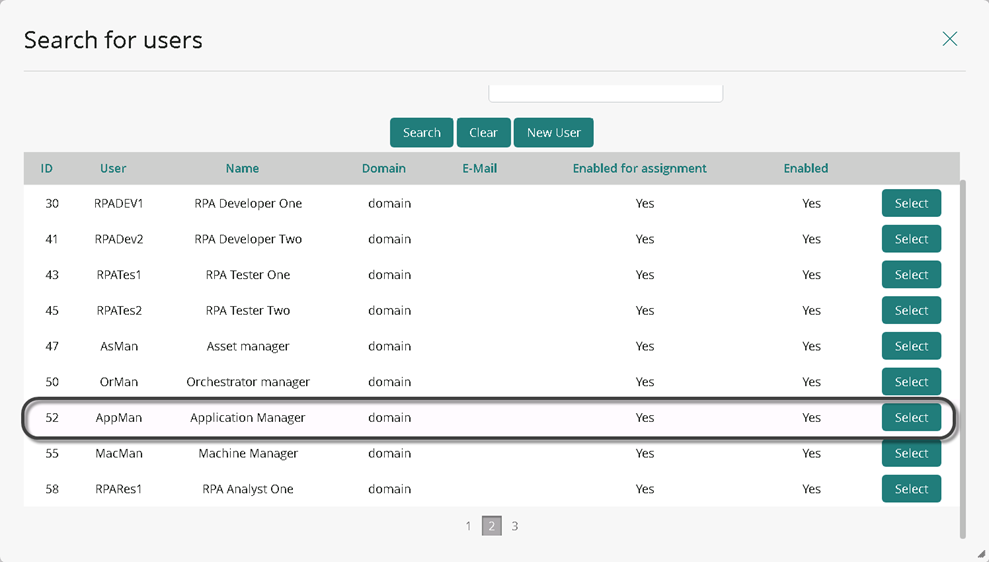
Thick the Select button on the user you want to associate.
Find the user associated to the Stake holder listed.
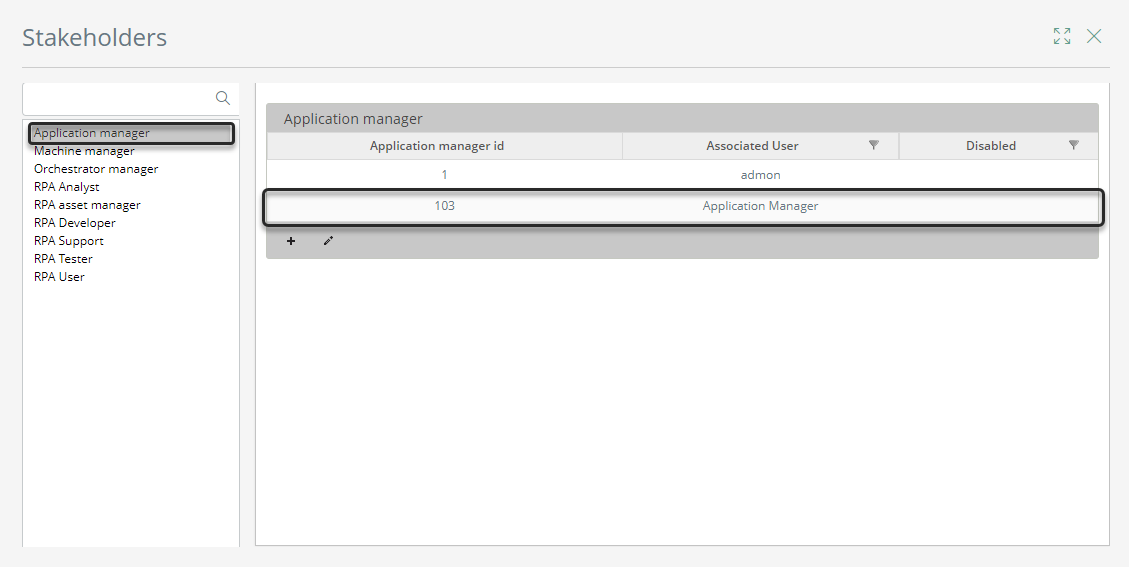
Repeat the steps described above for all the Personas.
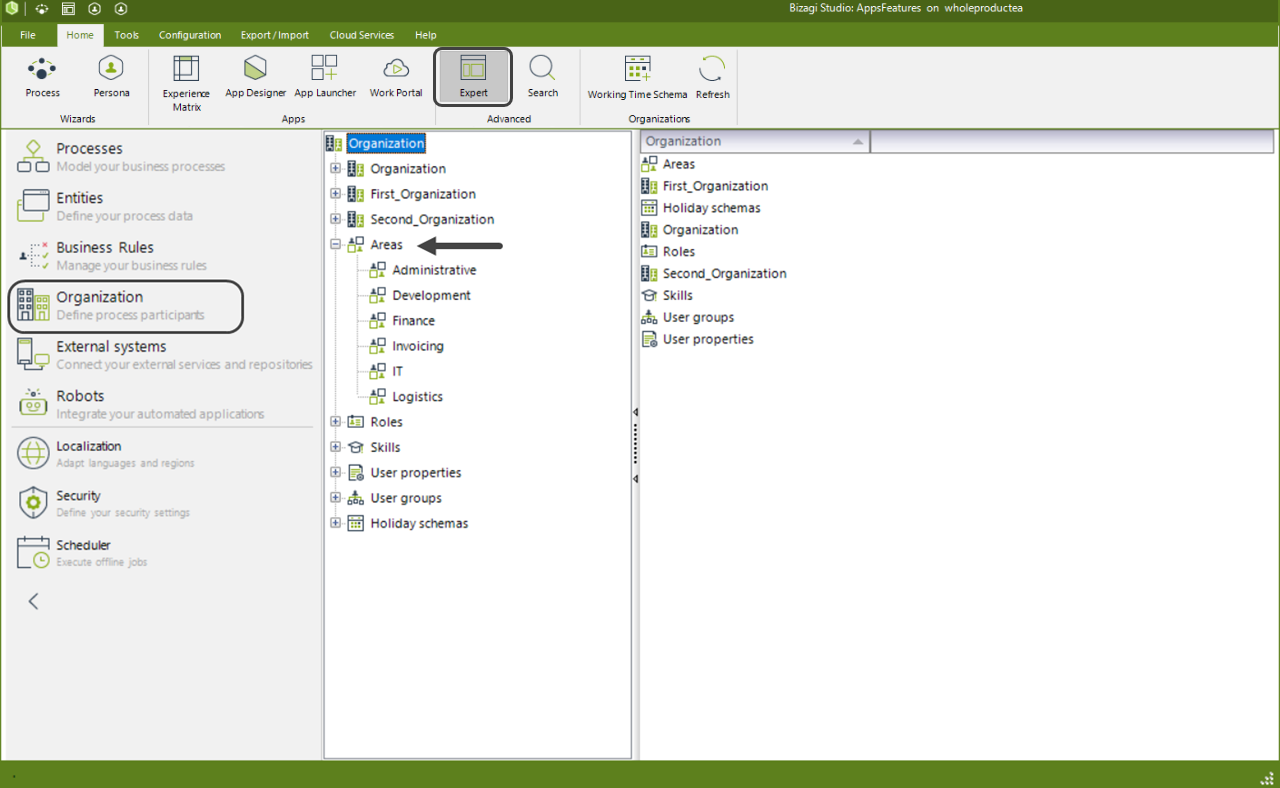
Set the process areas in Bizagi Studio. Access to the Expert view, then select Organization from the left panel. Select areas to properly create and modify each of the elements that compose the organization. For further information on how to manage areas, click the following link.
Last Updated 6/9/2023 3:28:50 AM