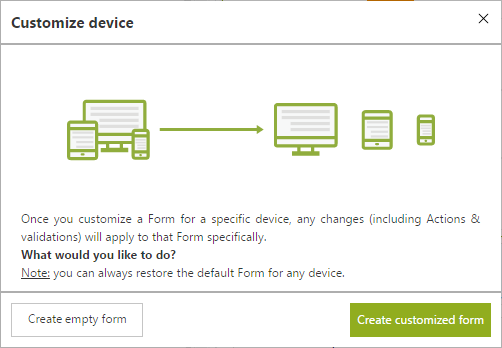
Using the Purchase request process of the Creating my first Form article, let's assume that the applicant’s supervisors usually perform the Authorize Request activity off site, using their corporate phones or tablets.
When using mobile devices (such as phones or tablets) it is important to improve the look and feel of the activities. Designers can reduce the number of columns in tables and the number of controls displayed, to keep only the mandatory fields and those which show the most important information.
For this scenario, a designer can customize a form to display for mobile phones differently than for other devices.
1. Go to the third step of the Process Wizard. When the process model displays, click Authorize Request Task to create its Form.
2. Create the default Form for the desktop view first, and customize for specific devices after that.
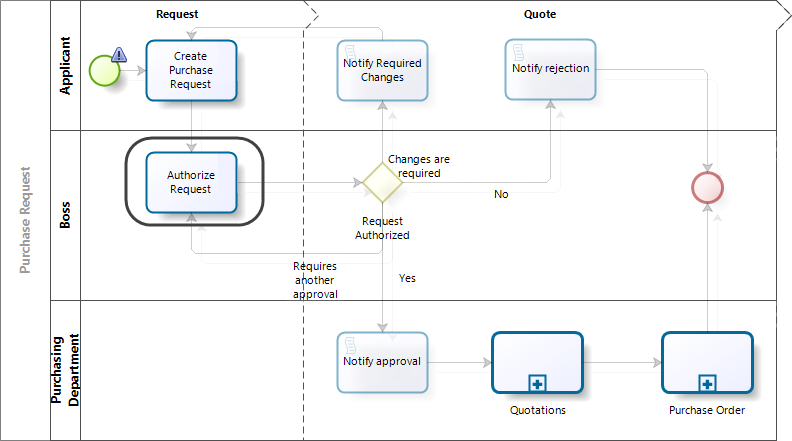
As a factory setting, the Form Designer shows the default form using three views: Desktop 1208x800, iPhone X and iPad.
The name of the tab is the preview in a device and the name in parenthesis indicates the form type.
Since no devices have been customized, all tabs act as VIEWS showing how the form is displayed per device.

2.1 Create the form for the approval. You can copy the Form from the Create Purchase Request task using the Copy from option. Then, drag and drop the approval fields: Request State and State comments.
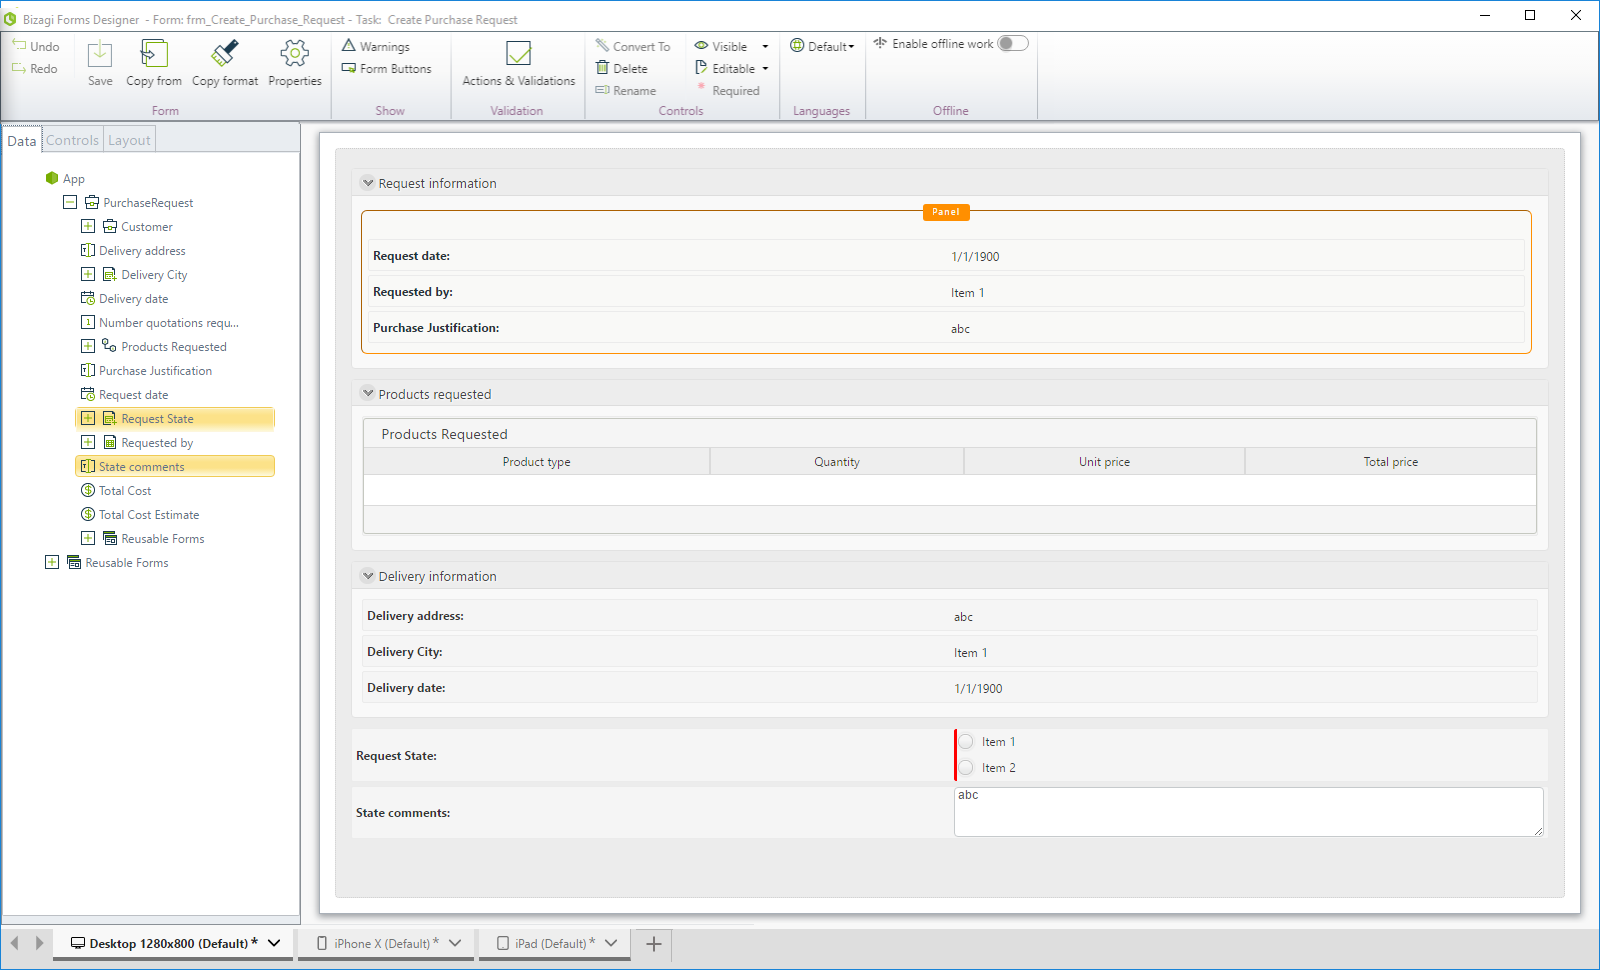
2.2 Once you have created the form, change the view to the iPhone X, which act as view for all smartphones.
You can optimize the form to improve usability. Right now the table control displays one object per page and the forms is too long, making the supervisor scroll down to approve the request.
At this point, the designer may wish to customize the mobile phone form for a better user experience.
3. Let's assume that the company provides team leaders with two type of smartphones: iPhone X and Pixel 2.
The first step is to customize the form for one of them. As the iPhone X is set as the factory default, let's create the form for this device.
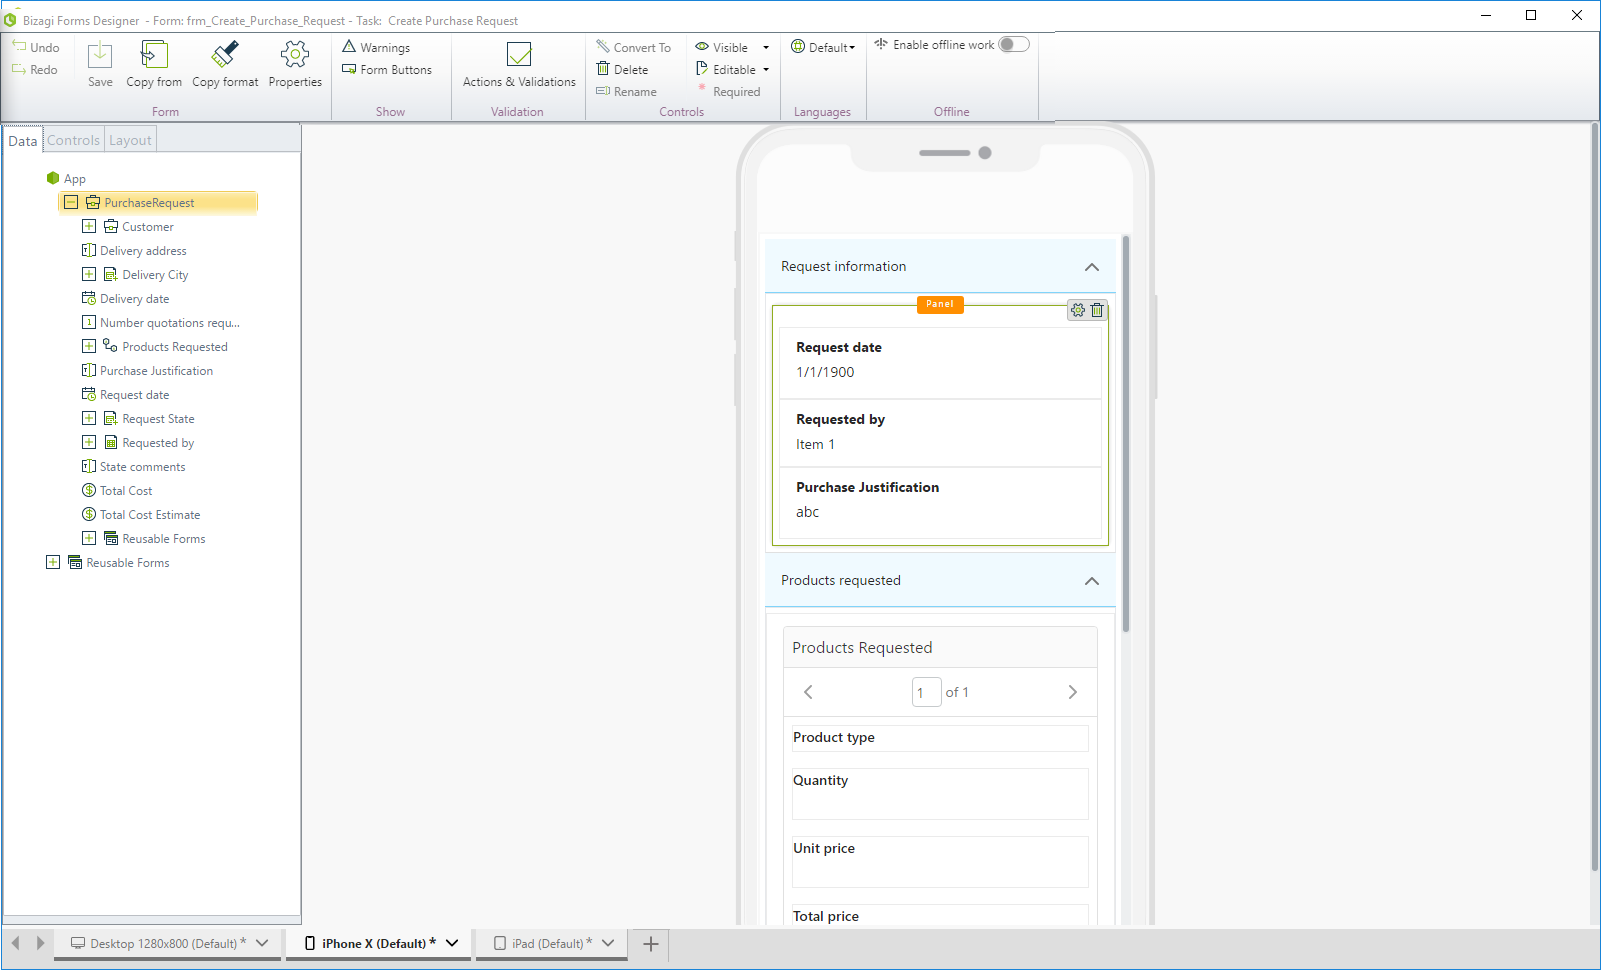
3.1 Click the ![]() icon of the iPhone X tab and select Customize device to create the specific Form.
icon of the iPhone X tab and select Customize device to create the specific Form.

|
The specific Form is not linked to the default form. Any changes you make to the default form do not affect the specific Form and vice versa.
|
3.2 Click Create customized form to clone the default Form fields to the specific Form.
If you want to create the form from scratch, click Create empty form).
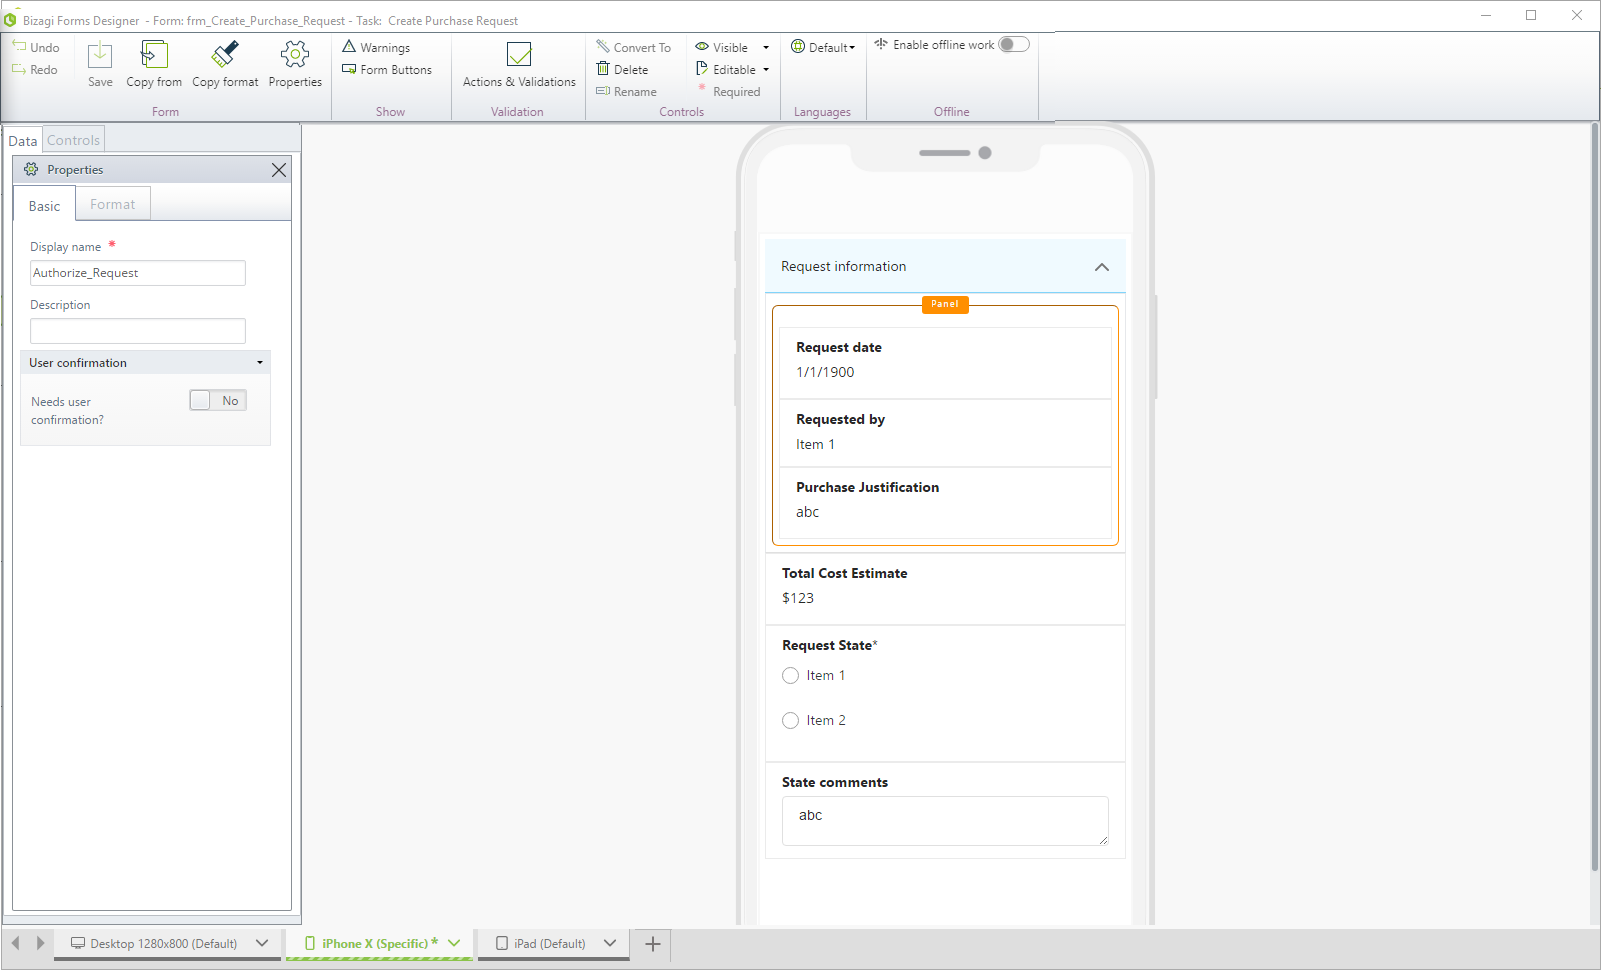
The iPhone X tab has changed its name to Specific and its color to green with stripes. This customization means that any user of an iPhone X see this customized form.

3.3 Customization for the iPhone X device involves: removing two groups, Product requested and Delivery information, and adding the Total cost estimate, which was calculated before entering this activity.
Now, the form fits in the iPhone X screen without scrolling.
At this point, the Authorize Request task has two form types: the Specific form which appears to users with iPhone X devices and the default form for users with any other device: tablets, desktops or other smartphones.
For more information about how the controls appear in mobile devices, refer to Mobile.
3.4 Click Save.
4. Set the iPhone X as Default for smartphones, so all smartphones, regardless of their brand, show the form defined for the iPhone X.
Click the iPhone X tab and select Set as default for smartphone.

The iPhone X tab has changed its name to Default Smartphone and its color to solid green.

|
The Default for specific device Form is not linked to the default (general) form nor any other specific form. Any changes you make in the default (general) or any specific form do not affect other tabs of the form and vice versa. |
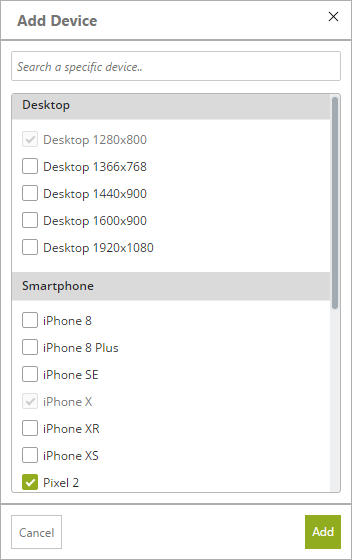
5. Create the specific form for the Pixel 2. Click the plus icon next in the footer and add the Pixel 2 device.
Then click Add.
6. As we previously defined the iPhone X form as the default form for all smartphones, the Pixel 2 uses the same form as the iPhone X.
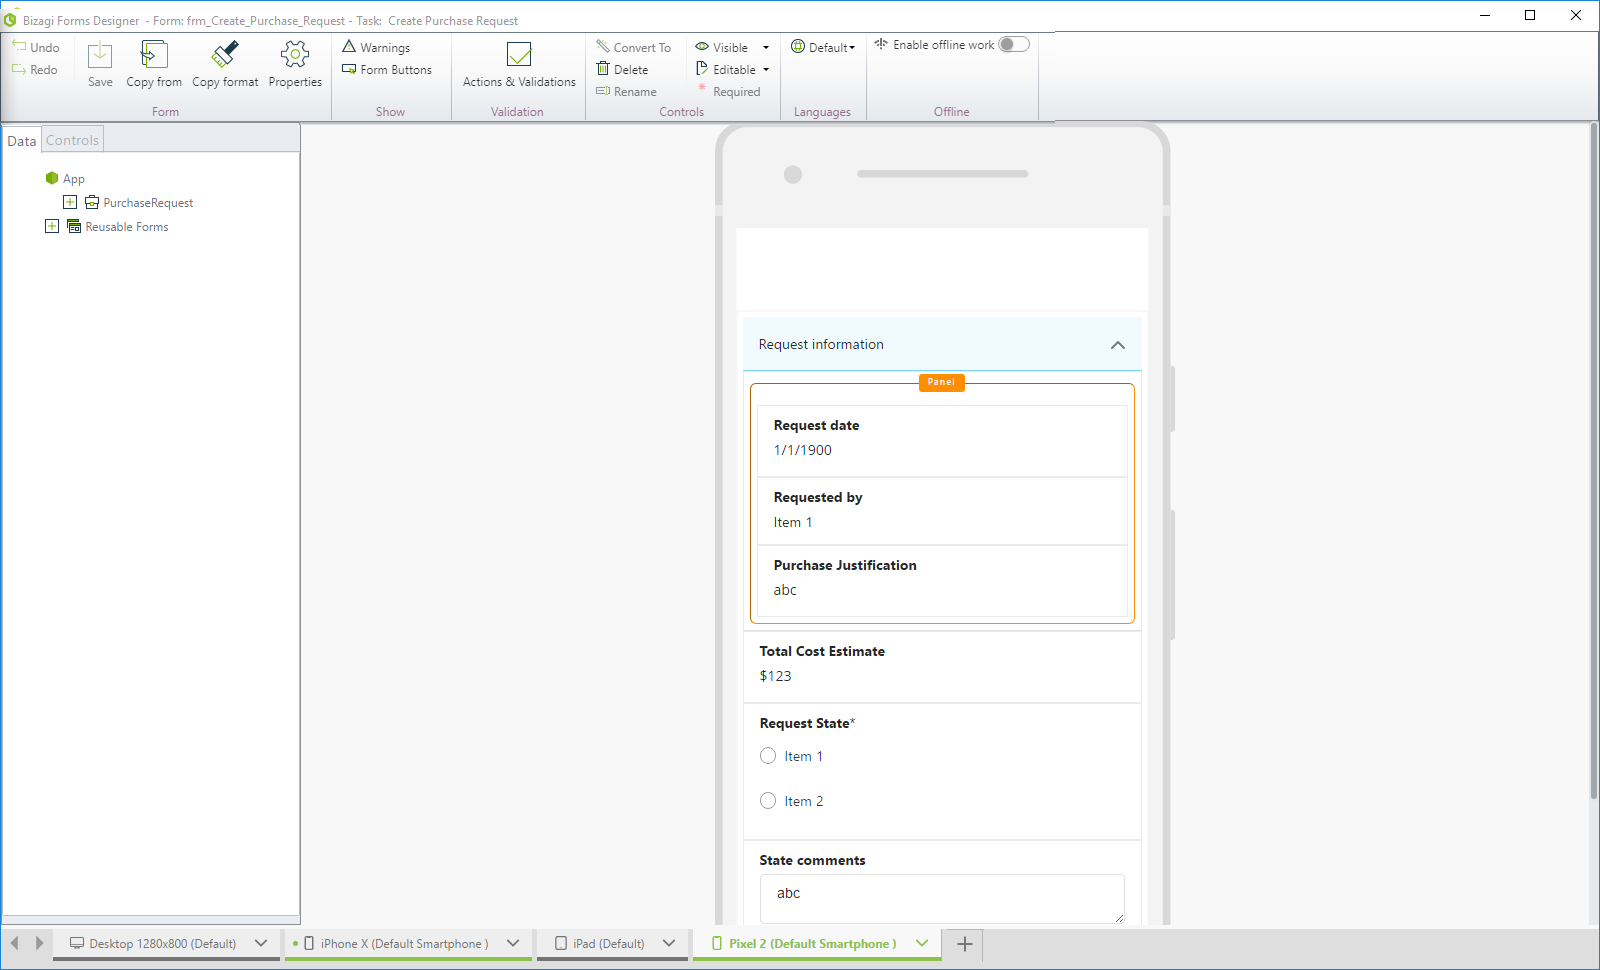
6.1 The Pixel 2 screen is shorter than the screen for iPhone X so we have to remove an additional field. Click the ![]() icon of the Pixel 2 tab and select Customize device to create the specific Form for it.
icon of the Pixel 2 tab and select Customize device to create the specific Form for it.

|
The specific Form is not linked to the Default for specific device form. Any changes you make to the Default for specific device or default (General) form do not affect the specific form, and vice versa. |
6.2 Click Create customized form to clone the Default for specific device form fields to the specific form.
If you want to create the form from scratch, click Create empty form.
The Pixel 2 tab changes its name to specific and its color to green with stripes. This means that users of a Pixel 2 see this form.
Any other smartphone user, sees the form defined for iPhone X, which is set as Default for specific device.

6.3 To fit the form better to this screen size, let's remove the Request date control.
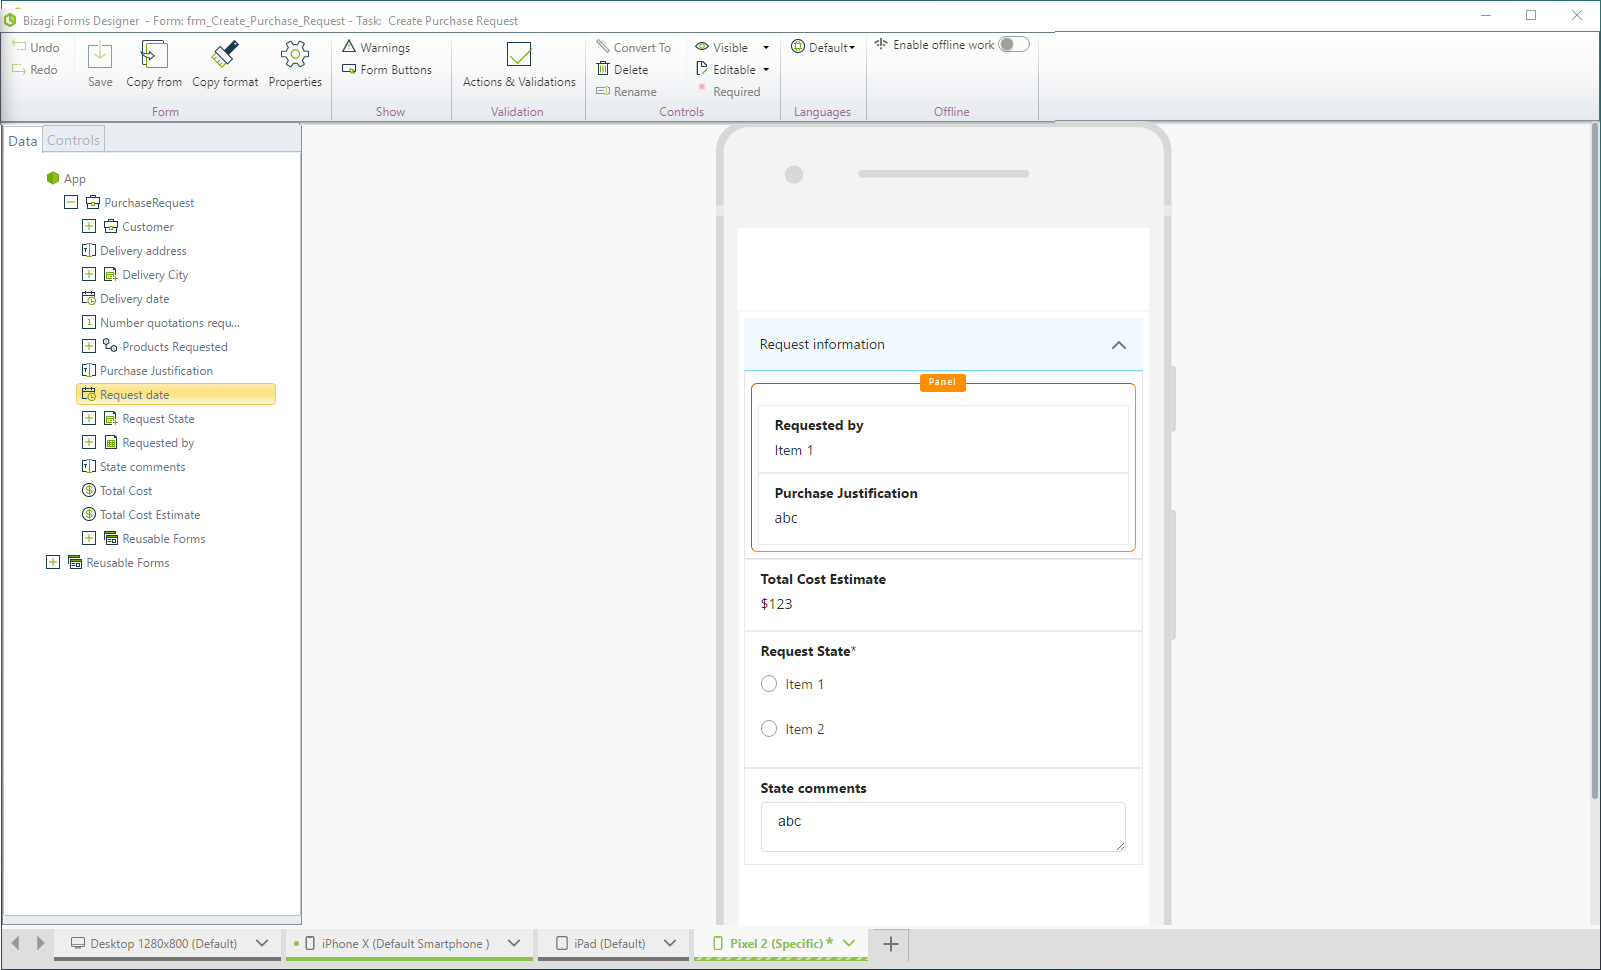
6.4 Now the form fits to the Pixel 2 screen. Click Save.
7. Define the form type for tablets. As tablets use a higher screen resolution than smartphones and some controls display as in the Desktop view, it is not necessary to make several changes.
7.1 Click the ![]() icon of the iPad tab and select Customize device to create the specific Form.
icon of the iPad tab and select Customize device to create the specific Form.

|
The specific form is not linked to the default form nor any specific or Default for specific device form of another device family. Any changes you make in the default form do not affect the other Form types, and vice versa. |
7.2 Click Create customized form to clone the default form fields in the specific form.
If you want to create the form from scratch, click Create empty form.
The iPad tab has changed its name to specific and its color to blue with stripes. This means that users see this form when using an iPad.
Users of a Pixel 2 see the form defined for this device.
Users of any other smartphone, see the form defined for the iPhone X (as this form type was set as Default for specific device).
Finally, users of a desktop or laptop computer, see the default form.

7.3 To fit the form to tablets better, let's remove the Delivery information group.
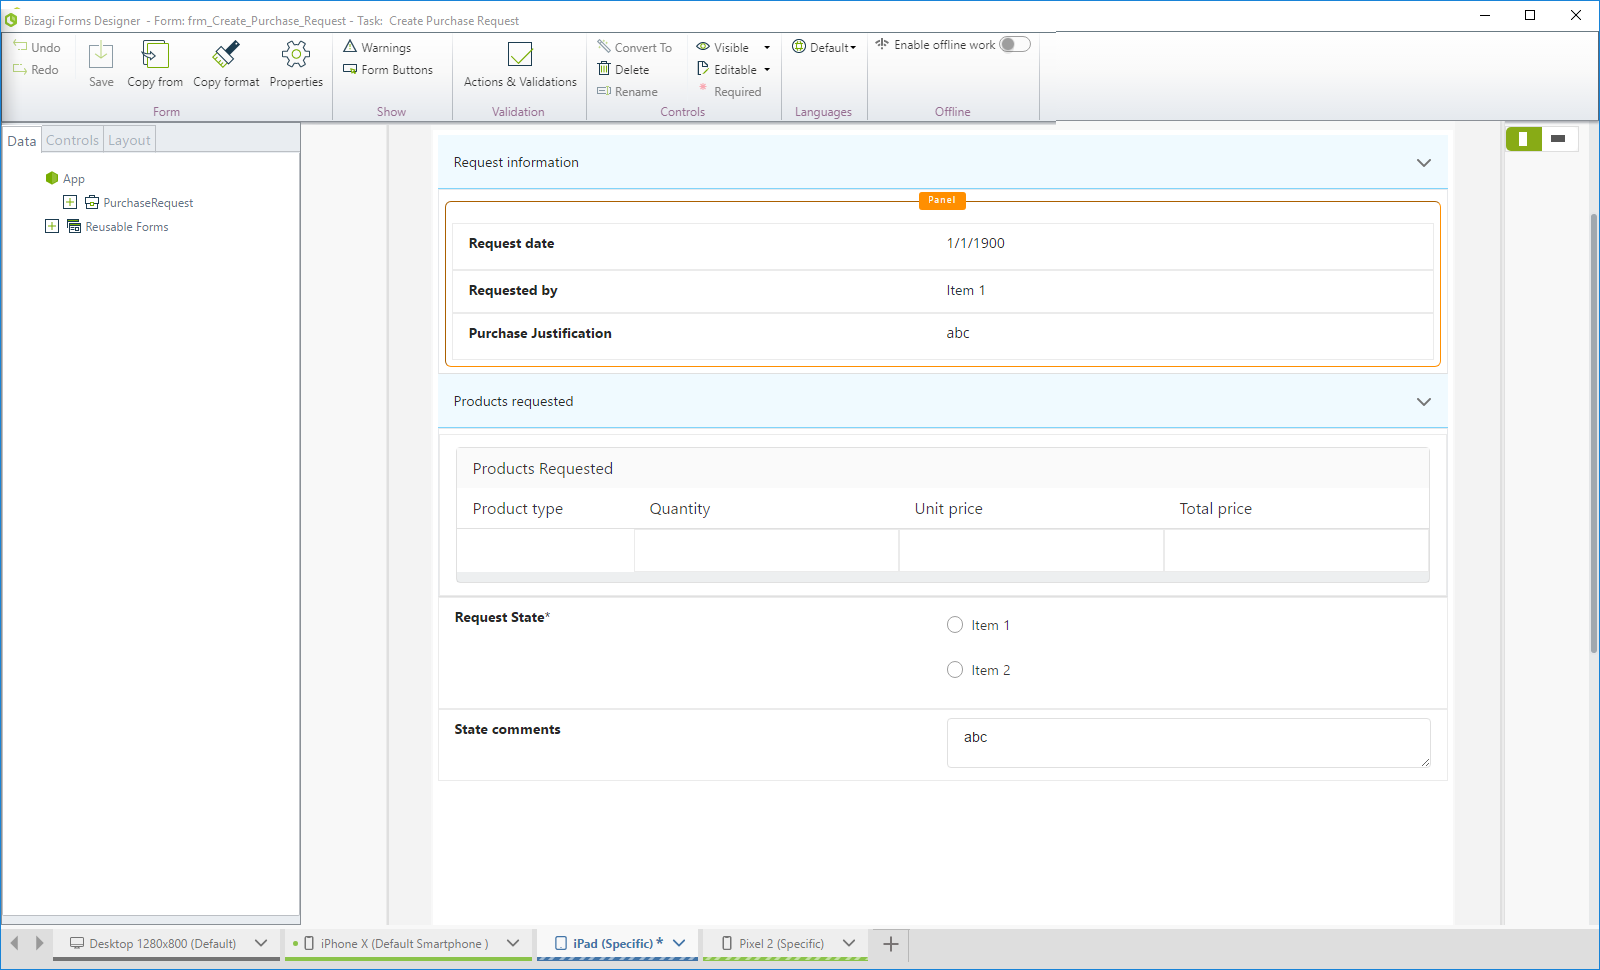
7.4 Click the ![]() icon of the iPad tab and select Set as default for tablets to set this form as the default for all tablets.
icon of the iPad tab and select Set as default for tablets to set this form as the default for all tablets.

Click Save to finish.
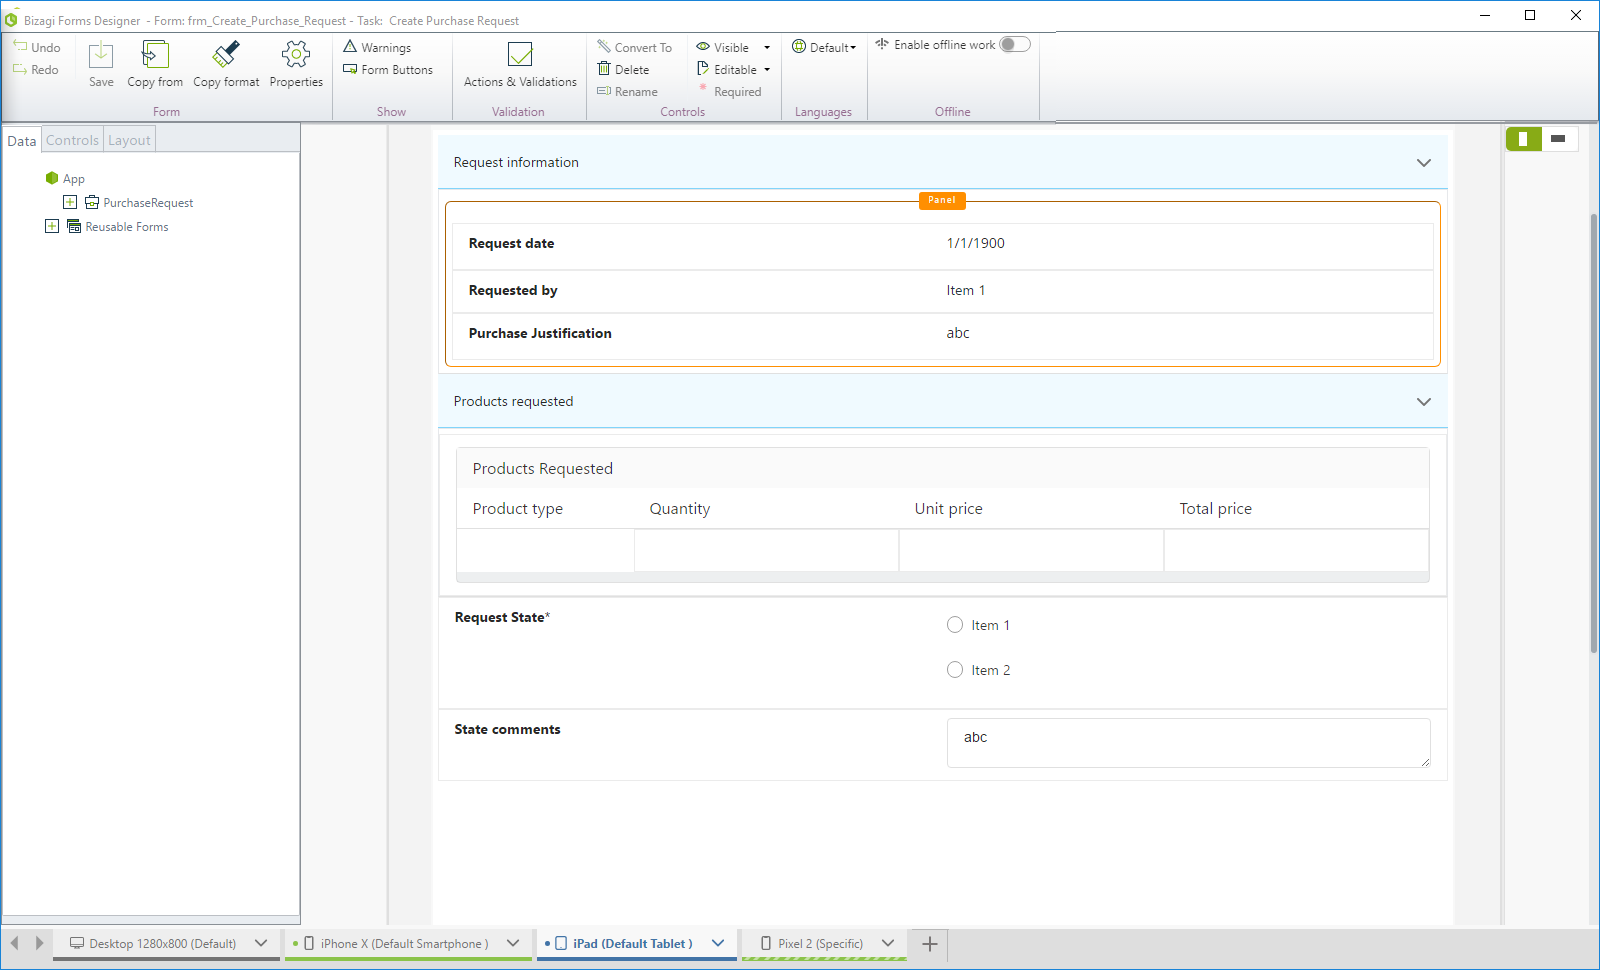
At this point, you have four types of forms:
•A Default form for users of desktop and laptop computers regardless their screen resolution
•A Specific form for users of Pixel 2 smartphones
•A Default for specific device form for users of any other smartphones
•A Default for specific device form for users of tablets.
Last Updated 1/6/2022 11:21:09 AM
