|
You can find the contents of this article in the video: Creating a Process |
A model can refer to a whole organization, a department or a specific process depending on your needs. Multiple diagrams are positioned as individual sheets (tabs) within your model. You are able to navigate between diagrams in your model by selecting the associated sheet tab located at the bottom of the model. You can manage permissions for users to publish to the Process Library and to Create and delete models in Permissions.
To explain how can you easily diagram your processes, we will use a Purchase Request Process.
The following are the steps to be carried out in the Process:
•A Purchase Request is created
•The employee's Immediate Supervisor (Boss) approves, rejects or changes the request
•Quotations are obtained to select a Supplier
•A Purchase Order is created
•The Administrative Manager approves, rejects or modifies the Order
•The Purchase Order is sent to the Supplier
•The Purchase Order is created in the ERP
As soon as you open the Modeler, a Pool will be ready for you to start diagramming. Otherwise, hover the New Folder option and select the thrusting option called New Diagram. This option is located at the bottom right of the Diagrams view.
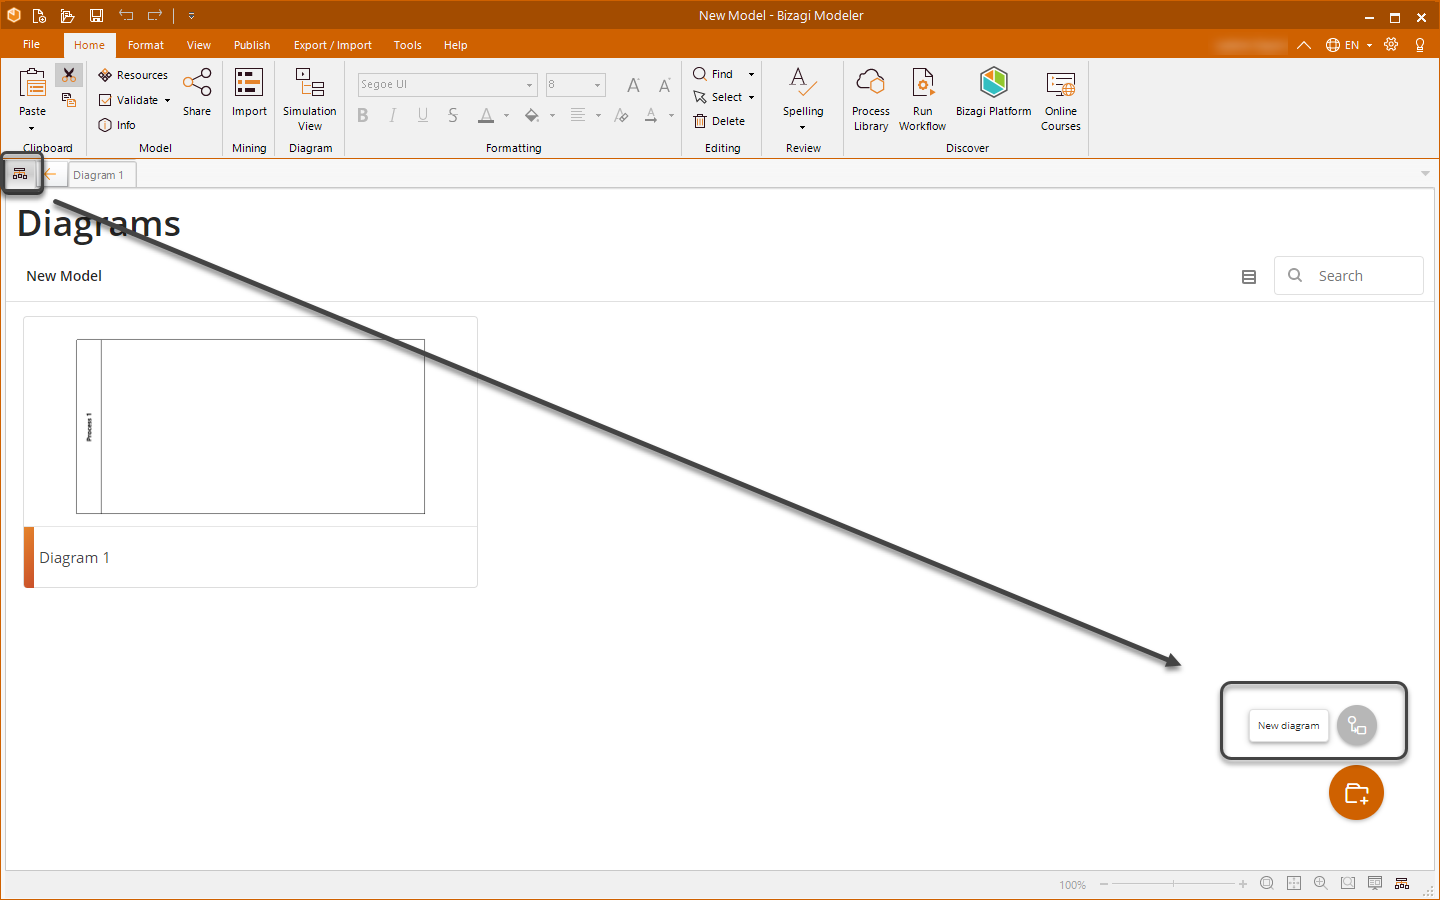
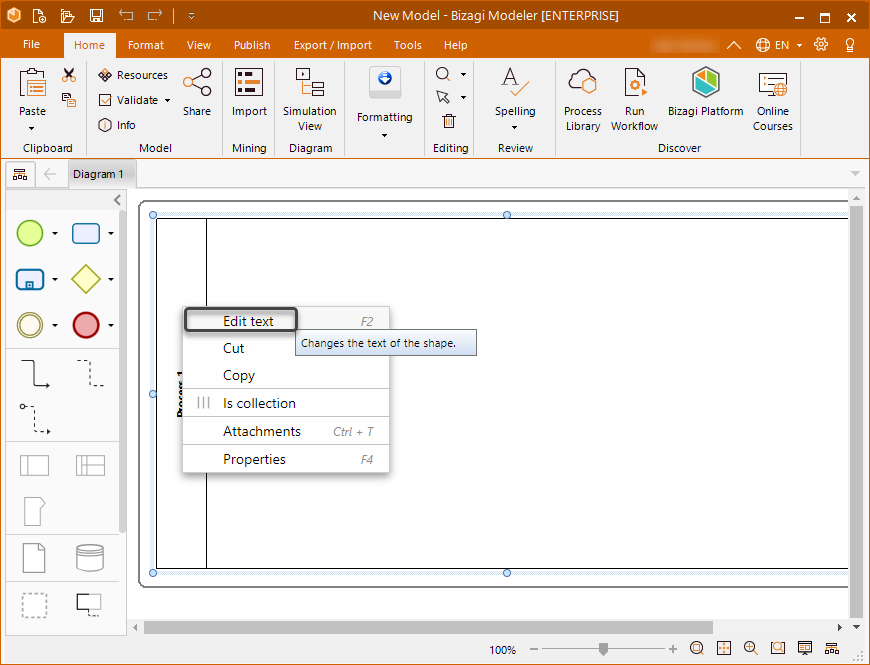
1. Name your pool. It is usually the name of the process you are about to diagram.
To change the name of the Pool double-click on it, press F2, or right-click on it, and then select Edit text from the display menu.
2. Add a Lane to include participants in your process.
Drag and drop a lane, for each participant, from the Palette.
In our example, we will select three lanes: One for the Immediate Supervisor (Boss), one for the Requester and one for the Purchase Department.
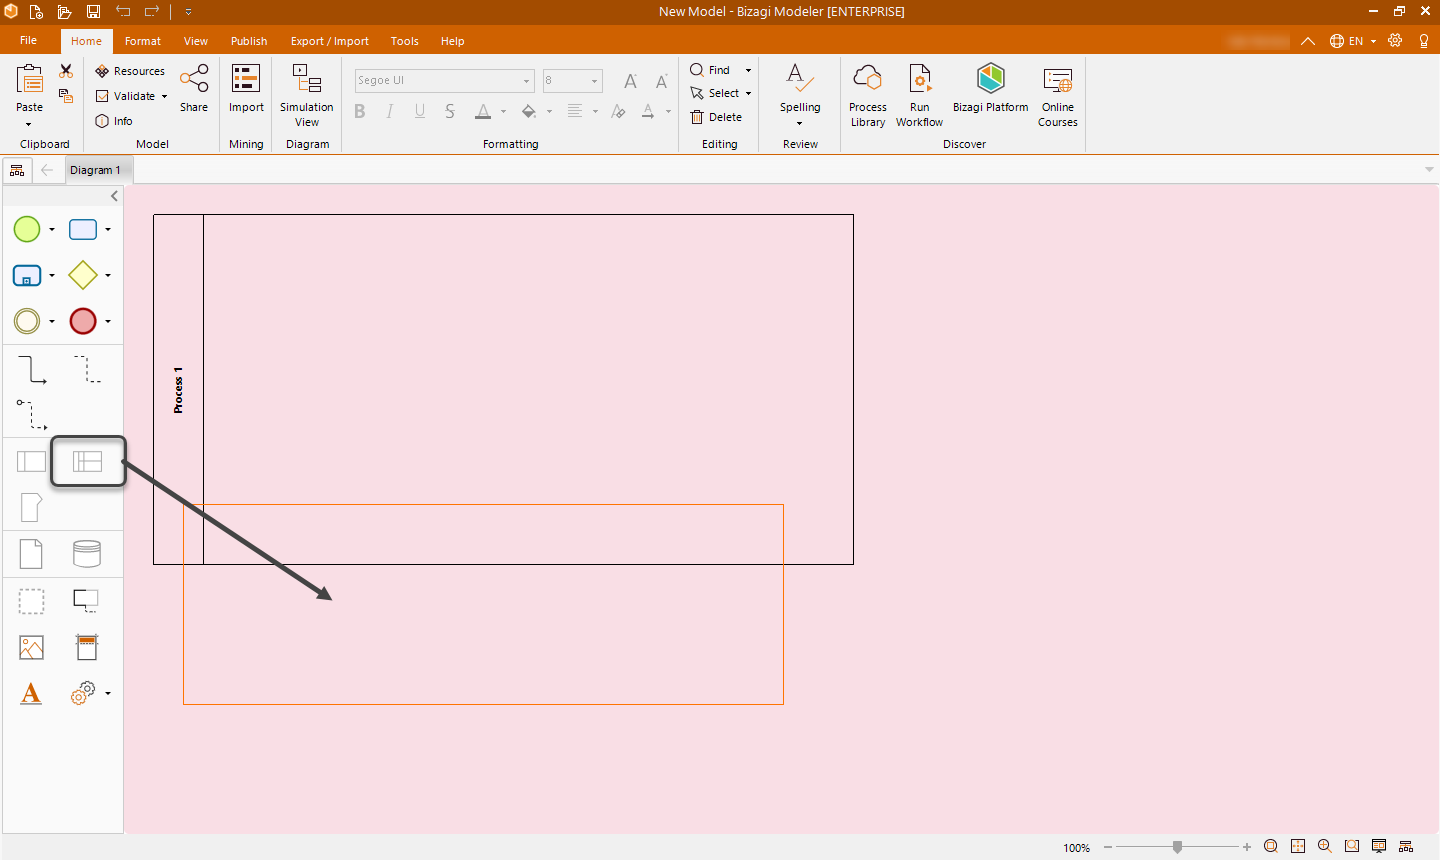
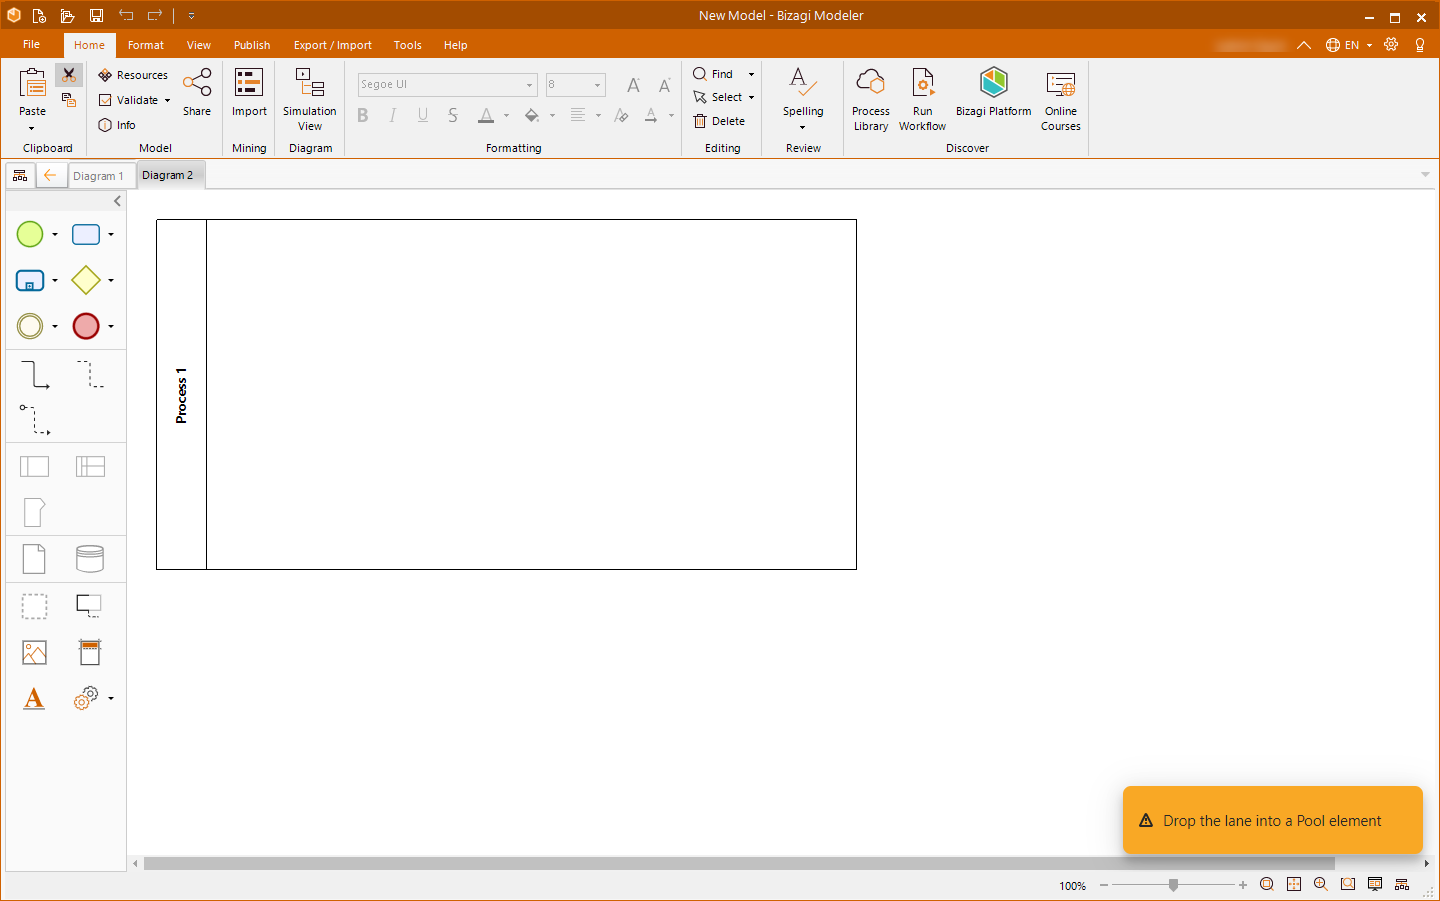
Make sure to drop the lane into the process, otherwise, an alert message appears.
3. Include a start point in your process.
Drag and drop a Start event from the Palette
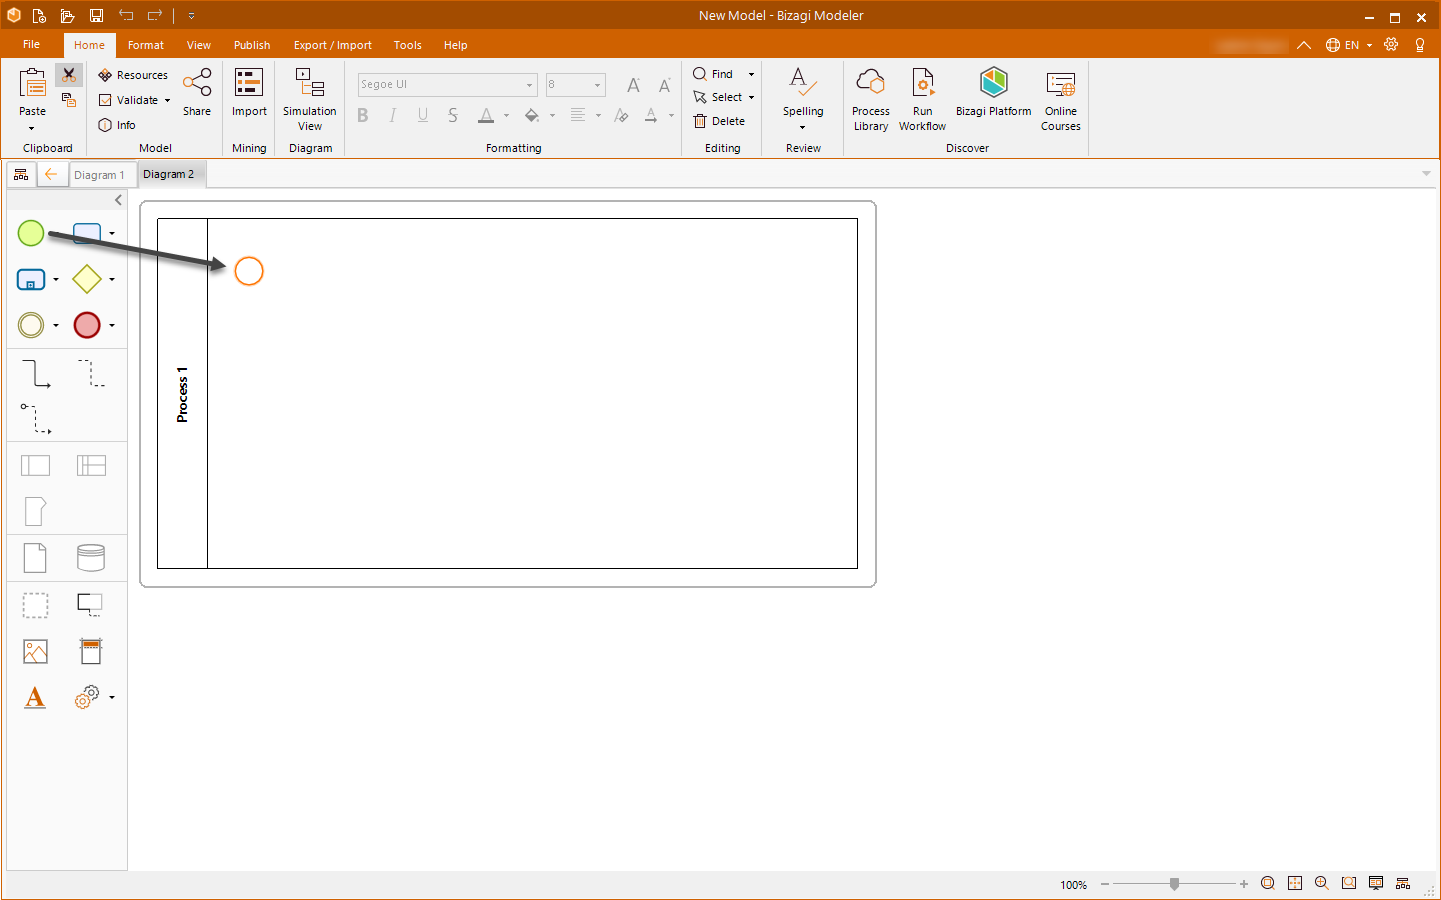
4. Continue diagramming your process using the Pie Menu. Select the next element and drag and drop where you wish to locate it.
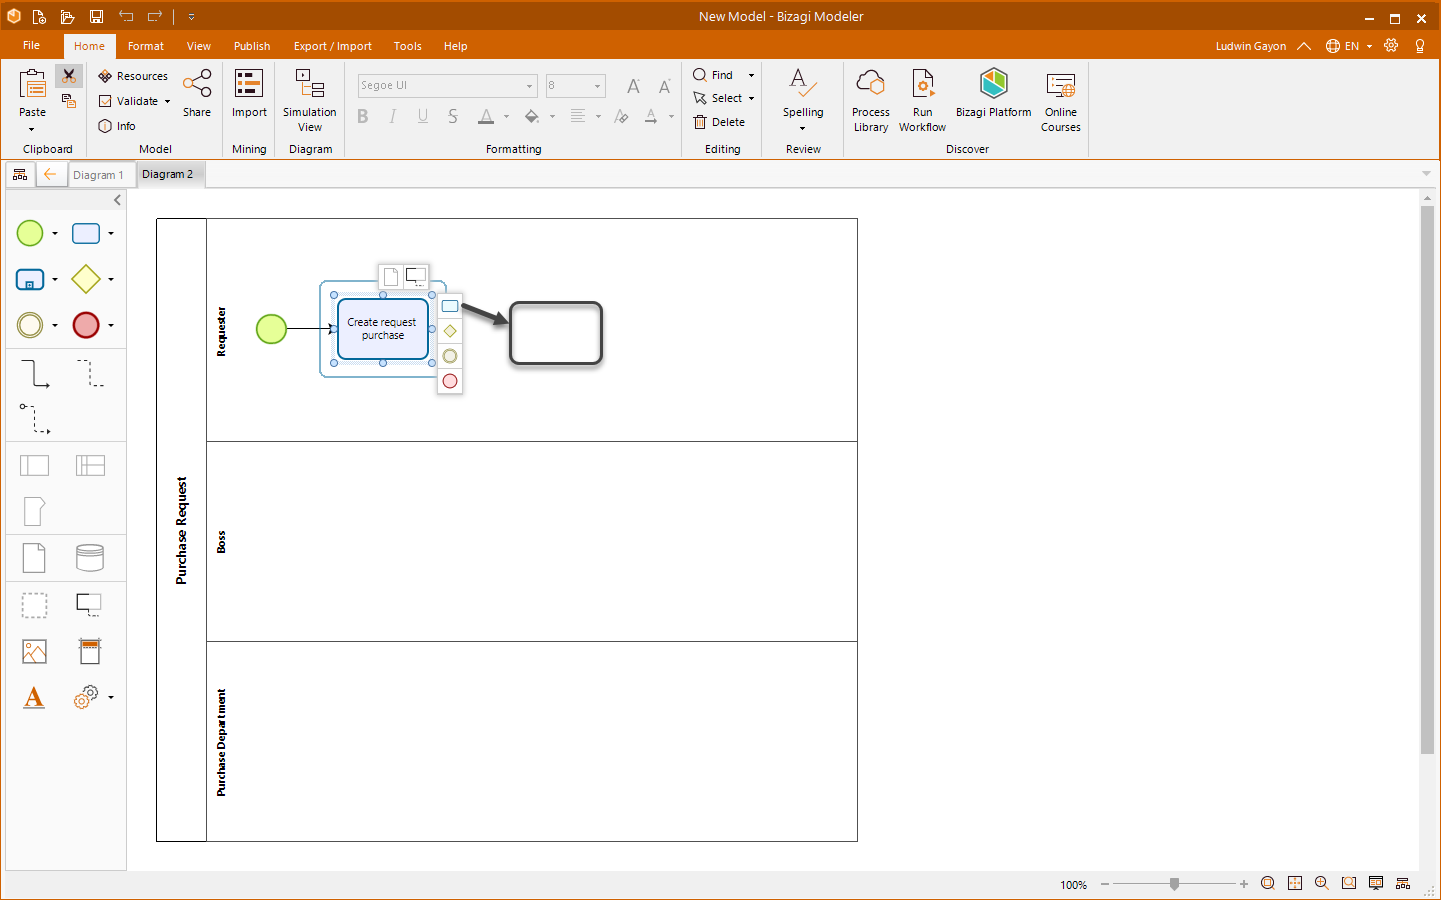
5. To connect two diagram elements in a sequence flow, select an object from the Pie Menu and drag it to the second diagram element. They will be automatically connected.
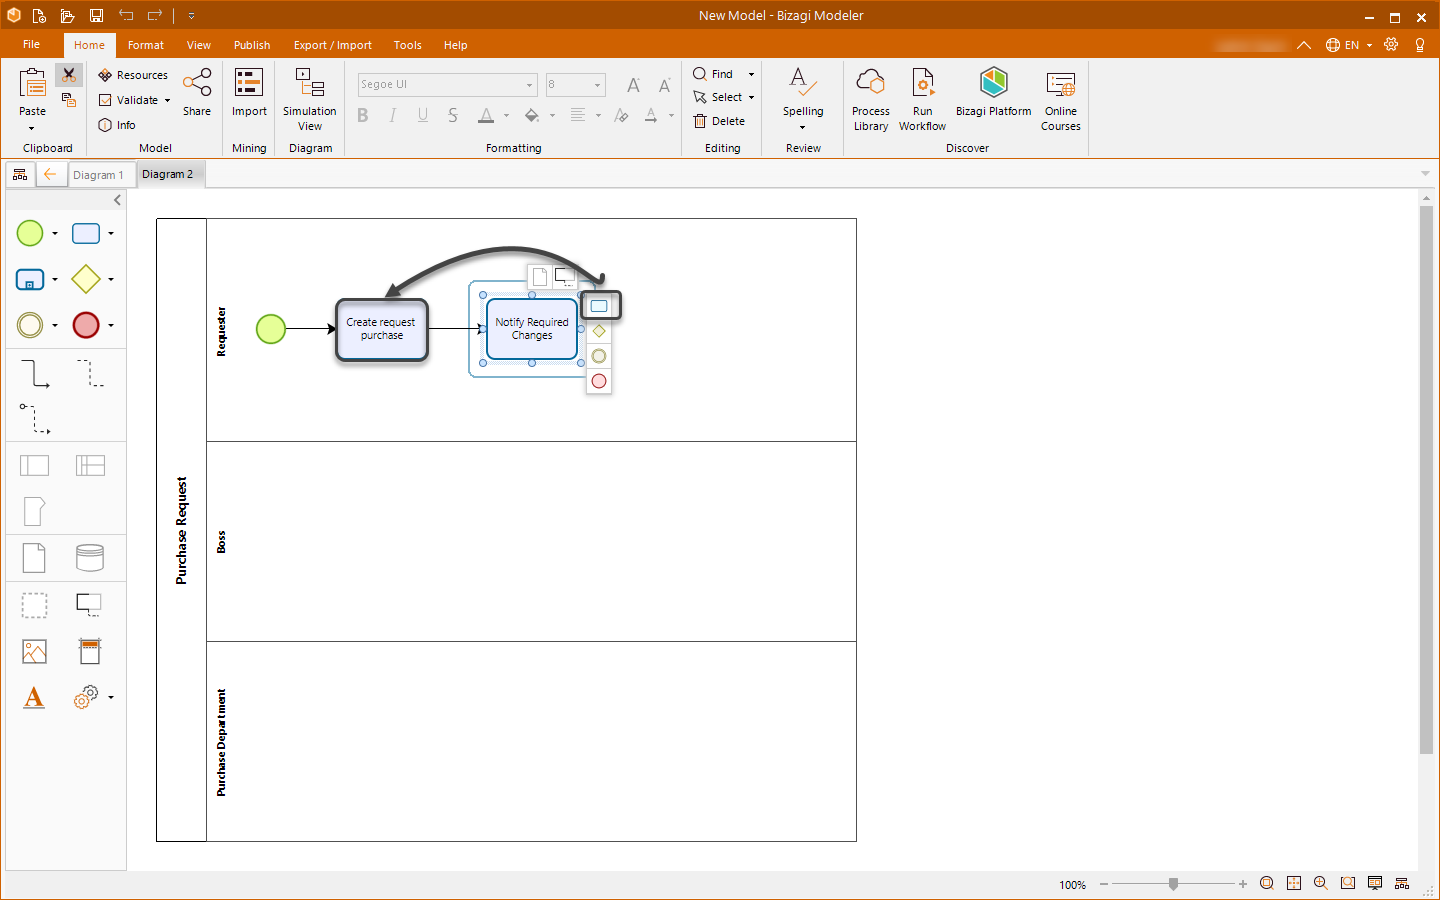
6. Continue selecting the required shapes until your diagram is complete.
7. To resize the pool, select and drag the appropriate corner of the border.
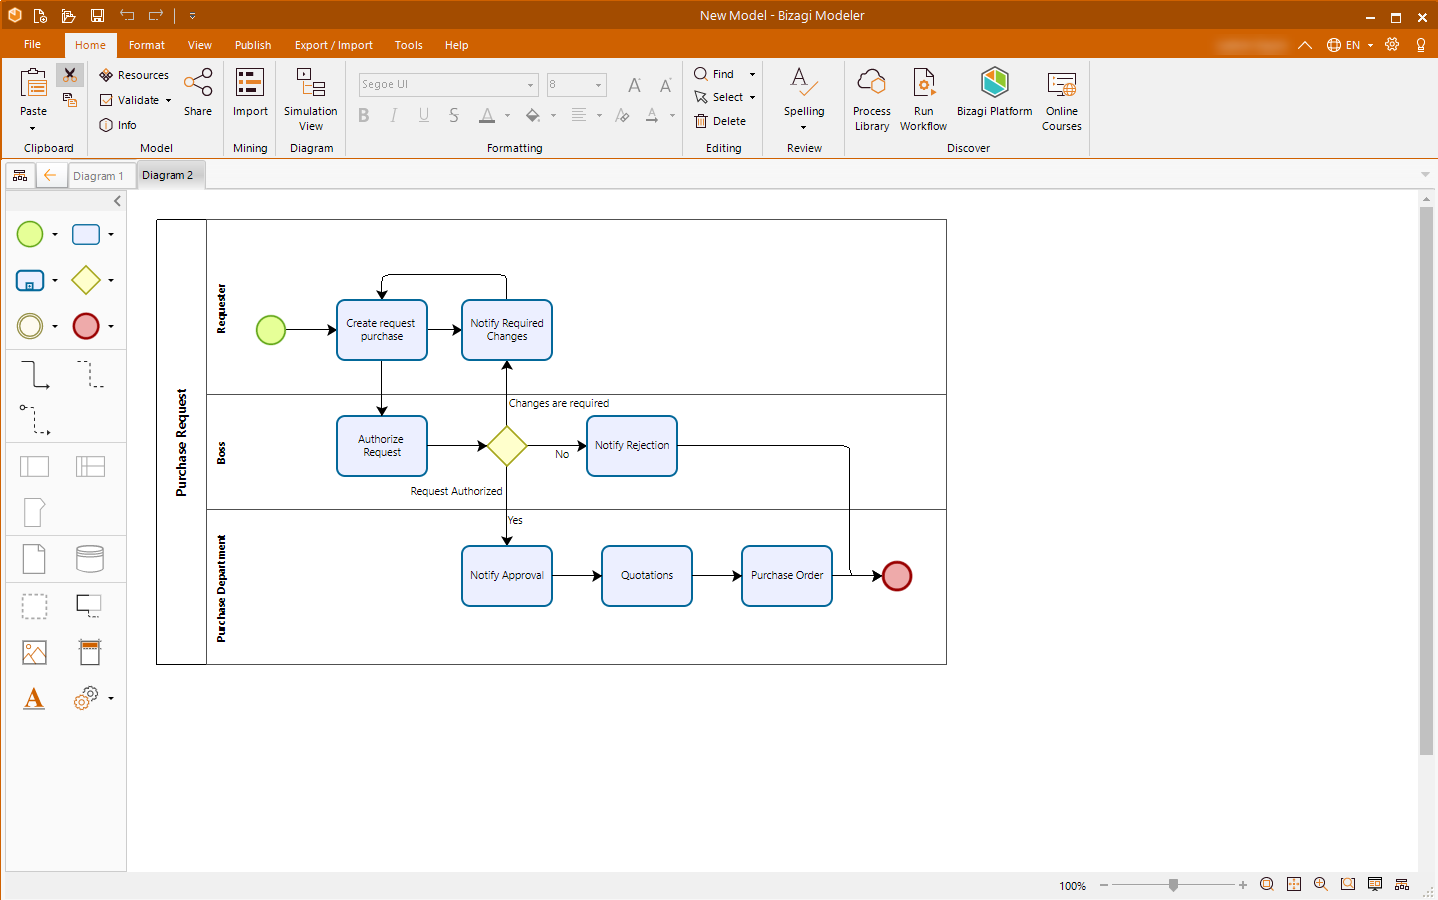
The following image displays the basic diagram of the Purchase Request process.
This first exercise is designed to show you how to diagram with the drag-and-drop functionality. However, to better describe the process and meet the required standard, some diagram elements need to be changed. Please refer to the section Editing a process to continue with this exercise.
Last Updated 2/15/2023 3:34:23 PM