Overview
You can publish your diagrams to SharePoint using a WebPart, which enables you to view all your publications directly within your site. This article provides step-by-step instructions to guide you through the entire process—from adding a user to the Site Collection Administrators group, to uploading and installing the Bizagi WebPart solution in SharePoint. You will also find how to add the WebPart to a site page, update it when needed, and finally, view your published diagrams within your SharePoint environment.
Add User to the Site Collection Administrators Group
To upload the application containing the WebPart to the SharePoint server, you must be part of the Site Collection Administrators group. Follow the steps below to set this configuration:
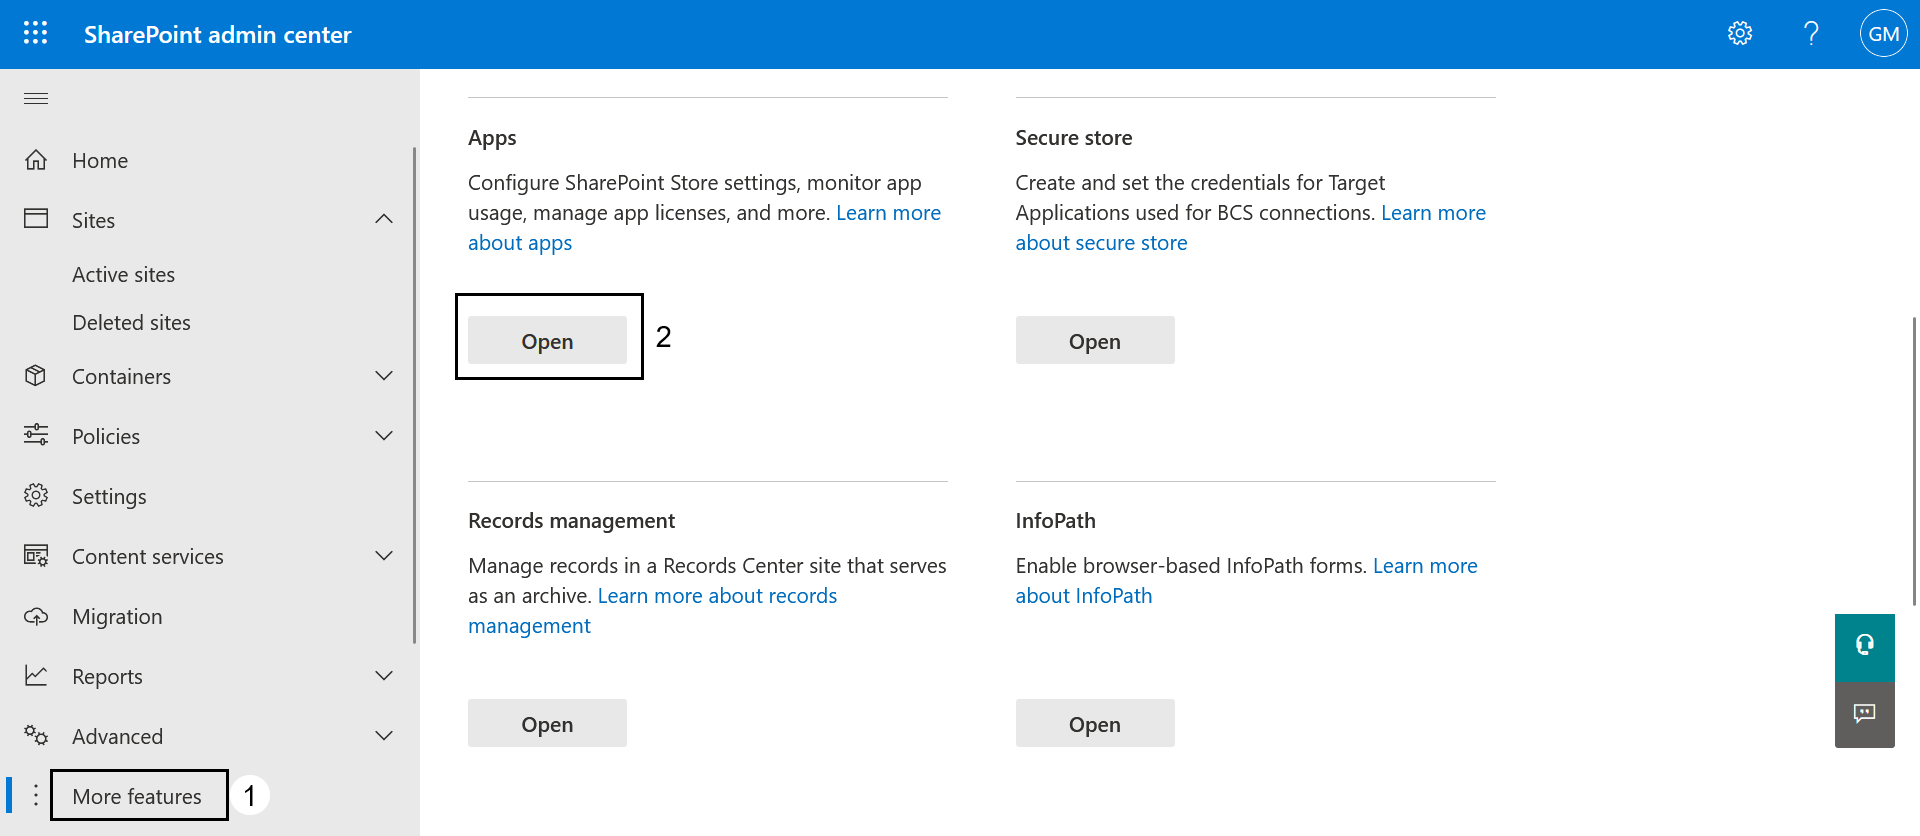
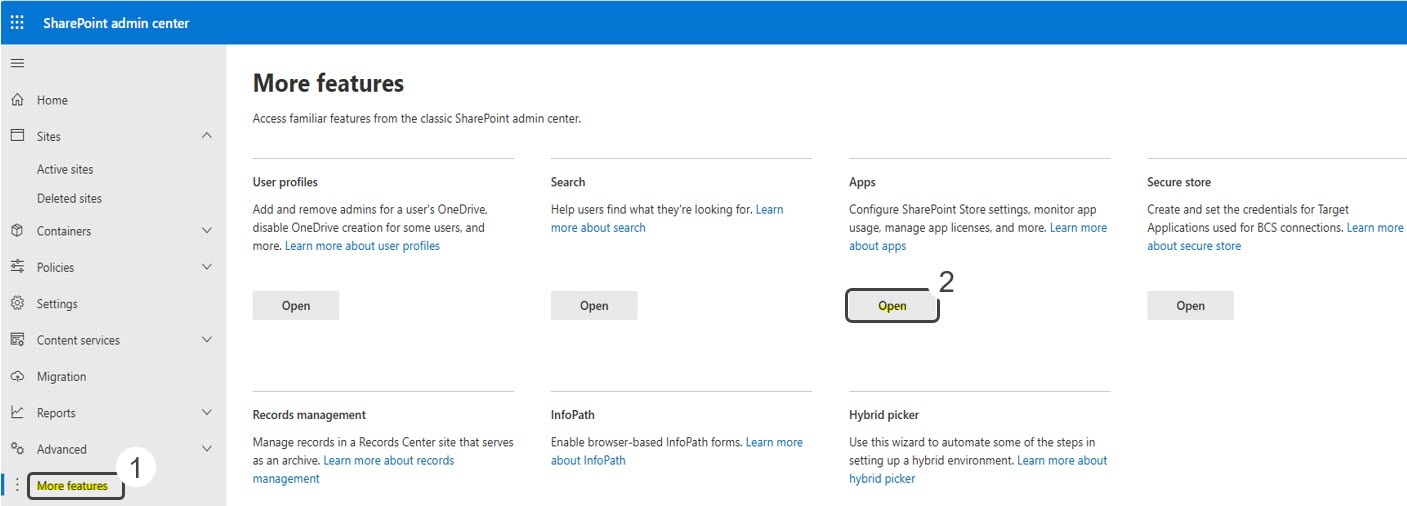
1. Go to the SharePoint Admin Center, select More Features, and click the Open button located under Apps.
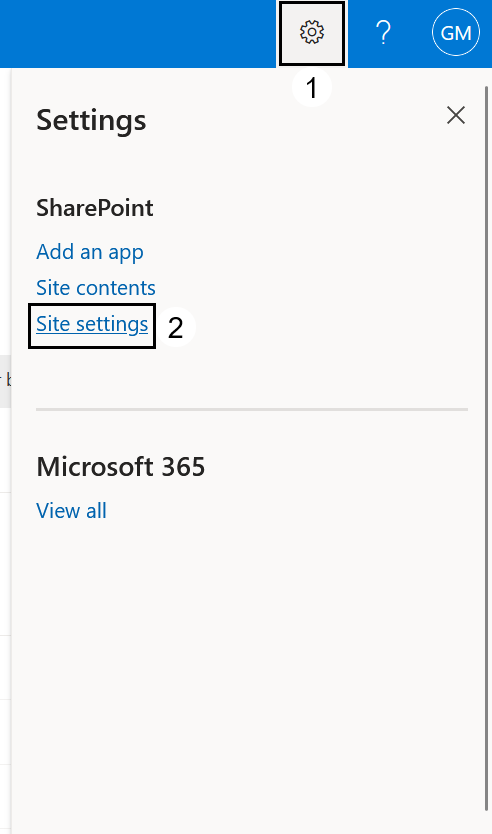
2. In the top bar, click the gear icon ⚙️ and then select Site settings.
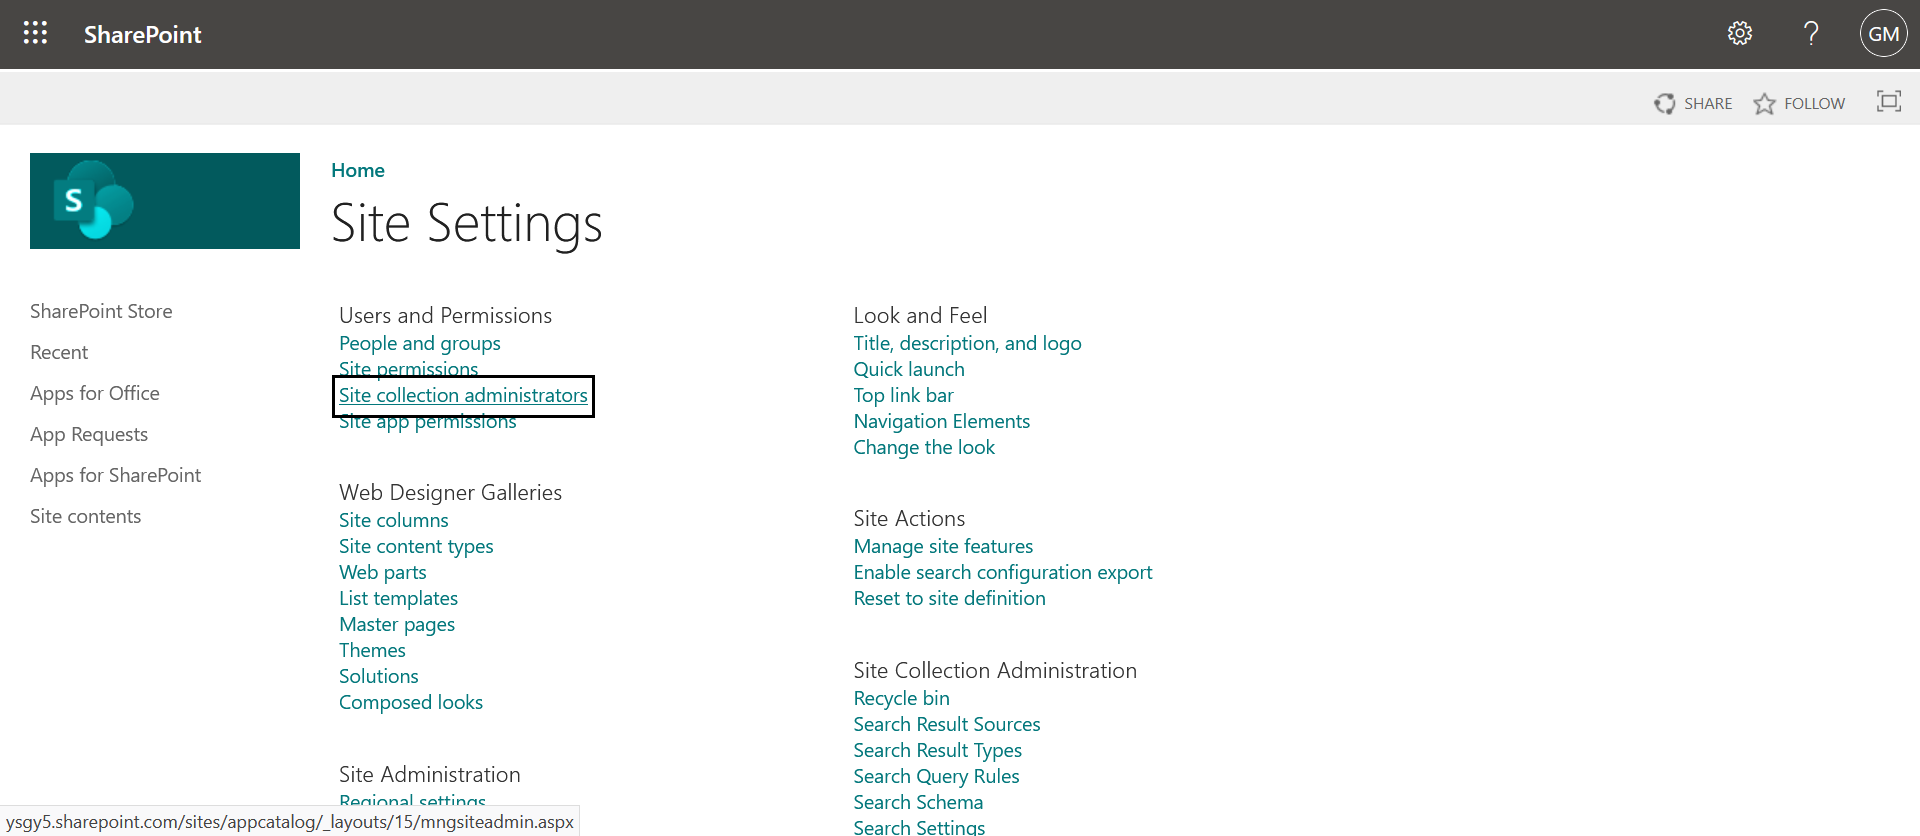
3. In the Users and Permissions section, select Site Collection Administrators option.
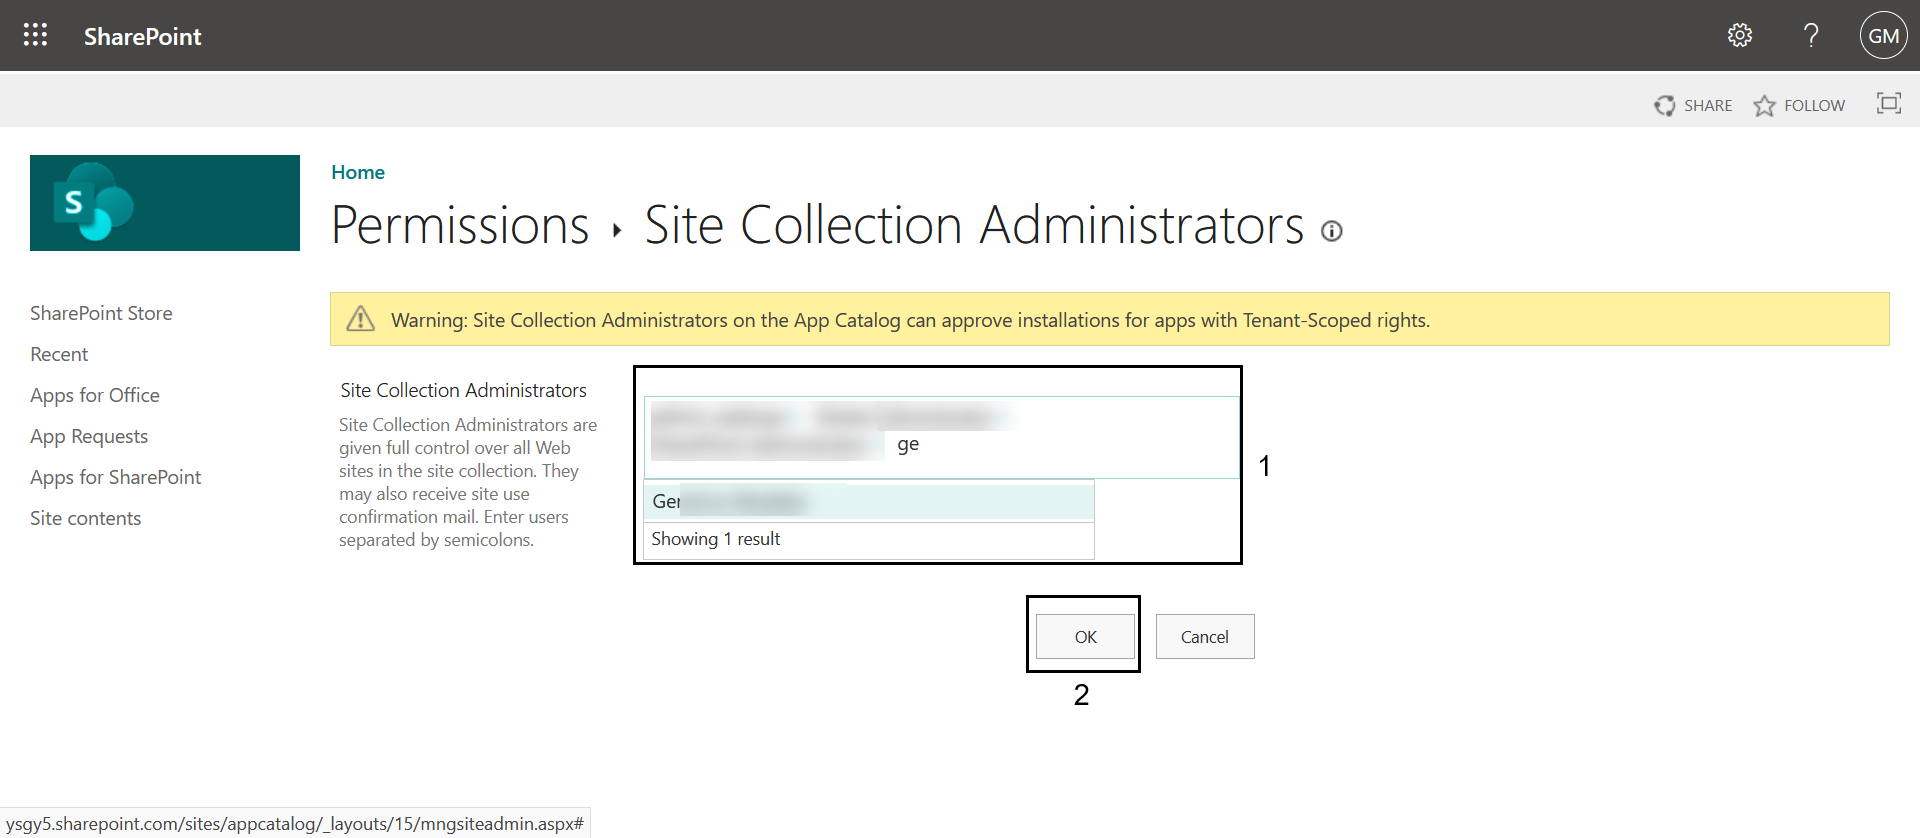
4. By default, users with Global Administrator or SharePoint Administrator roles are enabled.
•To add a user to this role, type the username in the text box and select one of the suggestions that appear as you type.
•Finally, click OK to add the user to the Site Collection Administrators group.
Upload the Bizagi WebPart to SharePoint
To upload the Bizagi WebPart to SharePoint, follow the steps below:
1. Log in to the SharePoint Admin Center with a user who is part of the Site Collection Administrators group.
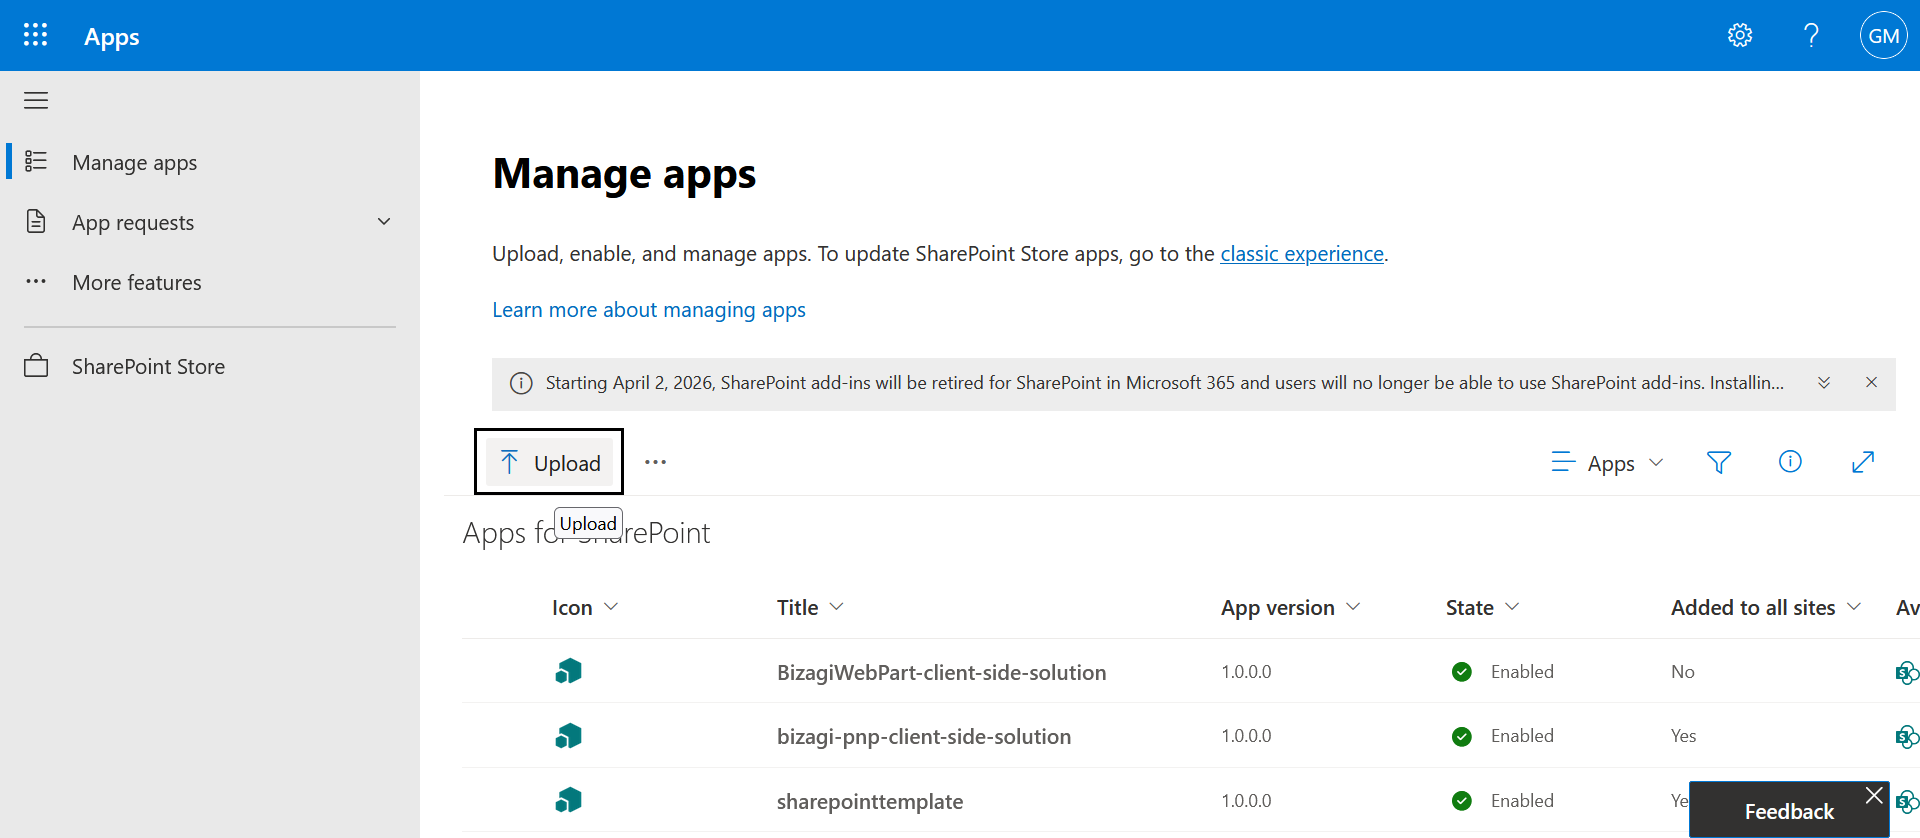
2. Go to the SharePoint Admin Center. In the left panel, select More Features and click the Open button under the Apps section.
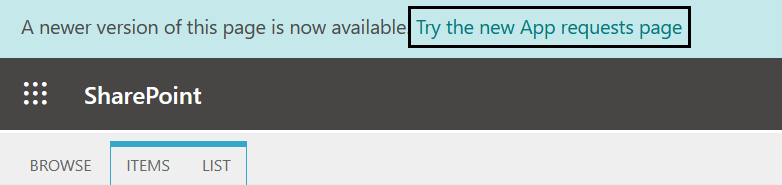
Note: If the app catalog shows the classic experience, switch to the new experience by clicking Try the new App requests page link that appears at the top of the page.
3. Download the BizagiWebPart.sppkg file (Bizagi WebPart version 1.2.0).
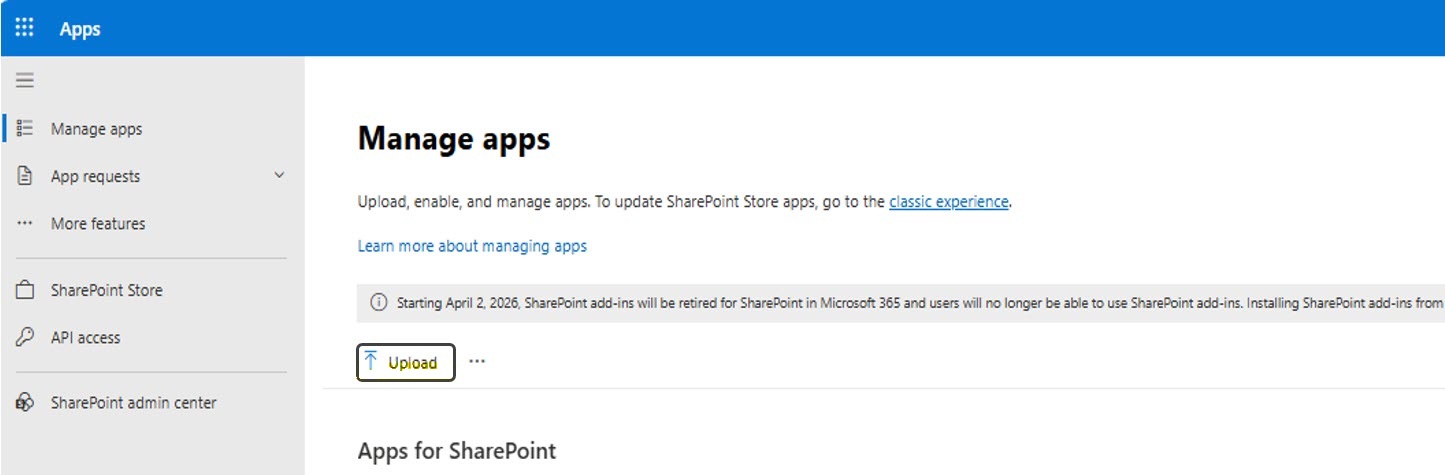
4. Upload or drag the BizagiWebPart.sppkg file into the app catalog.
5. By default, the application is uploaded in a disabled state.
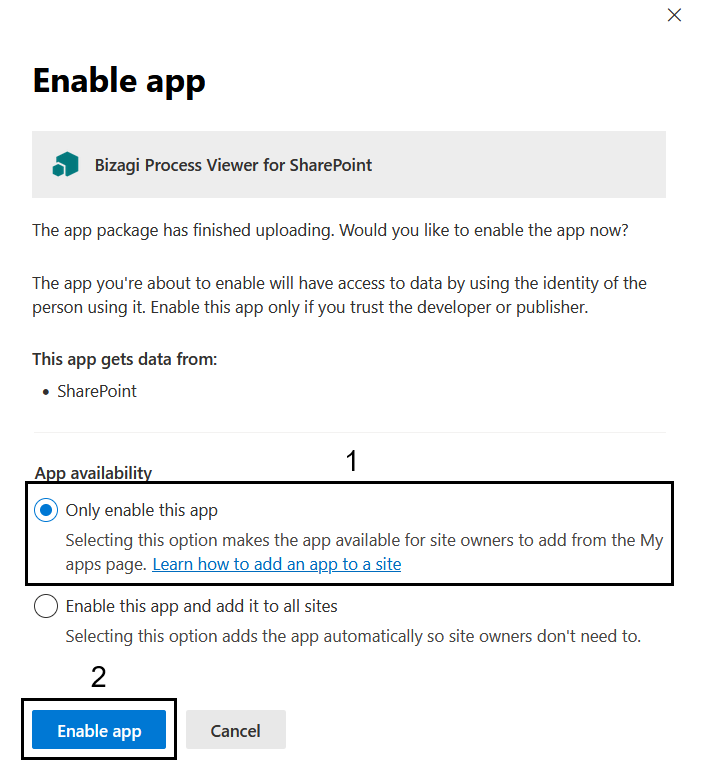
•Once the application is deployed, a side panel will appear on your screen.
•Under the App availability section, select the option Only enable this app. Then, click the Enable app button located at the bottom of the page.
6. You can check for errors within the uploaded package by reviewing the Valid App Package column in the app catalog.

Install the Solution on the Site
Once the app is uploaded to the catalog, a user with Site Owner – Full Control permissions is required to add the Bizagi WebPart to the site where the publications will be displayed. Follow the steps below:
1. The Site Owner must access the site where the solution will be installed.
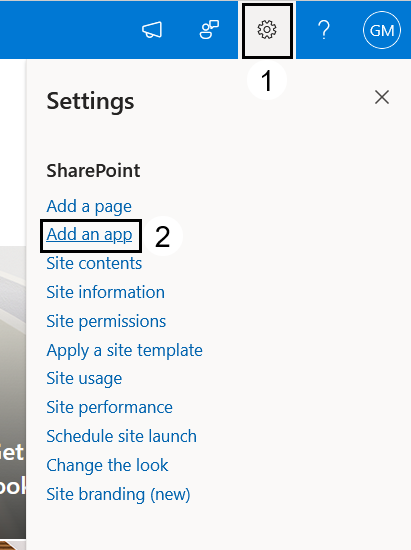
2. In the top bar, click the gear icon ⚙️ and select the Add an app option.
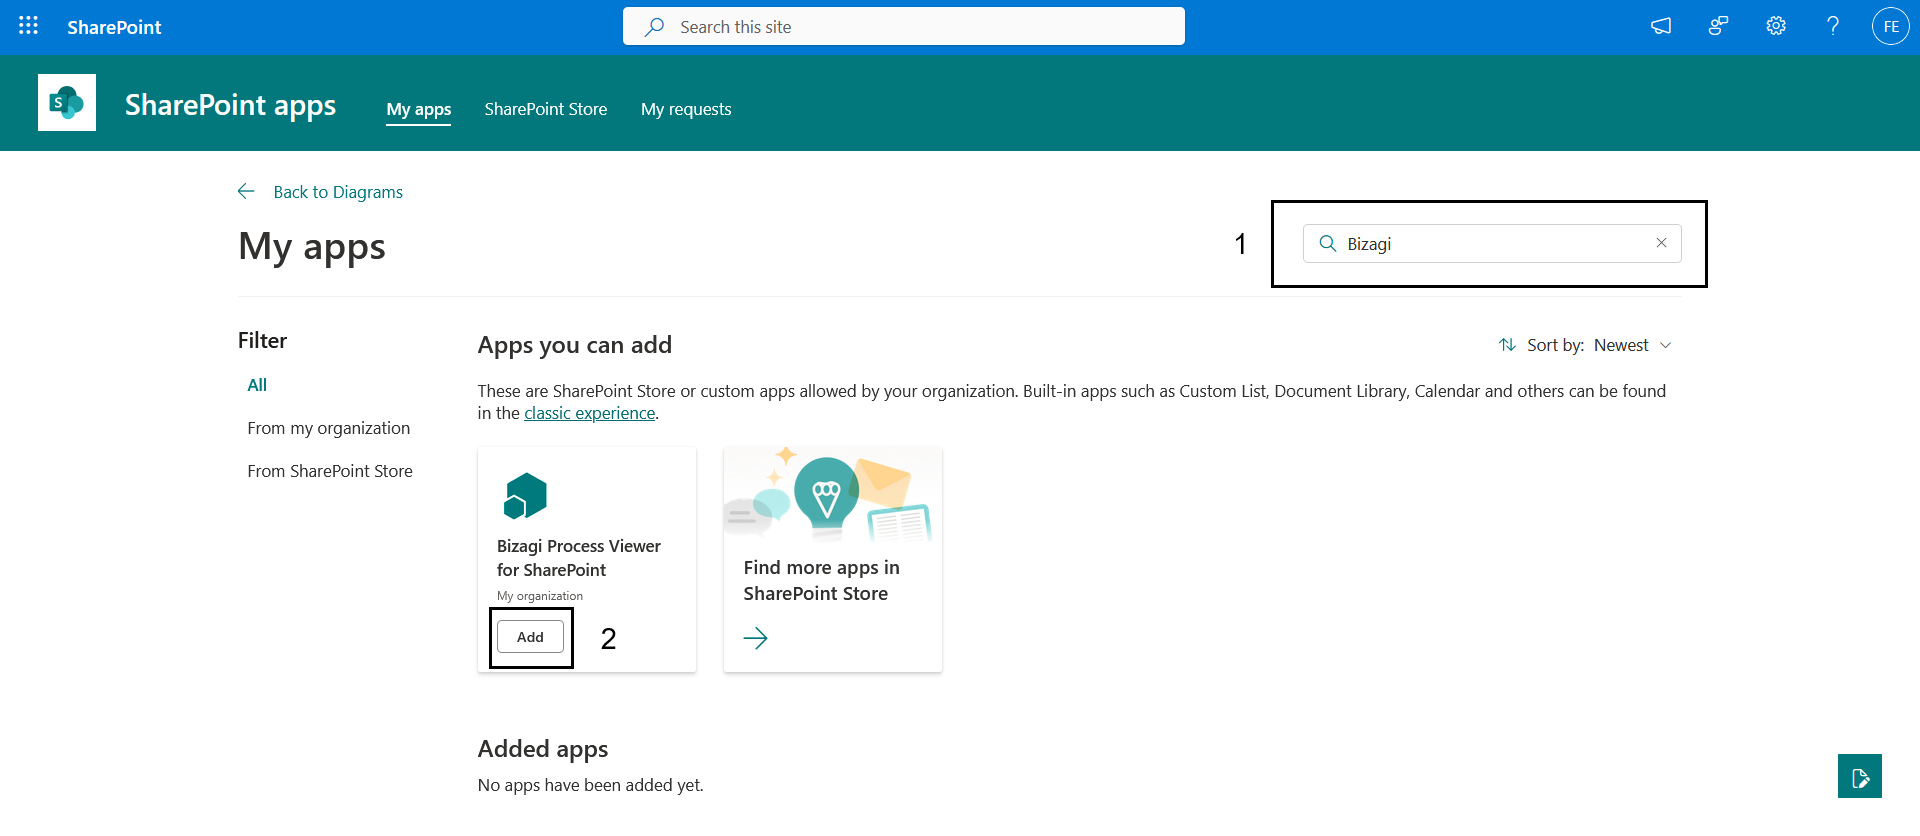
3. In the search bar, type "Bizagi Process Viewer" and press Enter.
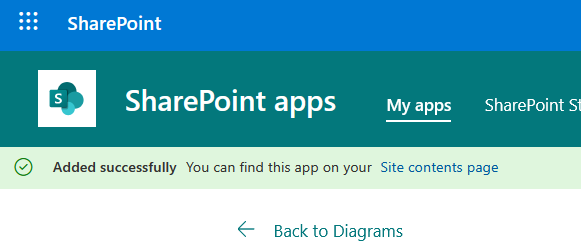
4. Click the Add button located below the Bizagi Process Viewer for SharePoint app. Once installed, a successful addition message will be displayed.
5. The Site Contents page will display the installed WebPart.
|
If you're updating the Bizagi WebPart version from 1.0.0 to 1.2.0, additional steps are required to install the updated WebPart on a SharePoint page. For details, refer to this article's Install the Updated WebPart on a SharePoint Page subsection within the Update the WebPart in SharePoint section. |
Add the Bizagi WebPart to a Site Page
To add the Bizagi WebPart to a Site Page, follow the steps below:
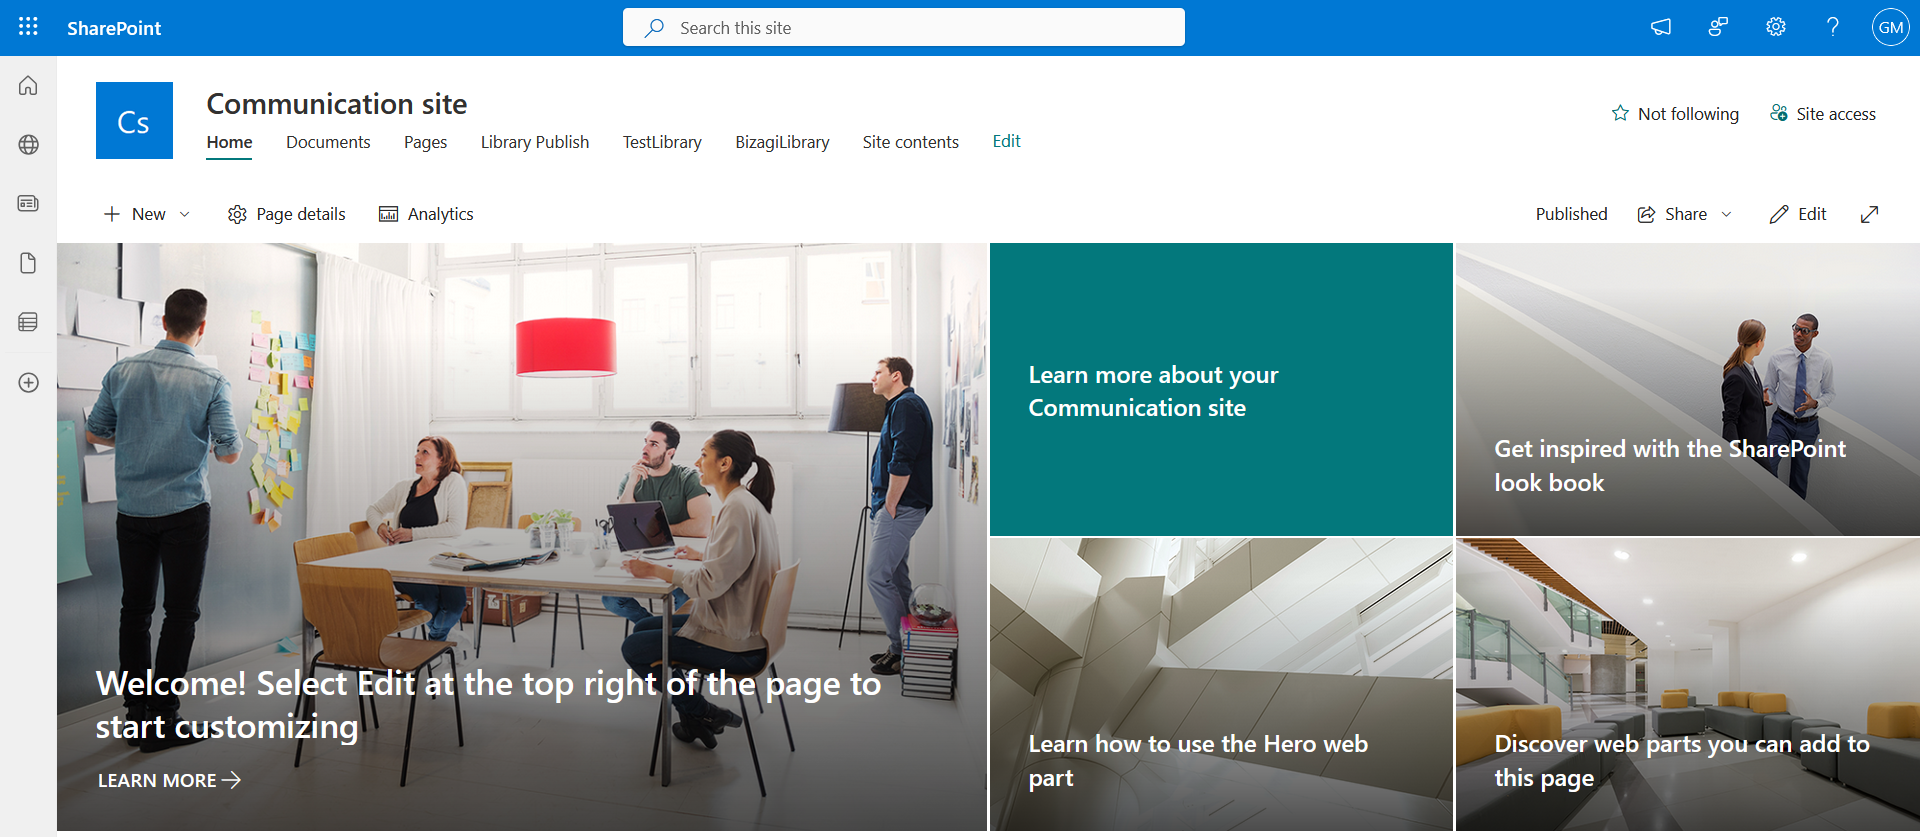
1. Go to the site where the solution was installed.
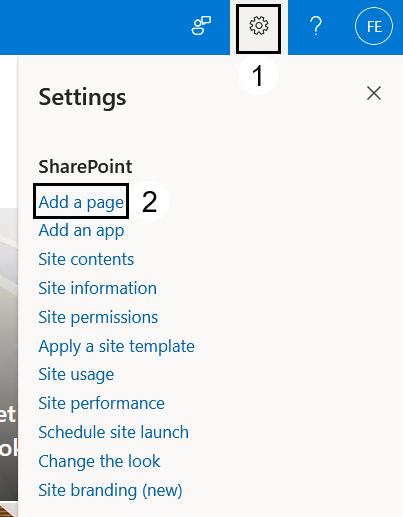
Note: If you want to create a new page to include this WebPart, click the gear icon ⚙️ in the top bar and select Add a page.
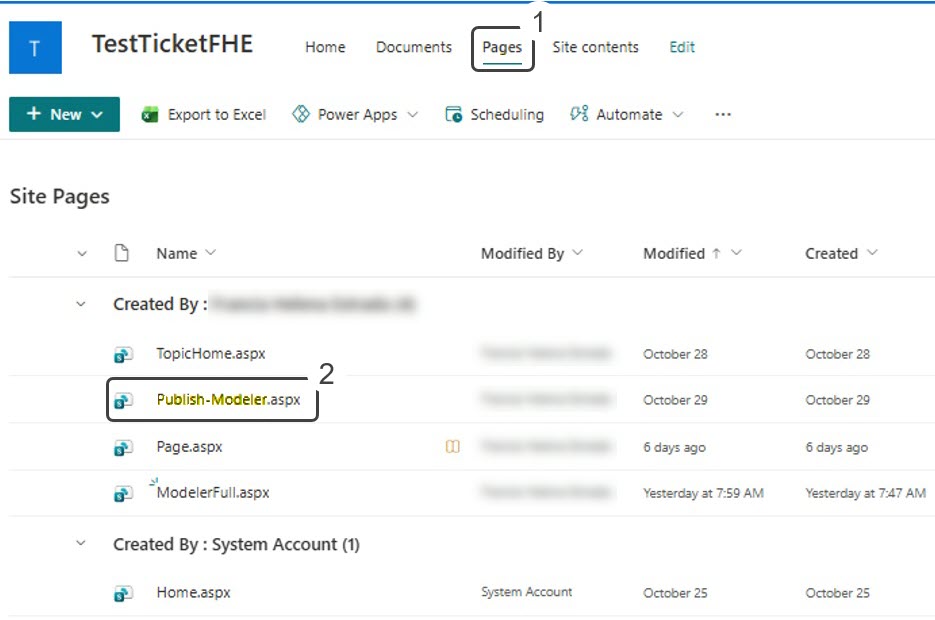
2. If you want to include the WebPart in an existing page, select the page under the Pages section.
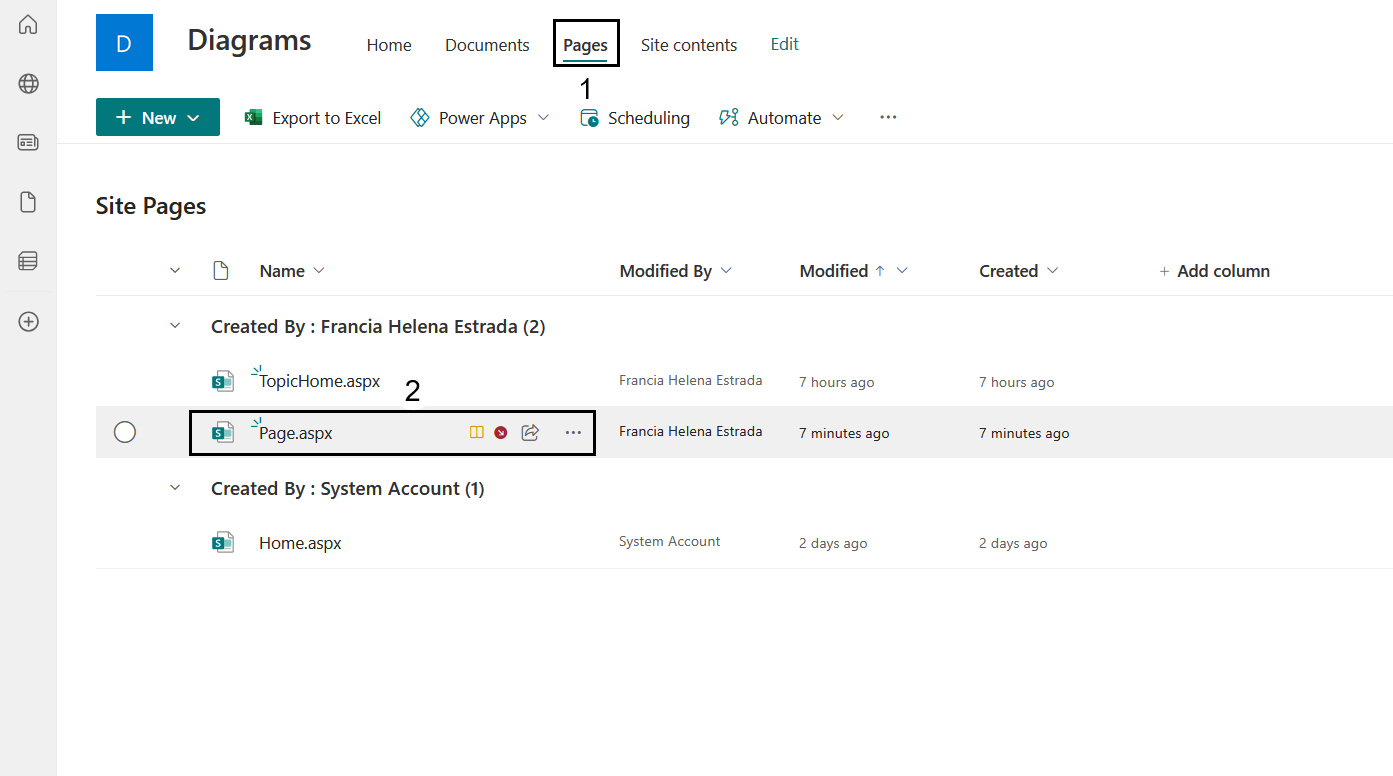
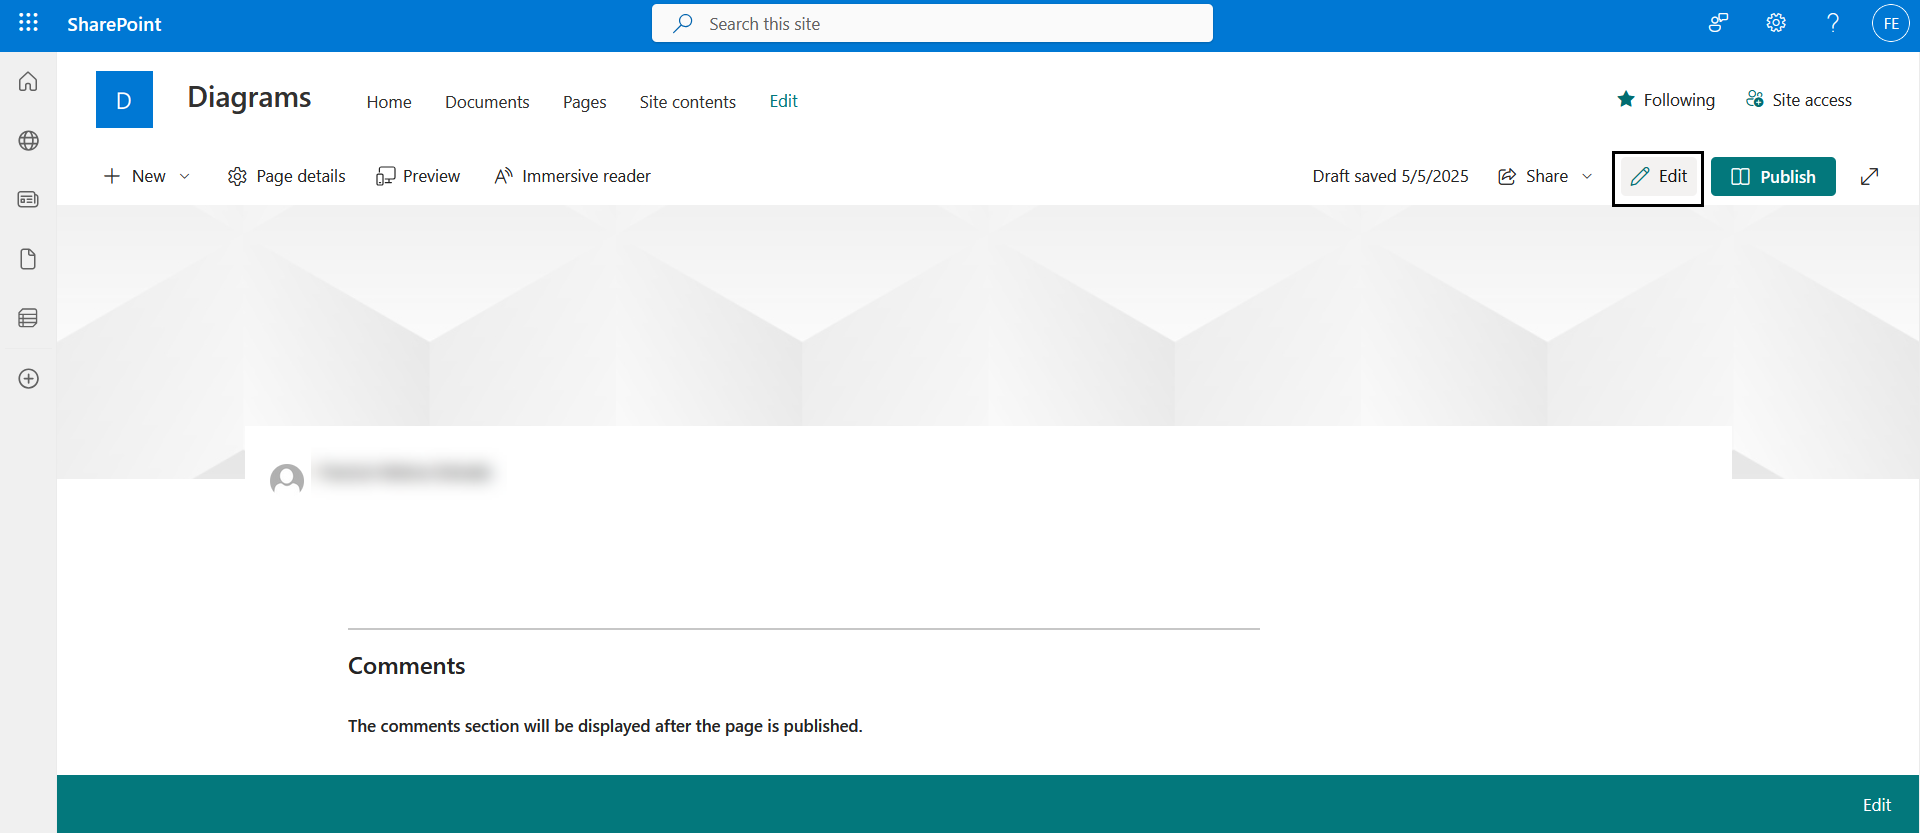
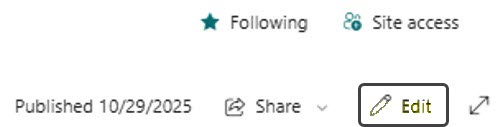
3. Select the Edit option.
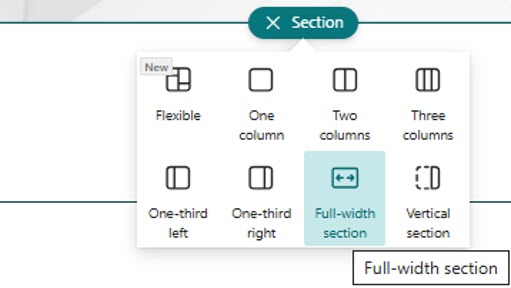
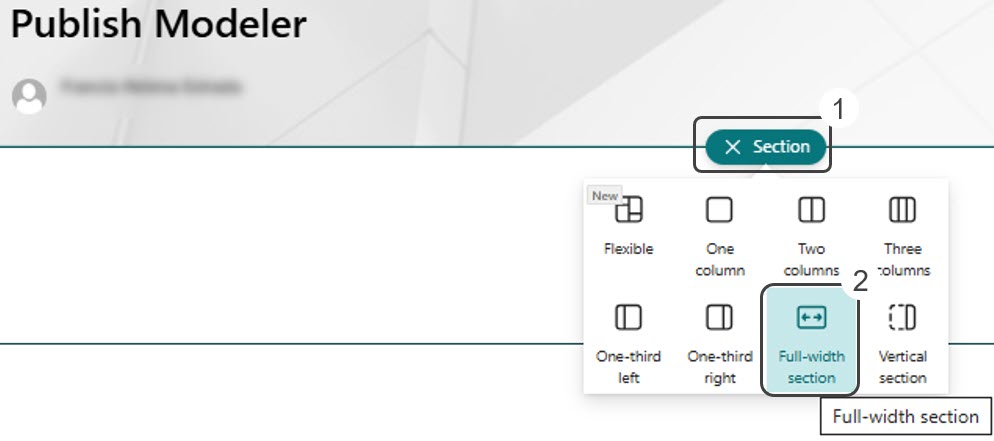
4. When installing the WebPart for the first time, it is recommended to place it within a Full-width section of the SharePoint page to ensure optimal display and functionality.
•Click the + button on the page to add a new section.
•From the available layout options, select Full-width section.
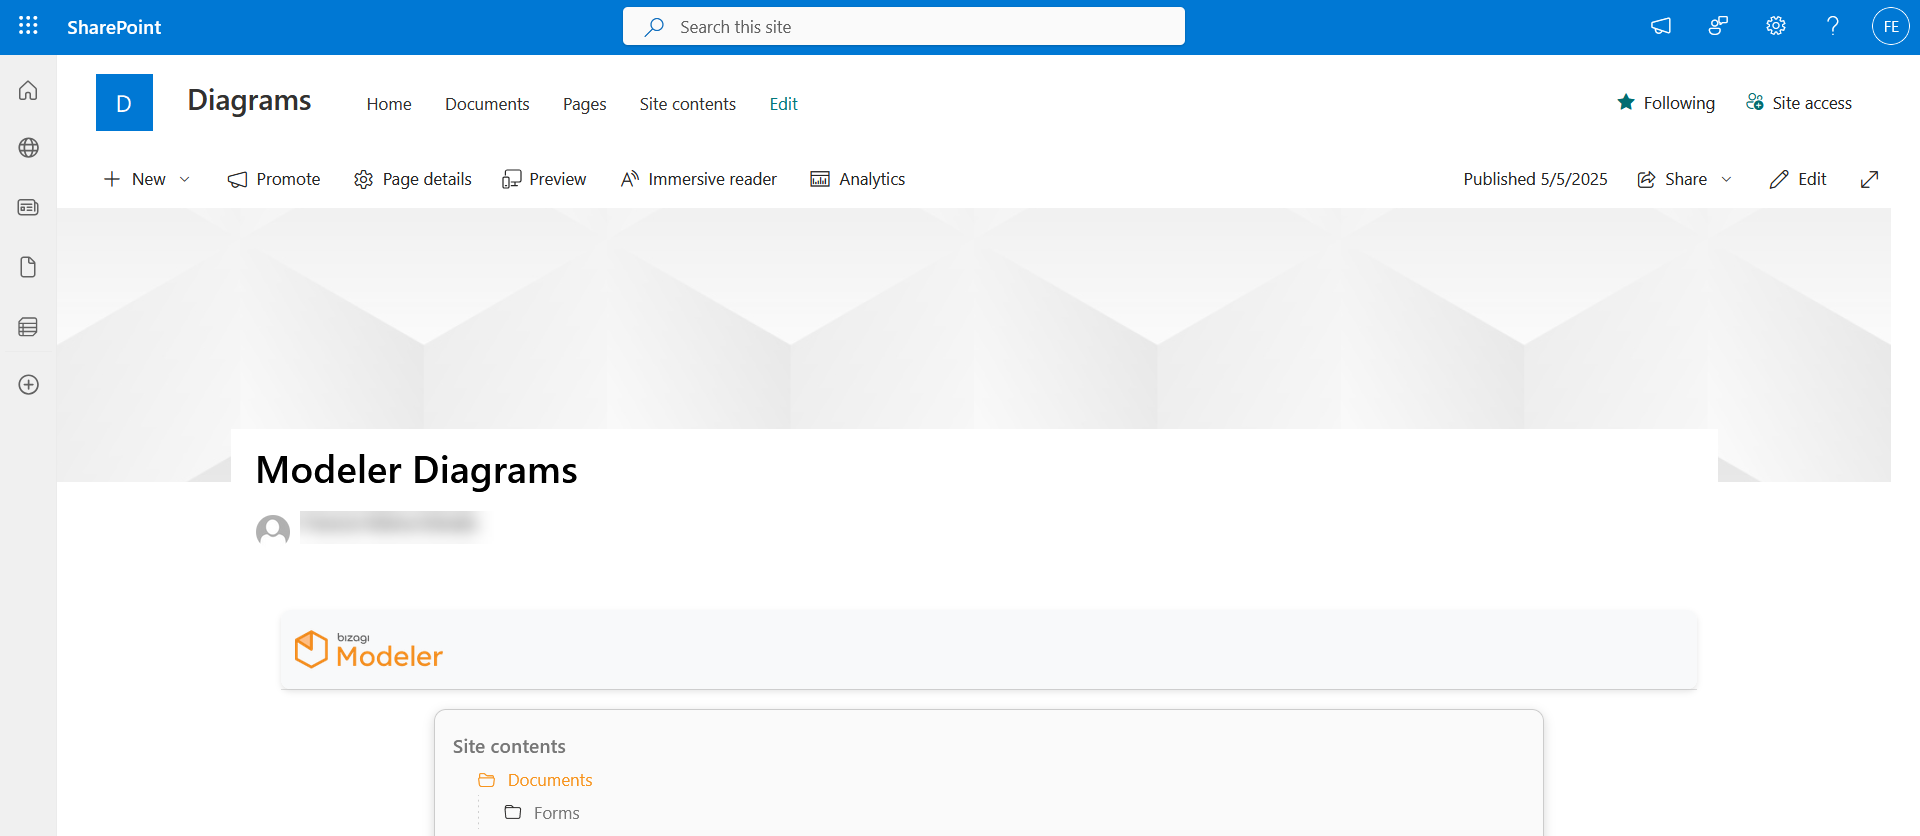
5. Add the Bizagi Modeler's WebPart.
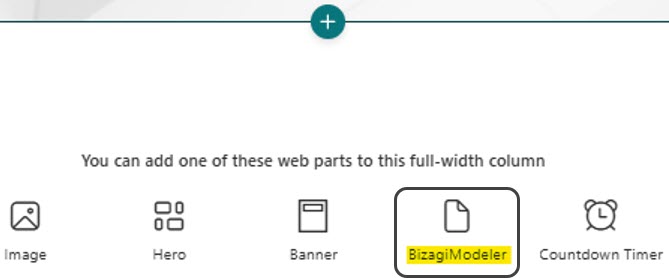
6. The Bizagi WebPart appears added to the page.
7. To finish, click the Publish/Republish button in the top right corner of your screen. At this point, the BizagiWebPart should be visible on the page, retrieving all content from the current site.

Update the WebPart in SharePoint
This section guides you through the process of updating the Bizagi WebPart in your SharePoint environment without disrupting existing configurations.
Before you begin, make sure the following preconditions to update a WebPart are met:
•The Bizagi Modeler WebPart must already be installed in SharePoint.
•The user performing the update must be a Global Administrator or SharePoint Administrator (part of the Site Collection Administrators group).
•The user adding the WebPart to the SharePoint page must be an Owner or Member of the site where the page is located.
Follow the steps bellow to update the WebPart in SharePoint:
1. Navigate to the SharePoint Admin Center using the following URL format:
https://[organizationname]-admin.sharepoint.com/
2. In the left panel, select More features, then click Open under the Apps section.
3. Click the Upload button, then either browse for the new WebPart file in your file explorer, or drag and drop it into the designated area.
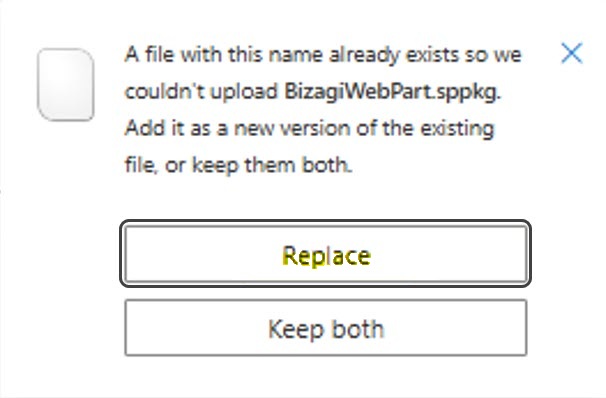
4. When the upload process begins, select the Replace option in the emerging pop-up window.
5. After the WebPart upload is complete:
•Select the option Enable this app and add it to all sites.
•Deselect the option Add to Teams.
•Click the Enable app button.

6. The WebPart is now successfully updated.
Install the Updated WebPart on a SharePoint Page
This step is only required when updating from Bizagi WebPart version 1.0.0 to version 1.2.0. For updates beyond version 1.2.0, this step is no longer necessary. If you're performing this specific version upgrade, follow the instructions below to install the updated WebPart on a SharePoint page.
1. Navigate to the following URL format:
https://[organizationname].sharepoint.com/sites/[sitename]
2. Select the page where you want to add the WebPart, under the Pages section.
3. Select the Edit option.
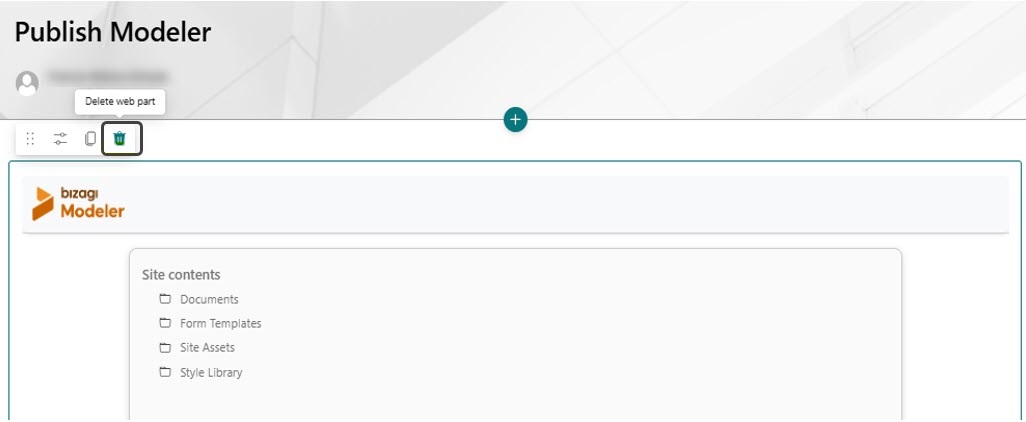
4. Delete the section containing the current WebPart by clicking the trash bin icon.
5. Click the + icon to add a new section of Full-width type.
6. Add the Bizagi Modeler WebPart.
7. The WebPart is added to the page.

8. Republish the page by clicking the Publish/Republish button in the upper-right corner of the screen.

9. The updated WebPart is ready for use.
View a Publication
To view a publication:
1. Navigate to the page containing the Bizagi WebPart using the following URL format:
https://[organizationname].sharepoint.com/sites/[sitename]
Note: Make sure you are signed in with a user account that has one of the following roles:
•Owner
•Member
•Visitor
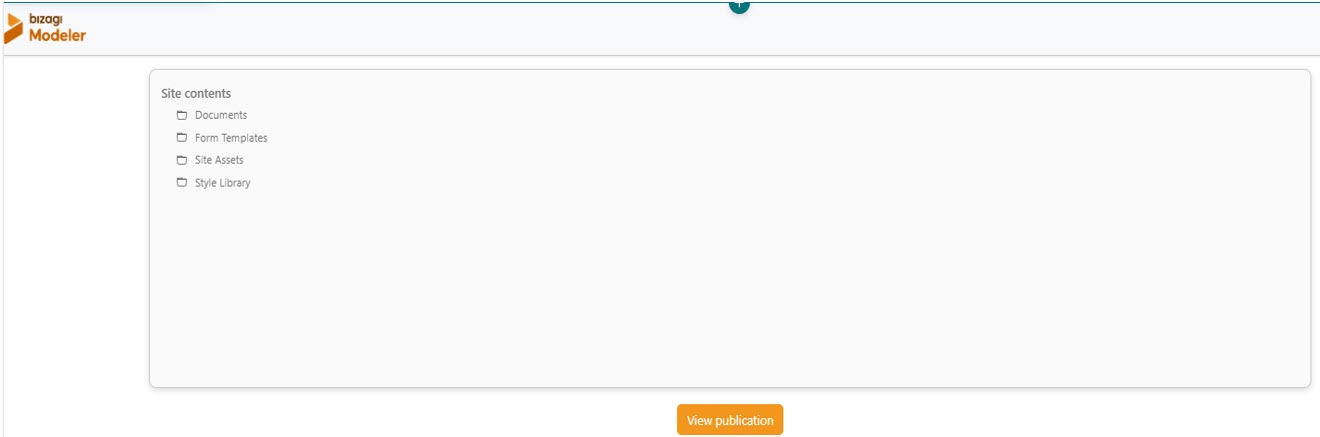
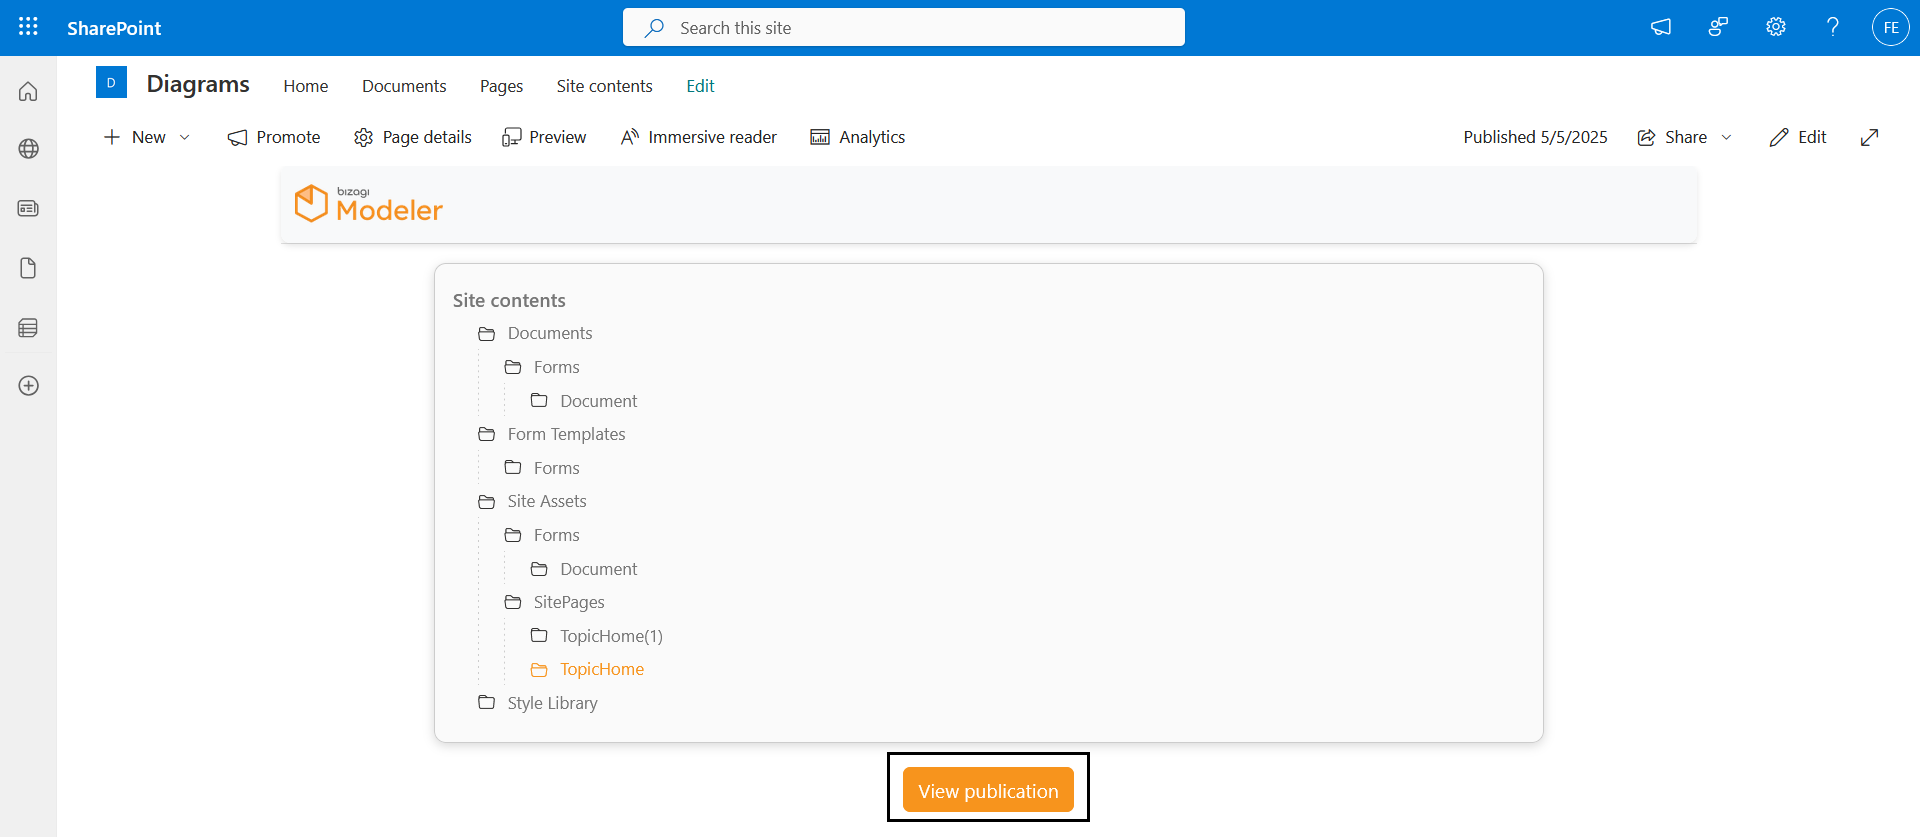
2. The content of the entire site will be displayed. Select the folder where the publication was made within the site content.
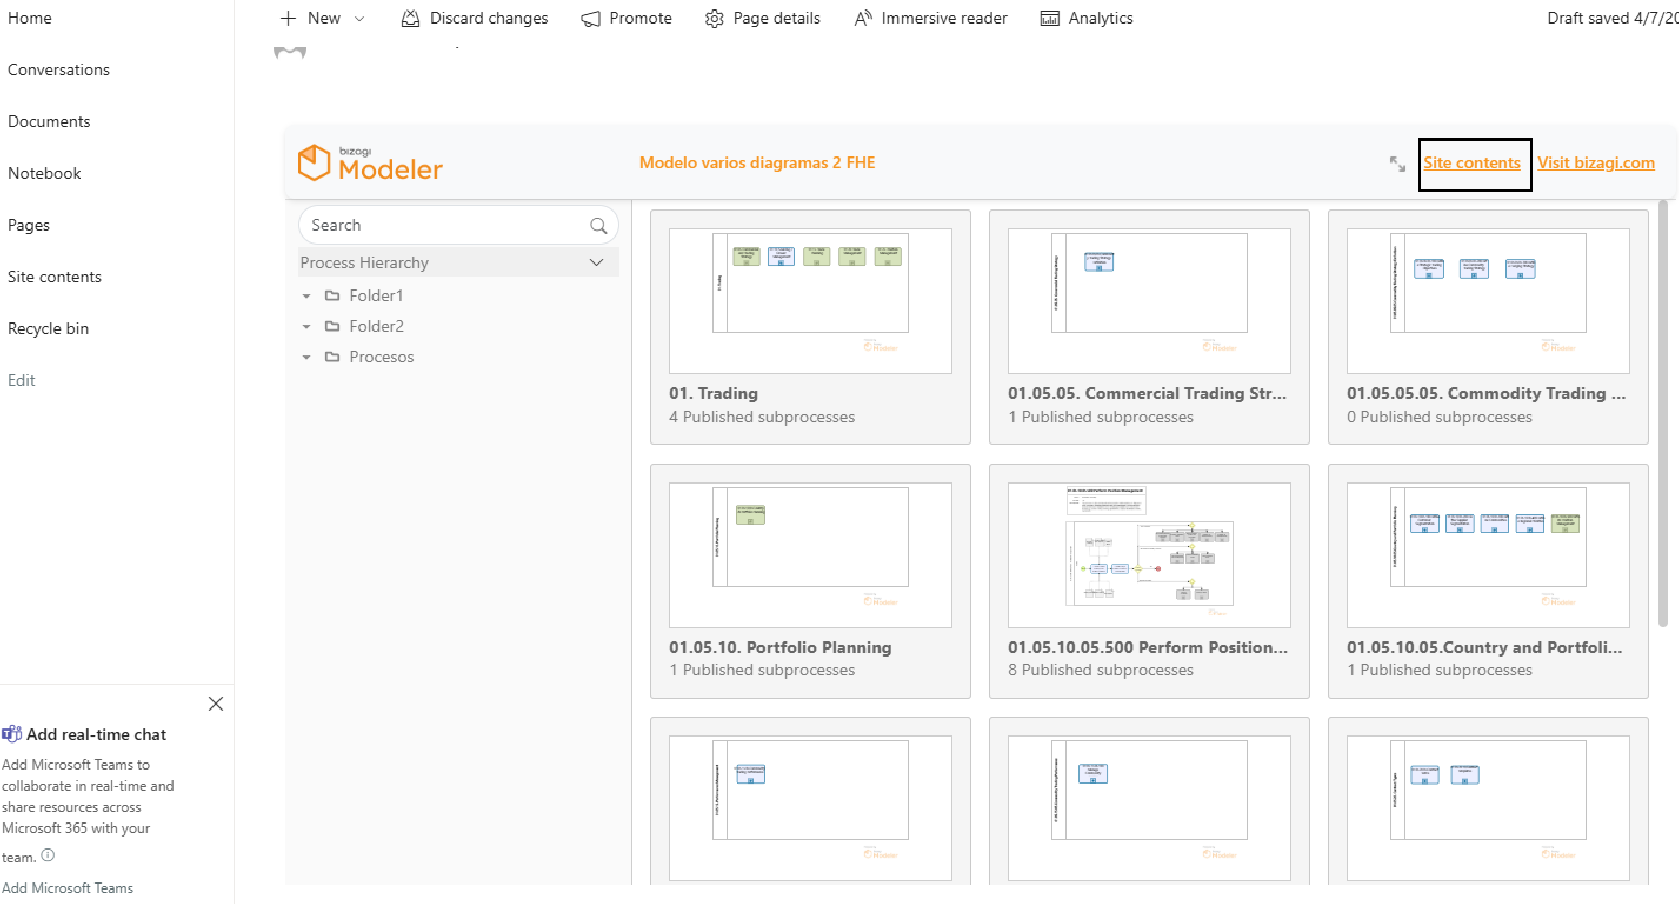
3. Select the View Publication option. The published content will be displayed. The folders you see on your SharePoint site are the same ones that appear when publishing your model in Bizagi Modeler. This allows you to organize the models by areas, processes, or other categories.
4. To return to the page with the Bizagi WebPart containing all site content, select the Site Contents option in the top right corner of the WebPart.
Last Updated 11/19/2025 12:12:14 AM