Introduction
OData services include an additional security layer to validate client requests.
When you configure an OAuth 2 application in Bizagi using the Client certificate option, you must prove your identity when invoking OData services. To do this, you must build and send a JSON Web Token (JWT) signed with your private key as part of each OData request.
You send this token in an HTTP header named X‑ClientCertificate‑Token. When Bizagi receives the request, it reads the token and validates its signature using the public key you previously uploaded when registering the application. If both the token signature and its claims are valid, Bizagi responds successfully to the requested OData service.
This article explains:
•How to generate the required private and public keys
•How to register the public key in Bizagi
•How you must build, sign, and send the JWT required to invoke OData services
What you need to configure
Client certificate authentication is based on a key pair that you generate and manage:
•Private key: You use this key to sign the JWT. This key is never uploaded to Bizagi and must be kept secure.
•Public key (.cer): You upload this key when registering the OAuth 2 application. Bizagi uses it to validate the token signature.
Both keys are generated together and must always correspond to each other.
Generating the certificate keys
To generate the private and public keys required for Client certificate authentication, you need a tool capable of creating standard RSA key pairs and X.509 certificates.
In this article, OpenSSL is used as an example because it is widely available and commonly used across different platforms. However, OpenSSL is not a strict requirement. You may use any tool or service that allows you to generate compatible private keys and public certificates.
The only requirements are that:
•The public certificate can be exported in .cer format
•The public certificate corresponds to the same private key you use to sign the JWT token
As long as these conditions are met, Bizagi can validate the token signature correctly.
Example using OpenSSL
The following steps demonstrate how to generate the required keys using OpenSSL.
Prerequisites
•OpenSSL installed
•Access to a command‑line terminal
•A secure location to store sensitive files
Step 1: Generate the private key
openssl genrsa -out private_key.key 2048
This command creates the private key.
You use this key to sign JWT tokens. Do not share or upload this file.
Step 2: Create a Certificate Signing Request (CSR)
openssl req -new -key private_key.key -out request.csr
During this step, you are prompted to enter certificate details.
Pay special attention to the Common Name (CN) field. You must later use this exact value as the issuer (iss) claim when building the JWT.
Step 3: Generate the public key (.cer)
openssl x509 -req -days 365 -in request.csr -signkey private_key.key -out public_key.cer
This command creates the public certificate, which is the file Bizagi requires.
Optional step: Generate a PKCS#12 File (.p12)
Some tools require a single file containing both the private key and the certificate.
openssl pkcs12 -export \-out private_key.p12 \-inkey private_key.key \-in public_key.cer
You will be prompted to define a password to protect the file.
Generated files summary
File |
Purpose |
|---|---|
private_key.key |
Used by you to sign JWT tokens |
public_key.cer |
Uploaded to Bizagi |
private_key.p12 |
Optional bundle used by signing tools |
Uploading the Public key to Bizagi
Once you have generated the keys:
1.Open the Work Portal
2.Go to Admin > Security > OAuth 2 Applications
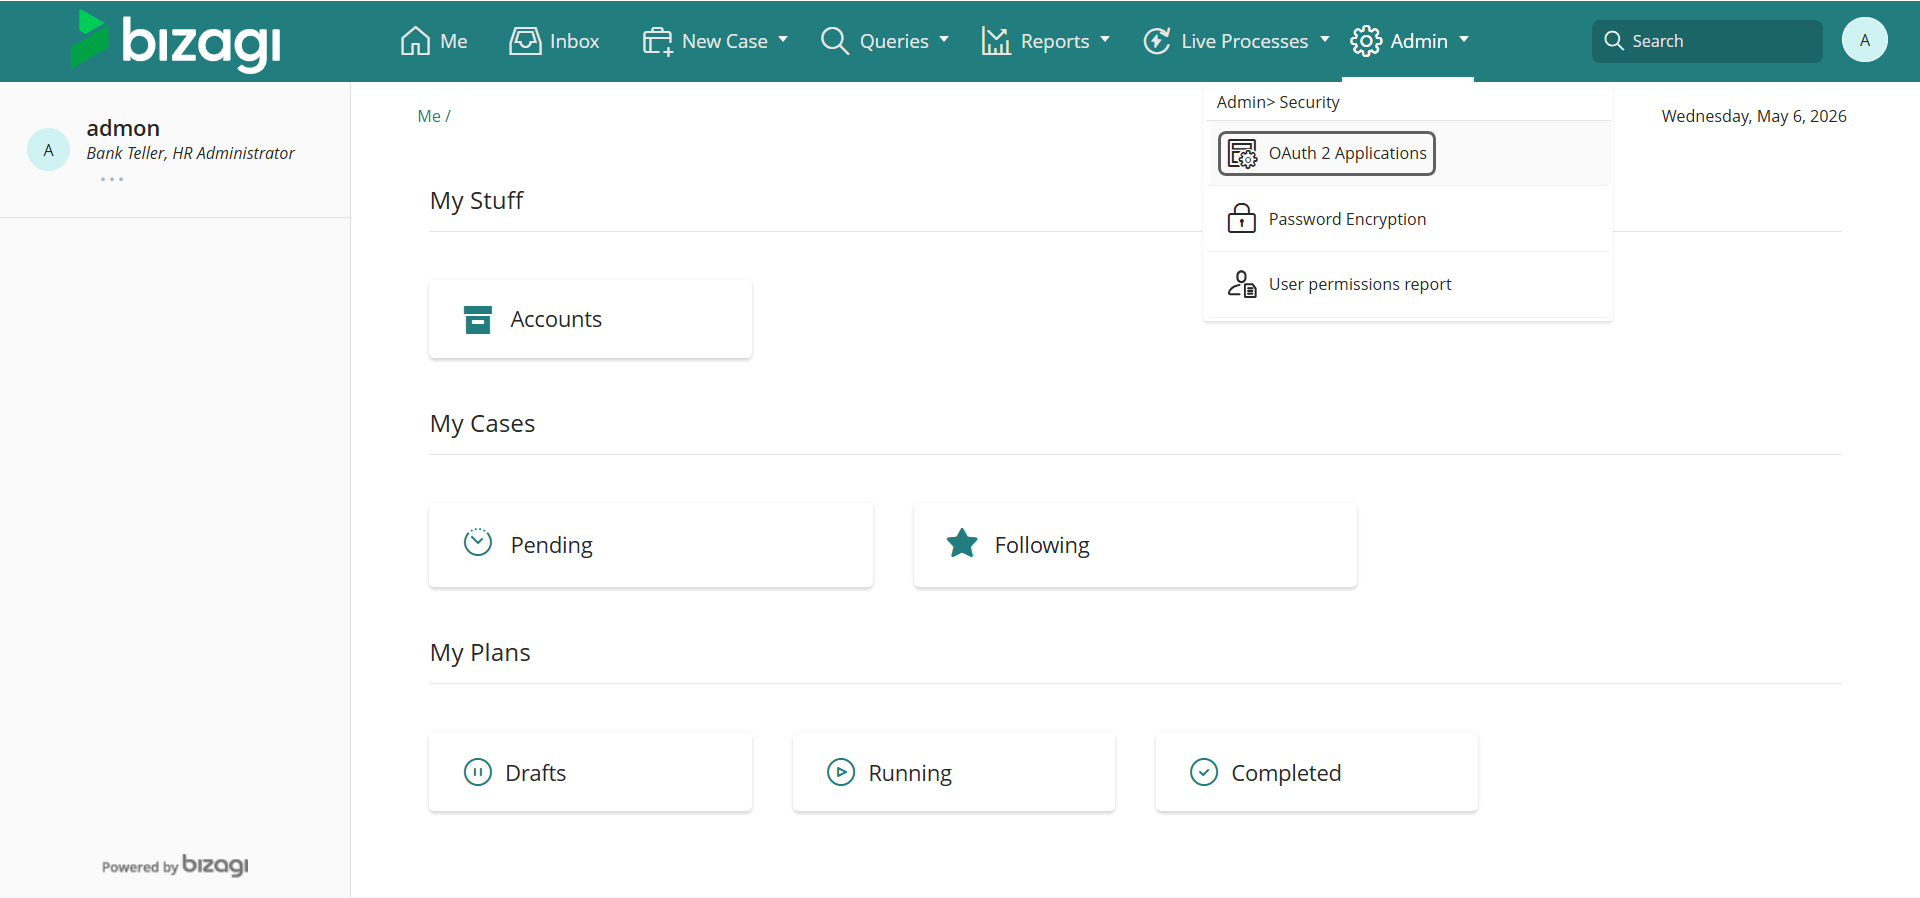
3.Add or edit an application
4.Select Client certificate as the grant type
5.Upload the public_key.cer file
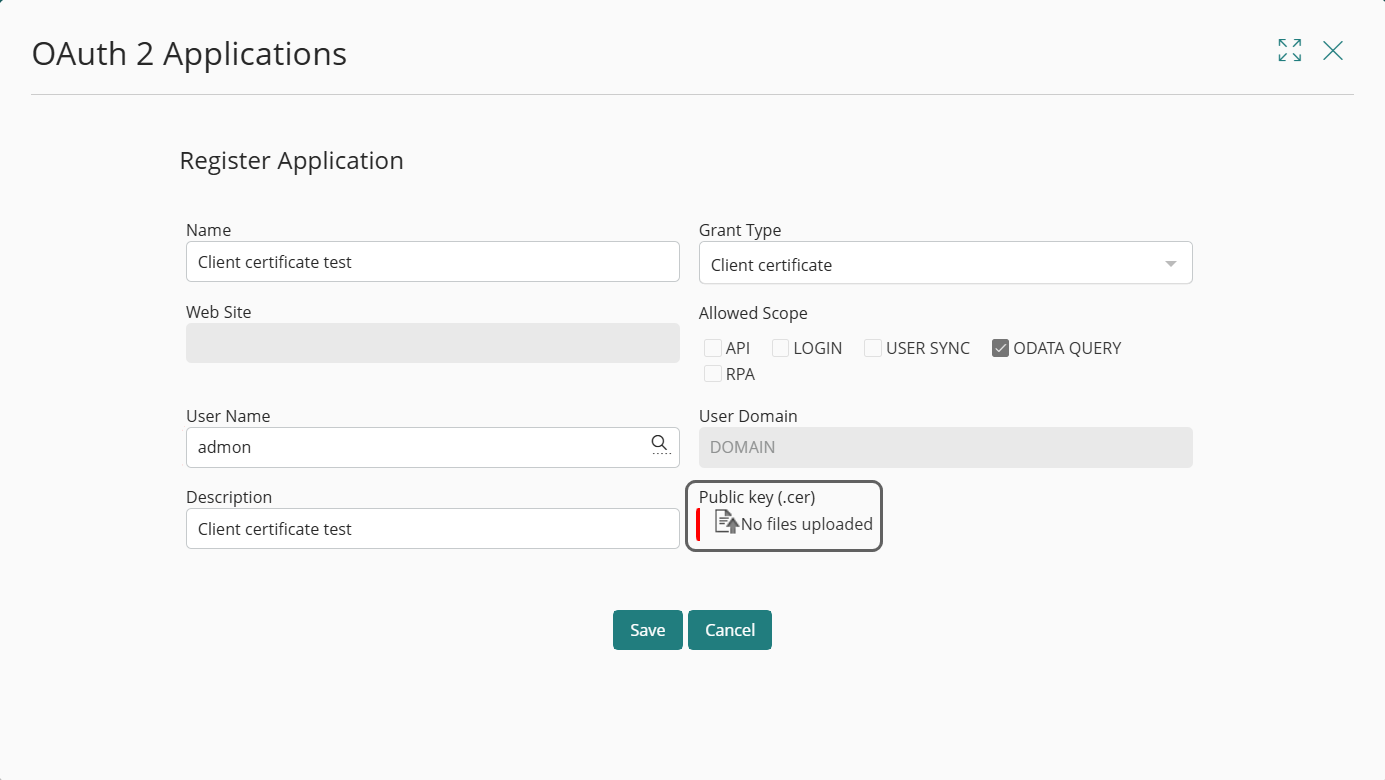
6.Save the application
Bizagi is now prepared to validate the JWT tokens that you sign with the corresponding private key.
Building the Client certificate token (JWT)
When using the Client certificate option, Bizagi does not generate the token for you.
You are responsible for building, signing, and sending the JWT exactly as described below, before invoking any OData service.
JWT Structure
A JSON Web Token consists of three parts, separated by dots (.):
header.payload.signature
For reference, see RFC 7519: https://datatracker.ietf.org/doc/html/rfc7519
1. Header
The header defines the token type and the signing algorithm. For example:
JSON
{
"alg": "HS256",
"typ": "JWT"
}
|
When building the JWT, you must use one of the following signing algorithms: •RS256 •RS384 •RS512 •HS256 •HS384 •HS512
If you use any other algorithm, Bizagi rejects the token during validation. After creating the header, you must encode it using Base64URL encoding. |
2. Payload (Claims)
The payload contains the information Bizagi uses to validate and authorize your request. The JWT payload must contain only the following claims:
•iat: Token creation date, in Unix timestamp format.
•exp: Token expiration date, in Unix timestamp format.
•clientid: The Client ID of the OAuth 2 application you registered in Bizagi.
•iss: Issuer of the public key. This value must match the Common Name (CN) from your .cer file.
•aud: Must be set to odataquery.
Example payload:
JSON
{
"iat": 1716239022,
"exp": 1716242622,
"clientid": "your_client_id",
"iss": "CN=your-certificate-common-name",
"aud": "odataquery"
}
|
No additional claims are allowed. If you include extra claims, Bizagi rejects the token. |
|
When defining the token lifetime, you must comply with the following rules. If any of these rules are violated, Bizagi rejects the token: •The maximum allowed token lifetime is 24 hours. •If the difference between the creation time (iat) and the expiration time (exp) exceeds 24 hours, the token is rejected. •Tokens whose validity period has not started are not accepted. •The creation time (iat) must not be later than the current date and time. •Tokens that are already expired are not accepted.
These validations are enforced for every request. |
3. Signature
You must generate the signature by signing the Base64URL‑encoded header and payload using your private key.
Conceptually:
HMACSHA256(
base64UrlEncode(header) + "." + base64UrlEncode(payload),
private_key
)
The result becomes the third part of the JWT.
Generating the token using PowerShell
The following example demonstrates how you can build and sign the JWT using PowerShell.
Install the JWT module
First, verify that the module is installed by running the following PowerShell command:
Get-InstalledModule -Name JWT | Select-Object Name, Version, InstalledLocation
If it is not installed:
Install-Module -Name JWT
Load the private key
$Cert = New-Object System.Security.Cryptography.X509Certificates.X509Certificate2( "C:\path\to\privatekey\private_key.pfx", "private key password")
Define the token lifetime
$Now = [System.DateTimeOffset]::UtcNow
$Exp = $Now.AddHours(1)
|
You can adjust the token expiration time using any of the following functions, as long as the resulting token lifetime complies with Bizagi validation rules: •AddSeconds(): adds a number of seconds •AddMinutes(): adds a number of minutes •AddHours(): adds a number of hours •AddDays(): adds a number of days •AddYears(): adds a number of years
For example: $Exp = $Now.AddMinutes(30) |
Create the payload
$Payload = @{
"iat" = $Now.ToUnixTimeSeconds()
"exp" = $Exp.ToUnixTimeSeconds()
"clientid" = "your_client_id"
"iss" = "CN=your-certificate-common-name"
"aud" = "odataquery"
}
Generate the signed token
$Jwt = New-Jwt -Cert $Cert -PayloadJson ($Payload | ConvertTo-Json)
Display the token
$Jwt
Copy the resulting value. This is the JWT you must send to Bizagi.
Sending the token to Bizagi
You must include the signed JWT in every OData request using the following HTTP header:
X-ClientCertificate-Token
Example OData request
GET /Automation/odata/data/cases HTTP/1.1
Host: your-environment
X-ClientCertificate-Token: <signed_token>
|
If multiple authentication headers are present, Bizagi evaluates them in this order: 1.Authorization 2.X-ClientCertificate-Token
If the Authorization header is valid, Bizagi uses it. Otherwise, Bizagi falls back to the Client certificate token. |
Bizagi validates the token using the public key you uploaded and the required claims.
If validation succeeds, the OData service responds successfully.
What happens if validation fails
If Bizagi cannot validate the token, it responds with:
HTTP 401 Unauthorized
With the generic message: Client authentication failed, e.g. unknown client, no client authentication included, or unsupported authentication method
For security reasons, Bizagi does not return detailed validation errors in the HTTP response. However, specific error details are written to the Management Console (MC) Event logs, allowing you to identify the cause of the failure.
Validation error messages written to MC Event logs
Depending on the validation issue detected, Bizagi writes one of the following messages:
•Incorrect clientid
Certificate token validation failed: Unable to get OAuth2 Application by client id.
•Incorrect audience (aud)
Certificate token validation failed: Audience validation failed.
•Incorrect issuer (iss)
Certificate token validation failed: Issuer validation failed.
•Token signed with an incorrect private key
Certificate token validation failed: Signature validation failed.
•Token not yet valid
Certificate token validation failed: Lifetime validation failed. Token validity not started yet.
•Expired token
Certificate token validation failed: Lifetime validation failed. Token already expired.
•Token expiration greater than 24 hours
Certificate token validation failed: Lifetime validation failed. Token expiration time exceeds the valid time range of 24 hours.
•Token contains additional claims
Certificate token validation failed: Token contains extra claims: xxxx, xxxx
These messages allow you to validate whether the token structure, claims, or signing process comply with Bizagi requirements.
Last Updated 5/8/2026 11:36:50 AM