Overview
The Auto Testing tool is a resource kit designed to test Bizagi processes automatically in development and testing environments, in order to validate that all paths in a process workflow behave as expected.
This tool does not need installation (it is downloaded as a portable .zip file directly at Autotesting tool for Bizagi).
For basic information on this feature, refer to Automatic testing.
How to use Auto testing?
Once you have configured the Auto testing tool as described at Configuring Auto testing, in order to verify your processes you will need to record at least one testing scenario.
Note that you may record any number of scenarios, and you may also rely on that first recorded scenario to create additional new ones.
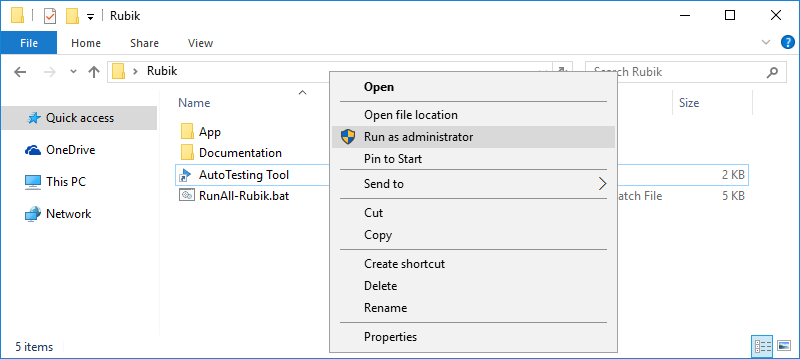
To start using the Auto testing tool, simply execute the AutoTesting Tool.exe file with admin rights.

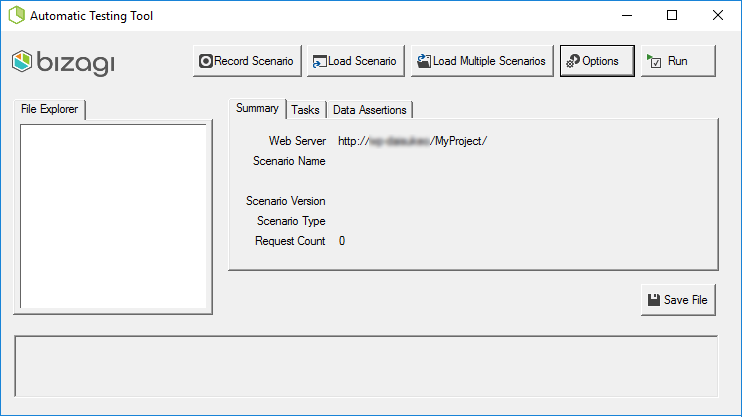
The Auto testing tool displays the following user interface, which allows you to record or run scenarios.

Note that for a quick start and core workflow validation, you may record a scenario while using a same user throughout the process (ignoring work allocation to different performers).
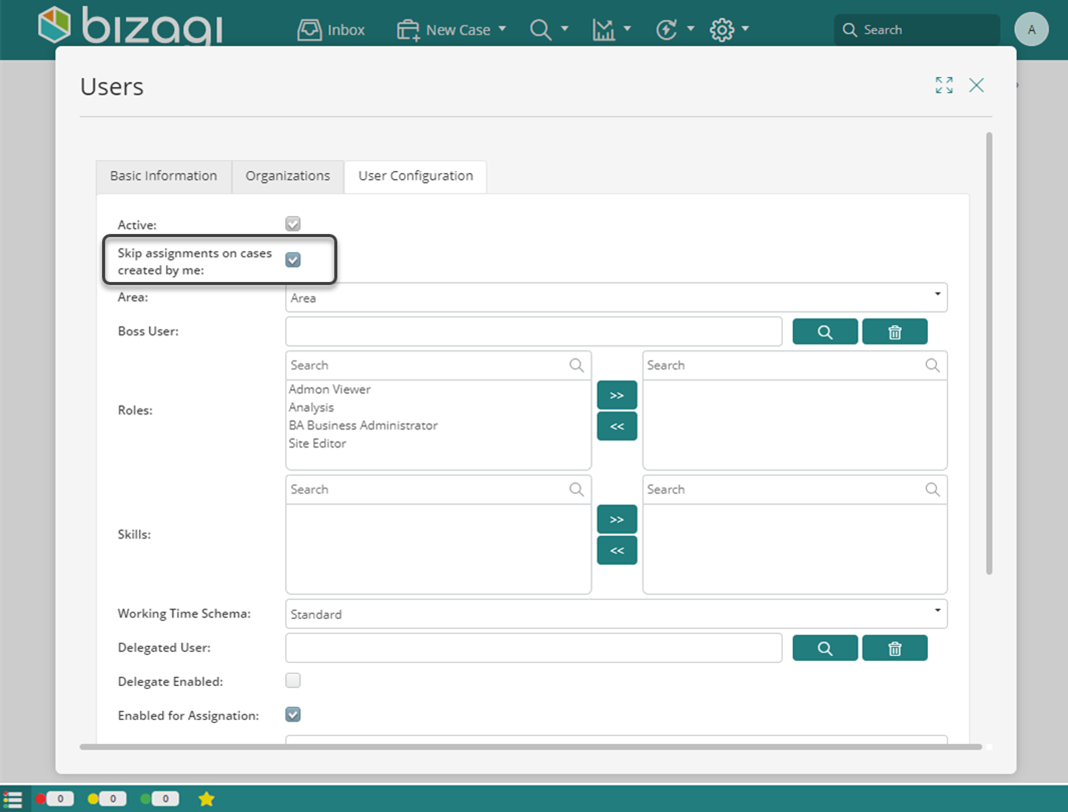
For this purpose you may use the domain\admon system user or one that has adequate access rights and is marked with the Skip assignment on cases created by me property:

To learn how to record a scenario with a single user (no workload allocation), refer to Recording a scenario (recommended).
Otherwise and to learn how to record a scenario with workload allocation, refer to Recording while considering performers.
Recorded scenarios are then executed and a log is generated for you to verify the results.
To learn how to perform your tests, refer to Executing scenarios.
Last Updated 8/29/2024 3:26:03 PM