Overview
While using the Auto Testing tool and for a quick start and core workflow validation, you may record a scenario while using a unique user throughout the process (recommended).
For a basic overview on the Auto testing tool, refer to Using Auto testing.
This section describes how to record a scenario, which is a step needed either if you are starting to use the Auto Testing tool, or if you plan on recording scenarios while considering performers.
Recording service
When recording, the Auto Testing tool relies on a recording service made available by Bizagi as http://[your_server]/[your_Bizagi_project]/jquery/automatictesting/test/Recorder.html.
Recall that this service works with the HTML 5 standard, and therefore your browser must support HTML 5.
|
If your project uses HTTPS protocol, follow the procedure explained in Enabling Auto testing with HTTPS protocol. |
New recording
To record a new scenario, follow these steps:
1. Click on Record scenario.
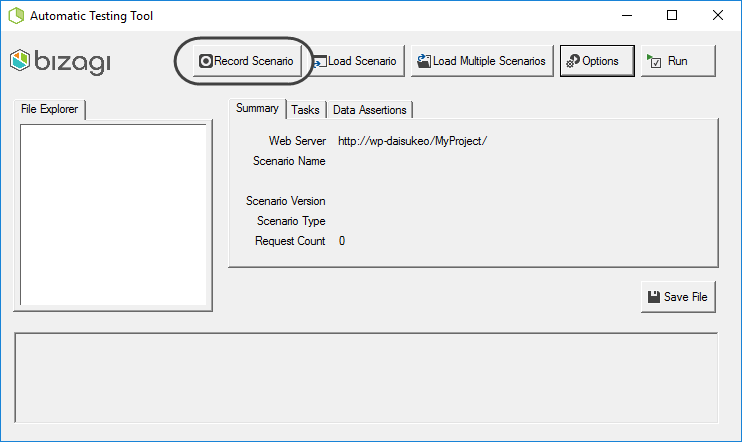
Notice that this action launches the Recording service in your default browser, and you may verify the status of the service (if it was successfully started or not).
The image below shows the displayed status in the message panel, where service start-up failure will display an error message.

|
Alternatively you can launch the Recording service from the command prompt by using: Bizagi.AutoTesting.UI.exe/REC
When using the command prompt to record scenarios, you may also use the /reclogdir option to specify the recording log folder. |
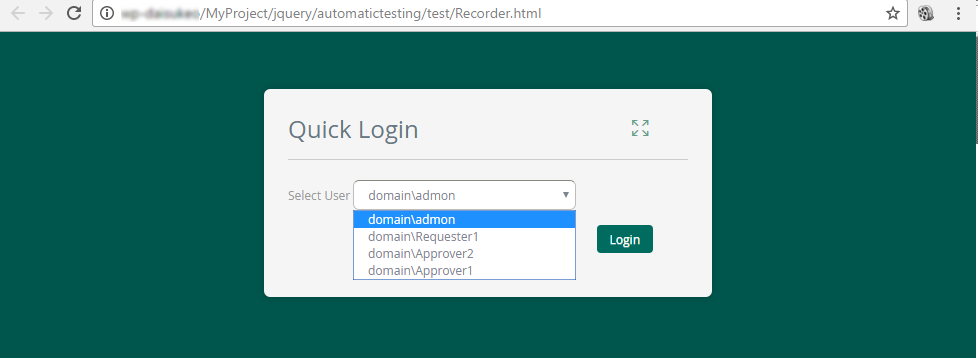
Once the Recording service starts up, you will see the list of possible users to select from, just like using Bizagi's Quick login feature.
We recommend recording scenarios with the domain\admon user (you could eventually change each task's performer later on).
2. Select the user and click Login.
|
Bear in mind that the recording service is running bound to the Auto Testing tool. This means that you may not close the tool while recording. If the tool is closed, then the Recording service will display an error whenever you try to save the recorded scenario. |
Once you are logged with a user, a new window will display your project's processes to choose from and create that new recording.
3. Click on the process of your choice.
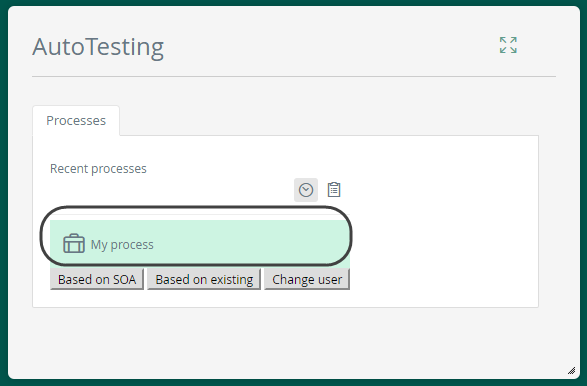
Notice you are presented with recent process and all processes, just as you browse them in Bizagi Work Portal.
This option allows you to create a new case and complete any sequence of activities to end up saving such scenario.
At this point, the recording has already started.
|
The 3 buttons below correspond to additional options, described in detail in the referred links. These are:
1.Based on SOA This option allows you to upload an XML file compliant to Bizagi SOAP web services, so that you create scenarios that consider external systems triggering new cases in Bizagi. For more information about this option, refer to Recording based on SOA.
2.Based on Existing This option allows you to load a previously recorded scenario, so that you can pick up a scenario that left off in the middle of the process. For more information about this option, refer to Recording based on an existing scenario.
3.Change user This option allows you to record a scenario while considering a the different sessions and access rights of your different process performers. For more information about this option, refer to Recording a scenario while considering performers. |
4. Work in your process
Once you select the process, you will notice you may work on the newly created case and work on the processes just as you do normally in Bizagi Work portal (filling out information, clicking Save when applicable, or Next when done and moving on to the next activity).
|
When recording, clicking the Save button will of course register applicable information. This means that it counts towards the final log you view when executing your automatic tests (i.e, task information may be shown twice if clicking Save and Next). |
5. Stop the recording
At any time you may decide to stop the recording, in which case you only need to click the red Stop button (located at the top left corner).
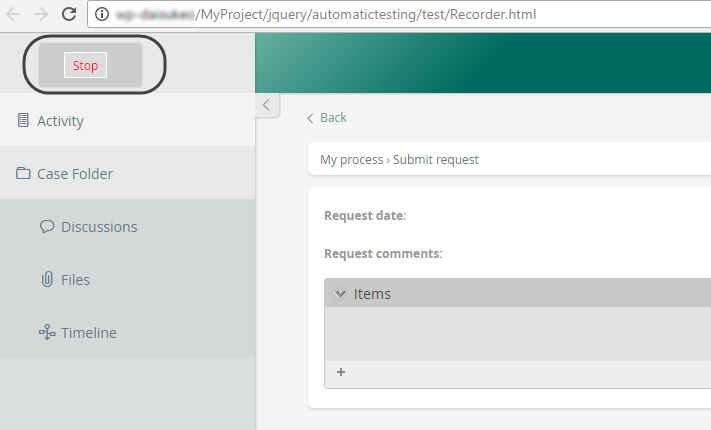
When done and having stopped the recording, a scenario test file is created automatically and stored in the predefined path (given by the AutoTestingFilesPath parameter).
The automatically saved scenario will use the following naming convention:
TestScenario_[YYYYMMDD_HHmmSS].test
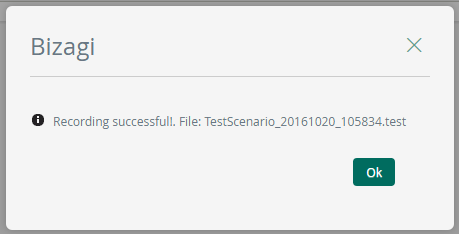
Consider that [YYYYMMDD_HHmmSS] corresponds to a timestamp of the recording's timing, represented in year (YYYY), month (MM), day (DD) and time (HHmmSS).
|
We recommend renaming these scenario test files so that you can easily identify each one of them. Similarly, and if you are creating scenarios for several processes and Sub-Processes we recommend using sub-folders to organize the scenario test files. Recall that you may repeat this procedure to create new recordings for as many scenarios as you consider necessary.
After recording a scenario, you will find a log file (having a matching timestamp) with details of the data and metadata involved in the scenario. For more information about this log, refer to Additional recording options and details of the recording. |
At this point, you are set to execute automatic testing on your processes.
For more information about this next step, refer to Executing scenarios.
Last Updated 10/6/2023 5:16:16 PM