Overview
Once you have a saved scenario as described at Recording a scenario, you may execute it as many times as desired.
This section describes how to run a scenario while using the different parameters the Auto Testing tool offers.
Executing scenarios
To start running your automatic tests, follow these steps:
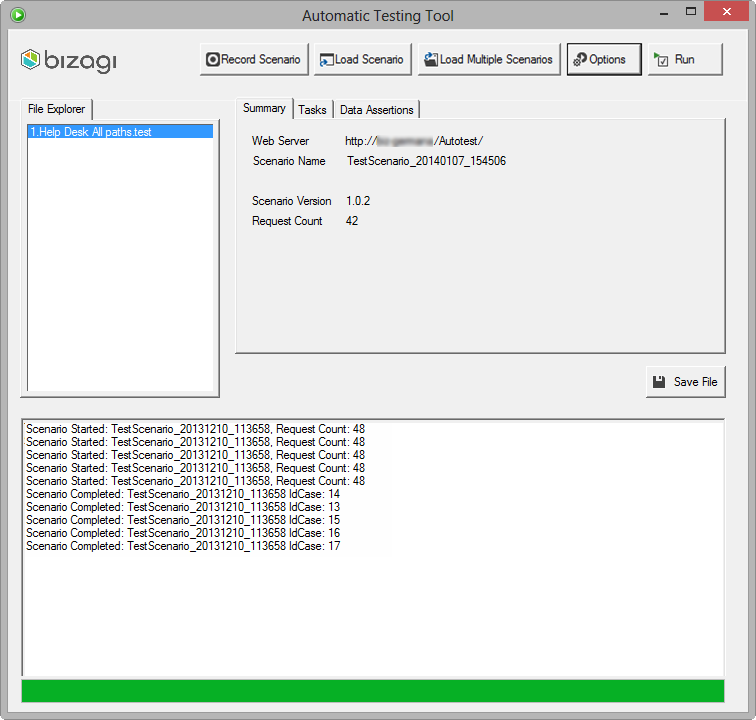
1. Open the Auto Testing tool and click Load Scenario to browse for a single scenario test file you want to execute.
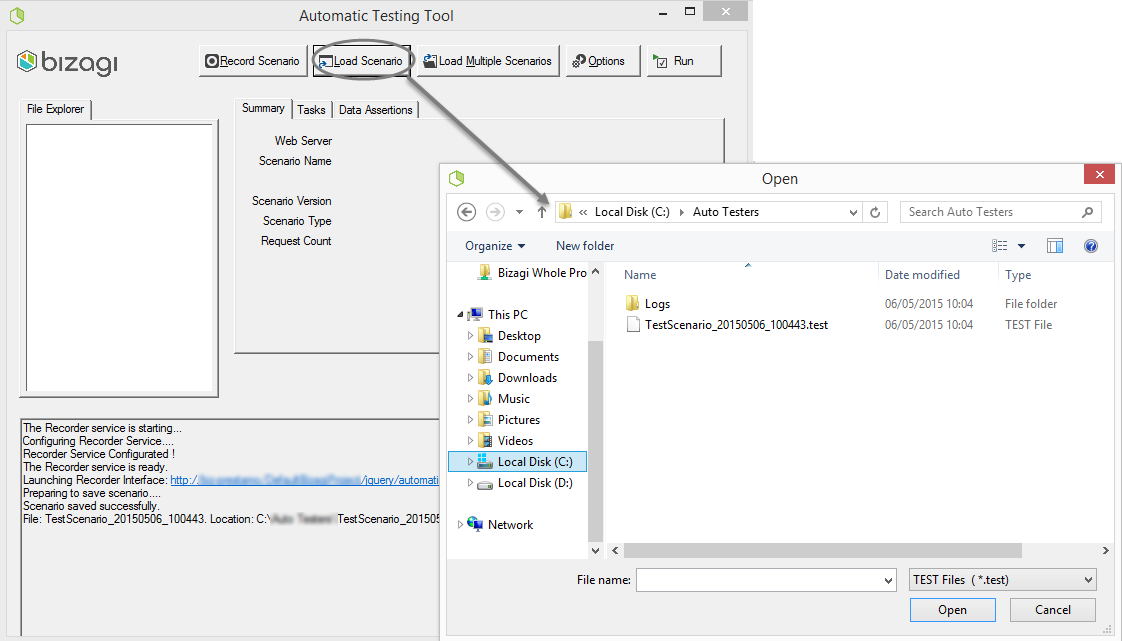
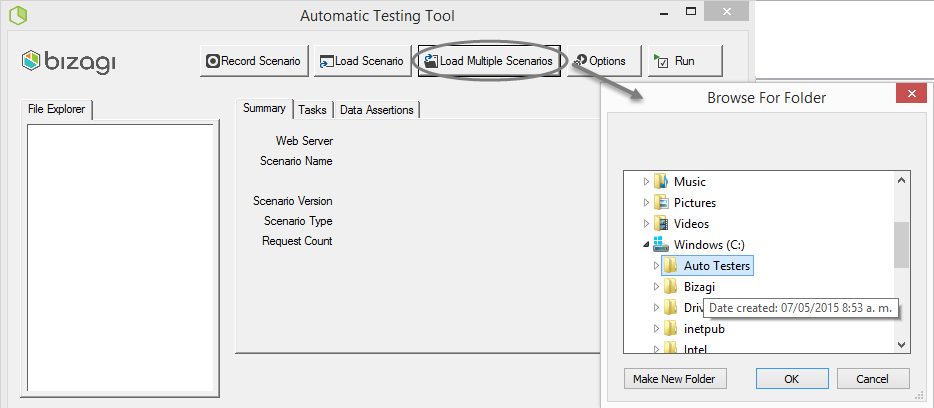
Alternatively, you may choose to load many scenarios at once so that you can run them as a batch.
In order to load up more than one scenario, click Load Multiple Scenarios and select the folder on which they are all stored.
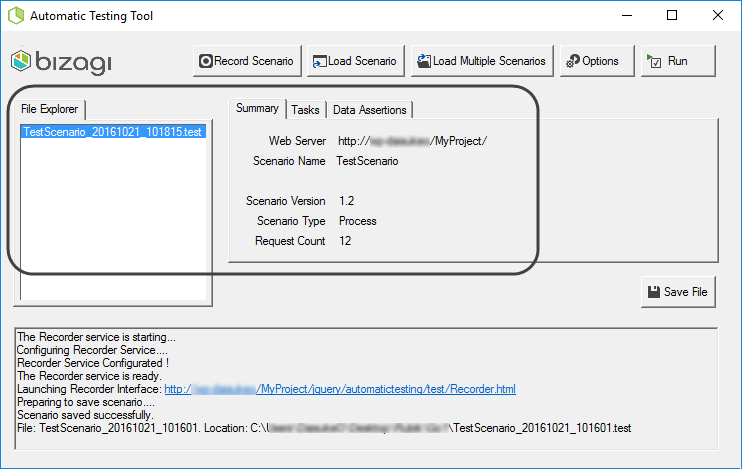
2. Notice that the name of the loaded scenario(s) appears in the File explorer and its information will show up under the summary, tasks and data assertions tabs.
3. Click Options to set the parameters affecting the execution of the loaded scenario(s).
Notice these options apply for the execution itself and not for any particular scenario.
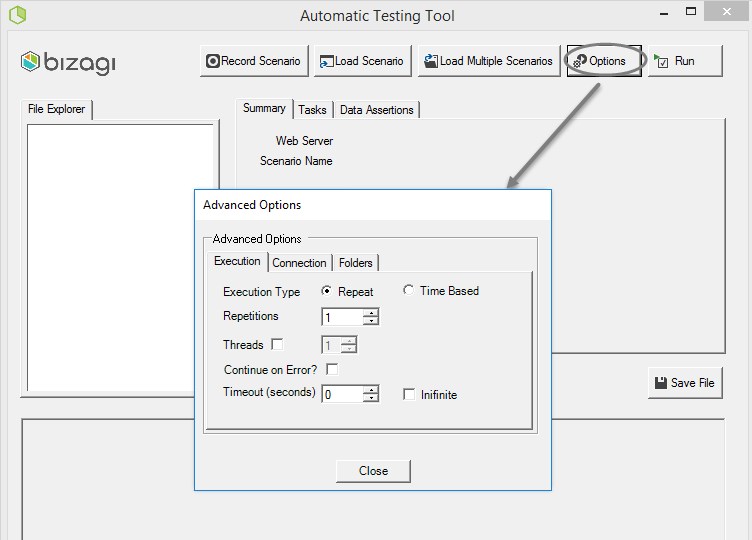
Edit these parameters according to the details shown in the table below.
PARAMETER |
DESCRIPTION |
|---|---|
Execution Type |
Defines how the automatic testing will produce new cases, if either for a fixed amount of time, or if a fixed number of cases are to be produced. Possible values are: •Repeat: Executes the scenario(s) until a certain quantity of iterations is met. •Time-based: Executes the scenario(s) during the specific period of time. This results in as many execution as those that can fit dynamically during the given time span. |
Repetitions |
The number of times a scenario will be repeated. Applicable when Repeat is selected as the Execution type. |
Running time |
The time in minutes the automatic testing tool will be running scenarios. Applicable when Time Based is selected as the Execution type. |
Continue on error |
Defines if the automatic testing should continue or not, whenever an error is found when executing scenarios in batch. When executing multiple scenarios at once, we recommend to enable this option. This way if one scenario should fail, the execution will move on to the next scenario and you may later troubleshoot the specific failing scenario. |
Threads |
Defines the number of executions in parallel that will be launched (in different threads of your machine). For this option, consider the hardware capacity your machine has (e.g, number of cores). |
Infinite |
Enables an unlimited Timeout for automatic tasks execution, to avoid problems with timeouts during testing. This option is especially useful when there are multiple automatic tasks in series. When this parameter is enabled, the Threads parameter changes to -1 and becomes not editable. |
4. Click close when done and finally click Run to start executing the scenario(s).

Notice you may run multiple scenarios at once when having loaded multiple, by clicking on Run All scenarios.
5. You may review for a successful execution when the green bar on the bottom of the tool shows a completed status.
Execution Logs
Once you execute a set of 1 or more scenarios, you may locate its detailed log to explore results.
These logs are either plain text files or csv files (according to what specified in the XML configuration file in the AutoTesting.Log.Type parameter), that contain detailed information of how the execution went.

Such log is stored at the location specified in the Execution log parameter (named as AutoTesting.Log.FolderForExecution in the XML configuration file), and has the following naming convention:
TestRunLog_[YYYYMMDD_HHmmSS].log
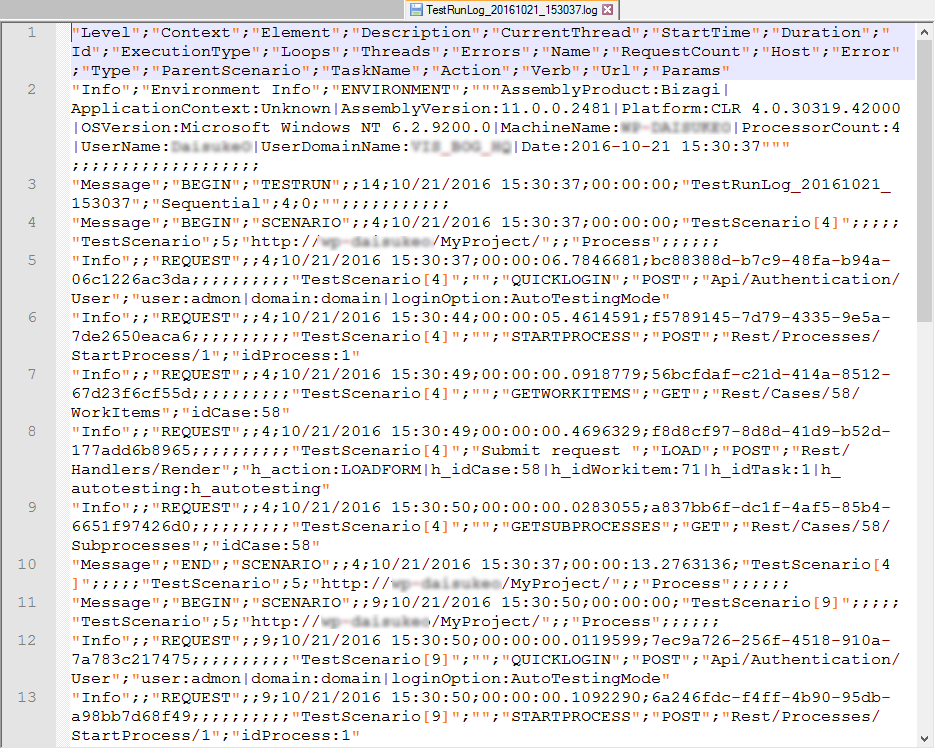
Consider that [YYYYMMDD_HHmmSS] corresponds to a timestamp of the recording's timing, represented in year (YYYY), month (MM), day (DD) and time (HHmmSS).
|
Recall that in order to view execution logs, you need to make sure that the creation of these logs is enabled. This is specified by setting the AutoTestingLoggingEnabled parameter with a "1" value, in the XML configuration file, |
Troubleshooting
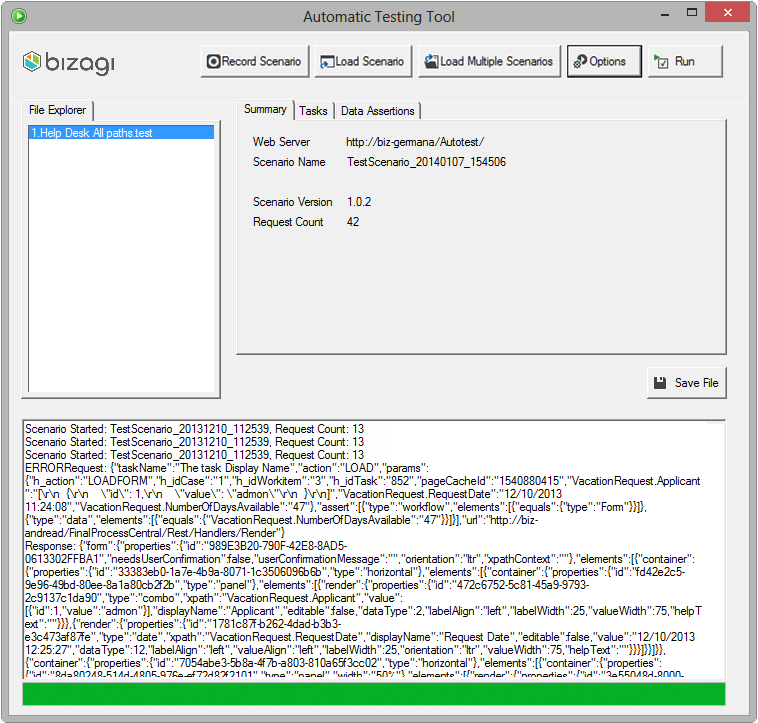
Whenever an execution is NOT successful, then the tool will display an error log as shown below.
You may review which one was the last user task executed successfully within a scenario, so you can track where the process path failed.
Notice the full error log will display the number of the case created, and you may also look it up in the Work Portal and verify its data and the reason why it can't be completed.
Last Updated 10/9/2023 11:44:33 AM