Overview
The MailChimp connector for Bizagi is available for download at Bizagi Connectors Xchange.
Through this connector, you will be able to connect your Bizagi processes to a www.mailchimp.com account in order to use MailChimp services API.
For more information about this connector's capabilities, visit Bizagi Connectors Xchange.
Before you start
In order to test and use this connector, you will need:
1.Bizagi Studio previously installed.
2.This connector previously installed, via the Connectors Xchange as described at https://help.bizagi.com/platform/en/index.html?Connectors_Xchange.htm, or through a manual installation as described at https://help.bizagi.com/platform/en/index.html?connectors_setup.htm
3.An account at www.mailchimp.com and a registered app.
Configuring the connector
In order to configure the connector (i.e its authentication parameters), follow the steps presented at the Configuration chapter in https://help.bizagi.com/platform/en/index.html?connectors_setup.htm
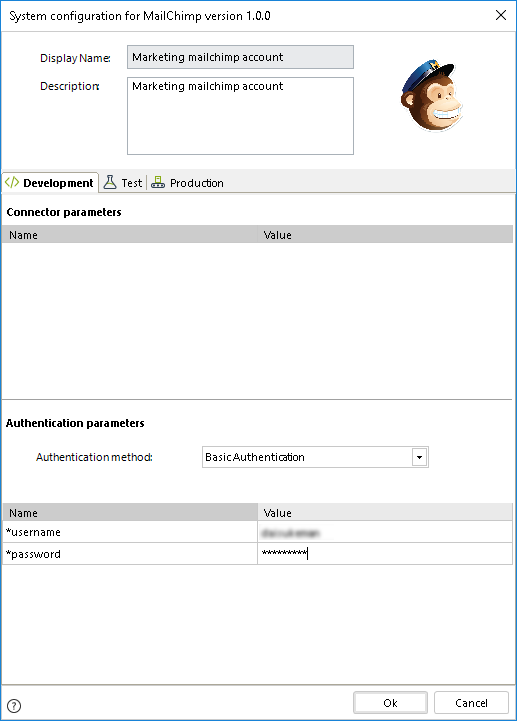
For this configuration, consider the following authentication parameters:
•Authentication method: Basic.
•Username: The username of your MailChimp account.
•Password: In here you do not need the actual password, but inputting the API Key instead (as requested and managed at https://[server_name].admin.mailchimp.com/account/api/).
|
Notice that when logged in to MailChimp, you are re-directed to a specific server attending your account. This means that you will always access an URL like this https://[server_name].admin.mailchimp.com/, while having [server_name] possibly vary for each account. |
Using the connector
This connector features an available method of MailChimp services, which allows you to subscribe a new contact to any mailing list you have at MailChimp.
To learn overall how/where to configure the use of a connector, refer to https://help.bizagi.com/platform/en/index.html?Connectors_Studio.htm.
When using the connector, make sure you consider the following details for the available method.
Subscribe contact to mailing list
Enter basic contact information to send it as "subscribed" into the list you specify.
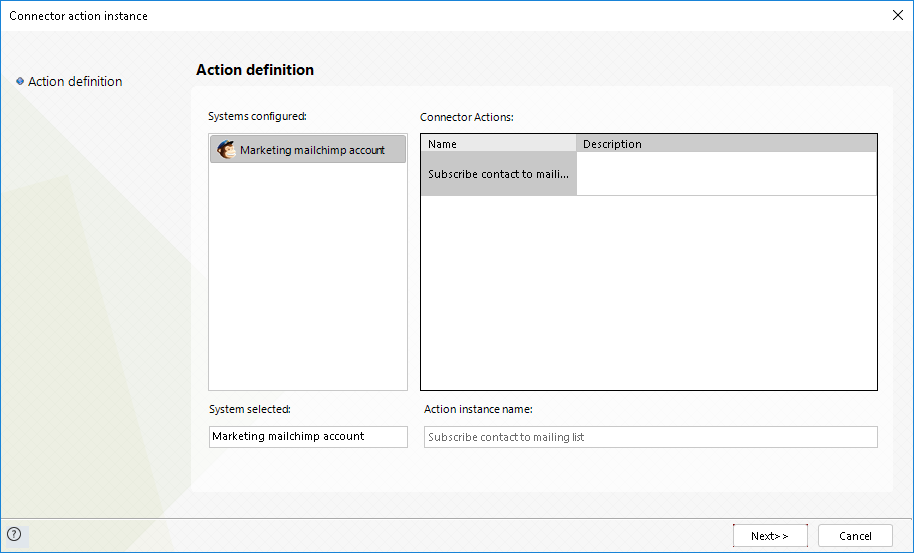
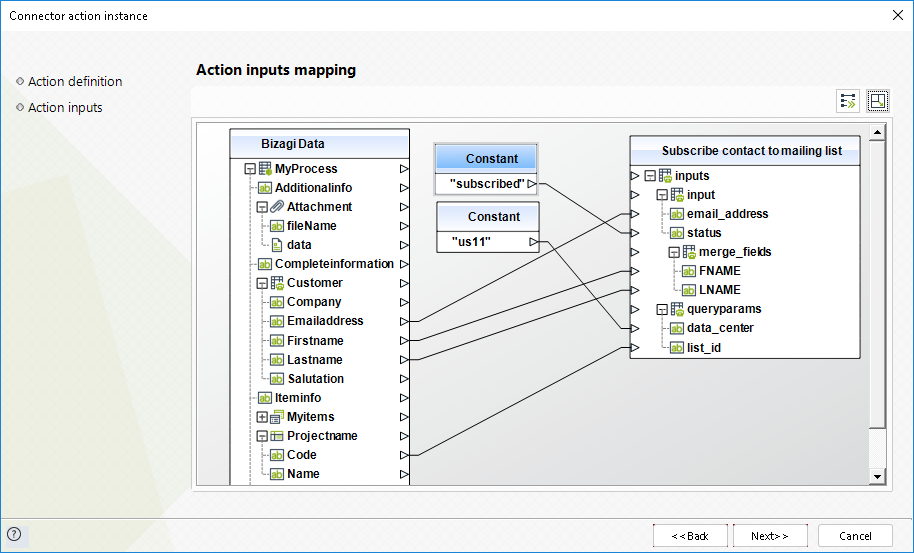
To configure its inputs, consider:
•Email_address: The e-mail address of that new contact.
•Status: Use a constant definition that specifies "subscribed".
•FNAME: The first name of that new contact.
•LNAME: The last name of that new contact.
•data_center: The server_name which is attending your MailChimp account. Verified from a browser as https://[server_name].admin.mailchimp.com/,
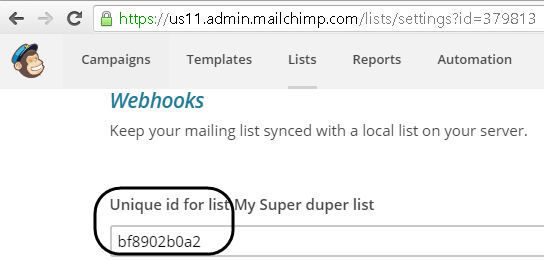
•list_id: The unique id of the mailing list (string-type). Verified from a browser as https://[server_name].admin.mailchimp.com/lists/settings?id=[list_integer_id].
To configure its outputs when getting started and testing, you may map the response Id from output:
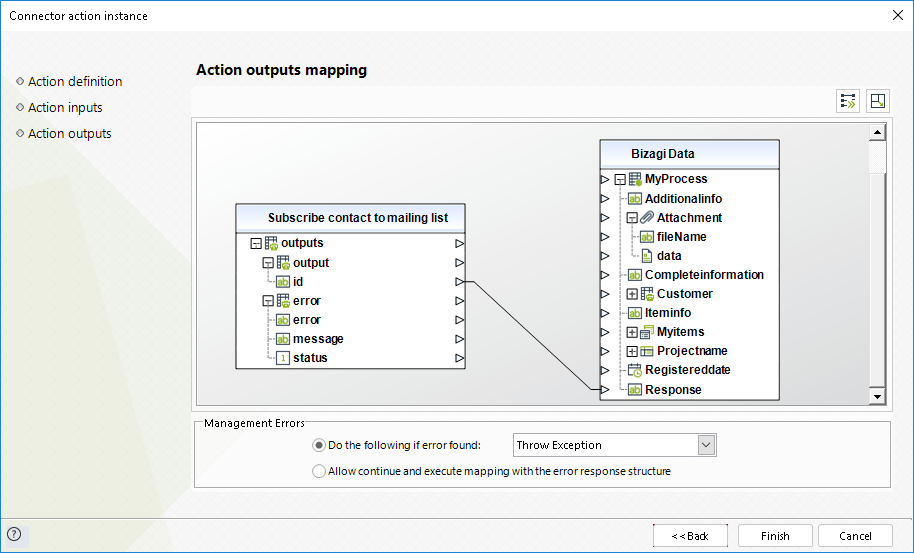
|
Once you subscribe a new contact, consider that MailChimp services will most likely not synchronize this information immediately. It may take up a few minutes for you to be able to see this change reflected while accessing from a browser. |
For more information about this method's use, refer to MailChimp's official documentation at https://apidocs.mailchimp.com/.
Last Updated 10/27/2022 11:06:53 AM
