Overview
The Drupal connector for Bizagi is available for download at Bizagi Connectors Xchange.
Through this connector, you will be able to connect your Bizagi processes to a Drupal server in order to publish articles using its service API.
For more information about this connector's capabilities, visit Bizagi Connectors Xchange.
Before you start
In order to test and use this connector, you will need:
1.Bizagi Studio previously installed.
2.This connector previously installed, via the Connectors Xchange as described at https://help.bizagi.com/platform/en/index.html?Connectors_Xchange.htm, or through a manual installation as described at https://help.bizagi.com/platform/en/index.html?connectors_setup.htm.
3.Drupal Module installed and running in a server or local. It is recommended to install Drupal using XAMPP.
For more information about the installation of XAMPP , refer to https://www.drupal.org/docs/develop/local-server-setup/windows/quick-install-drupal-with-xampp-on-windows.
For more information about the installation of Drupal, refer to https://www.drupal.org/docs/7/install.
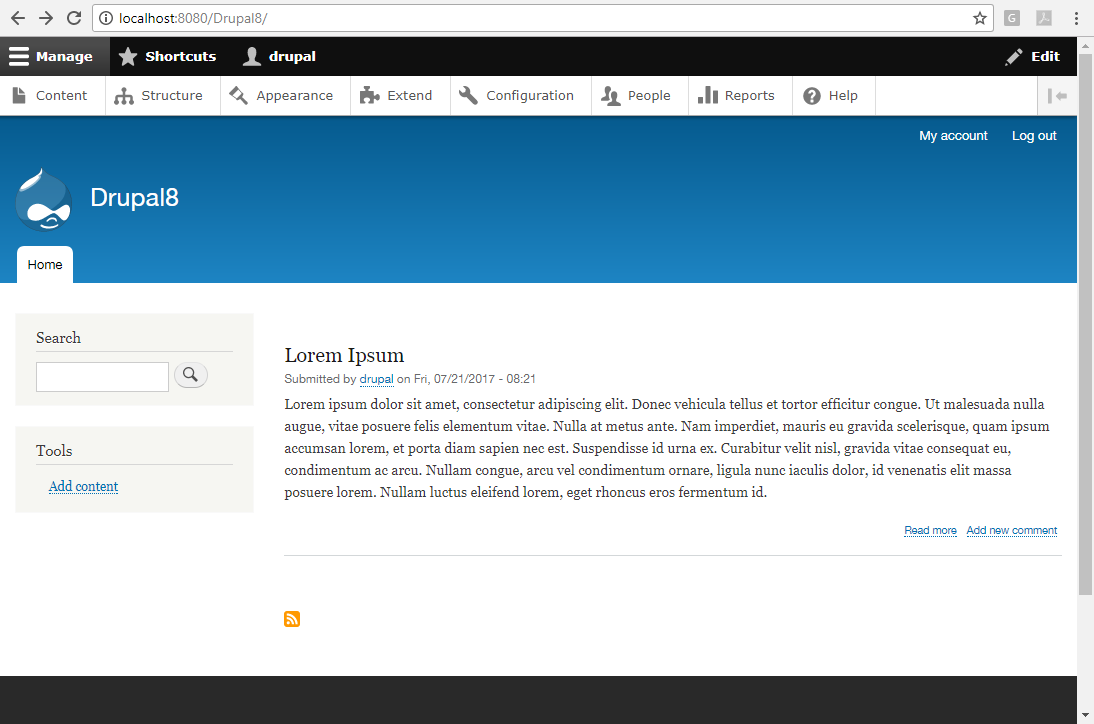
Configuring Drupal REST UI
In order to use Drupal API REST, it is required to install the REST UI module. The following steps explain how to configure this module.
1. Download the REST UI module in the following link https://www.drupal.org/project/restui.
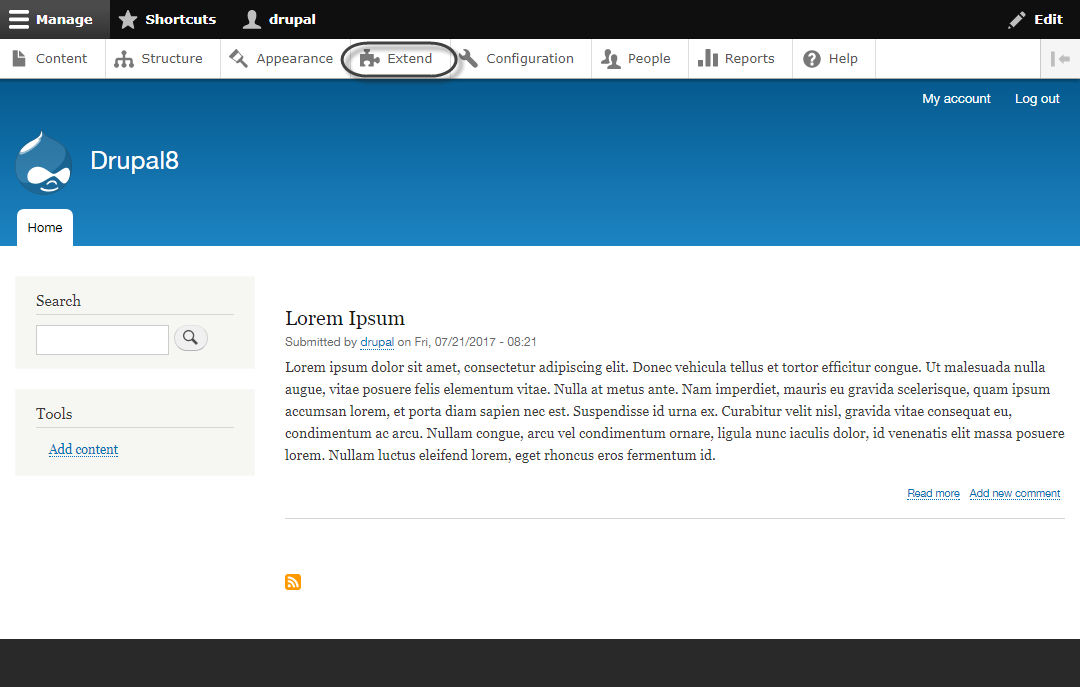
2. Log into your Drupal site with the configured admin user and then, go to Extend Tab.
3. Click on Install new module.
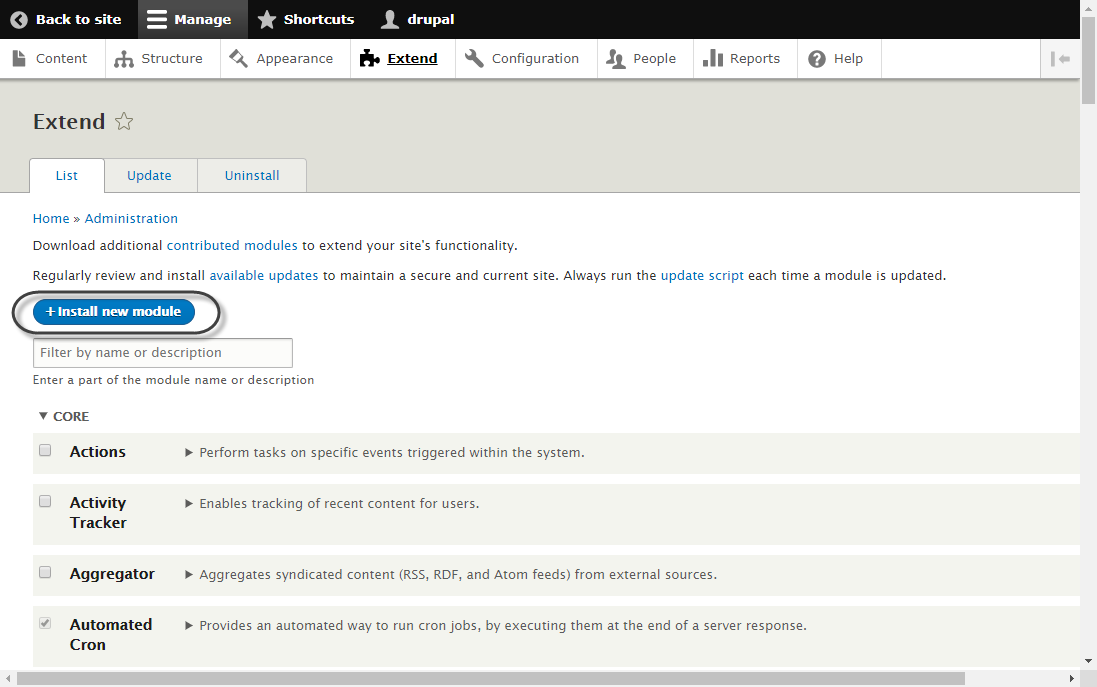
4. Attach the previously downloaded .zip file and click Install.
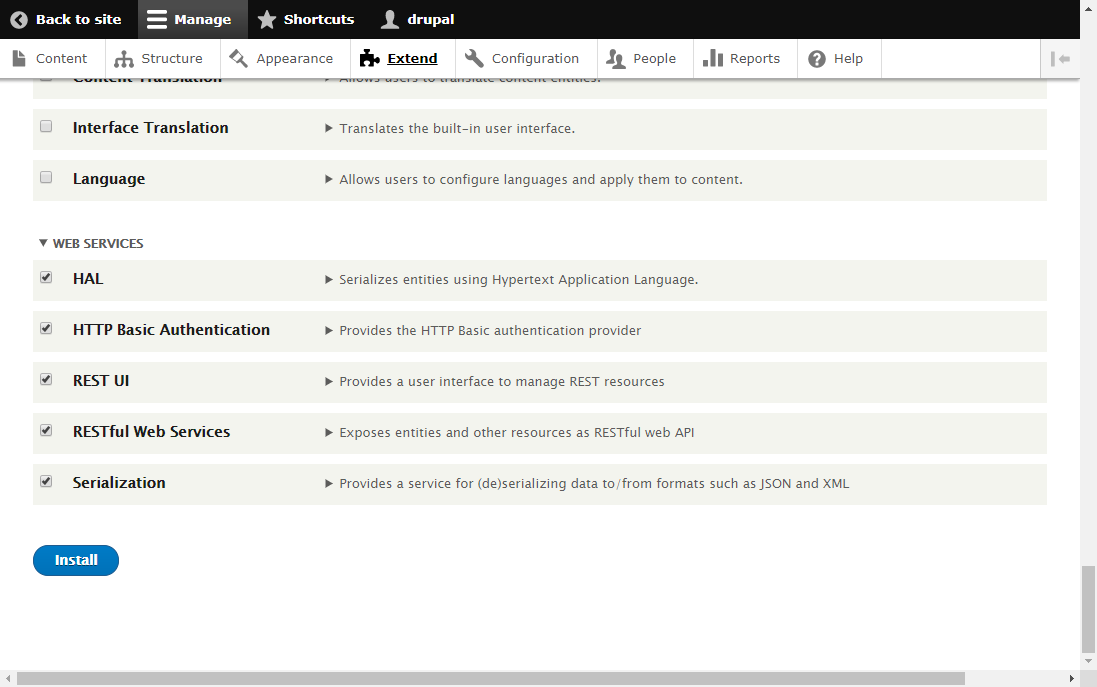
5. Once the installation is completed, go back to the Extend tab and located the Web Service section at the end of the page.
Select all the section components and click Install.
6. Finally, go to People tab and then, to the Permissions tab. Find and enable the permissions Article: create new content and Administer REST resource configuration for Authenticaded user.

Configuring the connector
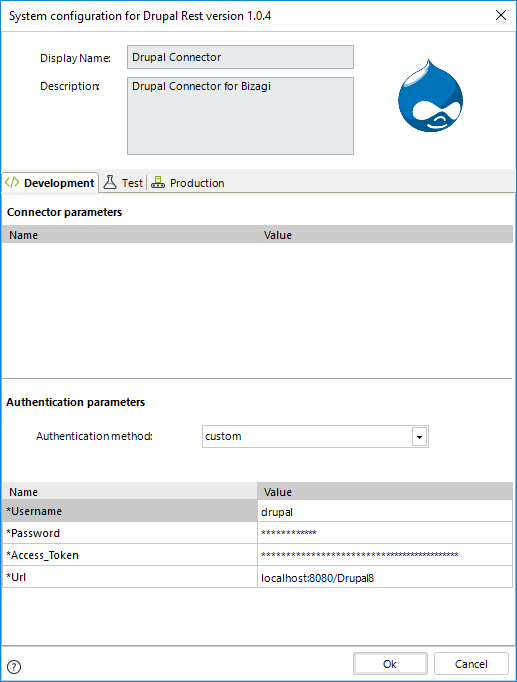
In order to configure the connector (i.e its authentication parameters), follow the steps presented at the Configuration chapter in https://help.bizagi.com/platform/en/index.html?connectors_setup.htm
For this configuration, consider the following authentication parameters:
•Authentication method: custom.
•Username: username of a Drupal user.
•Password: password of a Drupal user.
•Access_Token: X-CSRF-Token which is obtained from http://[DrupalSiteURL]/rest/session/token.
•URL: Use the URL of your site without using http.
Using the connector
This connector features an available method of Drupal services.
To learn overall how/where to configure the use of a connector, refer to https://help.bizagi.com/platform/en/index.html?Connectors_Studio.htm.
When using the connector, make sure you consider the following details for the available method.
Create Article
This method lets you create an article by sending its title and description.
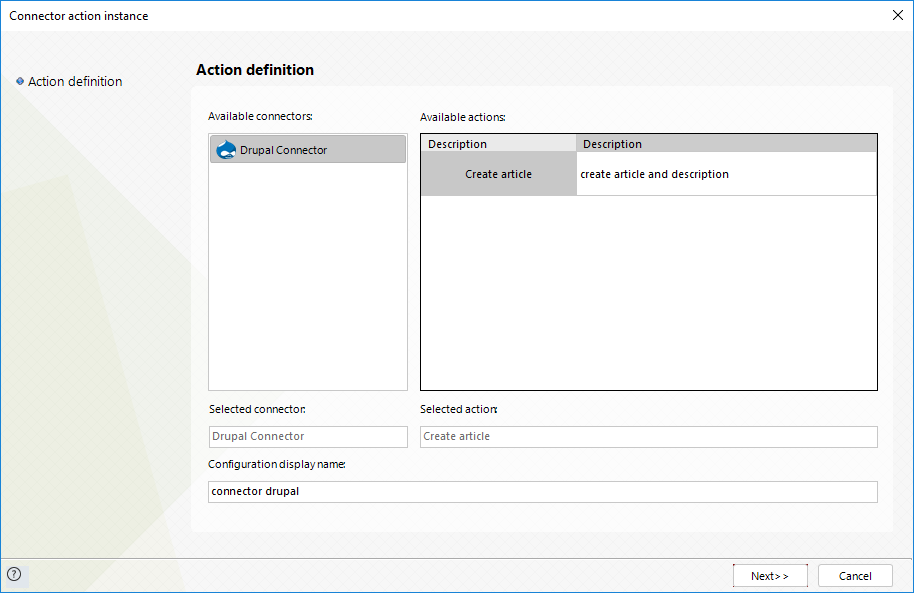
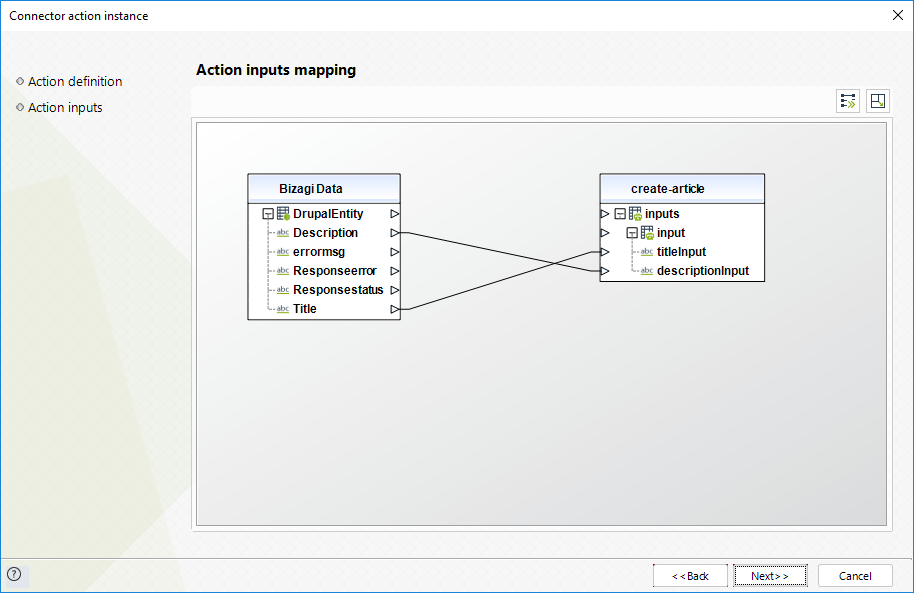
To configure its inputs, consider mapping:
•titleInput: Specify through text, a title for the article from a Bizagi attribute.
•descriptionInput: Specify through text, a description for the article from a Bizagi attribute.
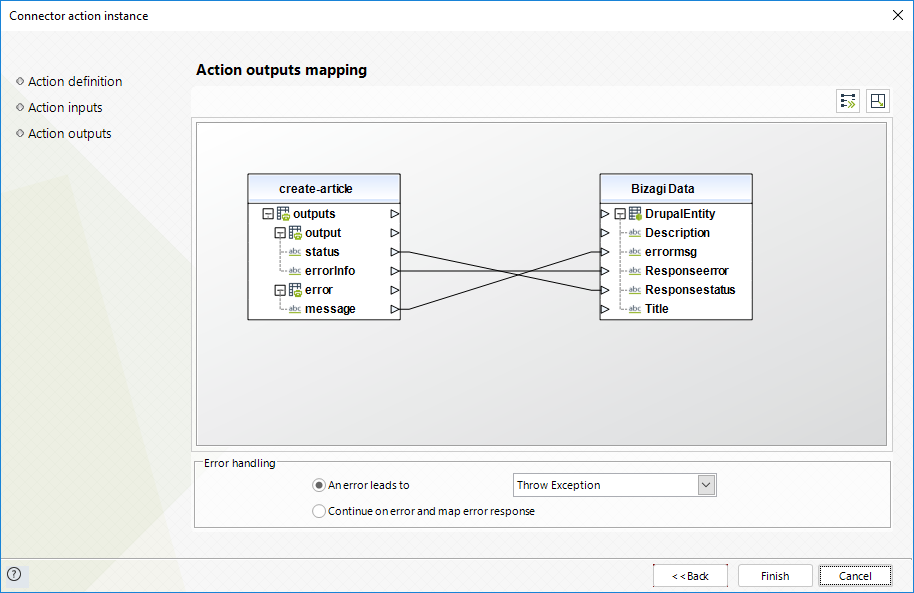
To configure its outputs when getting started and testing, you may map the status, error info and error message that the service returns, having the response of the service:
For more information about this method's use, refer to Drupal's official documentation at https://www.drupal.org/docs/8/core/modules/rest/1-getting-started-rest-configuration-rest-request-fundamentals.
Last Updated 10/27/2022 10:16:25 AM