Overview
Bizagi offers a Support Site to assist customers with incidents. Below is a guide on performing basic tasks such as creating new tickets for questions or incidents and managing follow-ups.
|
Note that the site is dynamic; screenshots in this document may vary slightly from the actual site while retaining the core functionality and process for ticket creation and interaction. |
Site Access
Accessing the Bizagi Support Site is straightforward. Before posting a ticket, we recommend using the Search option to find information. The search covers this User Guide, the Forums, and our Knowledge Base. This is the fastest way to find solutions to common problems and frequently asked questions.
A dedicated team regularly updates documentation based on customer feedback and support inquiries.
Steps to Acces the Support Site
1.Visit Bizagi’s official website: www.bizagi.com.
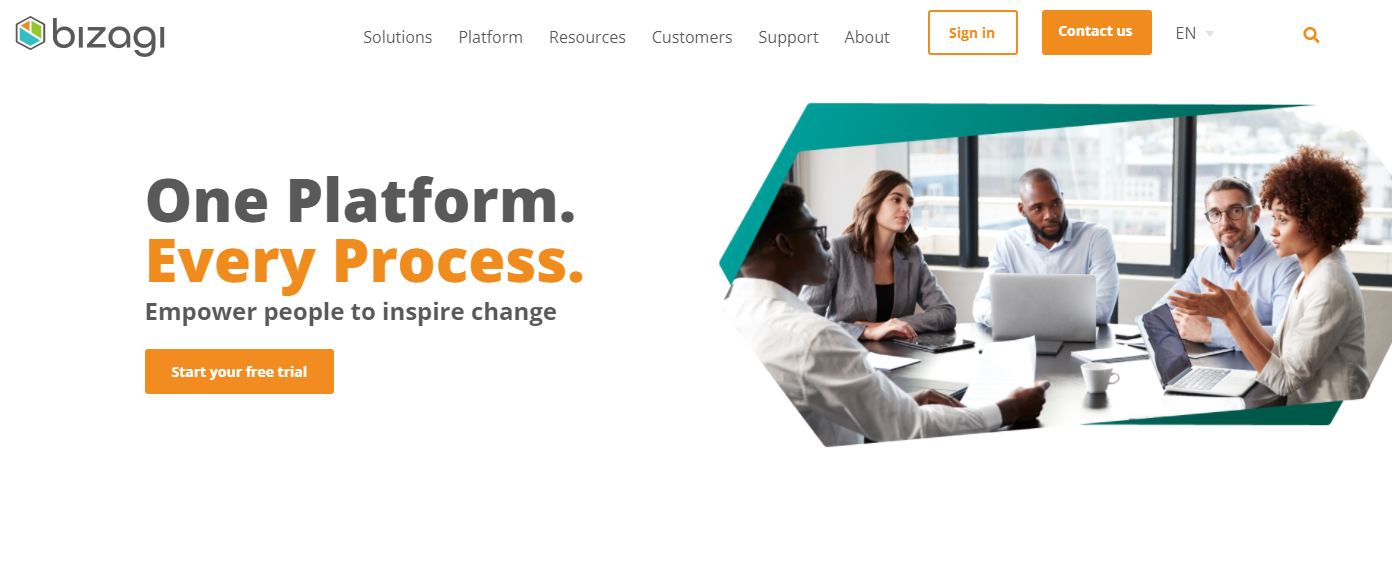
2.On the upper menu, click Sign in to access customer services.
3.Enter your email and password on the login page.
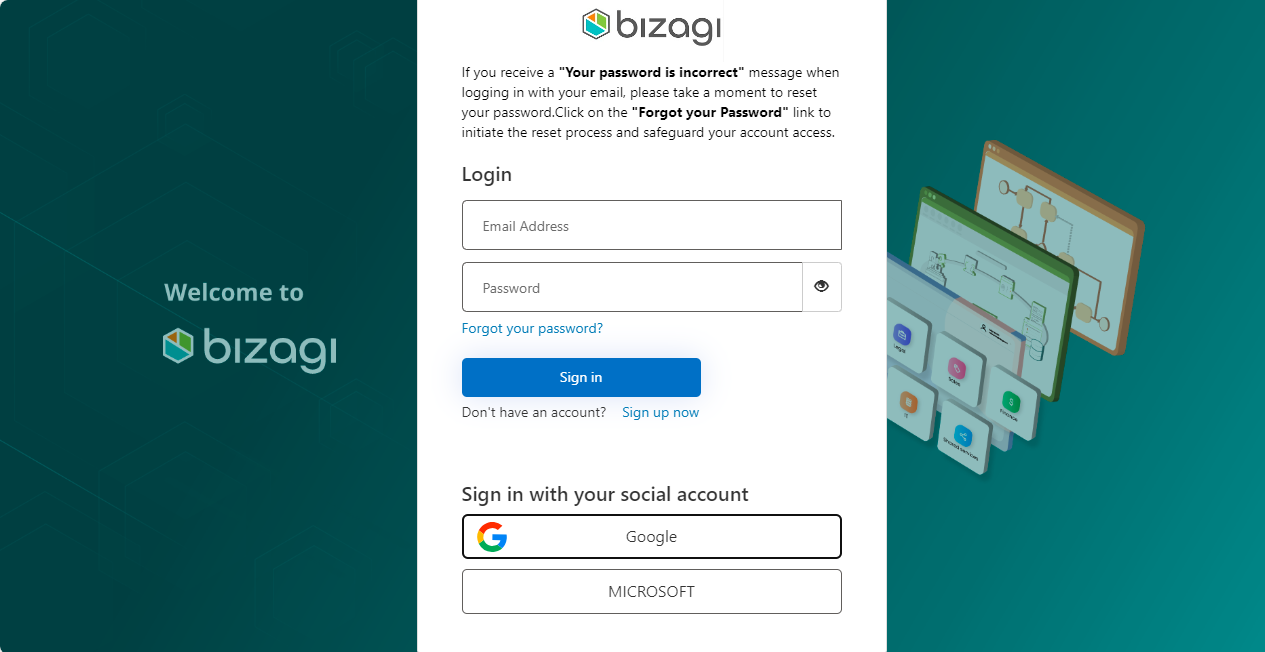
•If you don't have an account, you can register to join the Bizagi community via the Sign up now button.
•Forgot your password? Follow the steps as explained in the Forgot your password? section.
4.After logging in, you'll be redirected to the Customer and Support Portal, where you can access the Support Site.
|
Keep in mind that the initial user of a company. must create their own account on bizagi.com. Once the account is created, they will have full access to the portal. Ensure that the Microsoft or Google login options are not used for this account. |
Support Site Tools
To report incidents, once you have accessed the Customer and Support portal, you have to access the Support page using any of the following options:
•Clicking on the Support menu on top of the window
•Clicking on the link Support
You will then find the Support site’s main page, where you will find the different options that we offer to our clients.
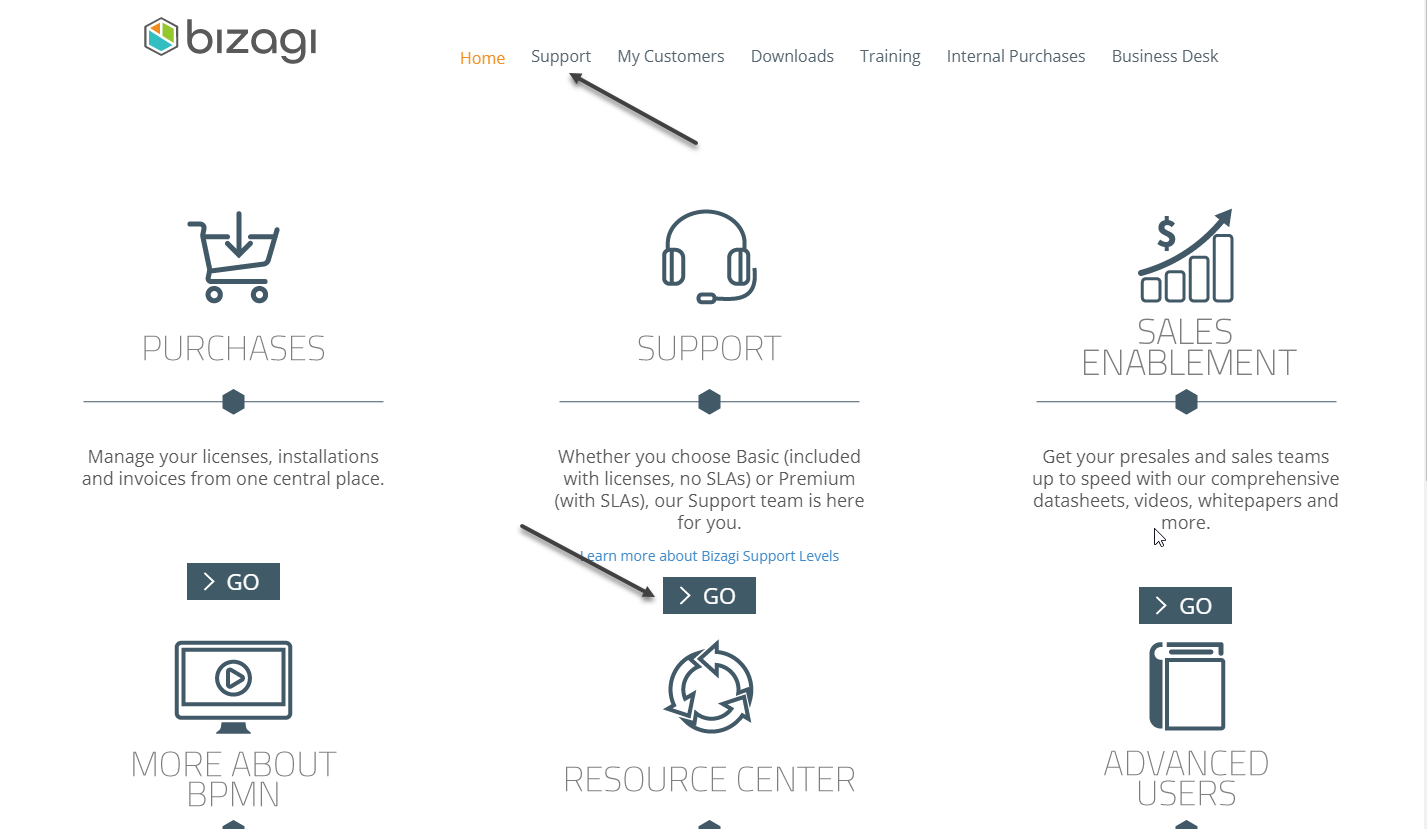
The main assistance channel for incidents and questions is our Support site, which you can access through the option Support Tickets.
We recommend that before posting a ticket always use the search option to find information: The search looks for your question or problem in this User Guide, the free Forums and our Knowledge base.
This is the fastest way to provide solutions to your problems and your frequent consultations. There is a dedicated team that is constantly improving documentation with frequent reports and concerns received through the support channels.
There you will find the following options:
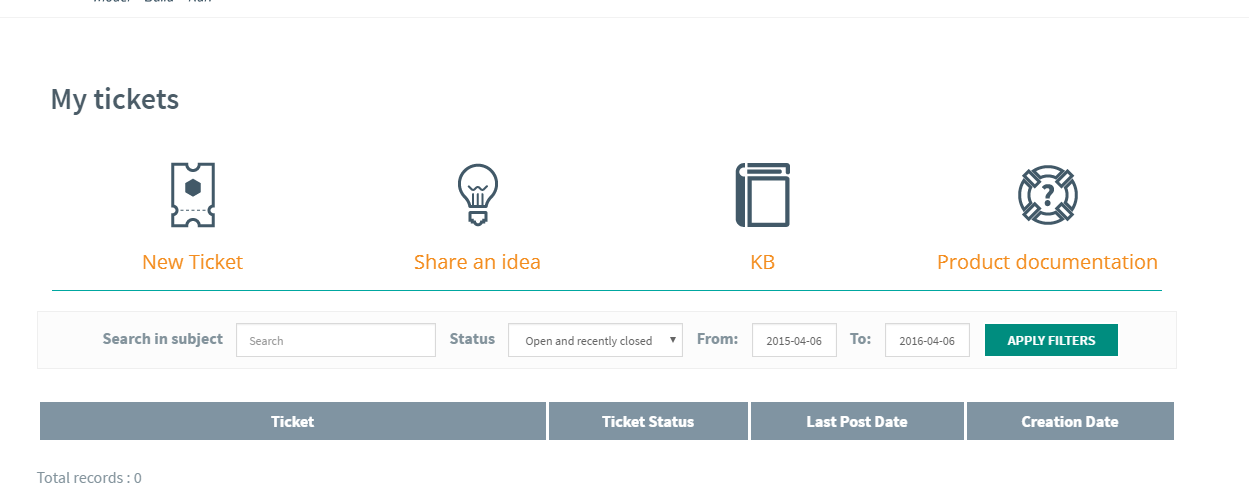
It is very important that you report any question or incident through tickets in order to facilitate follow-up and thus receive a better service.
To report a new incident or question, click the New Ticket button. The following information will be requested:
Ticket Information
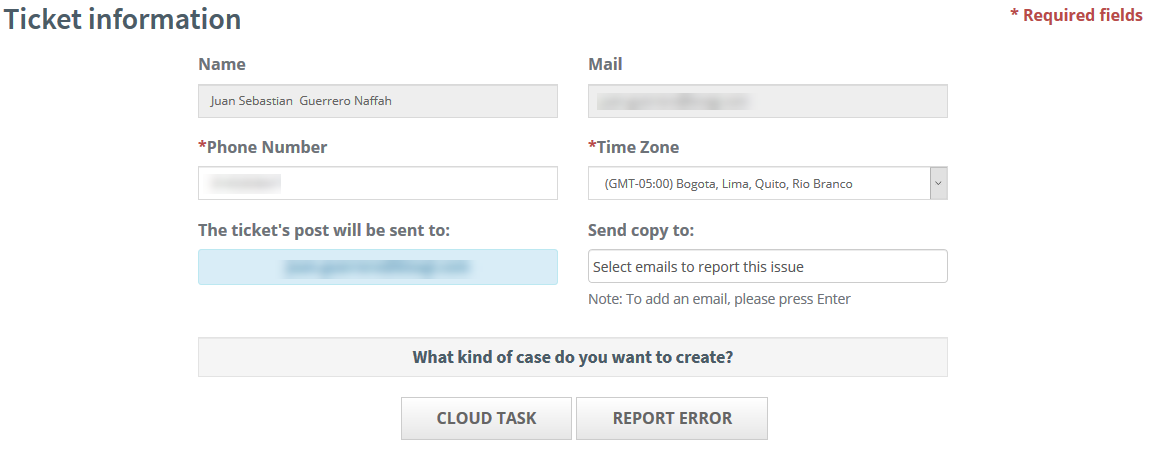
•Name: contact name.
•Mail: email to which notifications are sent when the ticket is created, updated, or closed.
•Phone number: sometimes it is necessary to perform online sessions to resolve problems. Phone number is very important.
•Time Zone: sometimes it is necessary to perform online sessions to resolve problems. The time zone allows us to know which is the best moment through the day to schedule these sessions.
•Send Copy to: when the ticket is created, updated, or closed, notifications are sent. If you wish to have copies of the notifications sent to additional mailboxes, you can do so using this option.
Type of Case
•Cloud Task: this option is intended for customers with Cloud Services as Automation Services, Studio Cloud Services or Modeler Collaboration Services. Those cases are redirected directly to the Cloud Operations Team. If the task needed is not on the list, you should choose the Report Error instead Cloud Task Option
•Report Error: this option should be selected when you need to report an issue or question about our Cloud-based or On-Premises products.
Cloud Tasks
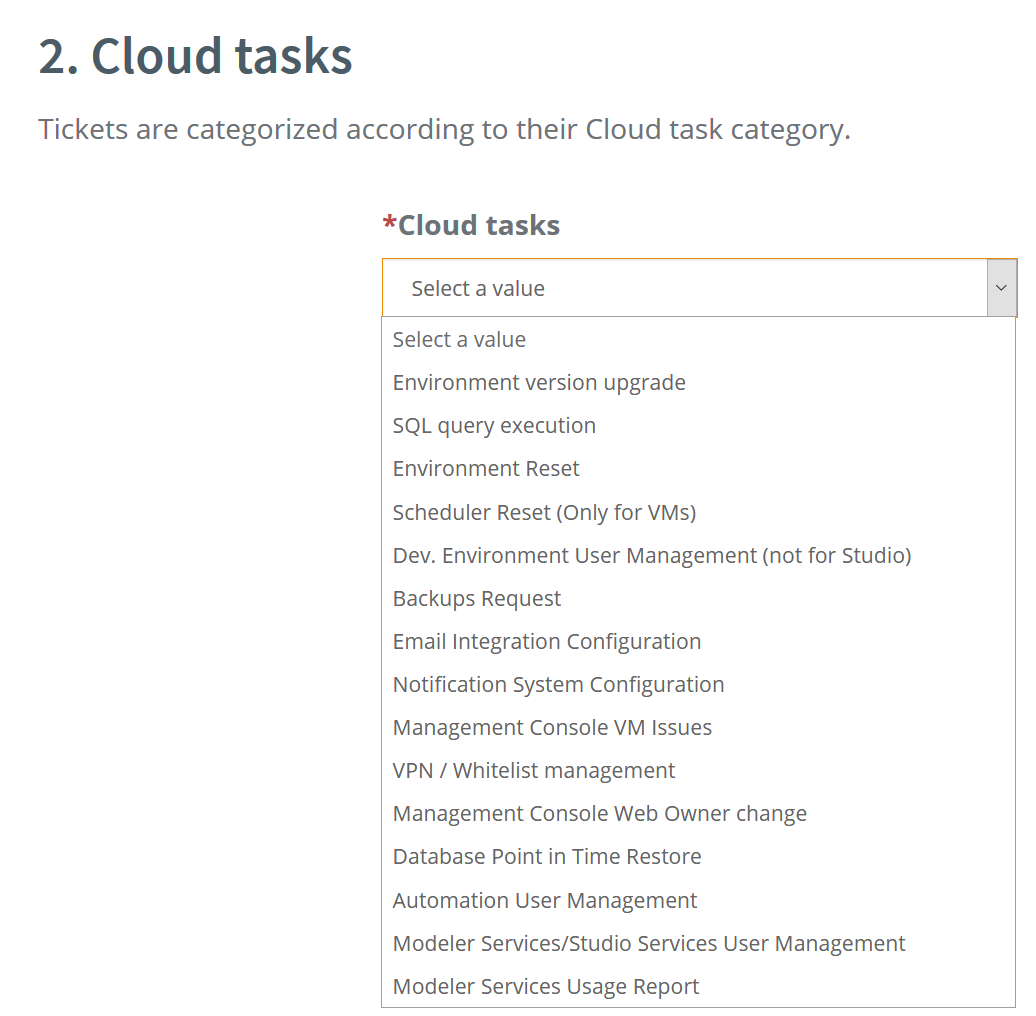
Cloud tasks tickets are categorized according to the categories displayed in the drop down list. Select the category that best suits your ticket.
|
Take into account that this section is only requested when the Cloud Task option is selected. |
Severity Definition
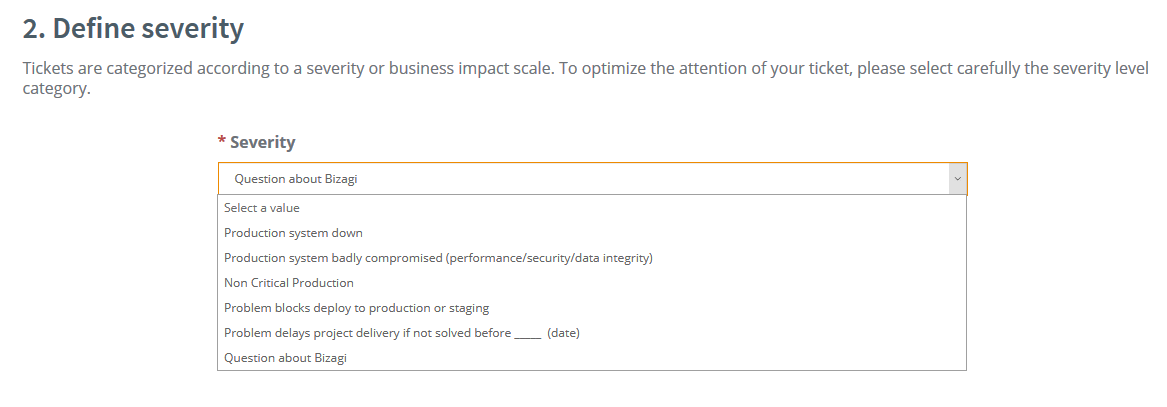
Once the Report Error option is selected, choose the appropriate severity for the incident. For Cloud Tasks the Severity is for default Non-Critical Production.
•Severity (formerly know as Category): select one from the following severity levels. The Support team can change it, agreeing with the customer, if the Severity level was not chosen correctly:
oProduction system down
The incident causes complete loss of service in Production. The affected operation is mission critical and fully impacts the business, and the situation is considered an emergency. No workaround available.
oProduction system badly compromised
The incident caused a severe loss of service. No acceptable alternative or "workaround" is available; however, the operation may continue in a restricted mode.
Such problems include situations where you need to restart processes and performance issues are often present (Example: Slow operation causing a degradation of service but does not make the product unusable.)
oNon critical production
The incident causes a minor impact on the business and may require alternative or "workaround" to restore functionality, however the product can be used.
oProblem blocks deploy to production or staging
One of the following situations occur:
- The problem is blocking the development or test environment, preventing the project to continue. None of the consultants of the project can move forward.
- The issue affects the deployment of processes to Production or Pre-Production environments.
oProblem delays project delivery if not solved before ---
The problem delays the execution of the project if not resolved before a certain date.
oQuestion about Bizagi
Specific questions on product features
|
Take into account that this section is only requested when the Report Error option is selected. |
Ticket information

•Summary: a brief description of the incident to be used as a quick and summarized reference of the report.
•Exact Version. indicate the exact version that you are using. For example, if you selected the Bizagi product 9.1.x Enterprise .NET, the exact version could be: 9.1.9.
•Product. select the Bizagi product the report or question is about.
•Database. SQL Server database motor version used.
|
When the Cloud Task option is selected, only the Summary field is shown. |
Ticket details
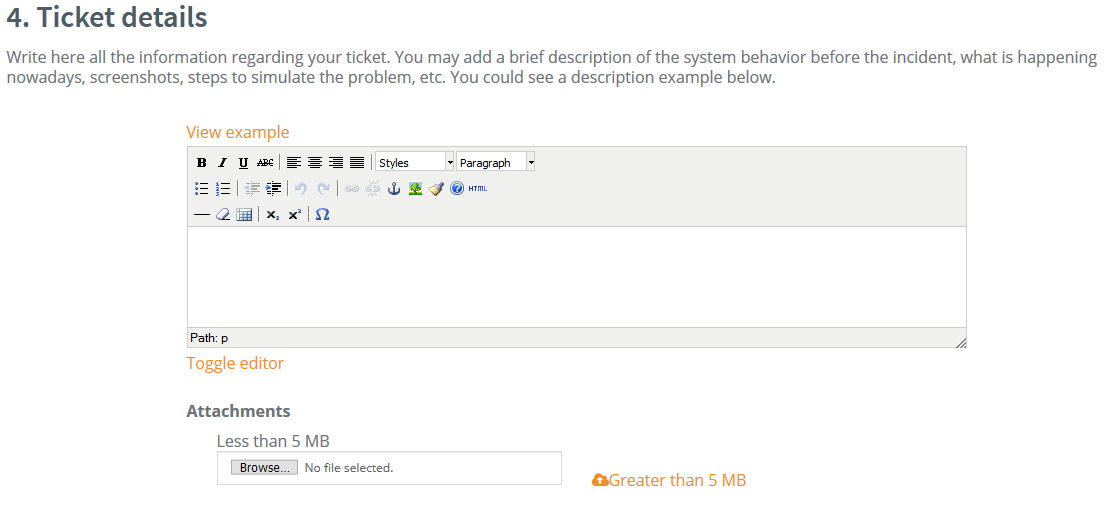
Complete description of the question or problem reported. In order for assistance to be faster and more efficient, we suggest that the description is as explanatory as possible. To this end, we recommend that it contains the following information:
•Problem details: indicate what is the unwanted situation, when it began to occur, and provide antecedents of the problem (if any). If possible, include images and error messages.
•Steps to reproduce it: steps that must be followed to reproduce the problem. If you consider that the process or the steps are complex to understand or explain, you can rely on a document with images.
•Priority explanation: in case you are reporting high-priority incidents, please indicate the reasons why the reported problem blocks the operation. Also, in Tests and Development, indicate why it is a topic that is relevant to the project’s success.
•Attachments: there are two options to attach files related to the reported problems:
oFiles less than 5MB: you could attach a file with less than 5MB directly to the case. If you need to attach more than one file, you can compress them in a .zip or .rar file.
oFiles Greater than 5MB. When you select this option, you are redirected to a specialized site to attach files bigger than 5MB. You can also attach multiple files with this option.
The attachments most frequently requested by the Support Team are:
•Event Log: when the reported ticket corresponds to an error appearing on screen, whether it contains the generic Production environments message inviting to contact the administrator or the complete message in development, error message details are stored in the event log, which is why it is important for you to attach the event log from the web server when this kind of error occurs. We recommend that you have it in .evtx format.
•Database Backup: to simplify a ticket’s solution cycle, and when conditions permit it, the database becomes an important input. This is because on the one hand, it enables reproducing the exact conditions of a problem, and on the other, it facilitates the analysis and incident reproduction tasks, since it will be easier for the project to explain the event details and it will facilitate the reproduction of the incident.
Ticket category
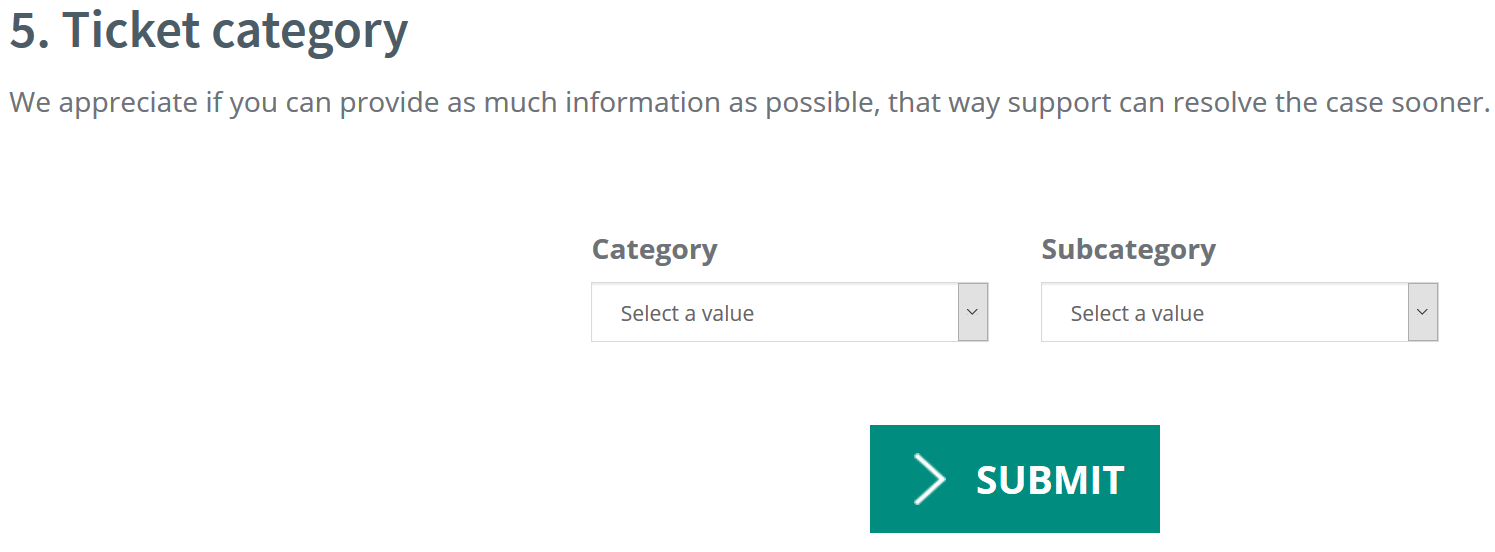
In this section you must classify the incident for ticket assignation. Select the Category and Subcategory based in your criteria. This section is only requested when the Report Error option is selected.
Once you have filled out details, you must click the Submit button, which is located at the bottom of the screen. You will immediately receive a message from admin@bizagi.com confirming that the ticket has been received and you will notice a ticket ID for follow-up purposes.
Recommendations:
•Updates on open incidents must be done exclusively through the site, as this is the regular channel for interaction with the support team.
•To avoid inconveniences with the reception of notifications, add the address admin@bizagi.com to your safe address list. This way, you will avoid getting notifications sent by Bizagi Support in your spam folder and not receiving ticket updates.
•The admin@bizagi.com mailbox is not monitored, so responses or messages sent to this address will not be answered.
•If you experience any inconvenience with logging or interaction with the support site, you can contact the Account Manager assigned to your company or send an e-mail to support@bizagi.com
•It is very important to keep in mind that the support service offered pertains the product and not any implementations done during its use, which is why the incident log must be done in terms of product and not of implementation or business.
Incident Updating
The updating of open incidents must be done exclusively through the site.
Once you have accessed the Support Tickets page, you will find the option to check existing tickets besides the one for opening new tickets.
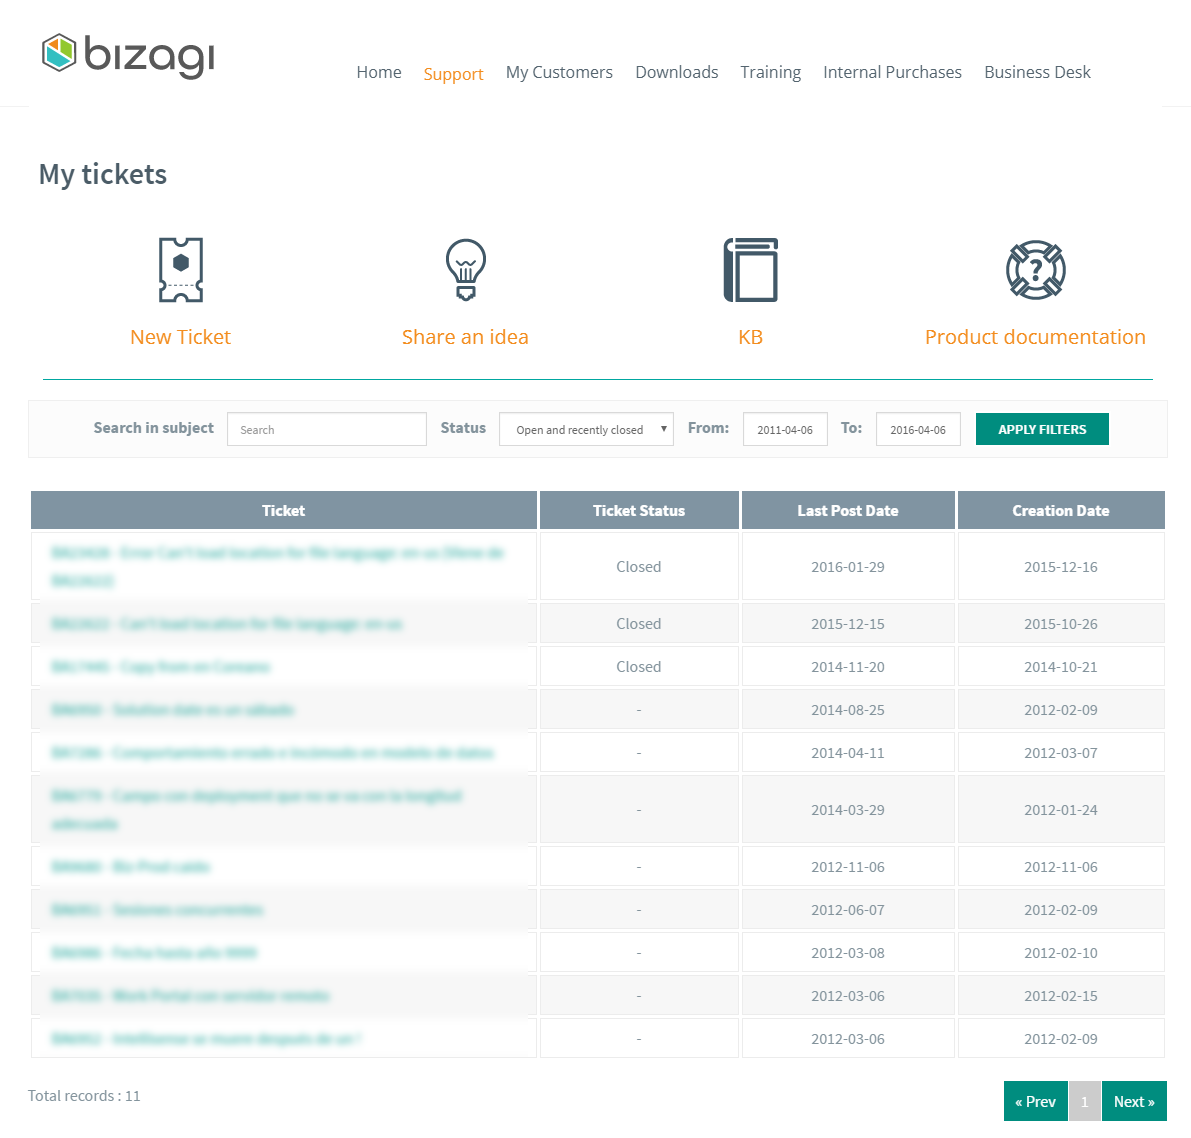
Filters and Search
There are three filter options in this page:
•Status Filter. It allows filtering cases according to their status. These are the options:
oAll Tickets
oOpen and recently closed
oOpen
oClosed
To use the filter, you must select one of the options and click the Check button.
•Date Filter. When you select this checkbox, the start and end dates are displayed. Once the range is defined, the data will be filtered after pressing the button.
•Keyword Filter. With this option you can filter tickets containing words and letters that are useful to find a ticket quickly.
Ticket Updating
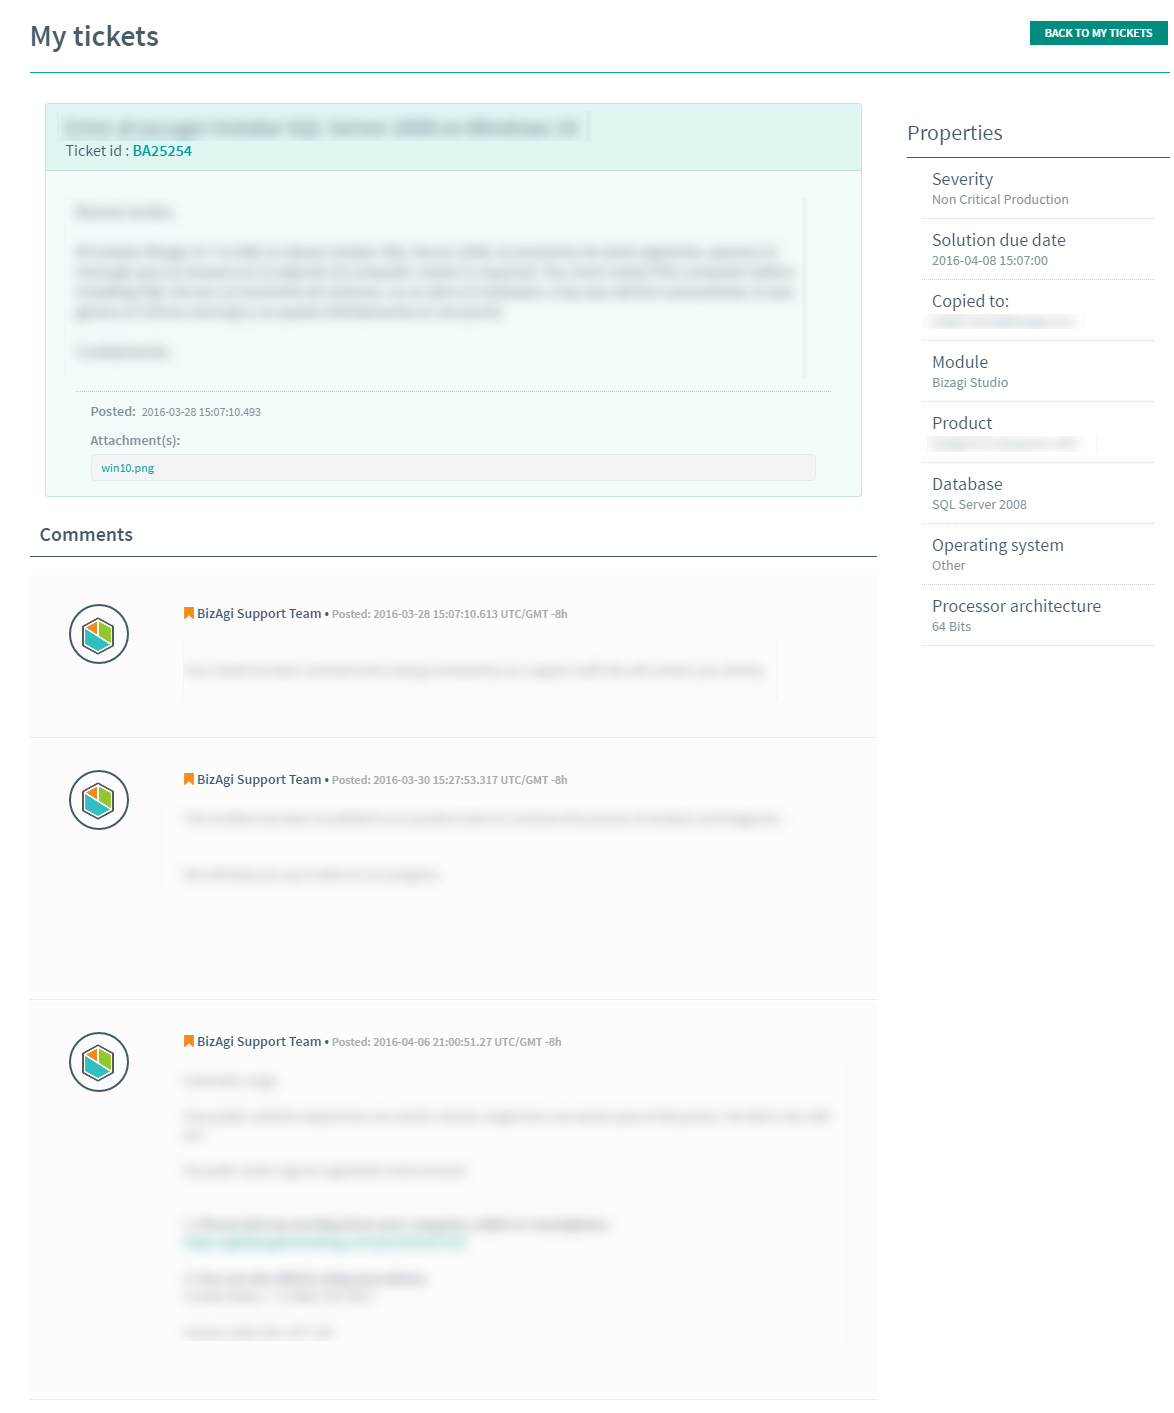
Once you have found the ticket you want to update, you must access it by clicking on the subject:
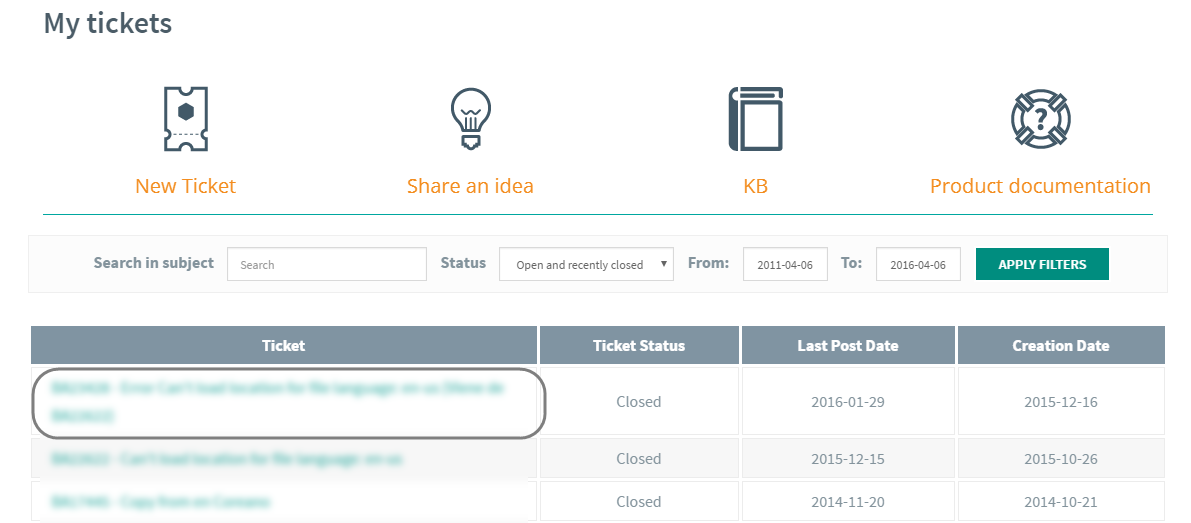
New comments can be sent at any moment during a ticket’s life cycle. These will be received by our support team (except when it has already been closed). You can always attach new files to comments.
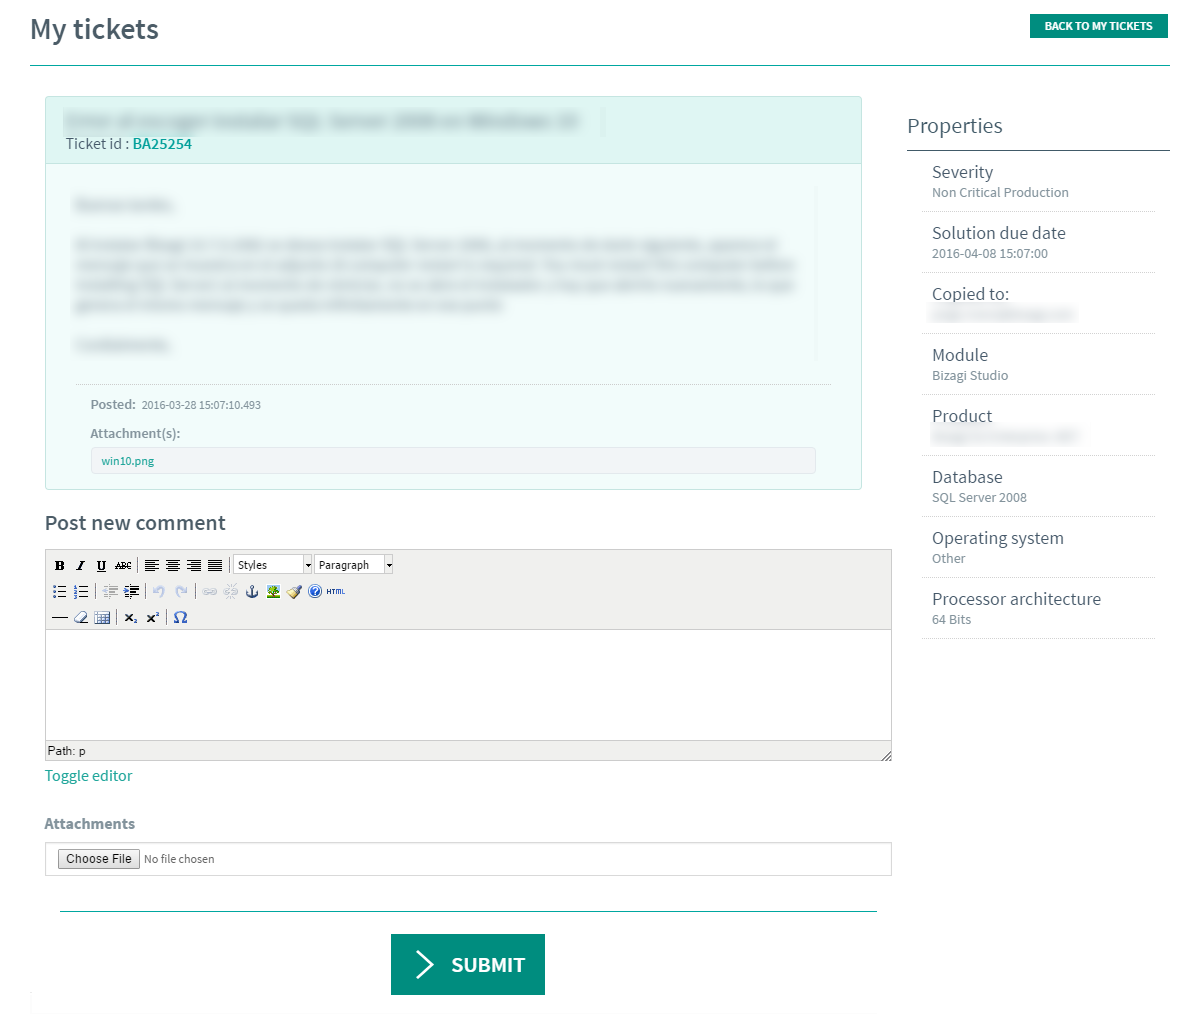
Every time our support team generates a new comment for a ticket, a notification will be sent to the registered e-mail address and to the address stipulated in the Send copy to field.
Tickets Frequently Asked Questions
How can I check the support duration of a product version?
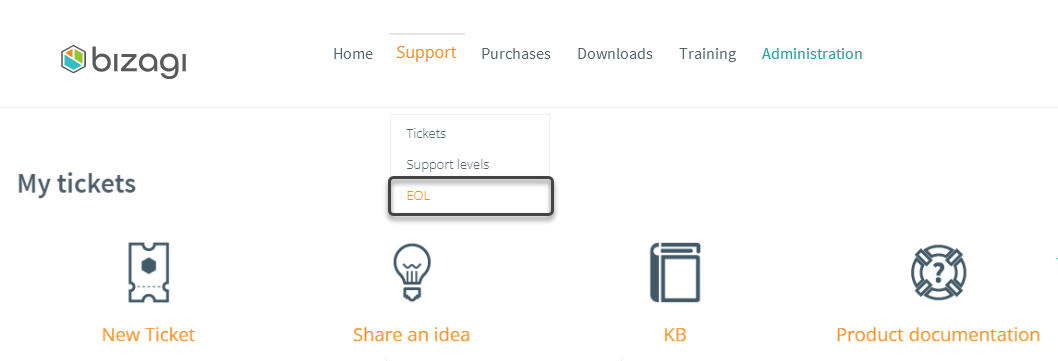
As Bizagi evolves and new product versions are released, old ones lose their validity. For this reason, we define a date when said versions lose support. This information is updated in our support site for organizations to plan accordingly. To check this information, you can access through the link highlighted on the image below once you access the ticket enquiry and establishment screen:
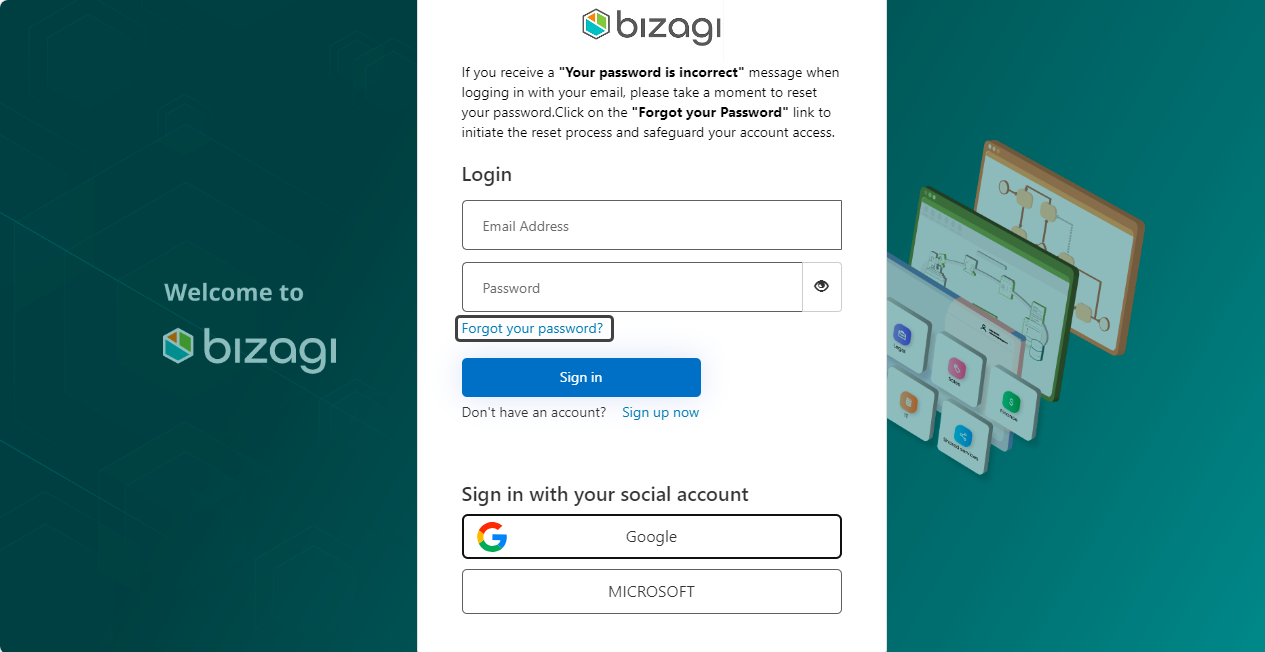
If you need to change or reset your password, select the Forgot your password? link available on the Sign in page.
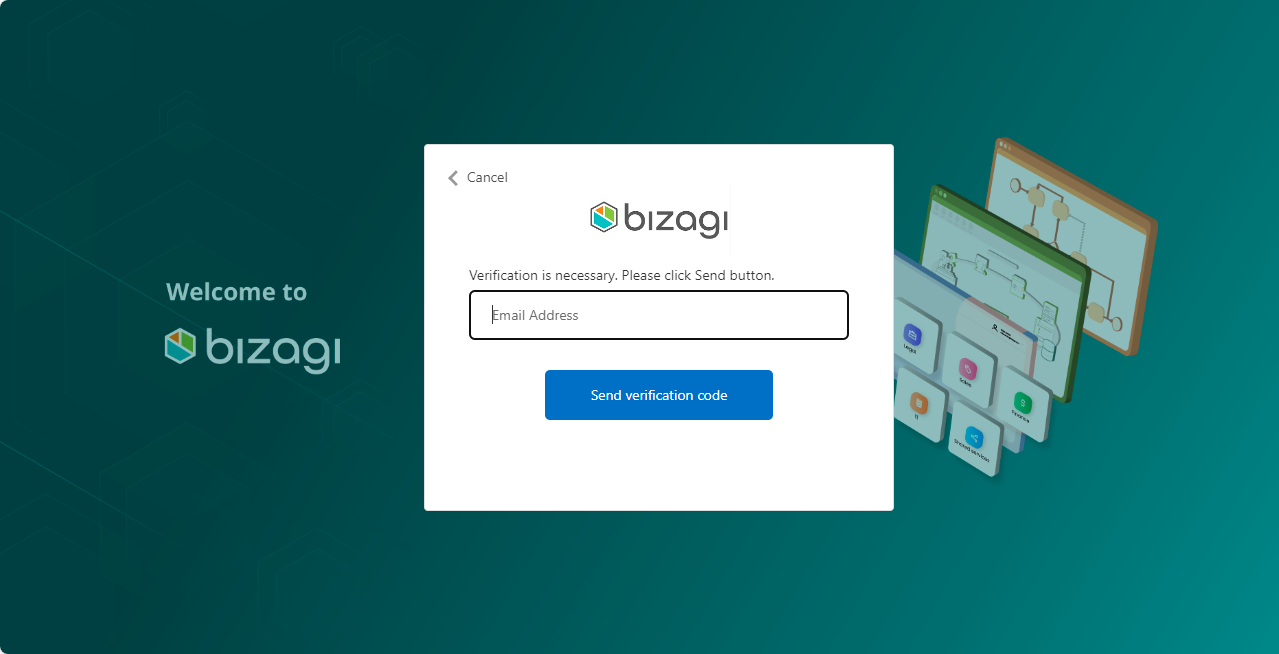
The selected link takes you to complete verification steps in order to reset your password. In the next window, you must enter your credentials where you will receive a verification code. To confirm sending the code, click the Send verification code button.
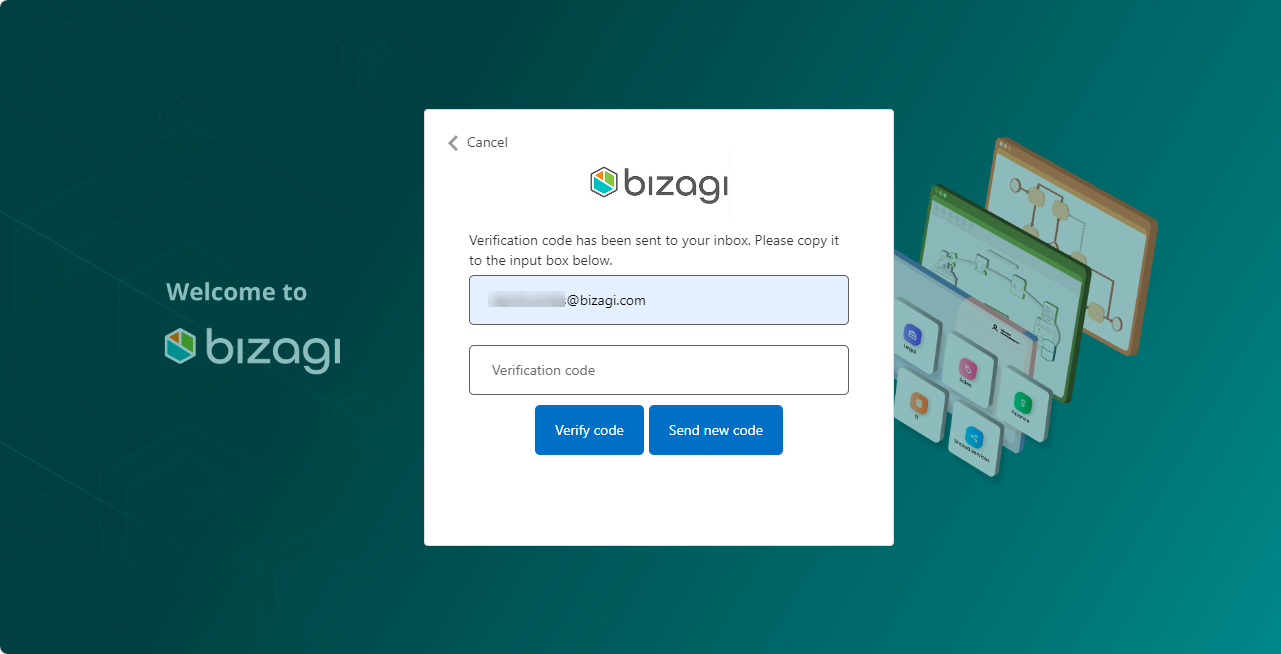
Check that the verification code has arrived in your Inbox and enter it into the Verification Code field. Then, select the Verify Code button.
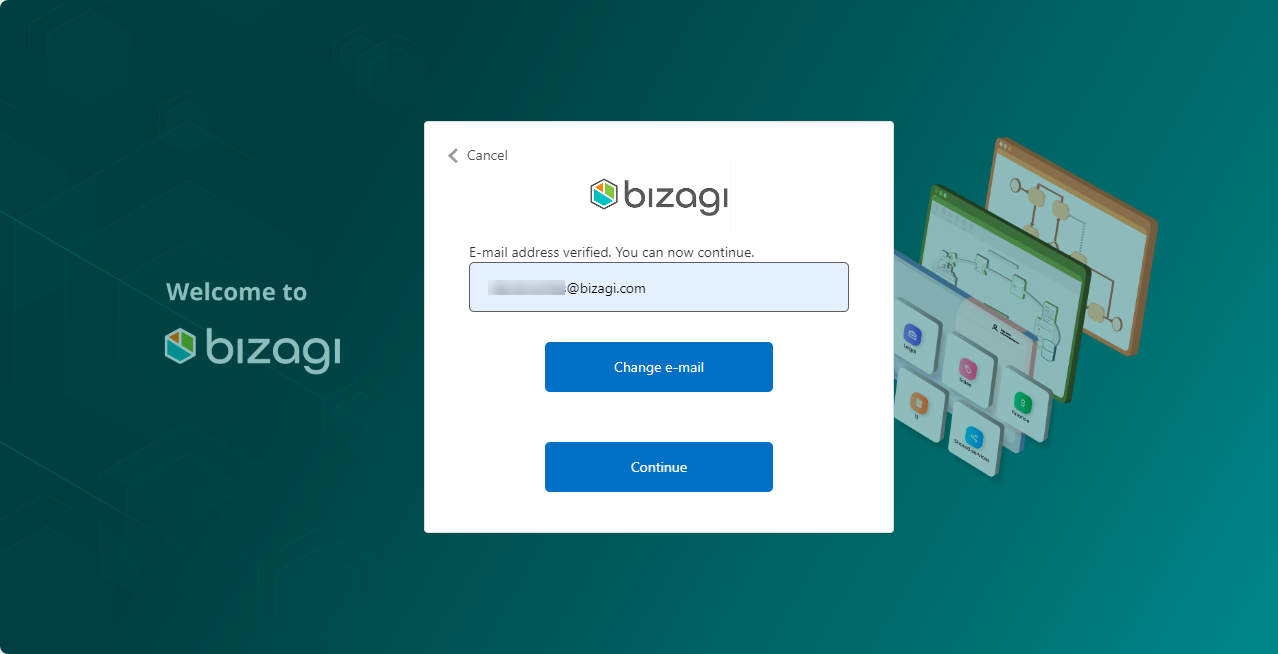
Then, you must select the Continue button to navigate to the new password assignment window.
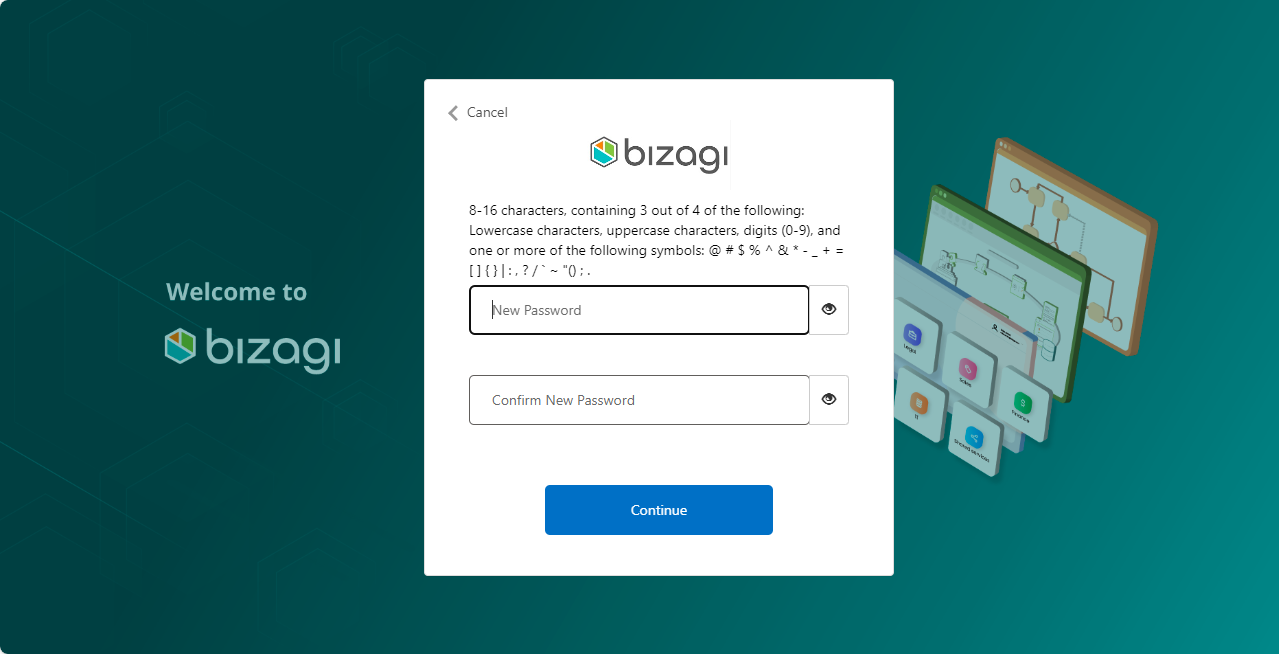
In the next window, you must enter the New Password and repeat it in both fields to confirm it. Once entered, finish the process by clicking the Continue button.
Are any additional tools used aside from the page?
The exclusive channel for ticket interaction is the Support site. However, in order to facilitate assistance for open tickets, we use additional tools such as:
•Skype: for communications we use this tool, namely through the Skype account Bizagi support.
•GotoMeeting: this is a remote access and conference tool that enables access to our clients’ environments through a browser, as well as allowing them access to our environments to work as a team in the assessment and solution of an incident.
•ShareFile: file sharing is usually done through a secure site: Bizagi.Sharefile.com. Every time you need to send a file to Bizagi Support, the corresponding link will be provided through a post on the ticket.
•Zoom: this is a remote access and conference tool that enables access to our clients’ environments through a browser, as well as allowing them access to our environments to work as a team in the assessment and solution of an incident.
Last Updated 11/29/2024 11:14:35 AM