Overview
As an end user, you can use different types of processes in the Work Portal. Structured processes, that are those that have been developed in your authoring environment, and deployed into your target environment. You can also create processes directly in the Work Portal, known as Live Processes. These are less complex processes that let you handle day-to-day manual processes when structured process architecture oversight is not required. Lastly, you can share a structured process created in Bizagi Studio, so that end users can use it within Live Processes. This articles explains how to share a structured process from Bizagi Studio to the Work Portal as a Live Process.
Considerations
When sharing a process to Live Processes, take into account that:
•You can only share to Live Processes reusable processes whose access type is Only subProcess. Refer to Reusable sub-processes.
•Only experts can share processes to Live Processes.
What you need to do
To share a process from Bizagi Studio to Live Processes, complete the following steps:
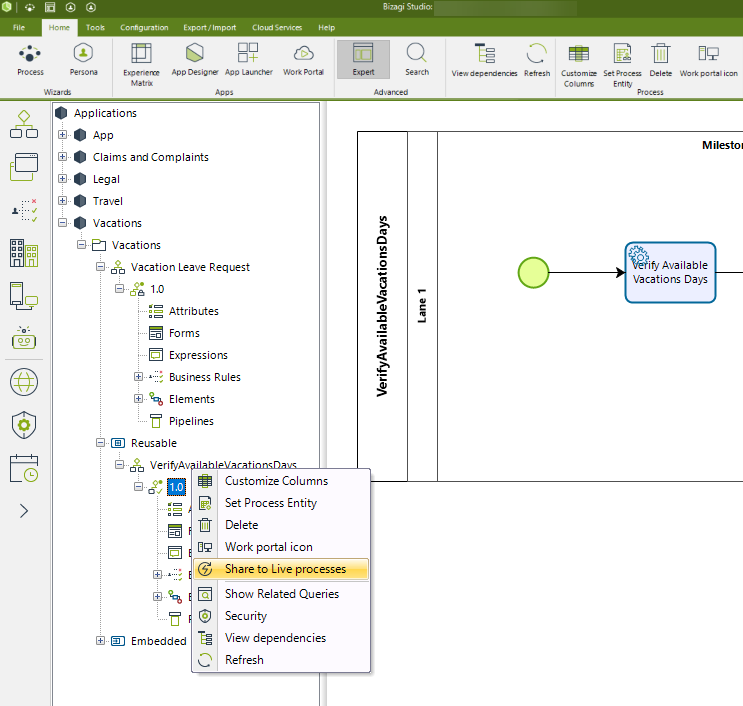
1.Go to the process you want to share, right click it and select Share to Live Processes.
 |
|
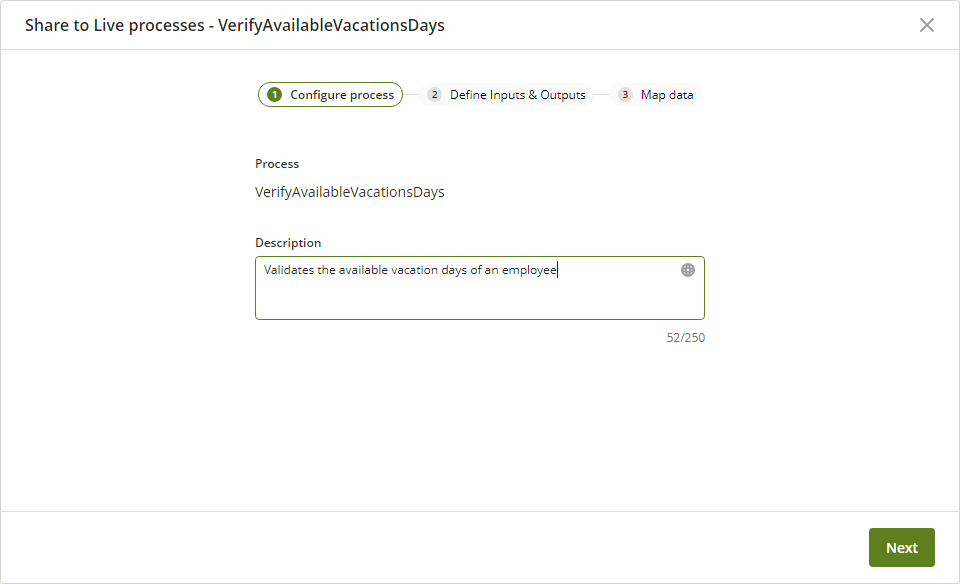
2.The configuration wizard appears. In the first step give your process a brief description and then click Next.
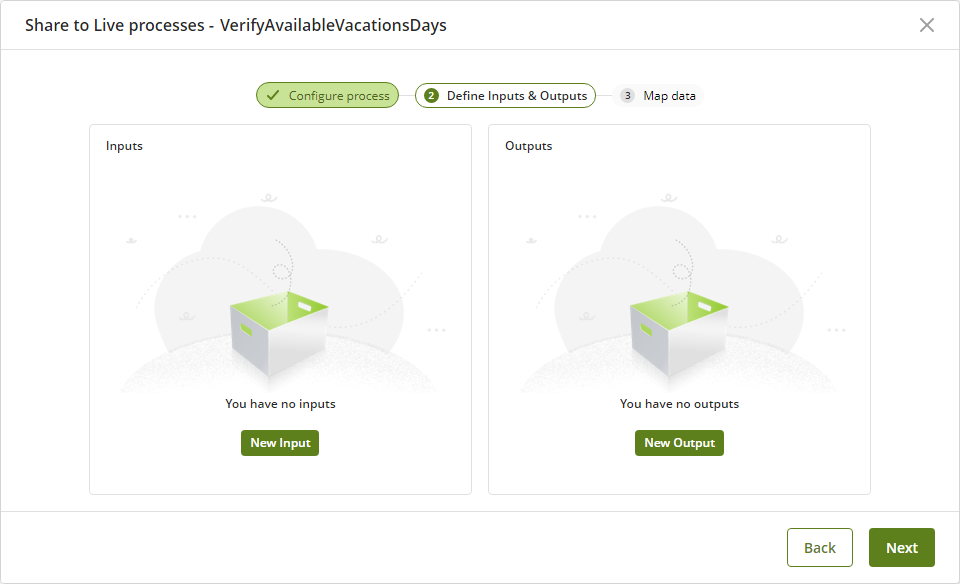
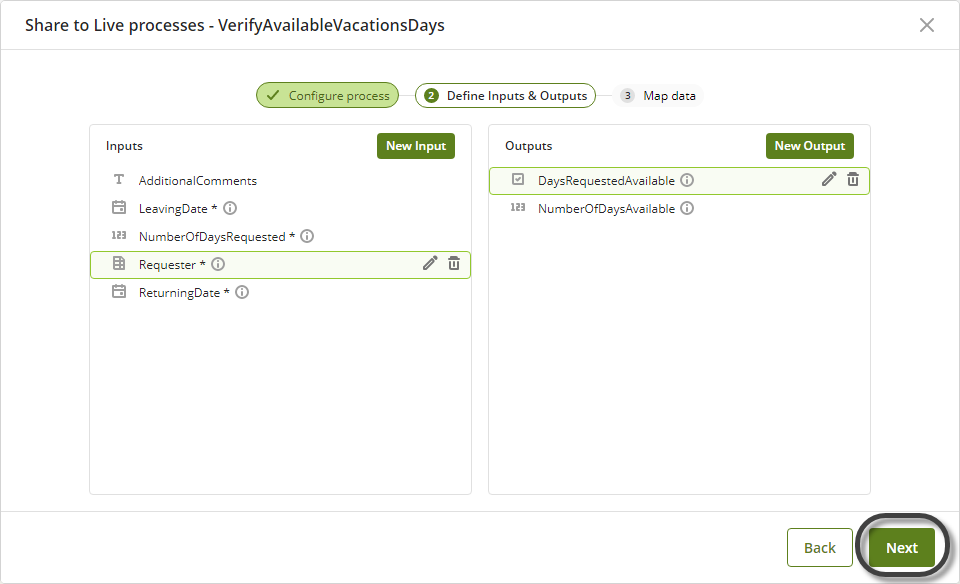
3.In the next step, configure the inputs and the outputs of your process. The simple data-types allowed that you can configure for inputs and outputs are: Boolean, Currency, Date-Time, Integer, String, Big Integer, Extended Text, Float, Real, Small Integer and Tiny Integer.
4.To configure the inputs of your process, click New Input. in the next window, give a name and a description to the attribute, select from the drop-down list its data type, and indicate if the parameter is required or not.
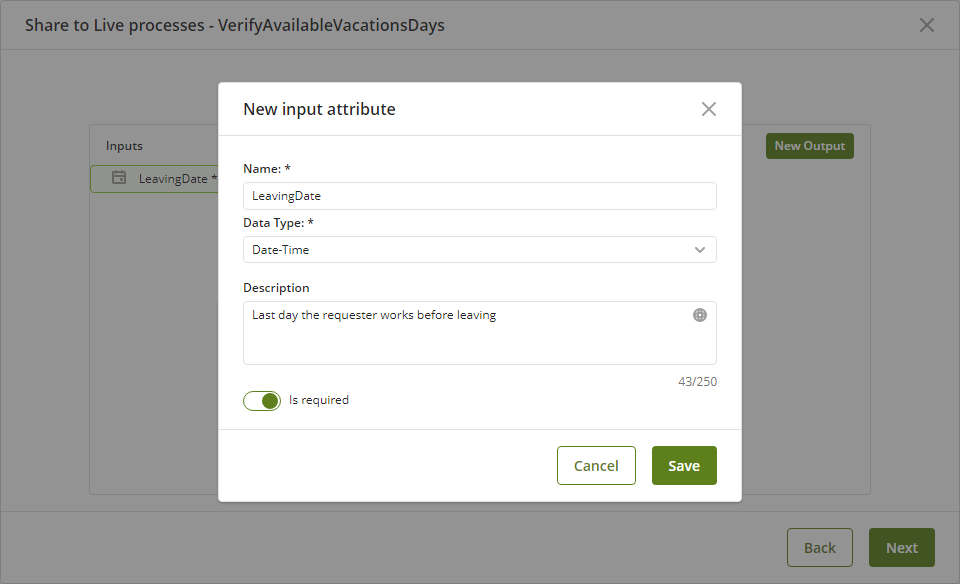
If you select Entity as the data type for your attribute, a search field appears where you can look for the entity type. For inputs, you can only select Parameter entities and System entities.
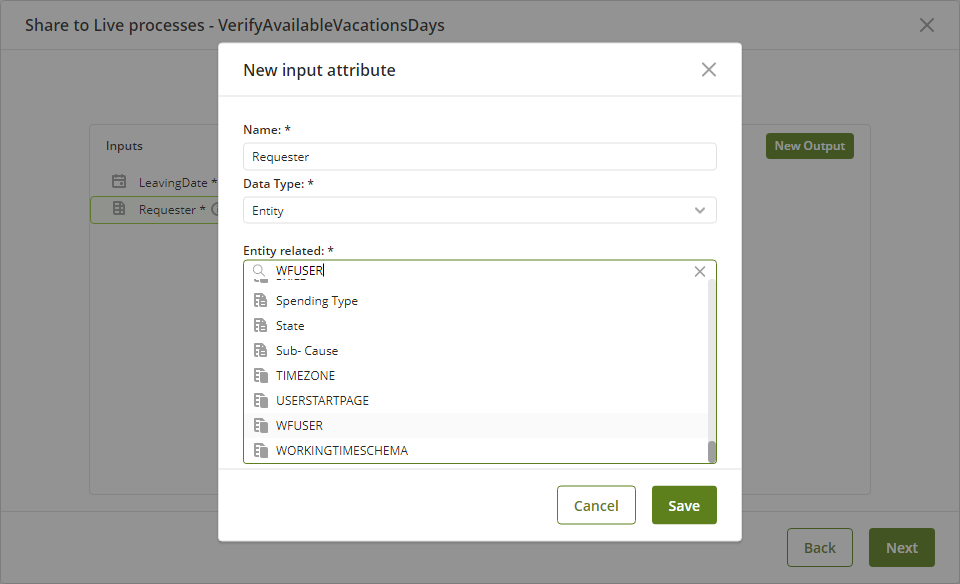
5.To configure the outputs of your process, click New Output. in the next window, give a name and a description to the attribute, and select from the drop-down list its data type.
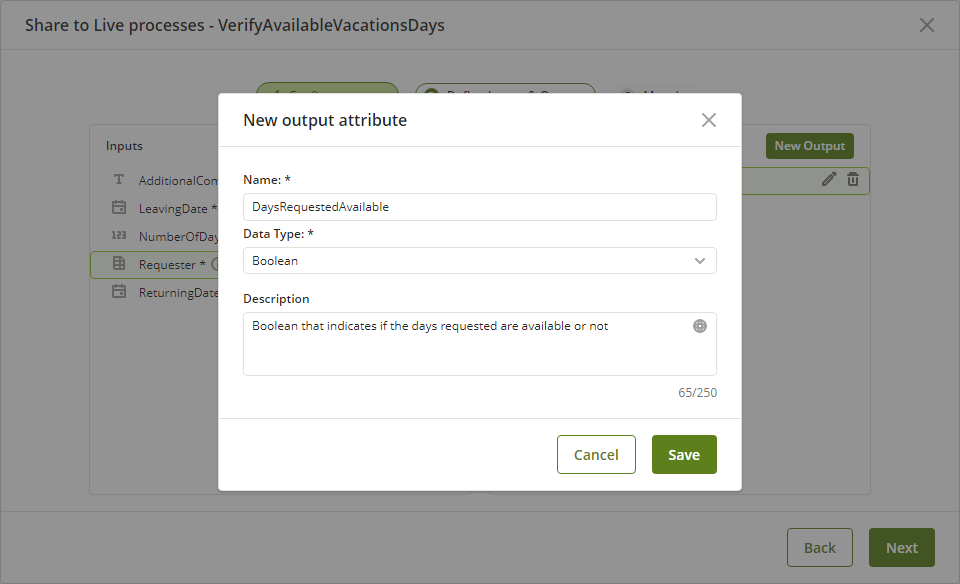
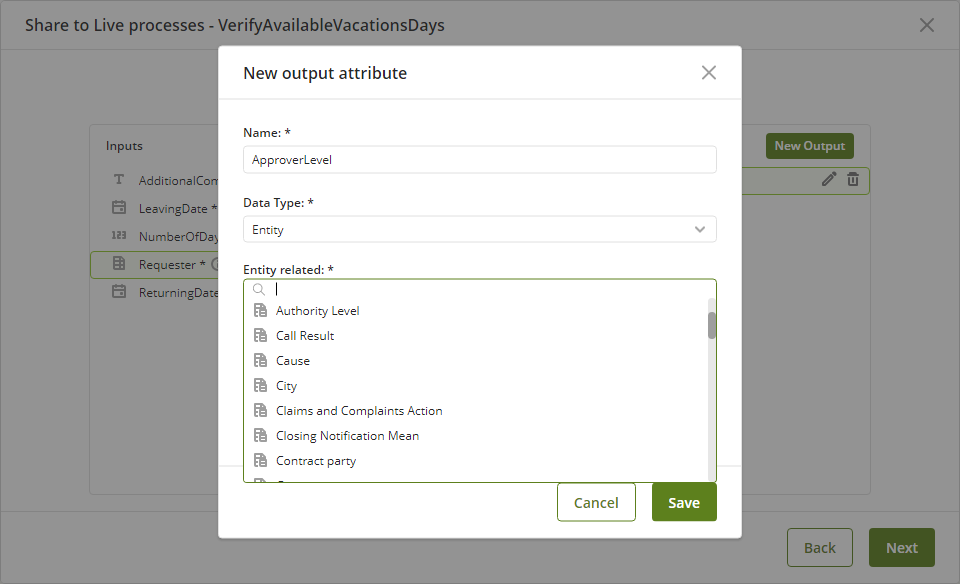
If you select Entity as the data type for your attribute, a search field appears where you can look for the entity type. For outputs, you can only select Parameter entities.
6.Once you have configured all the inputs and outputs of your process, click Next.
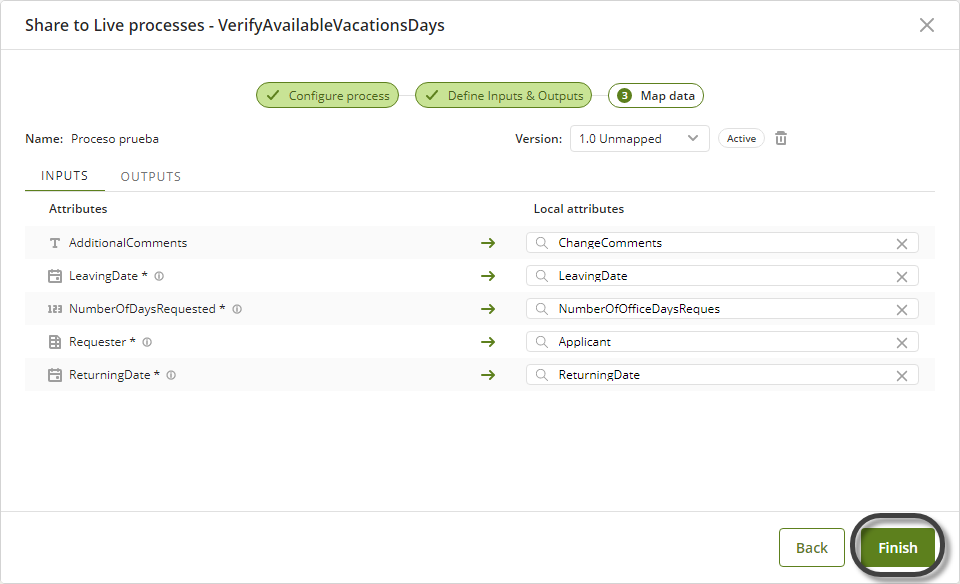
7.In the next step, map the inputs and the outputs of your process matching the attributes that you defined in the previous step, and the local attributes; that is, the attributes defined in the data model. Then click Finish.
|
You cannot map the same XPath in two attributes used as inputs. For inputs, it is not possible to navigate through the Parametric and System entities. |
Disabling a shared process
To disable a process that is being shared as a Live Process, go to the process you want to disable, right click it and select Share to Live Processes.

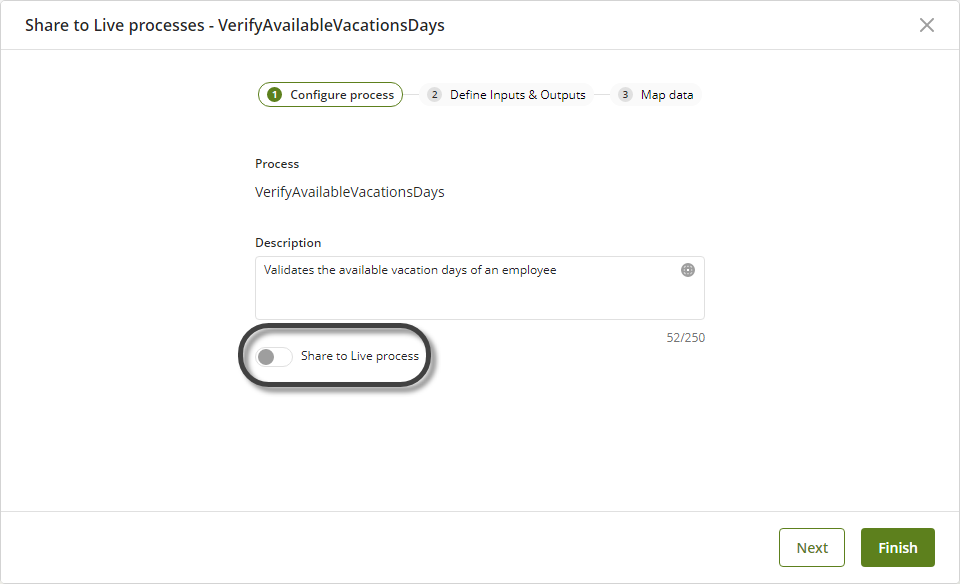
Then, in the window that appears, disable the Share to Live Process option and then click Finish.
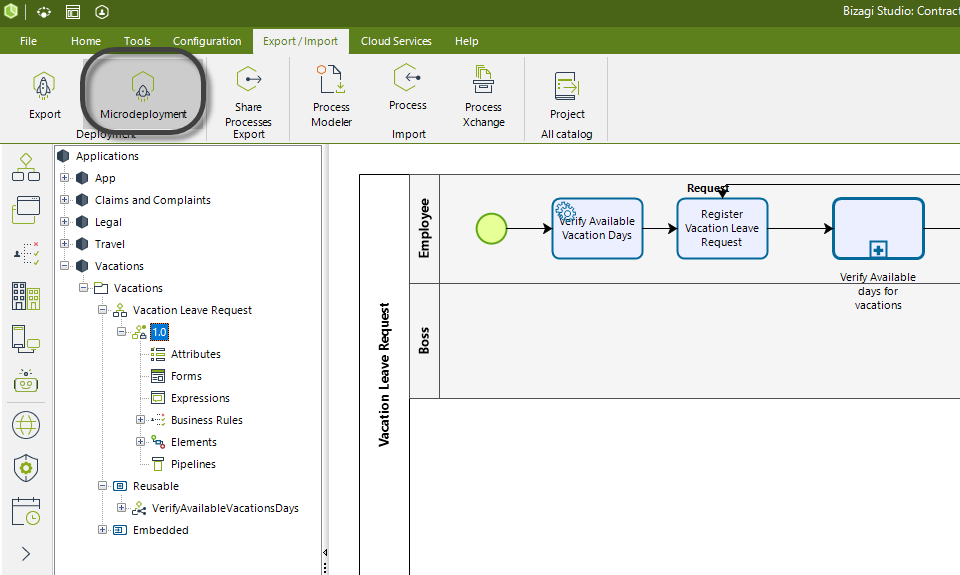
If the process you want to disable is in your Test or Production environment, you need to deploy your project through the Microdeployment option in Bizagi Studio.
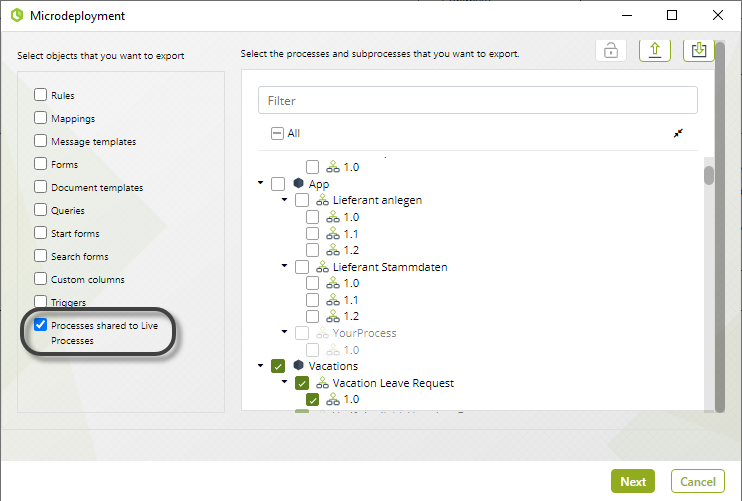
In the Microdeployment wizard, make sure to select the process you want to disable, and the Processes shared to Live Processes option.
Exporting a process to test and production environments
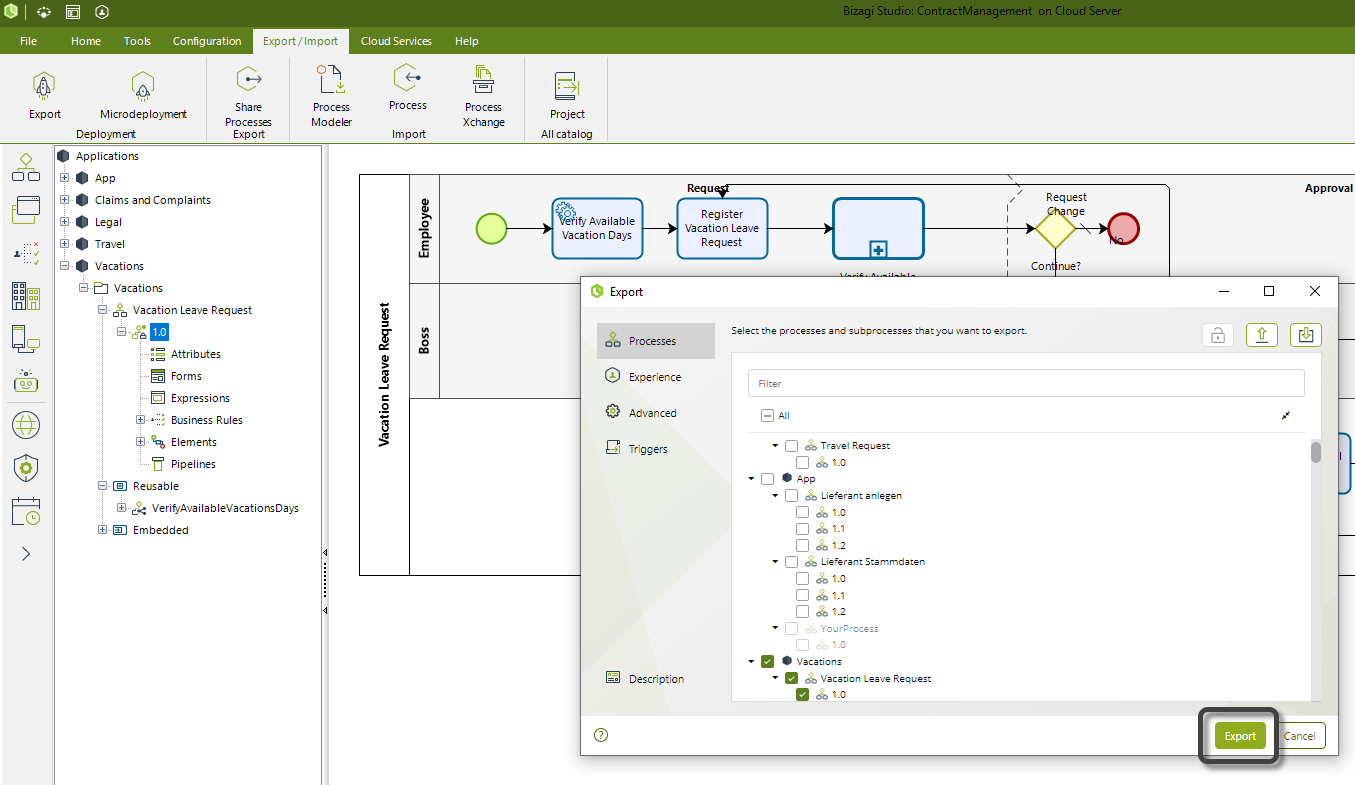
When you share a process to Live Processes, it will be available only in the Development environment. If you need to use this process in the Test and Production environment, you need to deploy it through the Export option in Bizagi Studio.
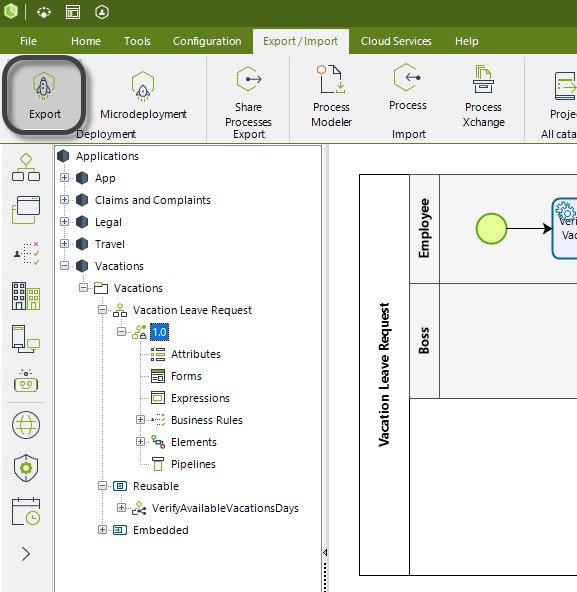
Select the process you want to export and then click Export.
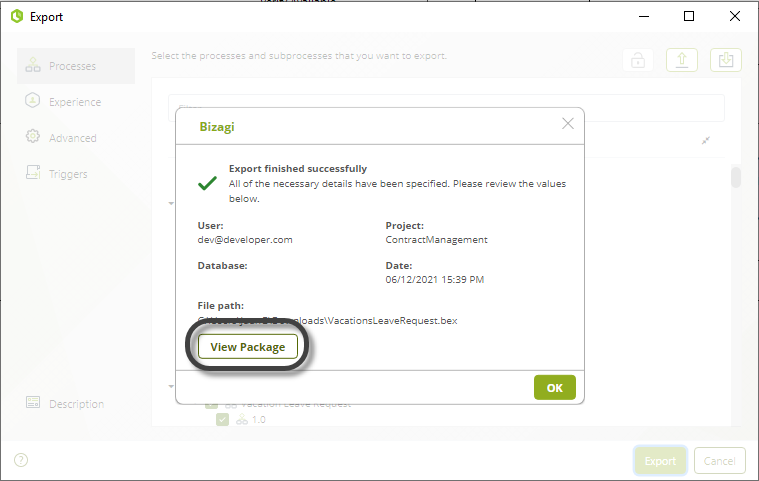
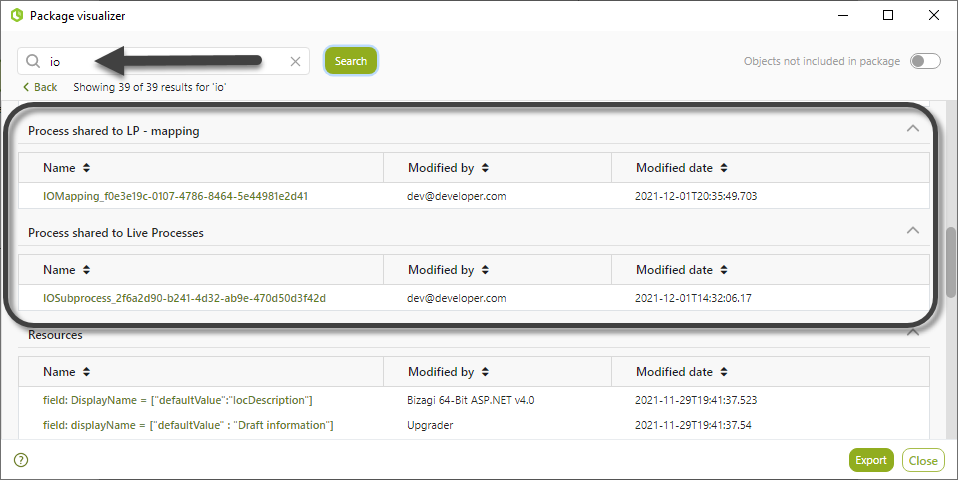
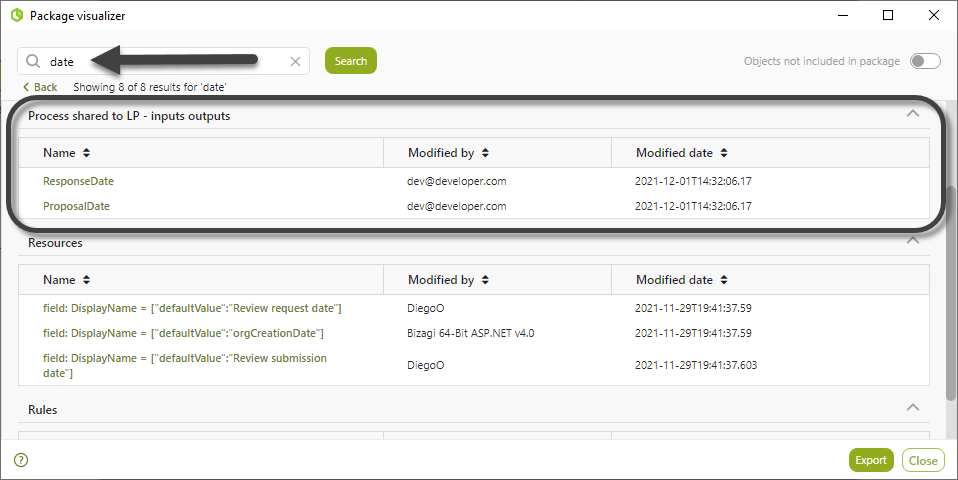
Once the export has finished, you can see in the Package Visualizer the objects generated for the Share to Live Processes process.
Next steps
Once you have shared your process to Live Processes, citizen developers will be able to use them as Live Processes. Refer to Using Studio processes in Live Processes.
Last Updated 7/5/2023 11:40:04 AM