To manage user groups click the Manage groups icon on the dashboard's top right corner.

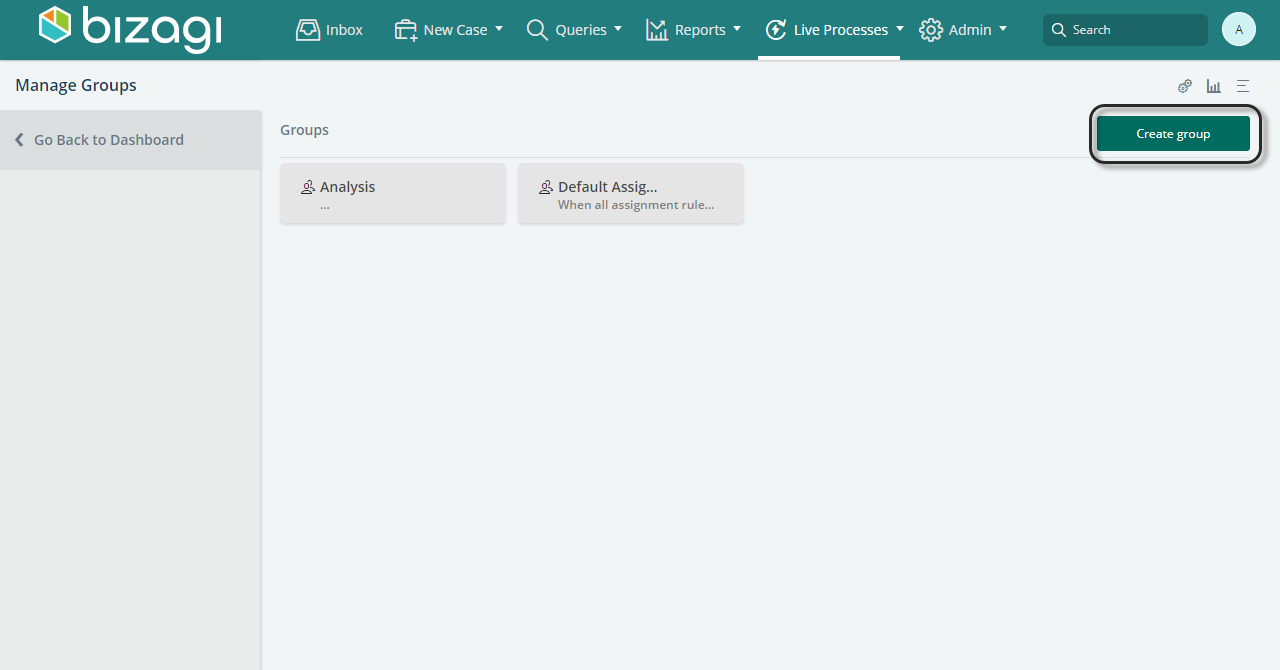
The Work Portal displays a dialog listing the available groups. Note that these groups are different from those defined on Bizagi Studio; these groups are exclusive for Live Processes. Click the Create group button to create a new group.
|
The Work Portal offers a default user group that assigns automatic access to the domain/admon user, even when the group is not explicitly designated. |
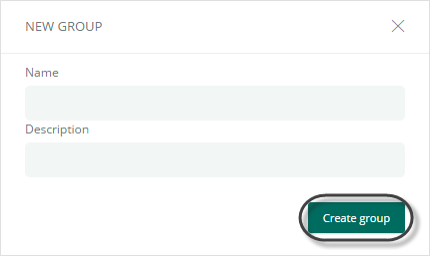
A dialog displays requesting a group name and a brief description. For this example, the group we are creating is the "Expense Group". Once you have provided your group's name and a brief description click the Create group button.
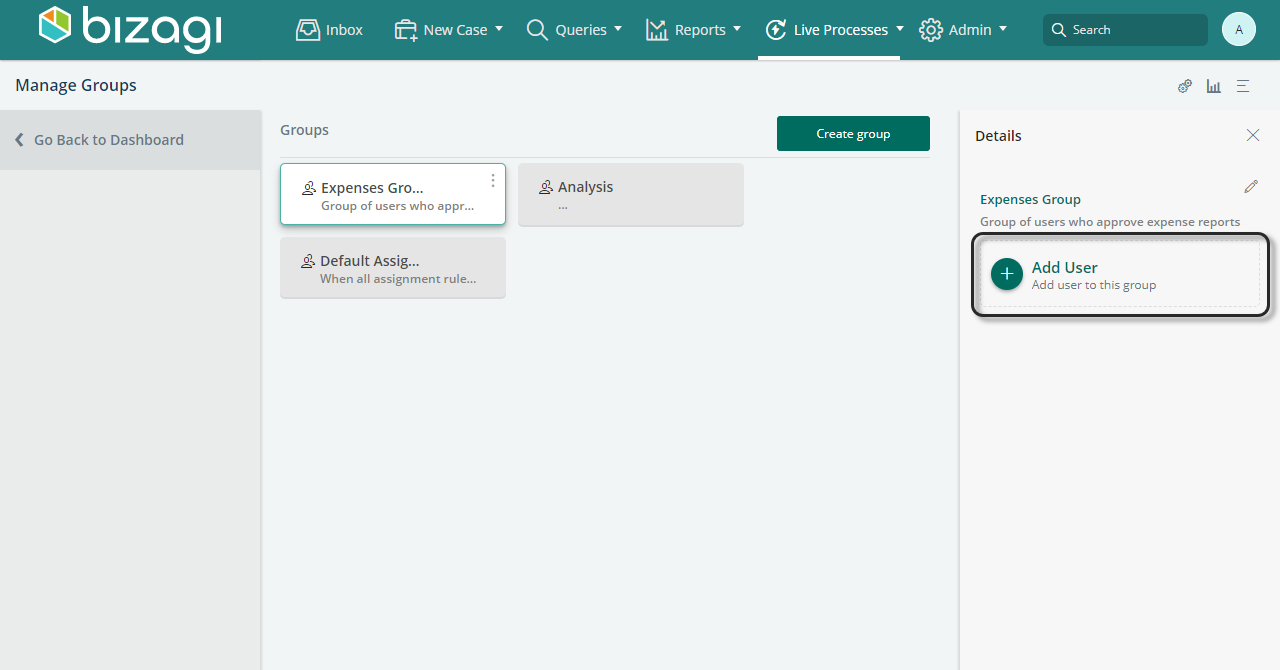
Once your group is created, the next step is to add users to it. Select your group and then click the green plus icon and start typing a user's name in the browse field.
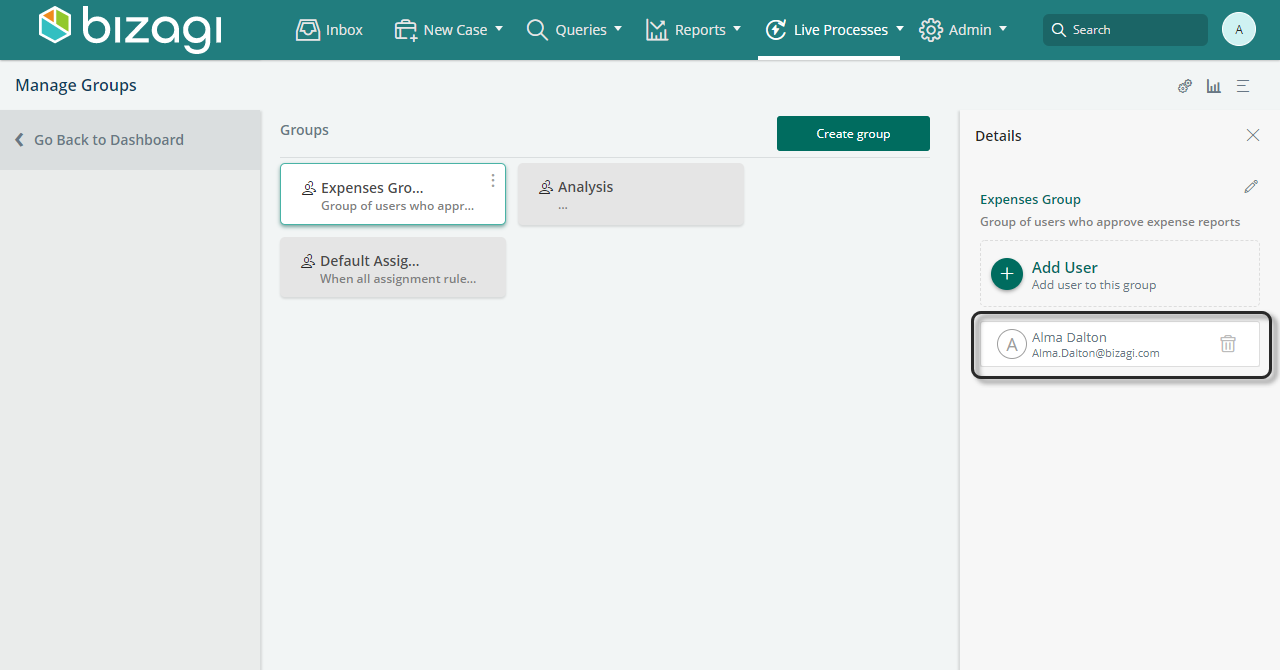
Bizagi shows the users whose name contains what you're typing. Select a user from the list to add them to the group. Add all the users you wish by typing their names and selecting them from the list.

To delete a user on your group, find the name on the users list on the right and click delete icon to the right.
To delete or edit your group, click your group's three dot menu and select the action you want to perform.
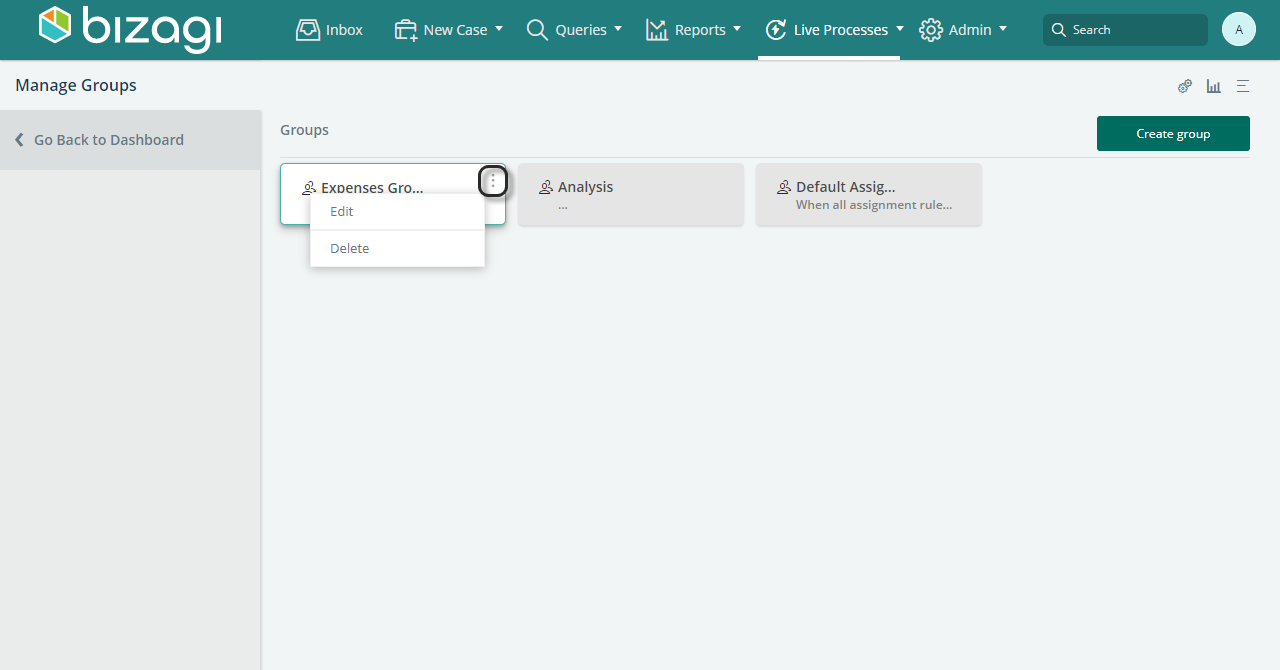
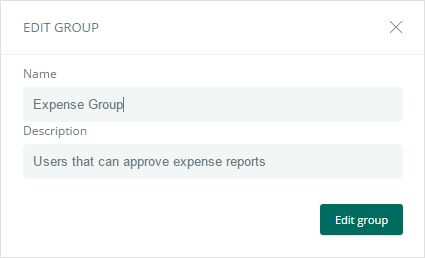
If you click Edit, a dialog displays where you can edit your group's name and description. To save changes, click the Edit group button.
If you choose delete, a confirm dialog appears, click Accept to delete the group. This does not delete any users who are members of the group.

Last Updated 1/23/2023 12:05:12 PM