Overview
For each subscription there is a user that has the possibility of creating and managing additional accounts to register incidents. Usually that user is the one that purchases the plan, or the first user that was enabled in our Support site.
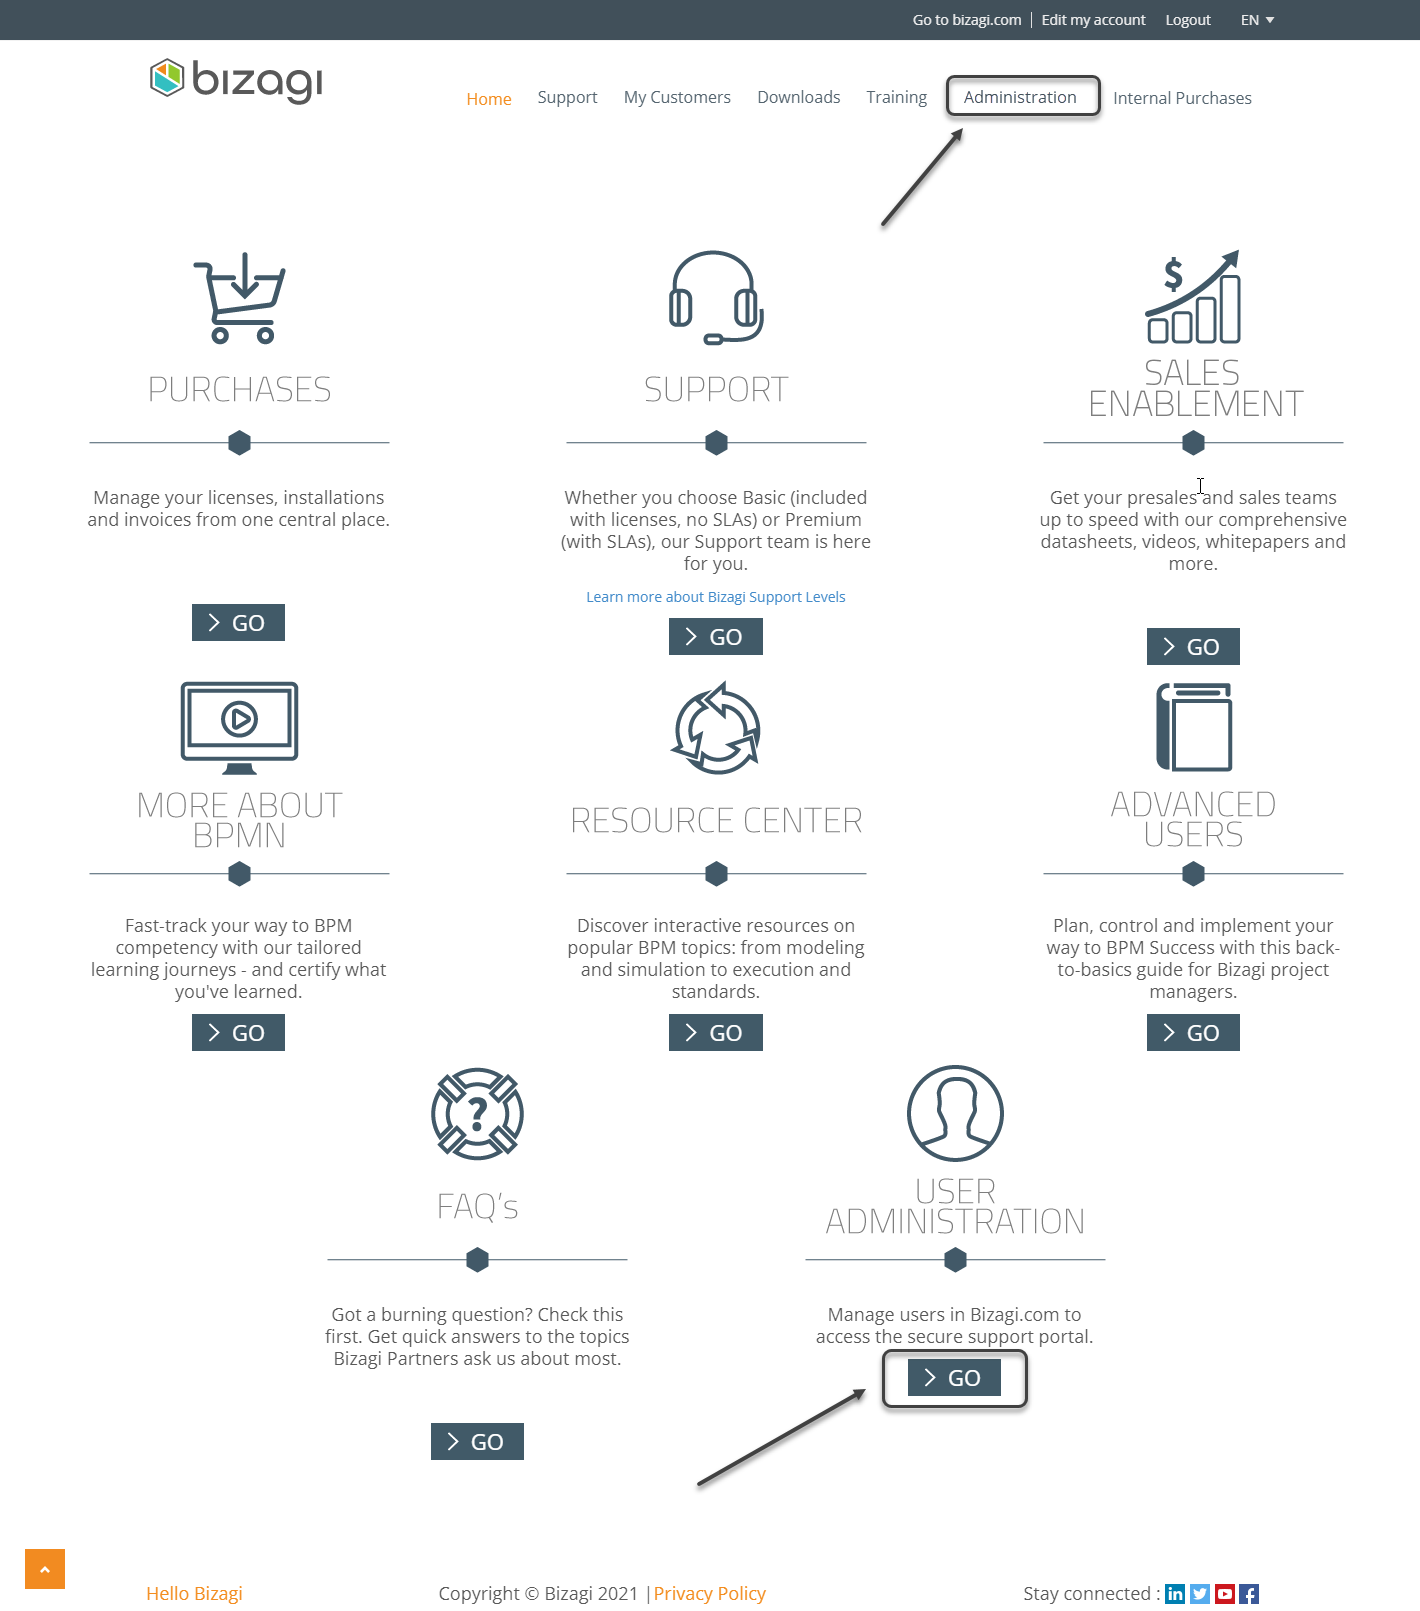
To manage the accounts sign in to the Support site and follow any of the following options:
•Click on the Administration menu on top of the window.
•Click on the link User Administration.
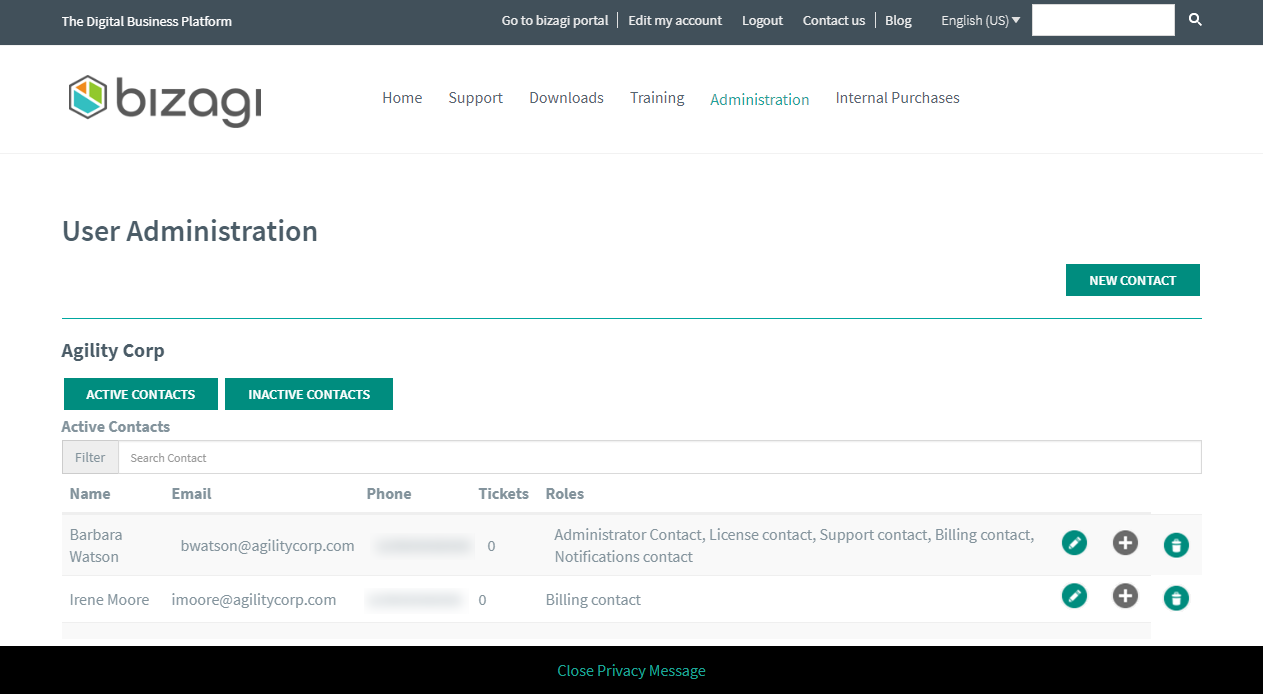
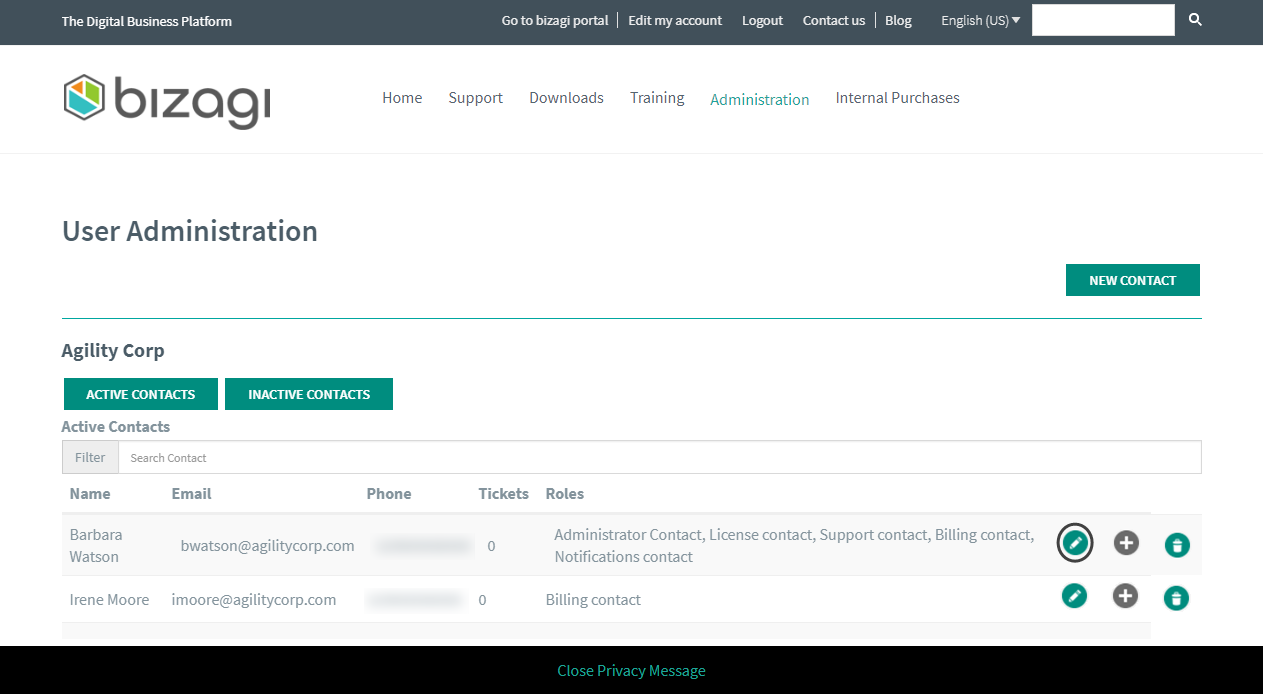
There you will find a list of enabled contacts that can access the support portal. There, you can add, edit or delete (deactivate) them.
|
•The site is designed to make sure that each account is independent from one another, even if they belong to the same company. That is, the incidents created by one account are NOT visible from another account •If you need several people from the organization to manage tickets in a centralized way, our recommendation is to create a single account to be shared by several users. For example, create BizagiSupport@mycompany.com as a distribution list and relate all the users that will manage tickets, so they can all receive our Support's team notifications |
Creating a new contact
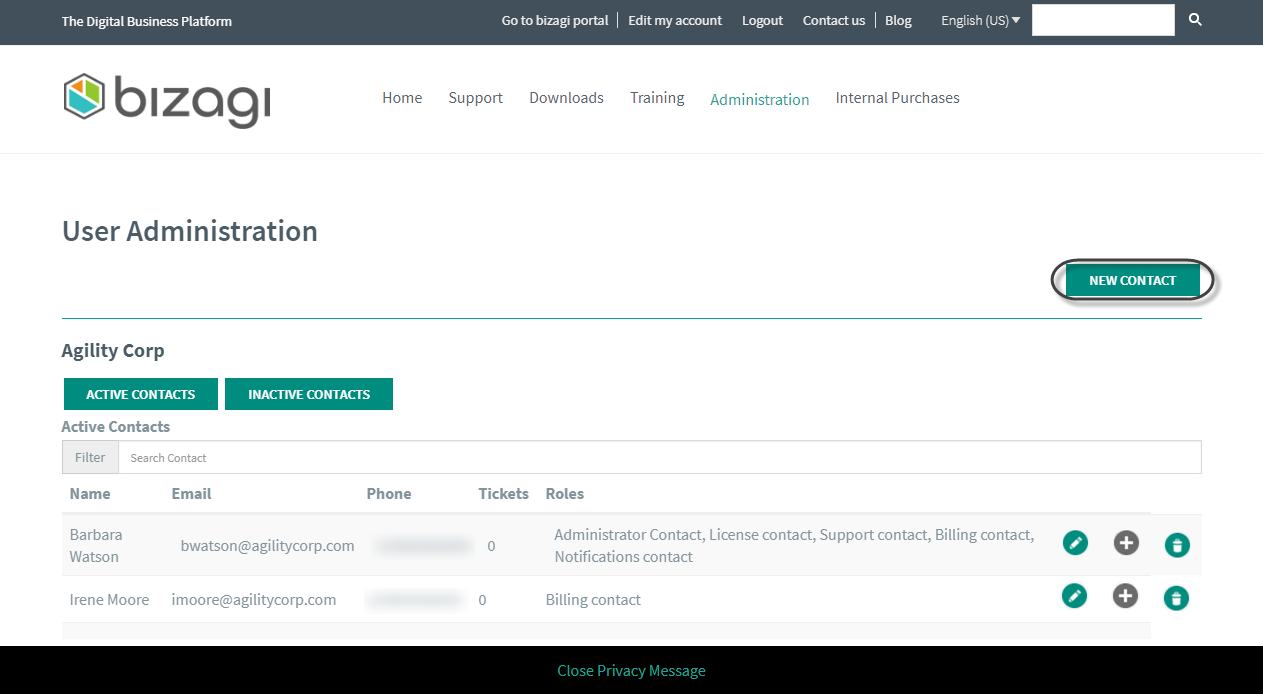
To create a new account click on the New Contact button.
This will show a pop-up where you can type the user's basic information and assign them different roles. Information such as location and phone number will be loaded from your subscription's information.
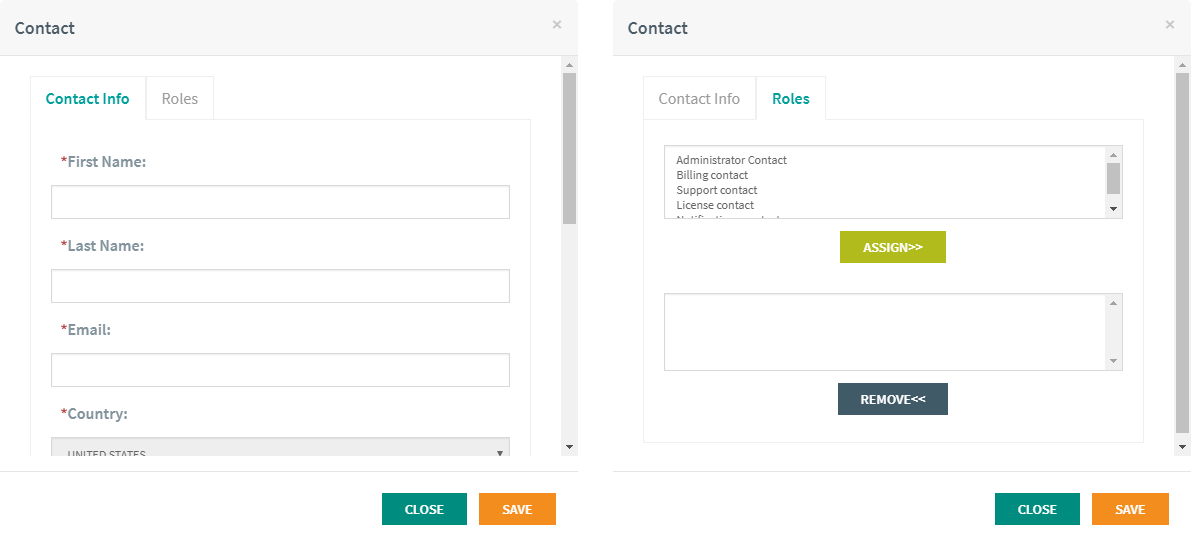
Available Roles are as follows:
•Administrator contact: manages contacts (users) through the Administration menu and can be selected as contact for documentation and invoices.
•Support contact: creates tickets and can access the Support menu.
•Billing contact: has access to your company's purchases and can be used for invoicing purposes.
•License contact: has access to your company's and trial licenses.
Editing contacts
To edit the accounts click on the edit ![]() icon.
icon.
A pop up will appear with the user's editable information.
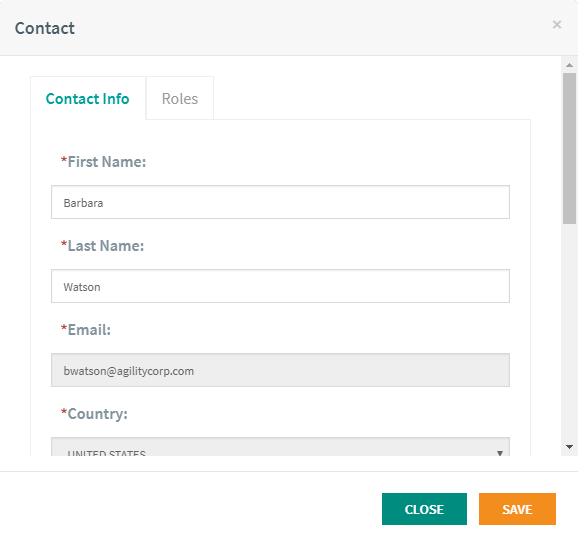
Edit the fields you wish to change and click on Save.
Deleting contacts
To deactivate an account click on the delete ![]() icon. The portal will show a confirmation pop up, click on OK to deactivate the selected user.
icon. The portal will show a confirmation pop up, click on OK to deactivate the selected user.
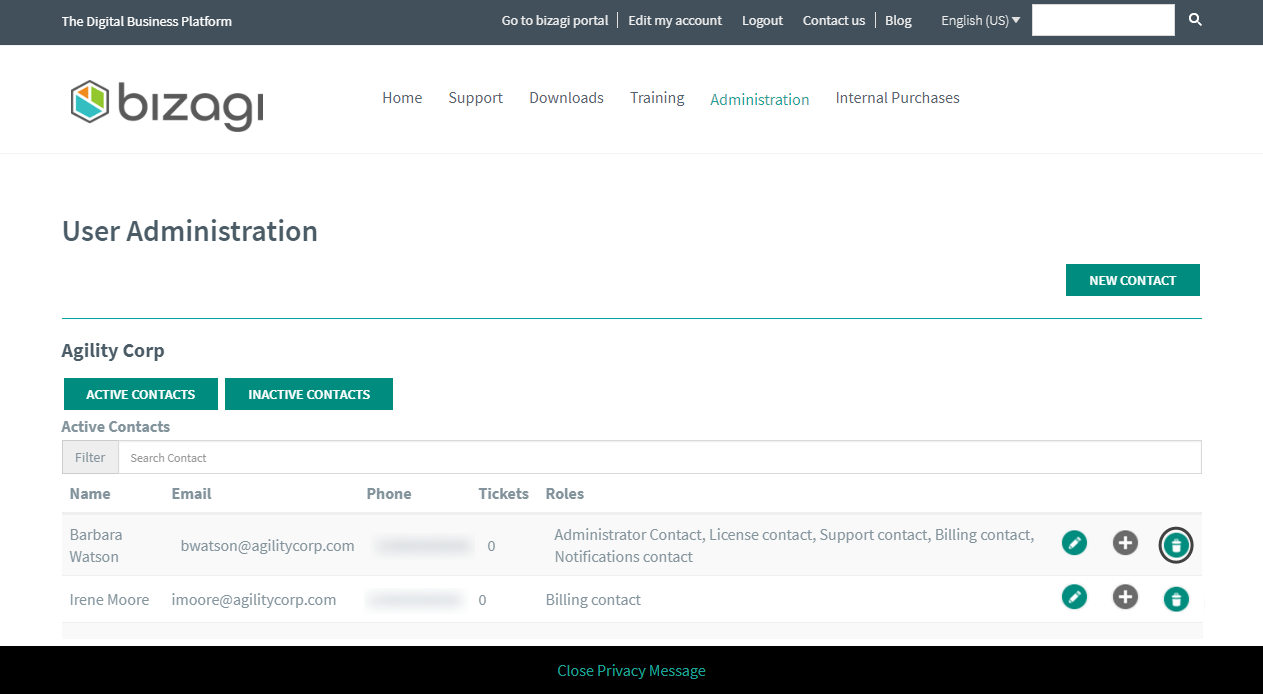
Now the selected user will be added to the inactive contacts list. To view your inactive contacts click on the button.

From this view you can activate any of the contacts by clicking on the plus ![]() icon. A confirmation message will be displayed, click on OK.
icon. A confirmation message will be displayed, click on OK.
Last Updated 12/5/2024 4:30:07 PM