Overview
An important part of using the native Excel connector is to write information in the Excel file. To write a collection in your Excel sheet use this action.
If you want to write a individual attributes in your Excel use the Write action.
Action
The Write Range action allows you to input information from your Data Model into a specific range of the spreadsheet. You can identify this action by its blue border on the left panel.
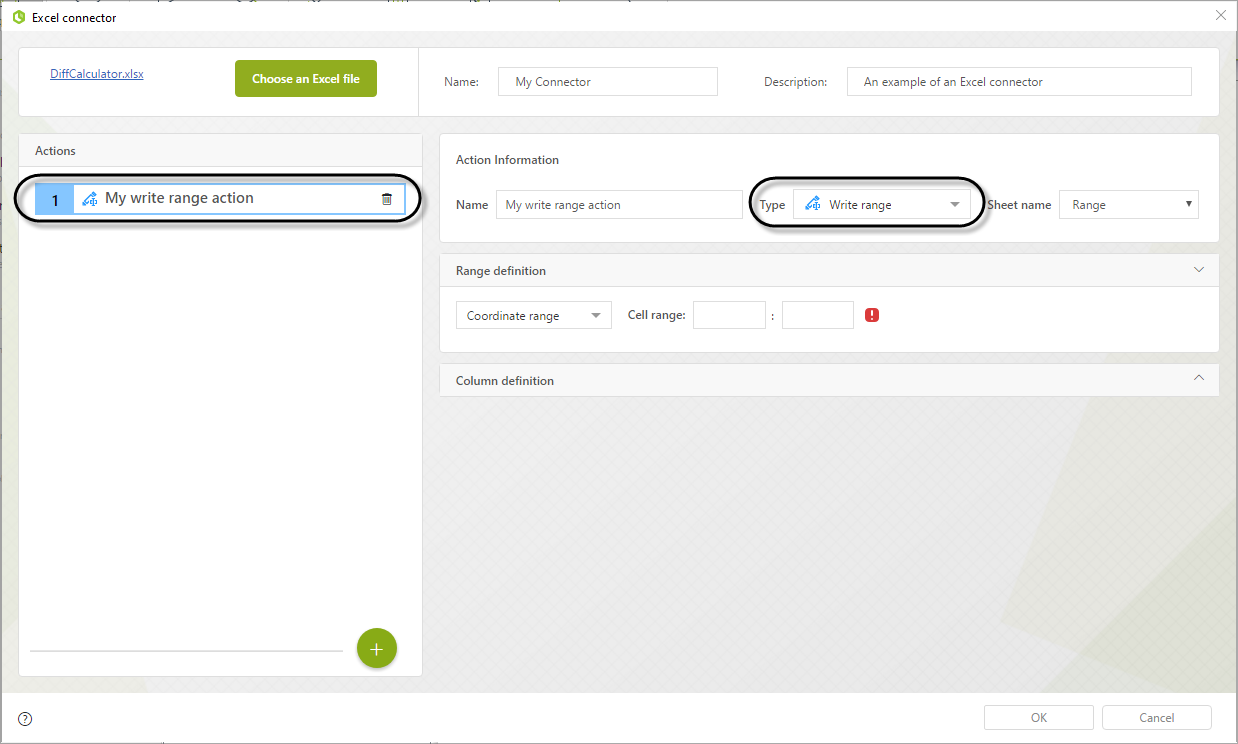
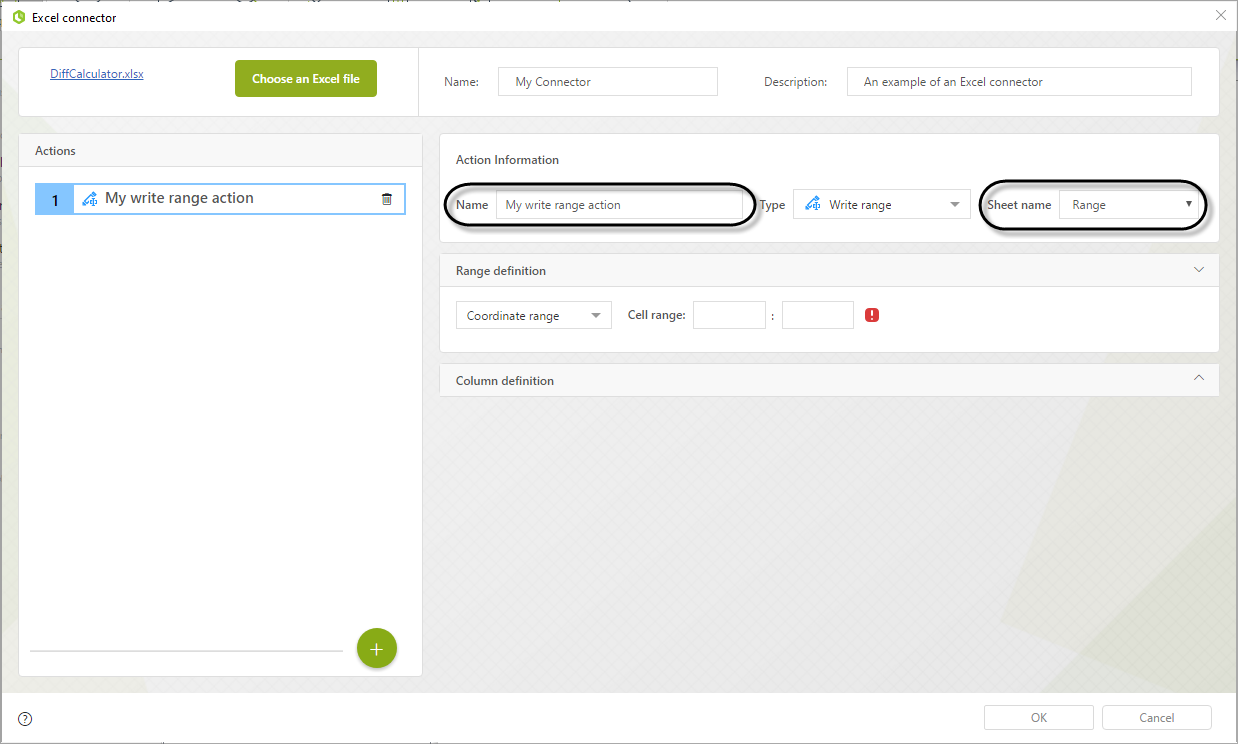
Give this action a meaningful name and select the sheet where the action will take place.
With a Write Range Action you can write multiple columns in a single range. You have to define an output for each column of the range. Each column on the range is associated with an attribute of your collection. To set up this action you must configure the range and the column definition.
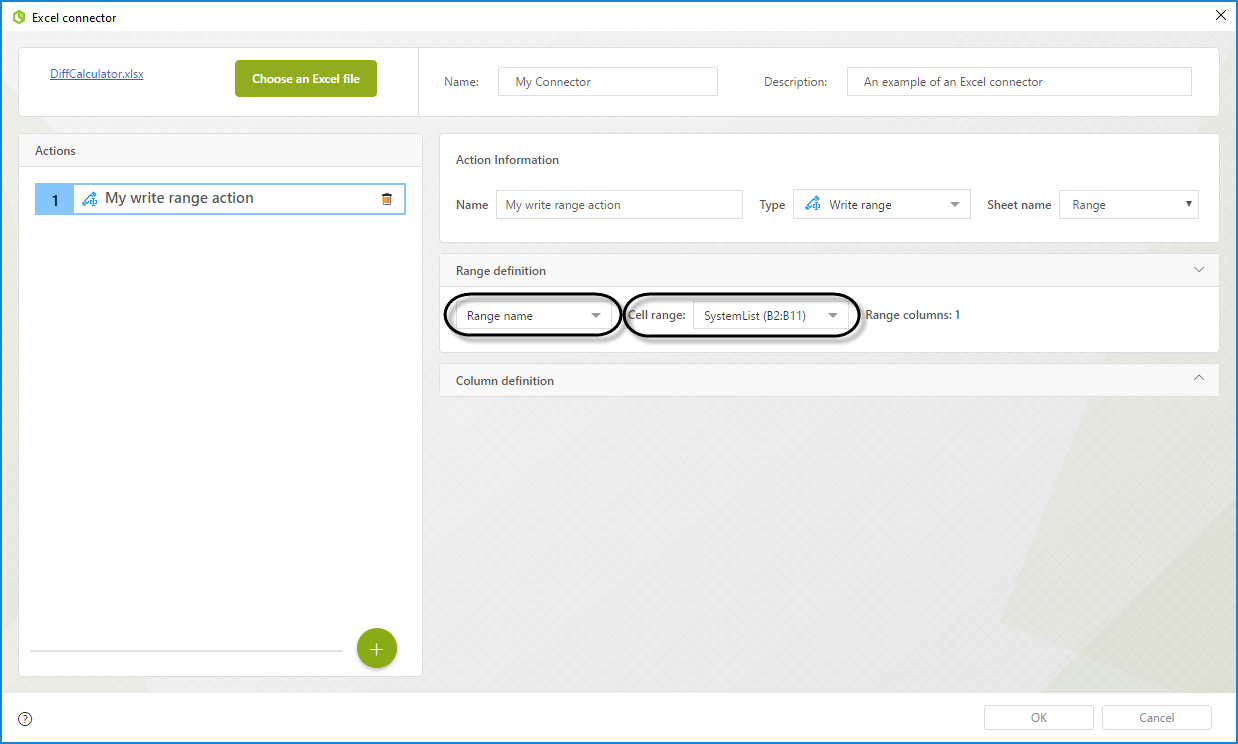
In the Range definition panel you can configure your range either by using coordinates or using a name.
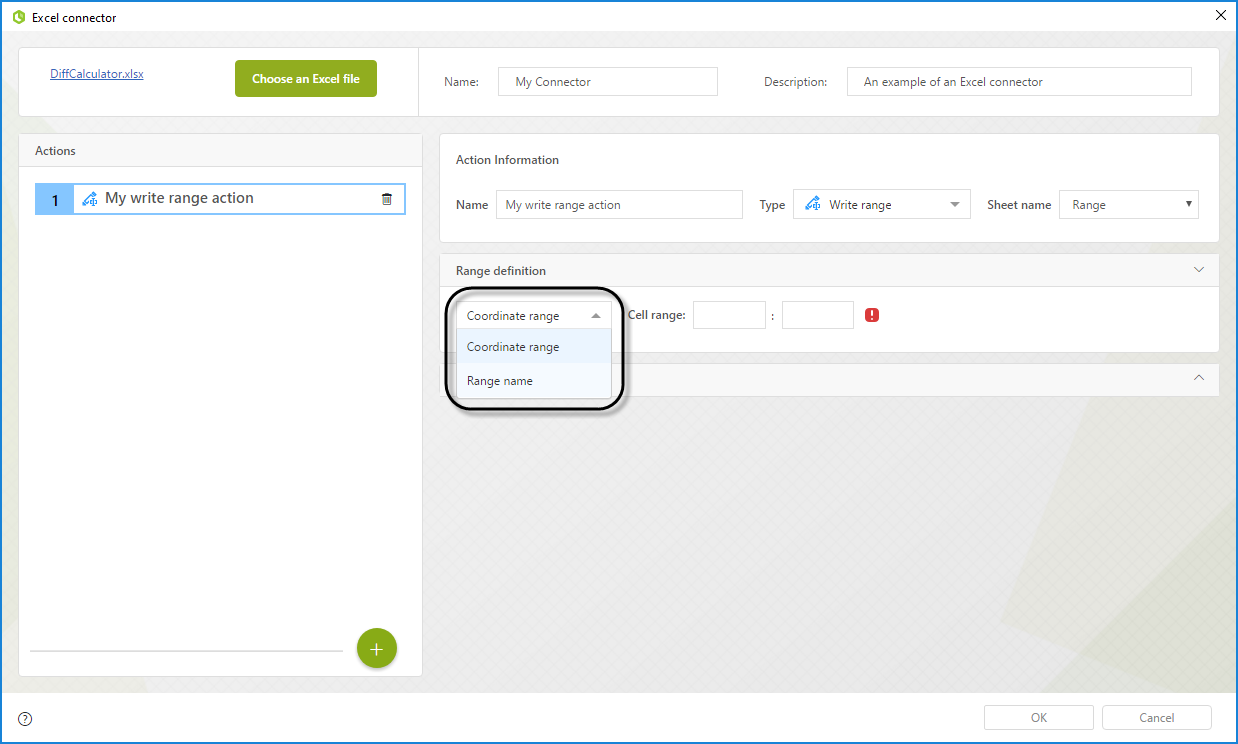
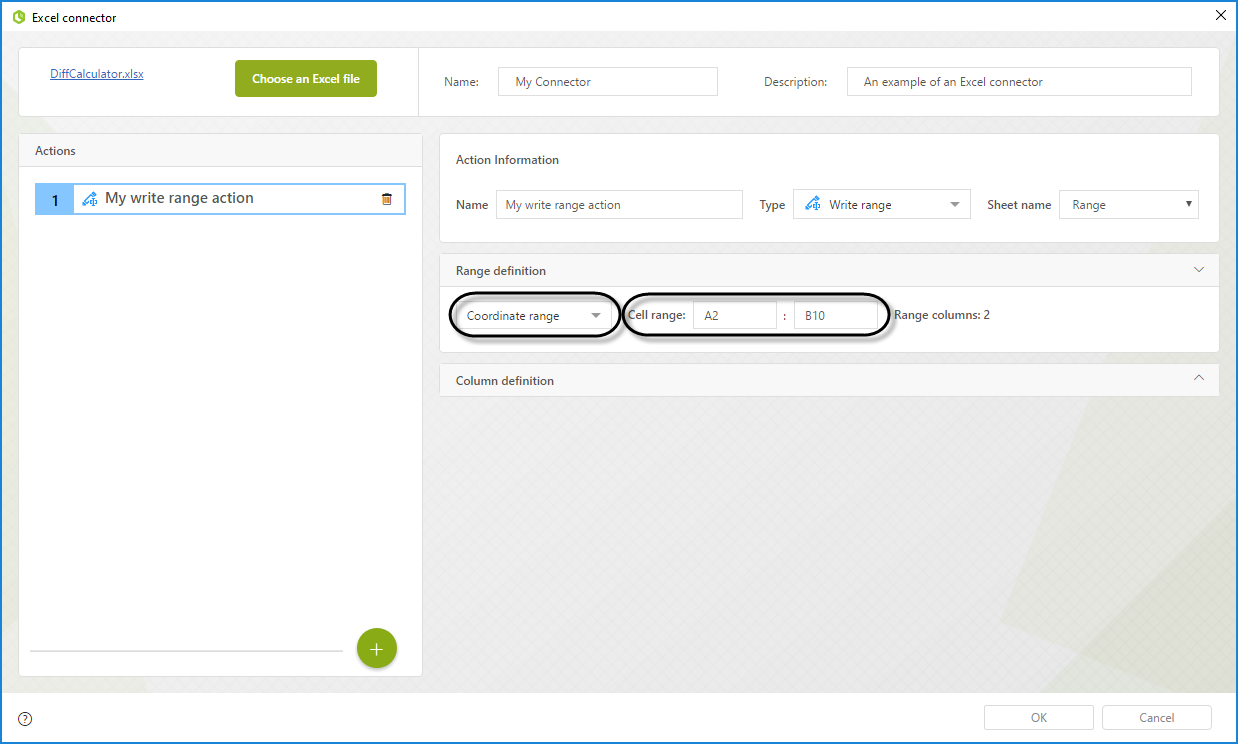
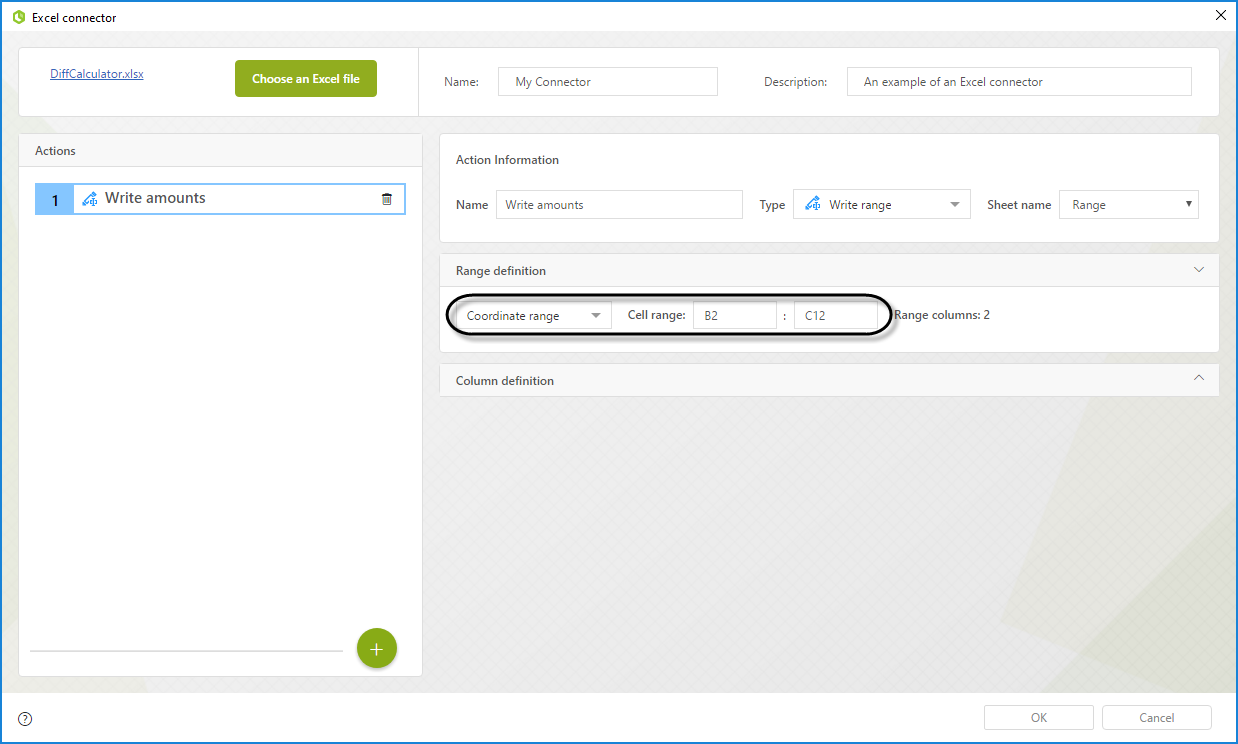
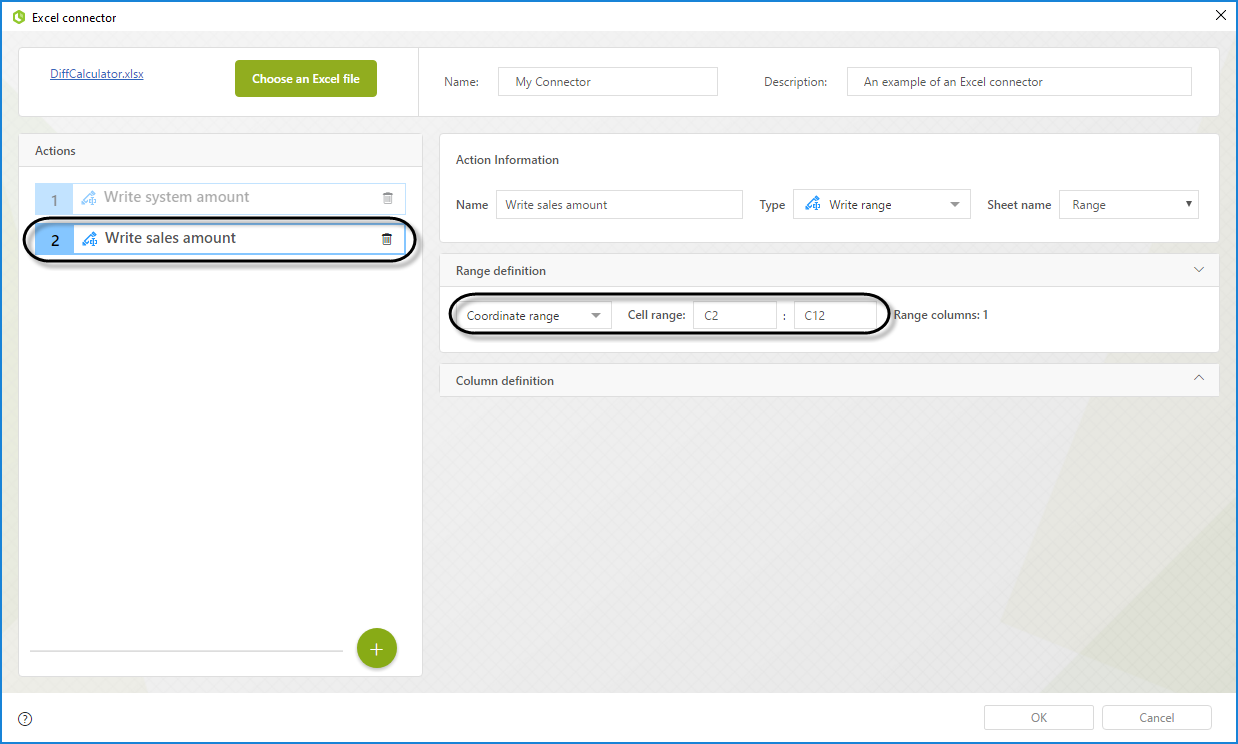
To identify a range with its coordinates select the option Coordinate range and provide the coordinate of the top left cell of the range and of the bottom right cell.
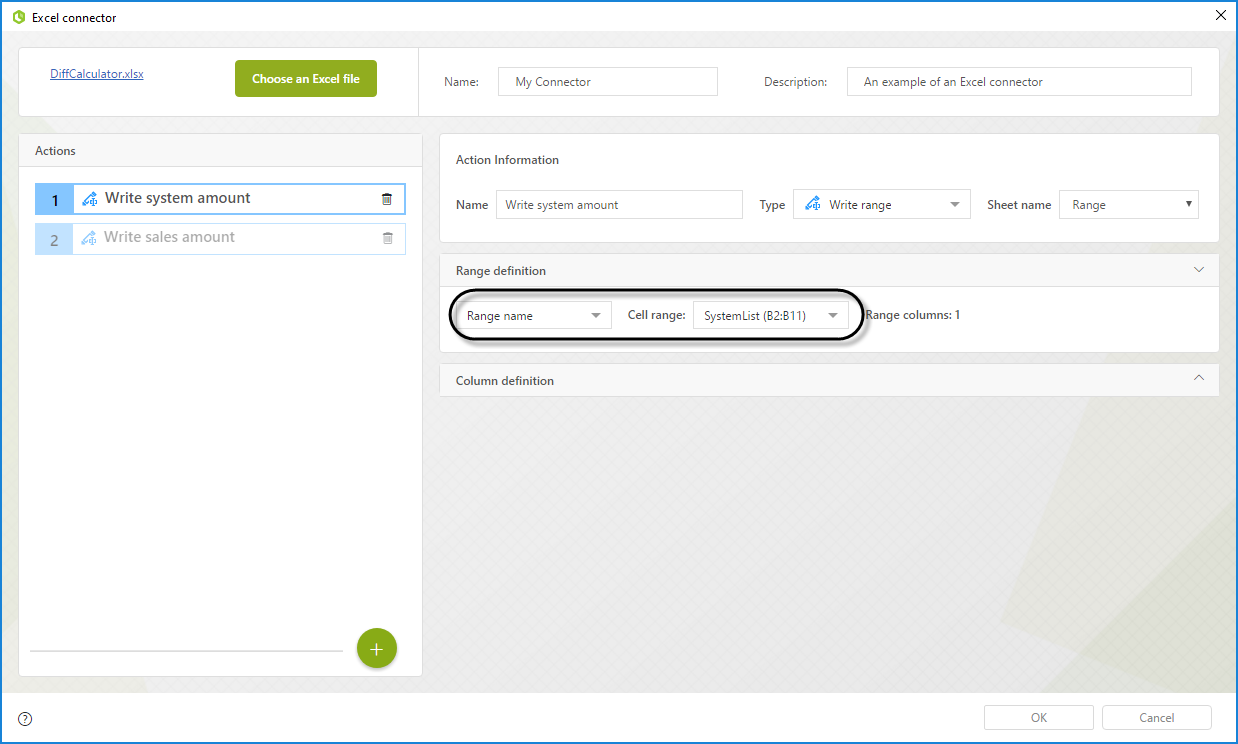
To identify a range with its name select the option Range name from the dropdown list and select the name of your cell from the available options. The name must already exist in your Excel file to be shown in the options.
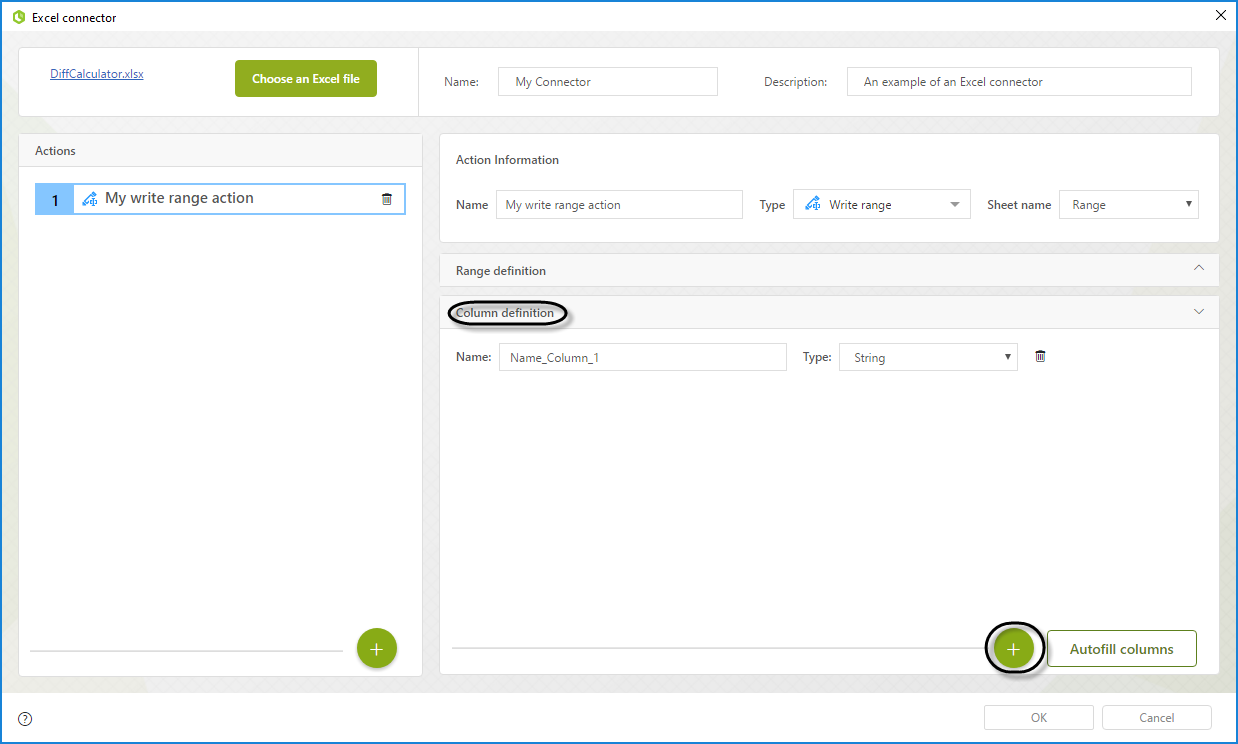
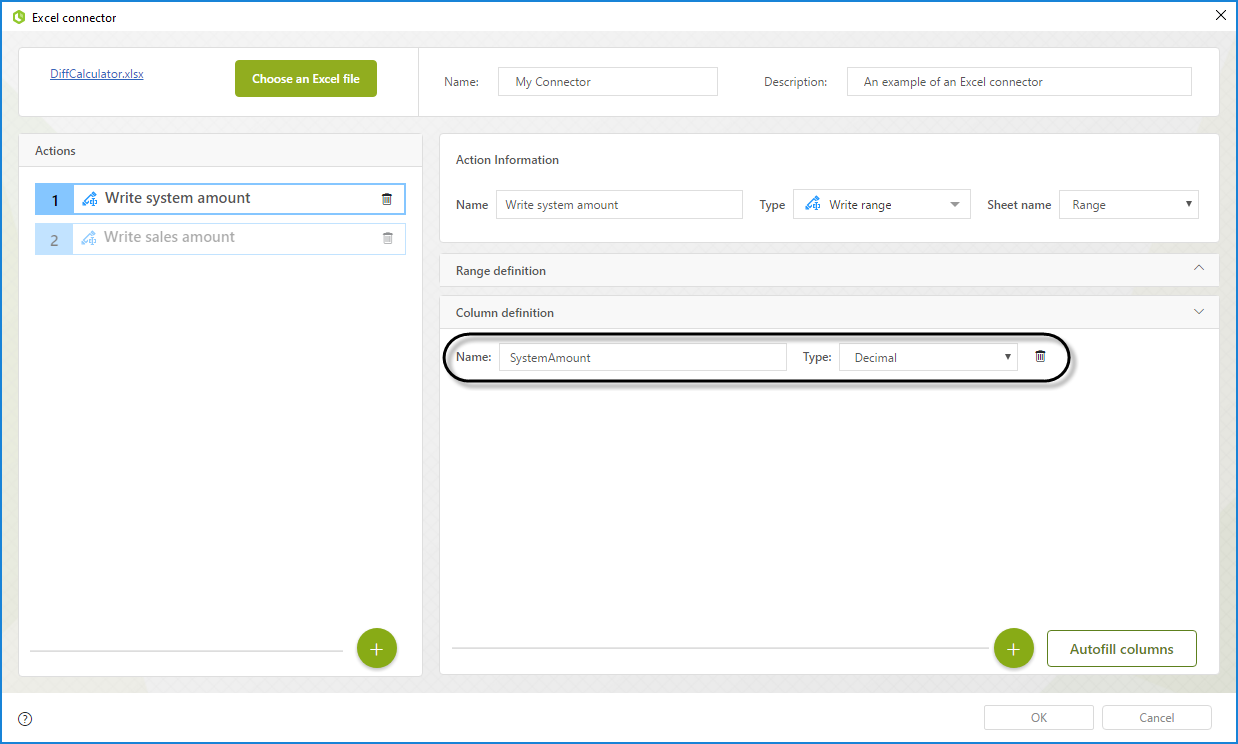
Afterward configure the columns in the Column definition panel. You must have a definition for each column in your range. You can add a new column definition by clicking the ![]() button.
button.
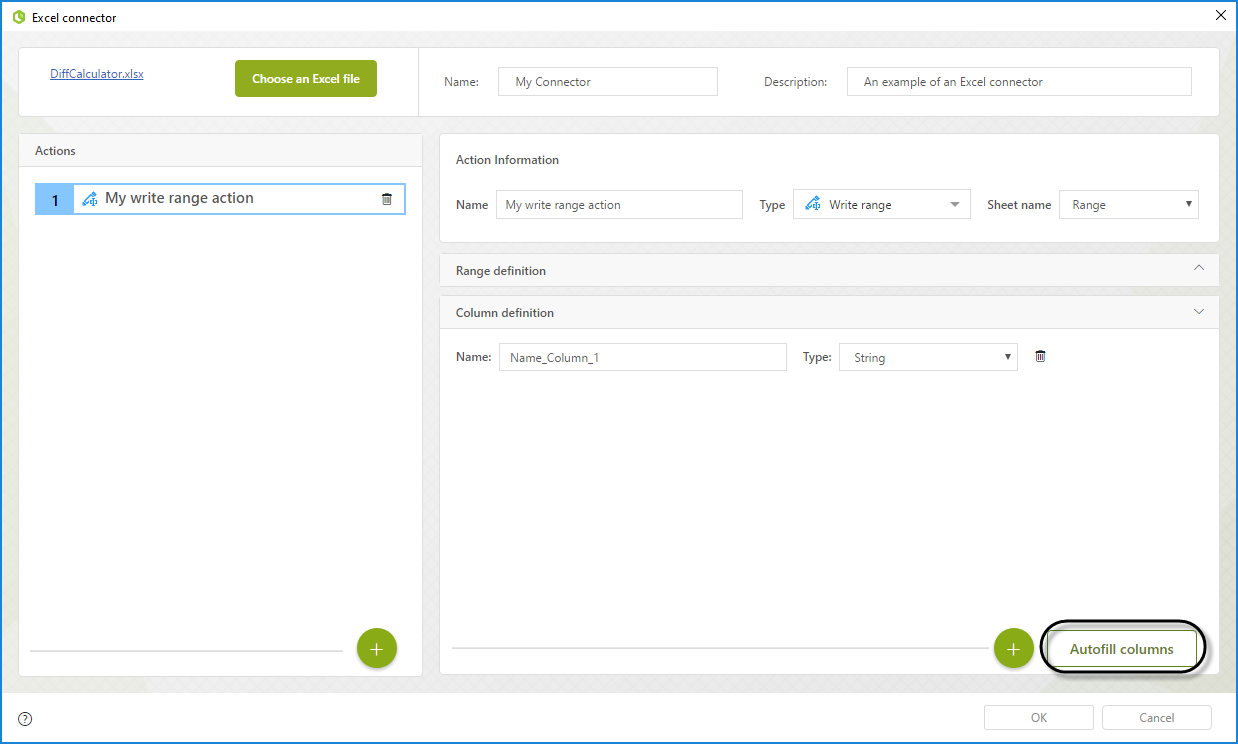
If you want to automatically create the expected number of columns click Autofill columns.
For each column definition you must provide the following parameters:
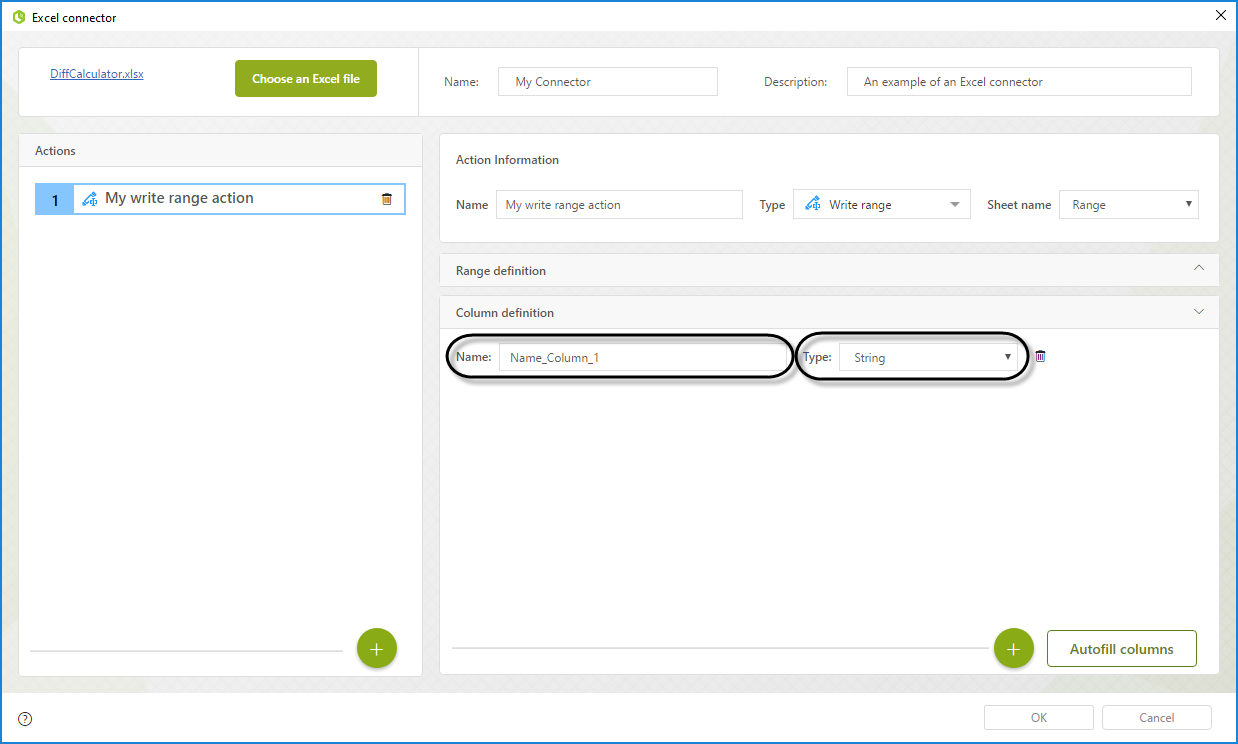
•Name: Name for the column. This name will let you identify this particular input in the mapping
•Type: The data type of the column. Its possibles values are: String, Boolean, Byte, Date, Decimal, Double and Integer
Advance Mapping
When you map the inputs of the connector using the advance view you can map the following properties for the Write range action:
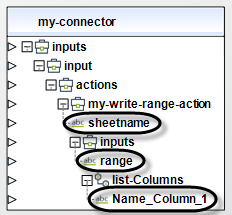
•Sheetname: With this field you can select your sheet where the action is executed dynamically. Use the name of the Sheet as it is shown in your Excel file.
•Range: With this field, you can select the range where you want to write the information. If the cell is configured to receive a coordinate, you must provide a coordinate. In the same way, if you configure it to receive a name, you must provide an available cell name.
The attribute of the collection you want to map in each column must be mapped directly to the name you gave to the column in the Wizard.
Configuration example
In this example we will use the following Excel file:
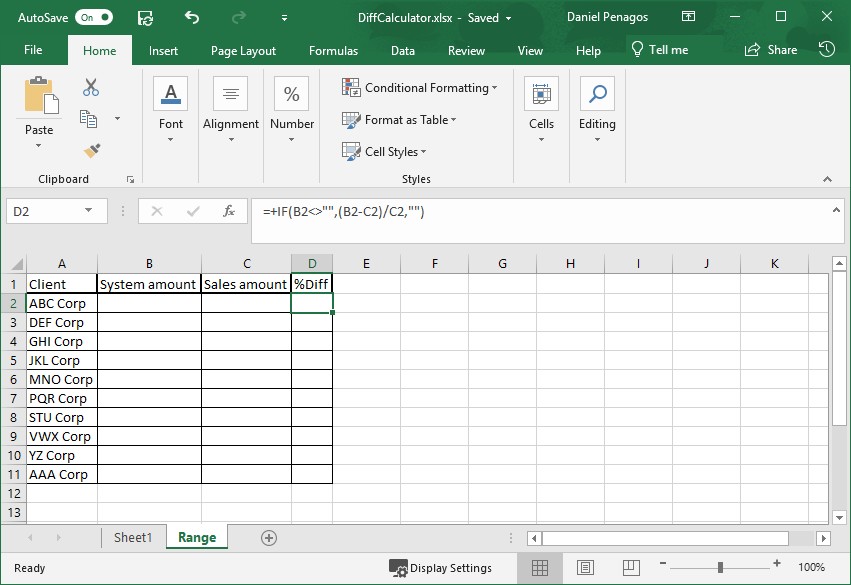
In this simple Excel file we have a list of names in the range from cell A2 to cell A12 two empty ranges (B2:B12 and C2:12) and a column in which each cell calculates the percentage difference of the two previous columns. Finally the range B2:B12 is named SystemList and the range A2:A12 is named ClientList.
On this example, the connector will Write information into the ranges B2:B12 and C2:C12 when executed.
Depending on your Data Model you have to configure this connector differently. If your model has a single collection with an attribute for each column in the Range definition panel select Coordinate range and write B2 as the starting cell and C12 as the end cell.
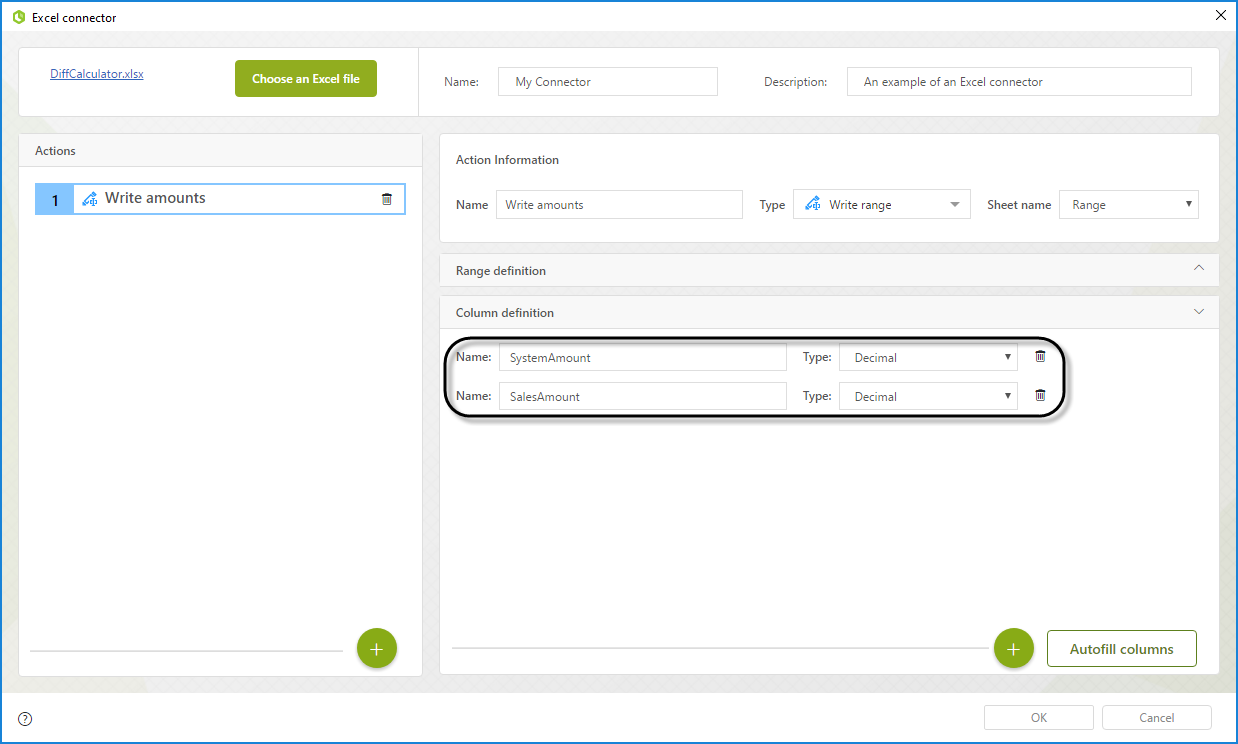
In the Column definition panel add two columns and set the following properties:
1.Name the column as SystemAmount and make its type Decimal.
2.Name the column as SalesAmount and make its type Decimal.
If your data model has two different collections for the system amount and the sales amount you must configure two separate actions.
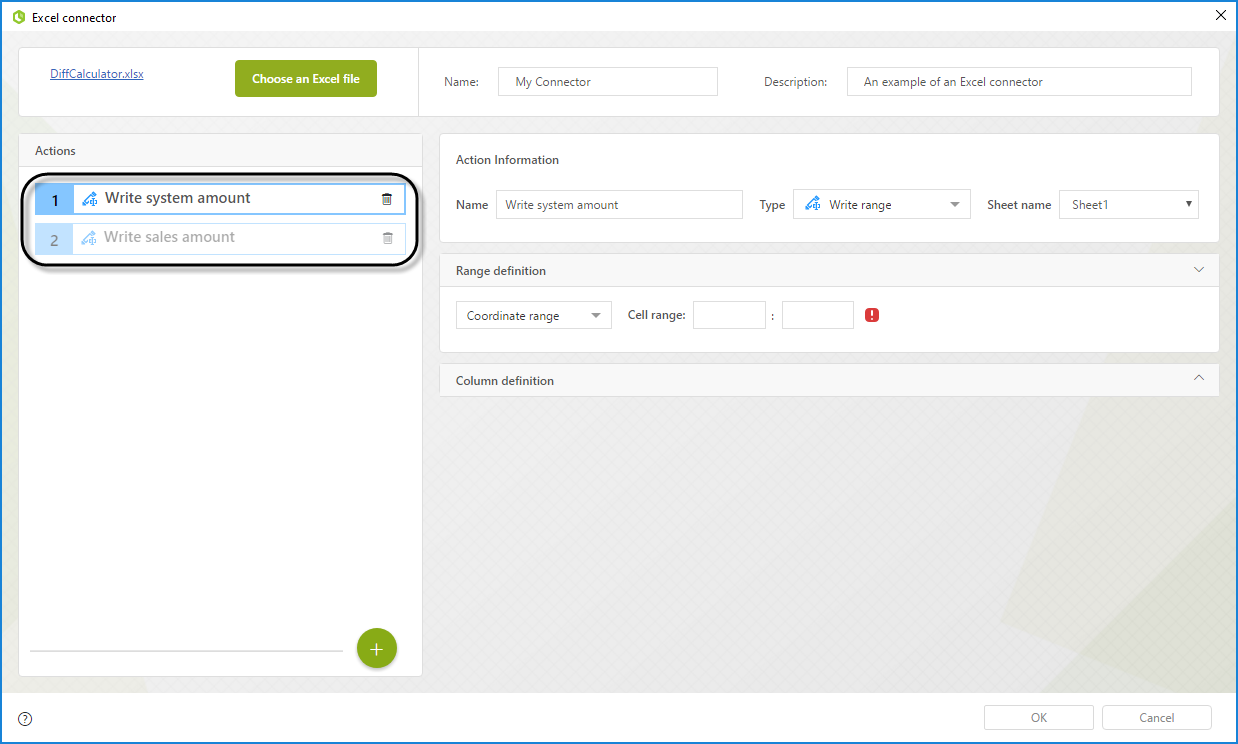
For the first action in the Range definition select Range name and from the dropdown select SystemList(B2:B11).
In the Column definition add one single column and name it as SystemAmount and make its type Decimal.
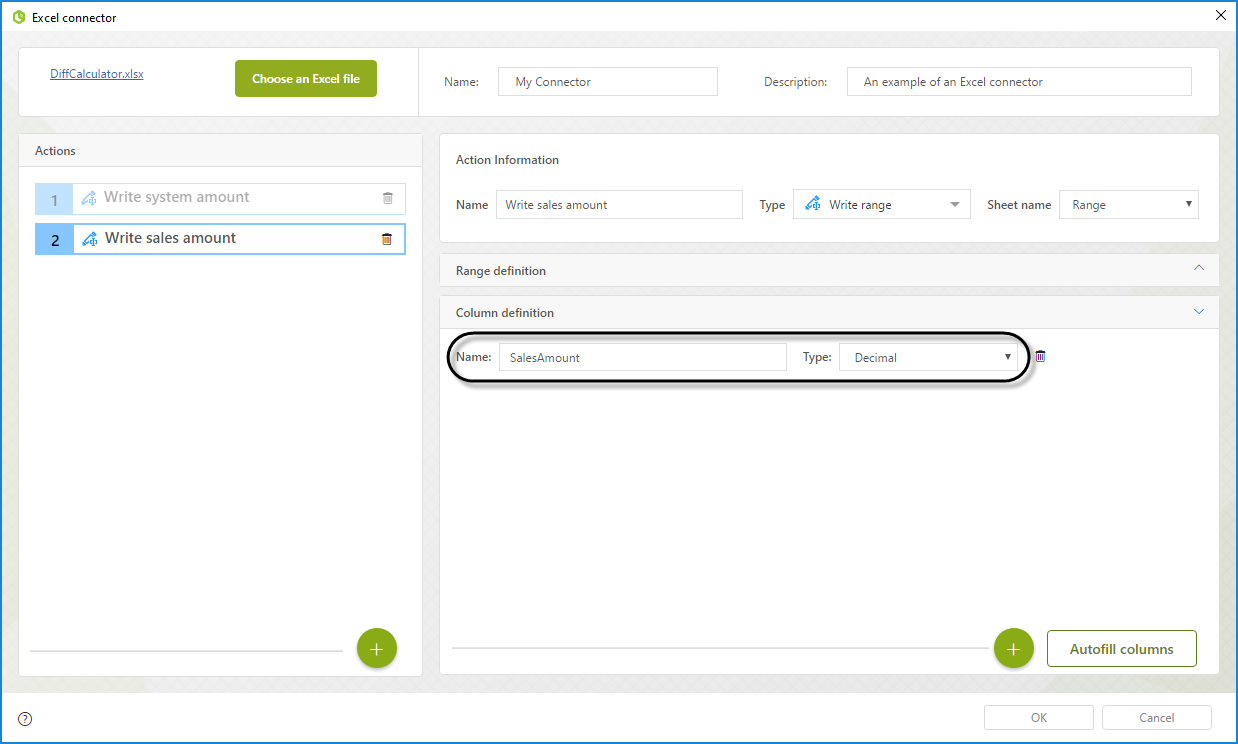
For the second action in the Range definition select Coordinate name and write C2:C12.
In the Column definition add one single column and name it as SalseAmount and make its type Decimal.
Last Updated 2/25/2024 8:48:27 PM