Validations are customized error messages displayed in the Work Portal informing the end user that data is missing or an error occurred in an activity. Validation messages are usually defined in On Exit Actions or in Table Validations.
•If a validation is thrown when the end user clicks Next in an activity, the process will halt and the customized message appears.
•If a Validation is thrown when trying to save a new record of a table, then the new record will not be saved, and the message appears instead.
You must configure the validations using either the ThrowValidationAlert or ThrowValidationError function.
The only difference between them is how the error message is displayed. The syntax of the functions are:
CHelper.ThrowValidationError("Message")
CHelper.ThrowValidationAlert("Message")
The parameter of this functions is the error message that appears when the validation is thrown.
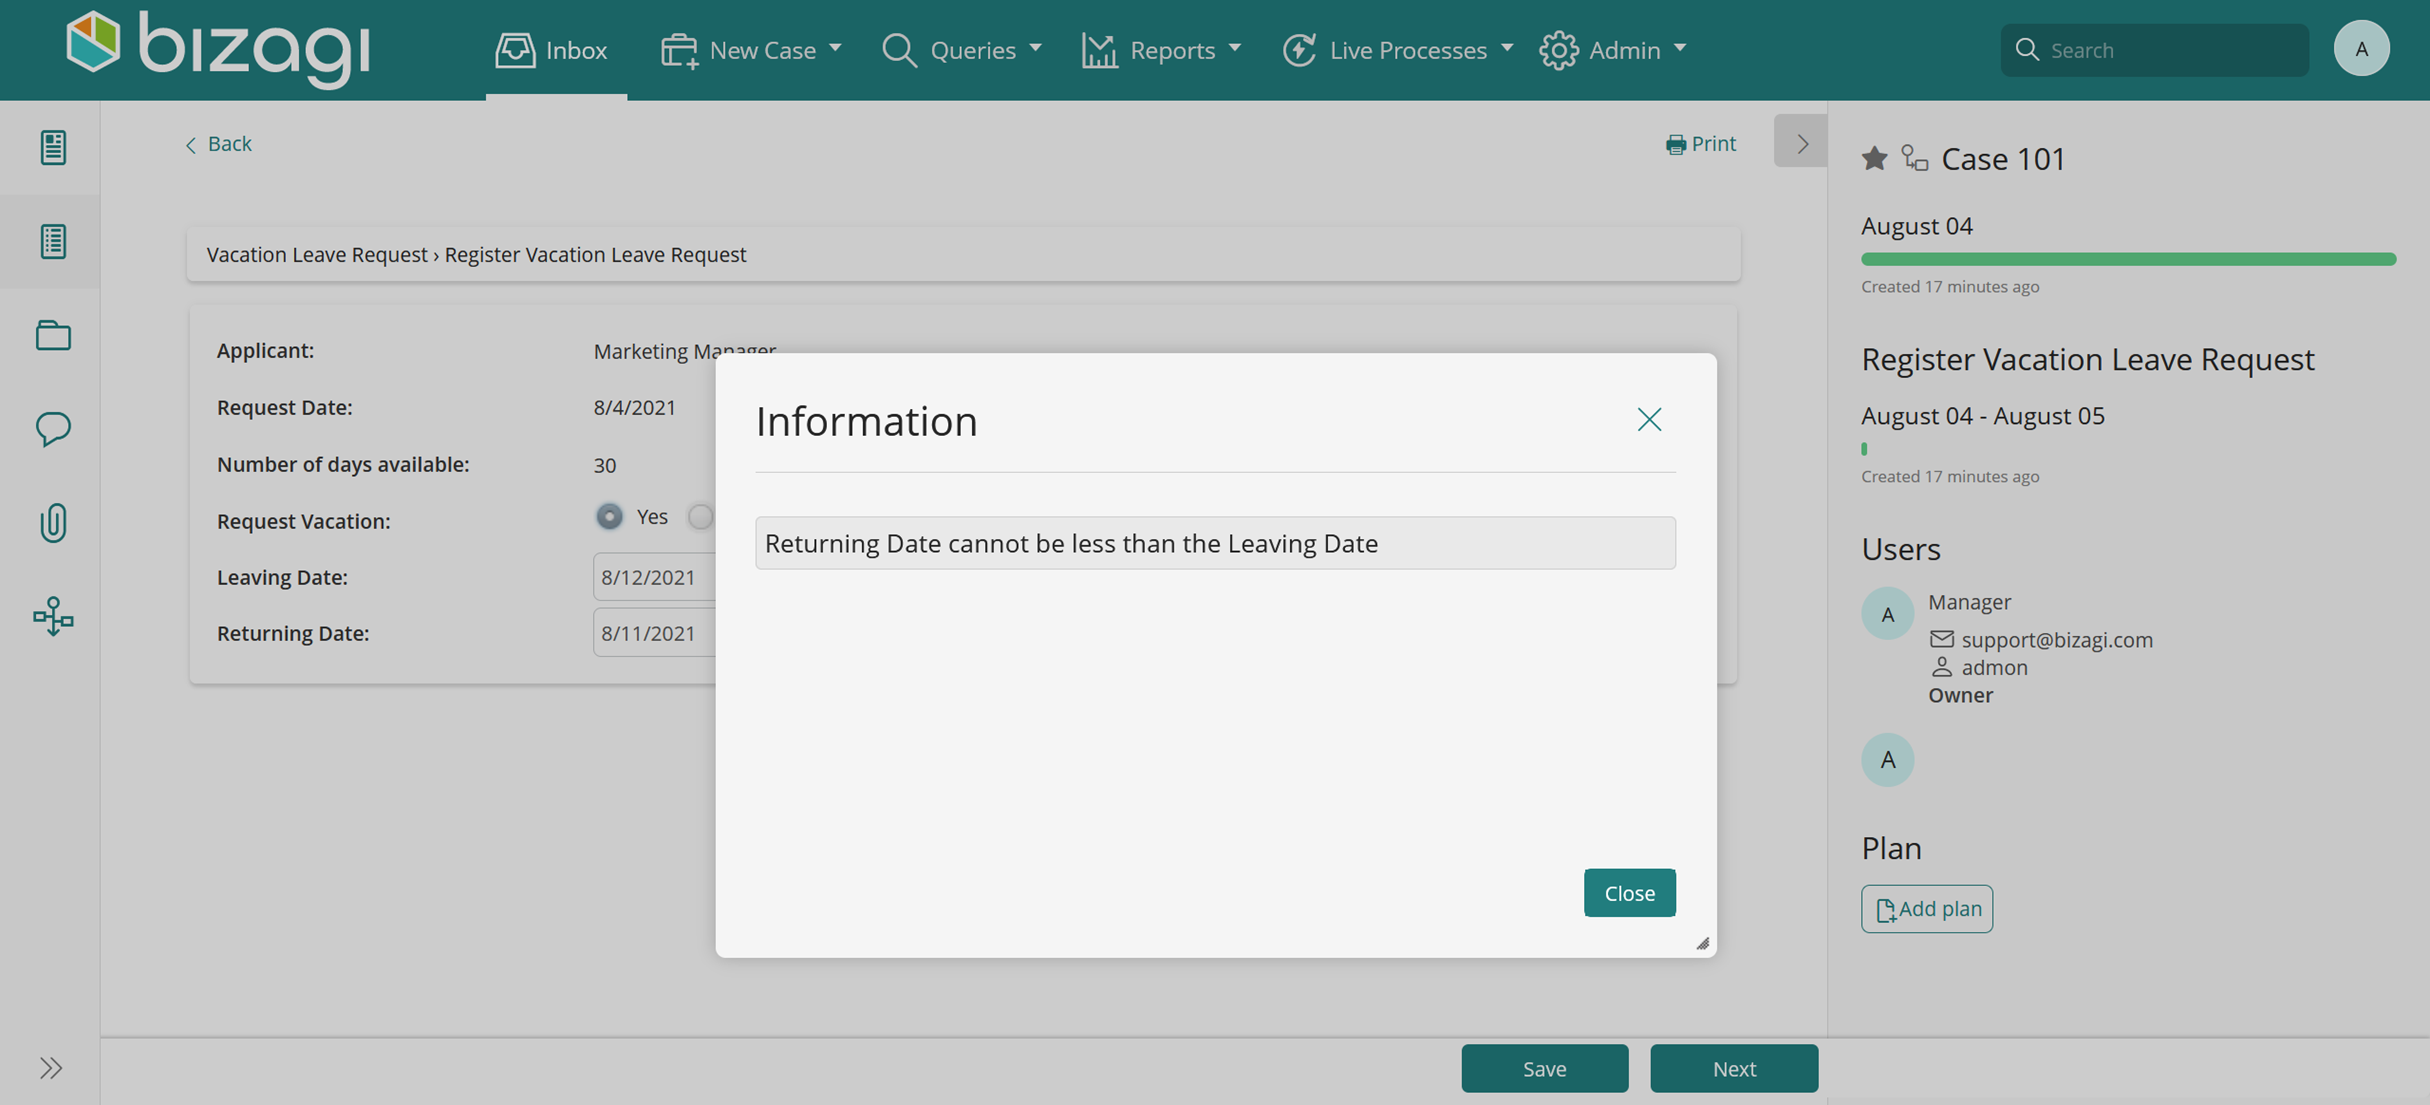
The function ThrowValidationAlert enables a message window to appear on the middle of the screen of the end user's Work Portal, when the validation is thrown. This window remains on the screen until the end user decides to close it by clicking the quit button. It has a title and a content. The title is non editable, and the content shows the customized message that you set in Bizagi Studio.
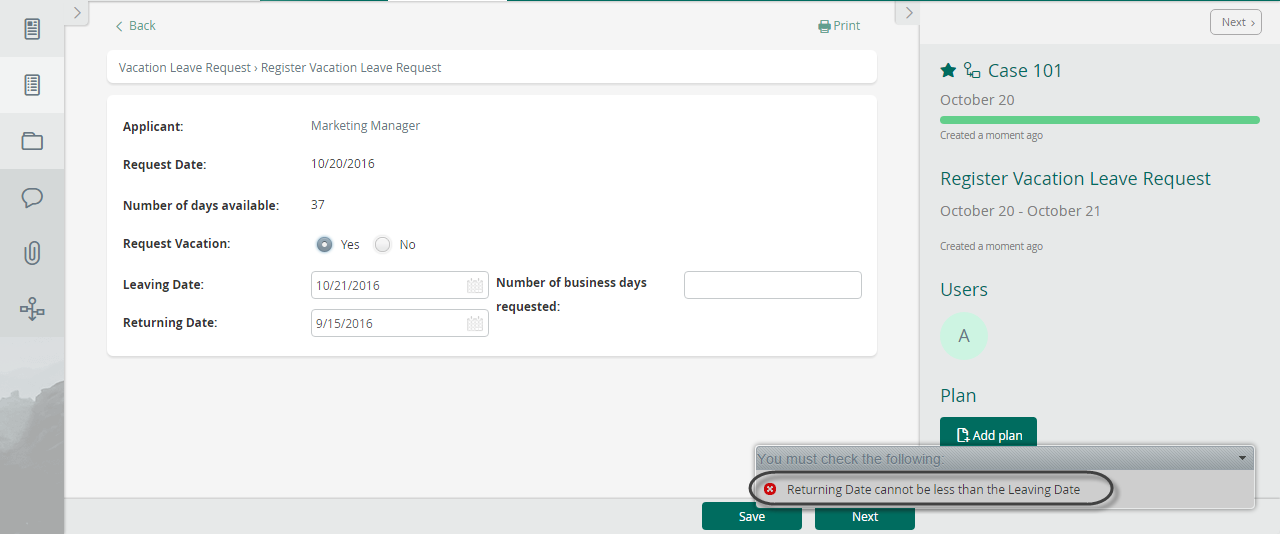
The function ThrowValidationError sets a message which appears in the Work Portal on the right bottom of the end user's Work Portal screen when the validation is thrown. It automatically disappears after some seconds.
You can find both functions in the Data Validation category.
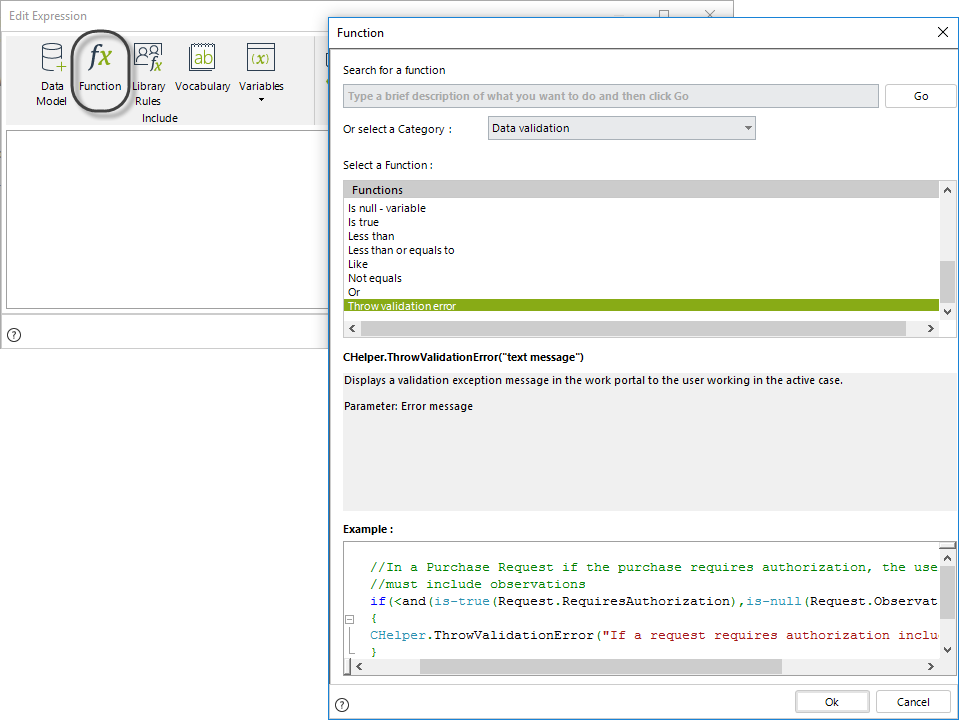
Example
In a Travel Request Process you have to validate that the Vacation's Returning date is greater than the Vacation’s Leaving date to be able to calculate the days of leave requested. If the dates do not comply with this condition a validation message appears on the end user's Work Portal screen to inform of the erroneous date.
To show a validation message use either the ThrowValidationError or the ThrowValidationAlert function.
1. Go to the fourth step of the Bizagi Process Wizard and create an expression On Exit of the Register Vacation Request Task.
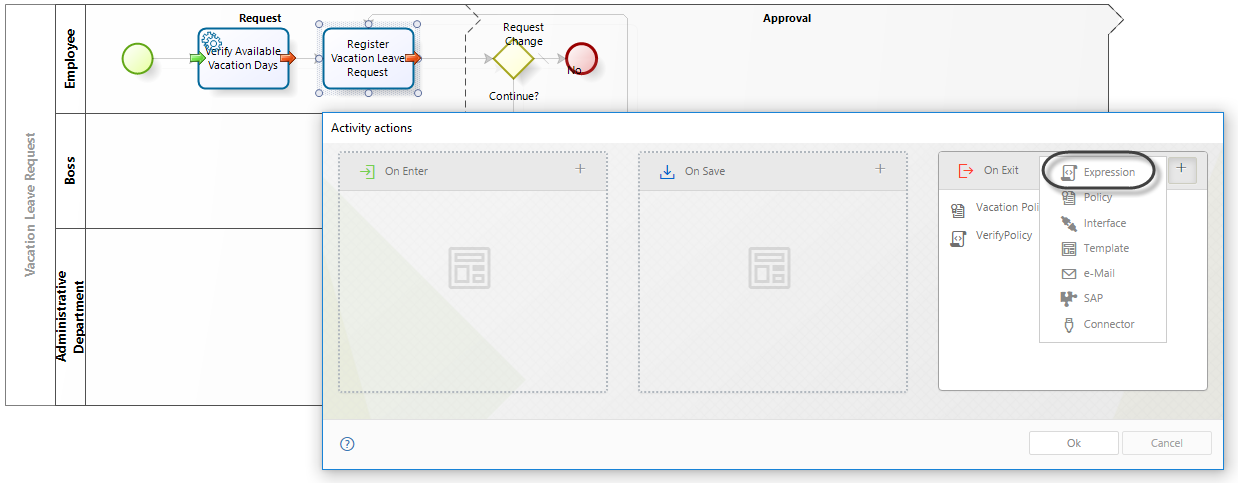
2. In an expression, compare the Leaving and Returning dates.
3. Type the error message that you want that the end user visualizes in his Work Portal screen: "Returning Date cannot be less than the Leaving Date". Use either ThrowValidationError or ThrowValidationAlert functions to set it.
Using the TrowValidationAlert function:
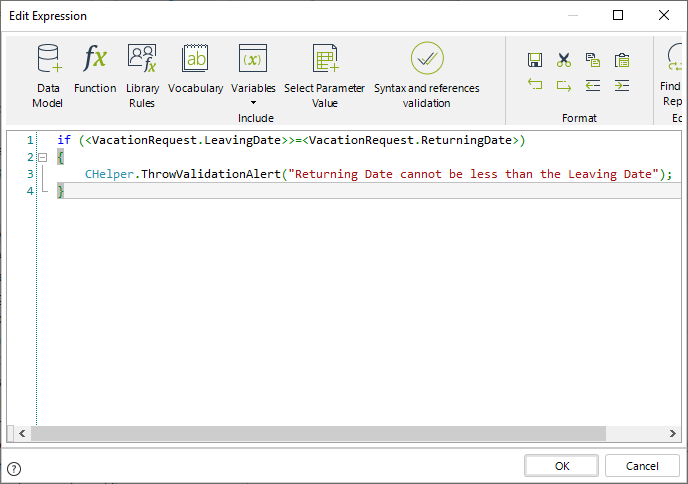
if (<VacationRequest.LeavingDate>>=<VacationRequest.ReturningDate>)
{
CHelper.ThrowValidationAlert("Returning Date cannot be less than the Leaving Date");
}
Using the TrowValidationError function:
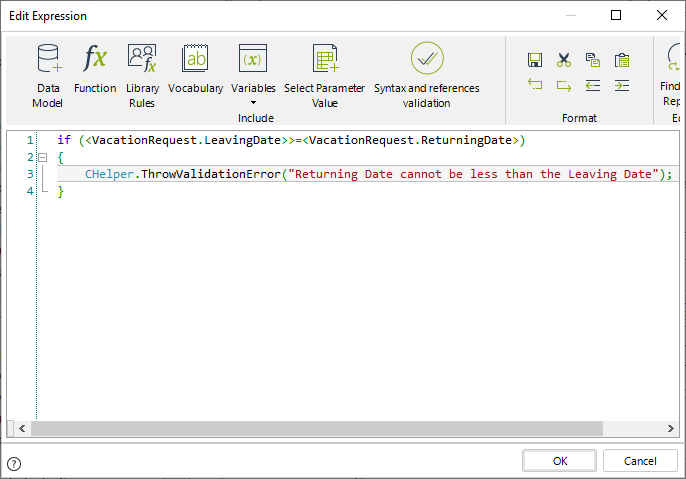
if (<VacationRequest.LeavingDate>>=<VacationRequest.ReturningDate>)
{
CHelper.ThrowValidationError("Returning Date cannot be less than the Leaving Date");
}
4. Click OK to save the rule.
5. In the Work Portal, enter a date in the Leaving Date field that is greater than the Returning Date value.
The validation message will look like this:
If you used the ThrowValidationAlert function to configure the message:
If you used the ThrowValidationError function to configure the message:
In some cases validation messages might need to be localized in order to meet languages of users to which they are displayed.
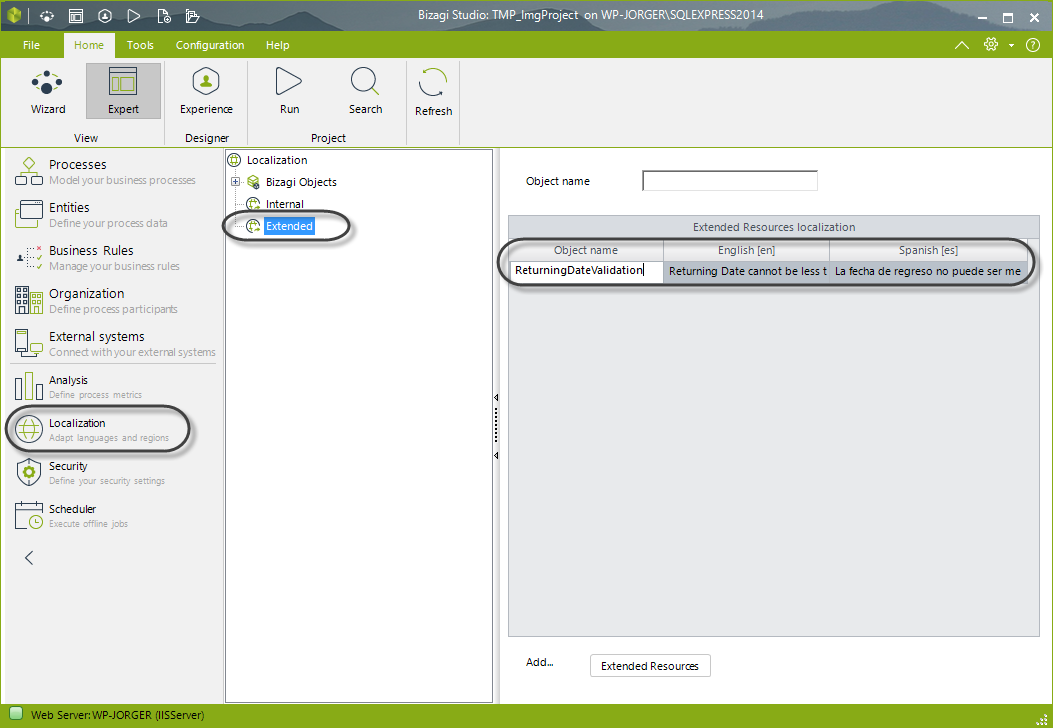
This can be done by using Extended Resources.
Suppose the validation message of the Vacation Request must be displayed in the language defined for the requester user. To do this, follow the steps bellow:
1. From the Expert view create an Extended Resource and define localization for the desired languages.
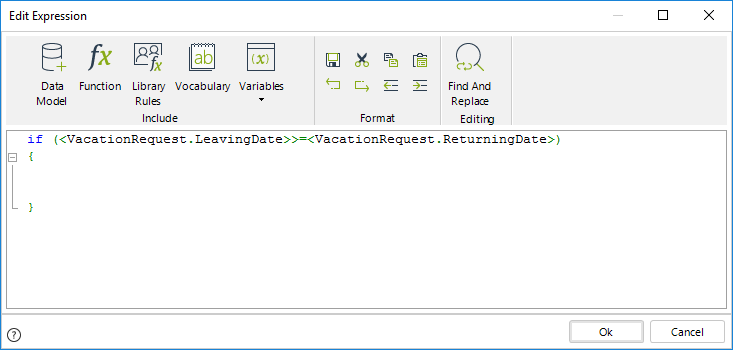
2. Go to the fourth step of the Bizagi Process Wizard and create an expression On Exit of the Register Vacation Request Task.
In an expression element, define the condition required to show the validation message as in the previous example.
3. Use the Me.Case.WorkingCredential.UserProperties method to obtain the language of the requester user.
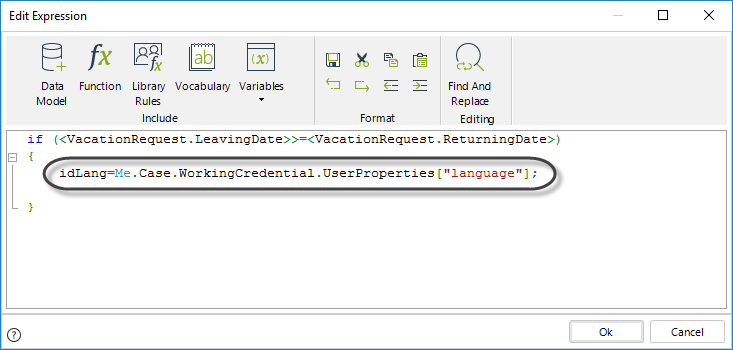
4. Use the CHelper.GetAttrib function to obtain the Culture name of the user´s language.
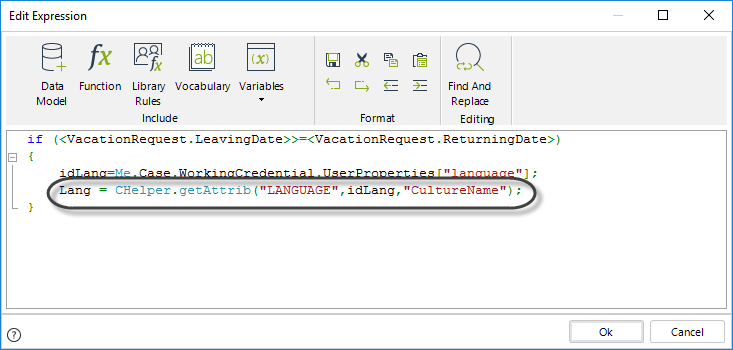
5. Use the CHelper.GetStringExtended function to obtain the validation message in the required language.
This function uses three parameters:
•Parameter 1: Name of the extended resource.
•Parameter 2: Default message (Shown if the resource is not localized in the specified language).
•Parameter 3: Language Culture Name.

6. Finally use the CHelper.ThrowValidationError function to show the validation message.

if (<VacationRequest.LeavingDate>>=<VacationRequest.ReturningDate>)
{
//Obtain the user language
idLang=Me.Case.WorkingCredential.UserProperties["language"];
//Obtain the user language name
Lang = CHelper.getAttrib("LANGUAGE",idLang,"CultureName");
//Obtain the localized message
LocalizedMessage= CHelper.GetStringExtended("ReturningDateValidation","Returning Date cannot be less than the Leaving Date",Lang);
//Display the localized message
CHelper.ThrowValidationError(LocalizedMessage);
}
Last Updated 1/25/2023 4:42:07 PM