Overview
The procedure described below is focused in helping offboarded customers to migrate the database to their own SQL, and locate the files in the received BACPAC, to a file server. Depending on the size of the project, this process might take several hours, even days.
Restoring the BACPAC
When delivering a BACPAC file as part of offboarding, you will need to restore or import this file to create a usable SQL database.
Since users may have different environments and preferences, we provide multiple official Microsoft guides covering various restoration methods.
These resources will help you choose the best option according to your setup: whether restoring locally using SQL Server Management Studio (SSMS), importing to Azure SQL Database, or using command-line tools.
Options for Restoring a BACPAC File
•Import Using SQL Server Management Studio (SSMS): The most common and user-friendly approach is to restore the BACPAC via the SSMS GUI. This method enables you to right-click on the Databases node, choose "Import Data-tier Application," and follow the wizard to create a new database from the BACPAC file.
•Import into Azure SQL Database: For cloud environments on Azure, Microsoft provides detailed instructions for importing a BACPAC file into Azure SQL Database either through the Azure portal or using PowerShell/command-line utilities.
•Command Line with SqlPackage Utility: Advanced users or automation scripts can restore a BACPAC using the SqlPackage.exe command-line tool included in SQL Server Data Tools. This method offers flexibility and is useful for automation or scenarios where GUI access is limited.
Restoring Guides
Import a BACPAC File to Create a New Database (SQL Server): Official Microsoft documentation explaining how to import a BACPAC through SSMS and command-line options.
Import a BACPAC file to create a database in Azure SQL: Comprehensive guide for importing BACPAC files specifically to Azure SQL Database.
Importing a BACPAC file for a SQL database using SSMS (SQLShack): A practical tutorial showing GUI steps in SSMS for importing a BACPAC file.
How to import or restore BACPAC file from SSMS: Step-by-step instructions focusing on the SSMS interface method.
You can choose the restoration process that best matches your skill level and infrastructure, ensuring a smooth transition when working with the delivered BACPAC files.
File extraction
Within the BACPAC, you can find the files uploaded in the project, which are included in the database. These are found in the BAFILEUPLOAD and BAFILECONT tables.
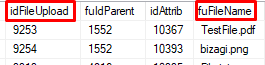
The metadata file is found in the BAFILEUPLOAD table where for each file there is an IdFileupload and a name with an extension.
The physical files are in the BAFILECONT table that has the columns IdFileupload and fcContent that contains the file in image data type.

Extracting files to a file system
The procedure described below, considers that you already have the following:
1. Requested and received the BACPAC of your service via ticket.
2. Restored the BACPAC in your owne SQL
3. Access to the SQL server with required permissions and access to the file system where documents will be extracted to
Users can execute the following query to list files an contents stored in Bizagi database.
SELECT fu.idFileUpload, fu.fuFileName, fc.fcContent
FROM BAFILEUPLOAD fu
INNER JOIN BAFILECONT fc ON fu.idFileUpload =fc.idFileUpload
Download and install the file File migration tool
To use the tool, follow these steps:
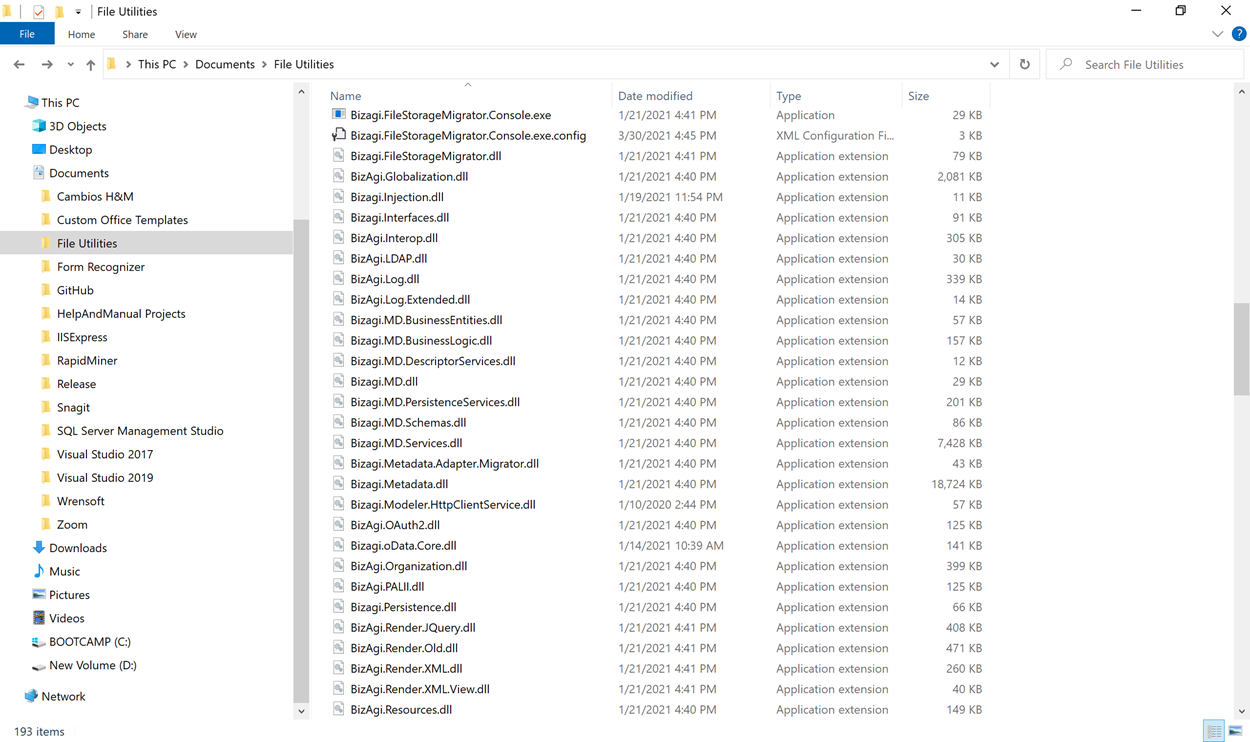
1. Download a copy of the File Utilities tool to your server.
2. Unzip the downloaded copy of the File Utilities tool in a local path of your choice.
Procedure
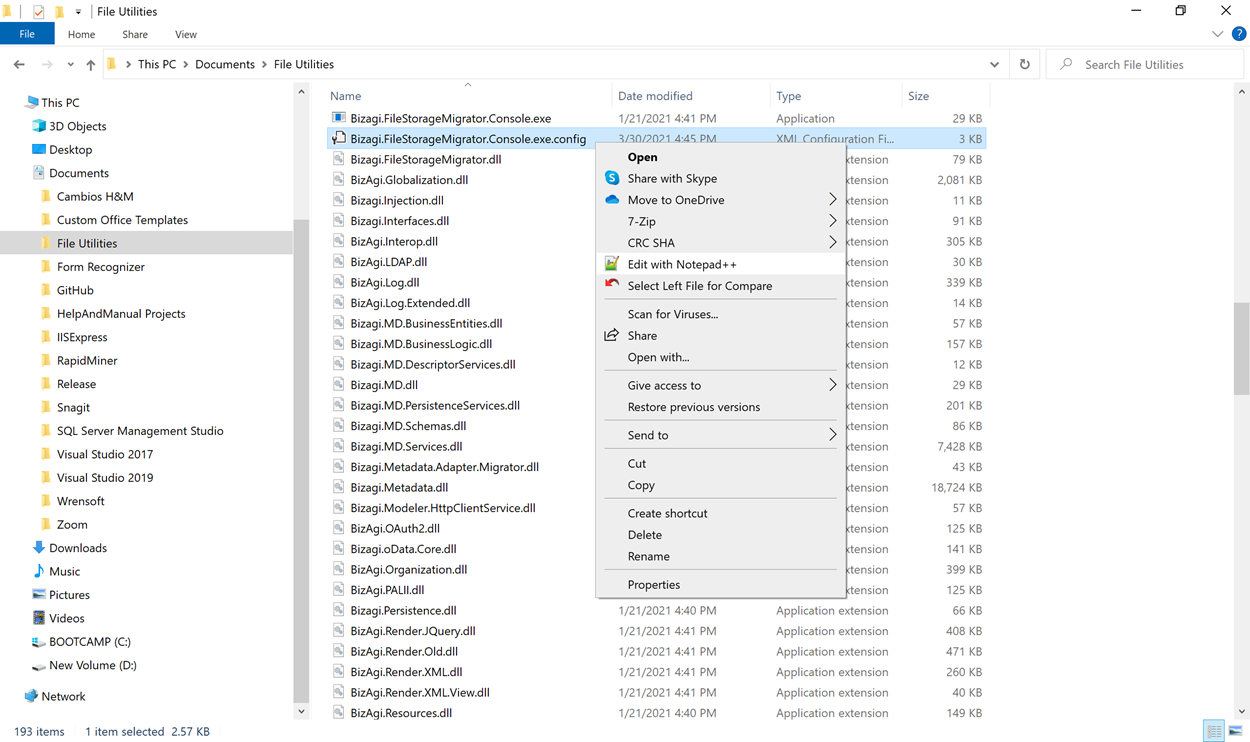
1. Configure the File Utilities tool. With the help of a text editor, open the Bizagi.FileStorageMigrator.Console.exe.config file:
2. Configure the following keys within the <appSettings> key:
<add key="DSNDB" value="Data Source=[ServerName];Persist Security Info=True;User ID=[User];Password=[Password];Initial Catalog=[ProjectName]"/>
<add key="PROVIDERTYPE" value="MSSqlClient"/>
<add key="UploadPath" value="[LocationForTheFiles]"/>
|
If any of the keys does not exist in the configuration file, add it. If it already exists, modify it to reflect your configuration. |
Where:
•DSNDB: the connection string to the restored BACPAC in SQL.
•PROVIDERTYPE: type of database. For cloud migration only SQL databases are supported, therefore this value must be set to MSSqlClient.
•UploadPath: indicates where the uploaded files are migrated.

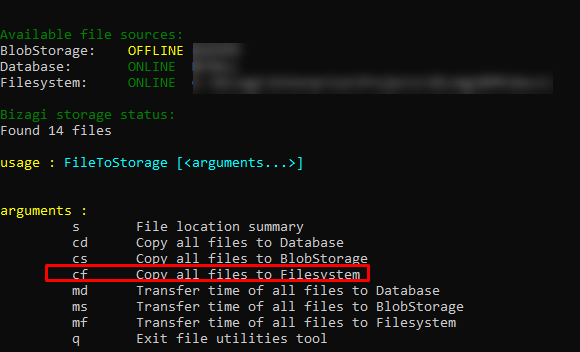
3. Run the File Utilities tool executable file Bizagi.FileStorageMigrator.Console.exe as an administrator.
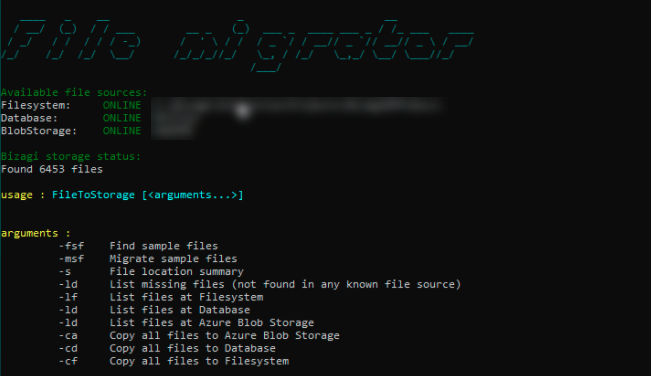
4. Execute option cf to migrate file from Database to your file server.
The process will start extracting files from the restored BACPAC to the location chosen.
This process can take several hours.
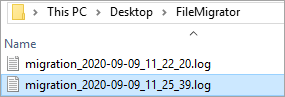
If there are failed copies, you can review the full list of failed files in the Log created in the same folder where the File tool was unzipped.
Last Updated 12/4/2025 3:14:23 PM