Overview
To illustrate the Sequential Creation feature we will use the Students Application Process described in the previous section.
Now suppose a Second Grade classroom always enrolls students according to their Last Name. Then, the Sequential option must be used in order to make sure each case is opened alphabetically.
Both Processes have been diagrammed in the Process Modeler and Process Entities defined for each one;
Students Application is the Process entity of the Students Application Process and the Students Enrollment entity is the Process entity of the Sub-Process Students Enrollment.
In order to create the multiple Sub-Process instances a collection is defined for the parent Process. This collection is called Students Enrollment.
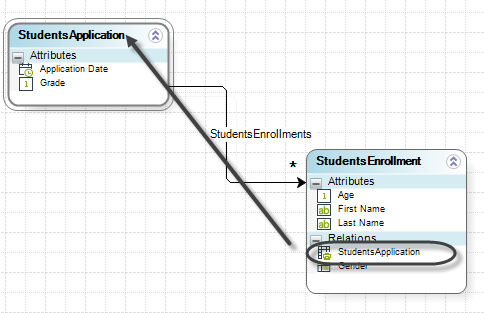
In order to configure sequential creation for multiple Sub-Processes follow the next steps:
1. Go to step 1 (Model Process) of the Process Wizard and click Edit Process. Select the parent Process called Students Application.
In the model diagram, right-click the Task you wish to convert, in this case Students Enrollment, and select the option Transform to Sub-Process option.
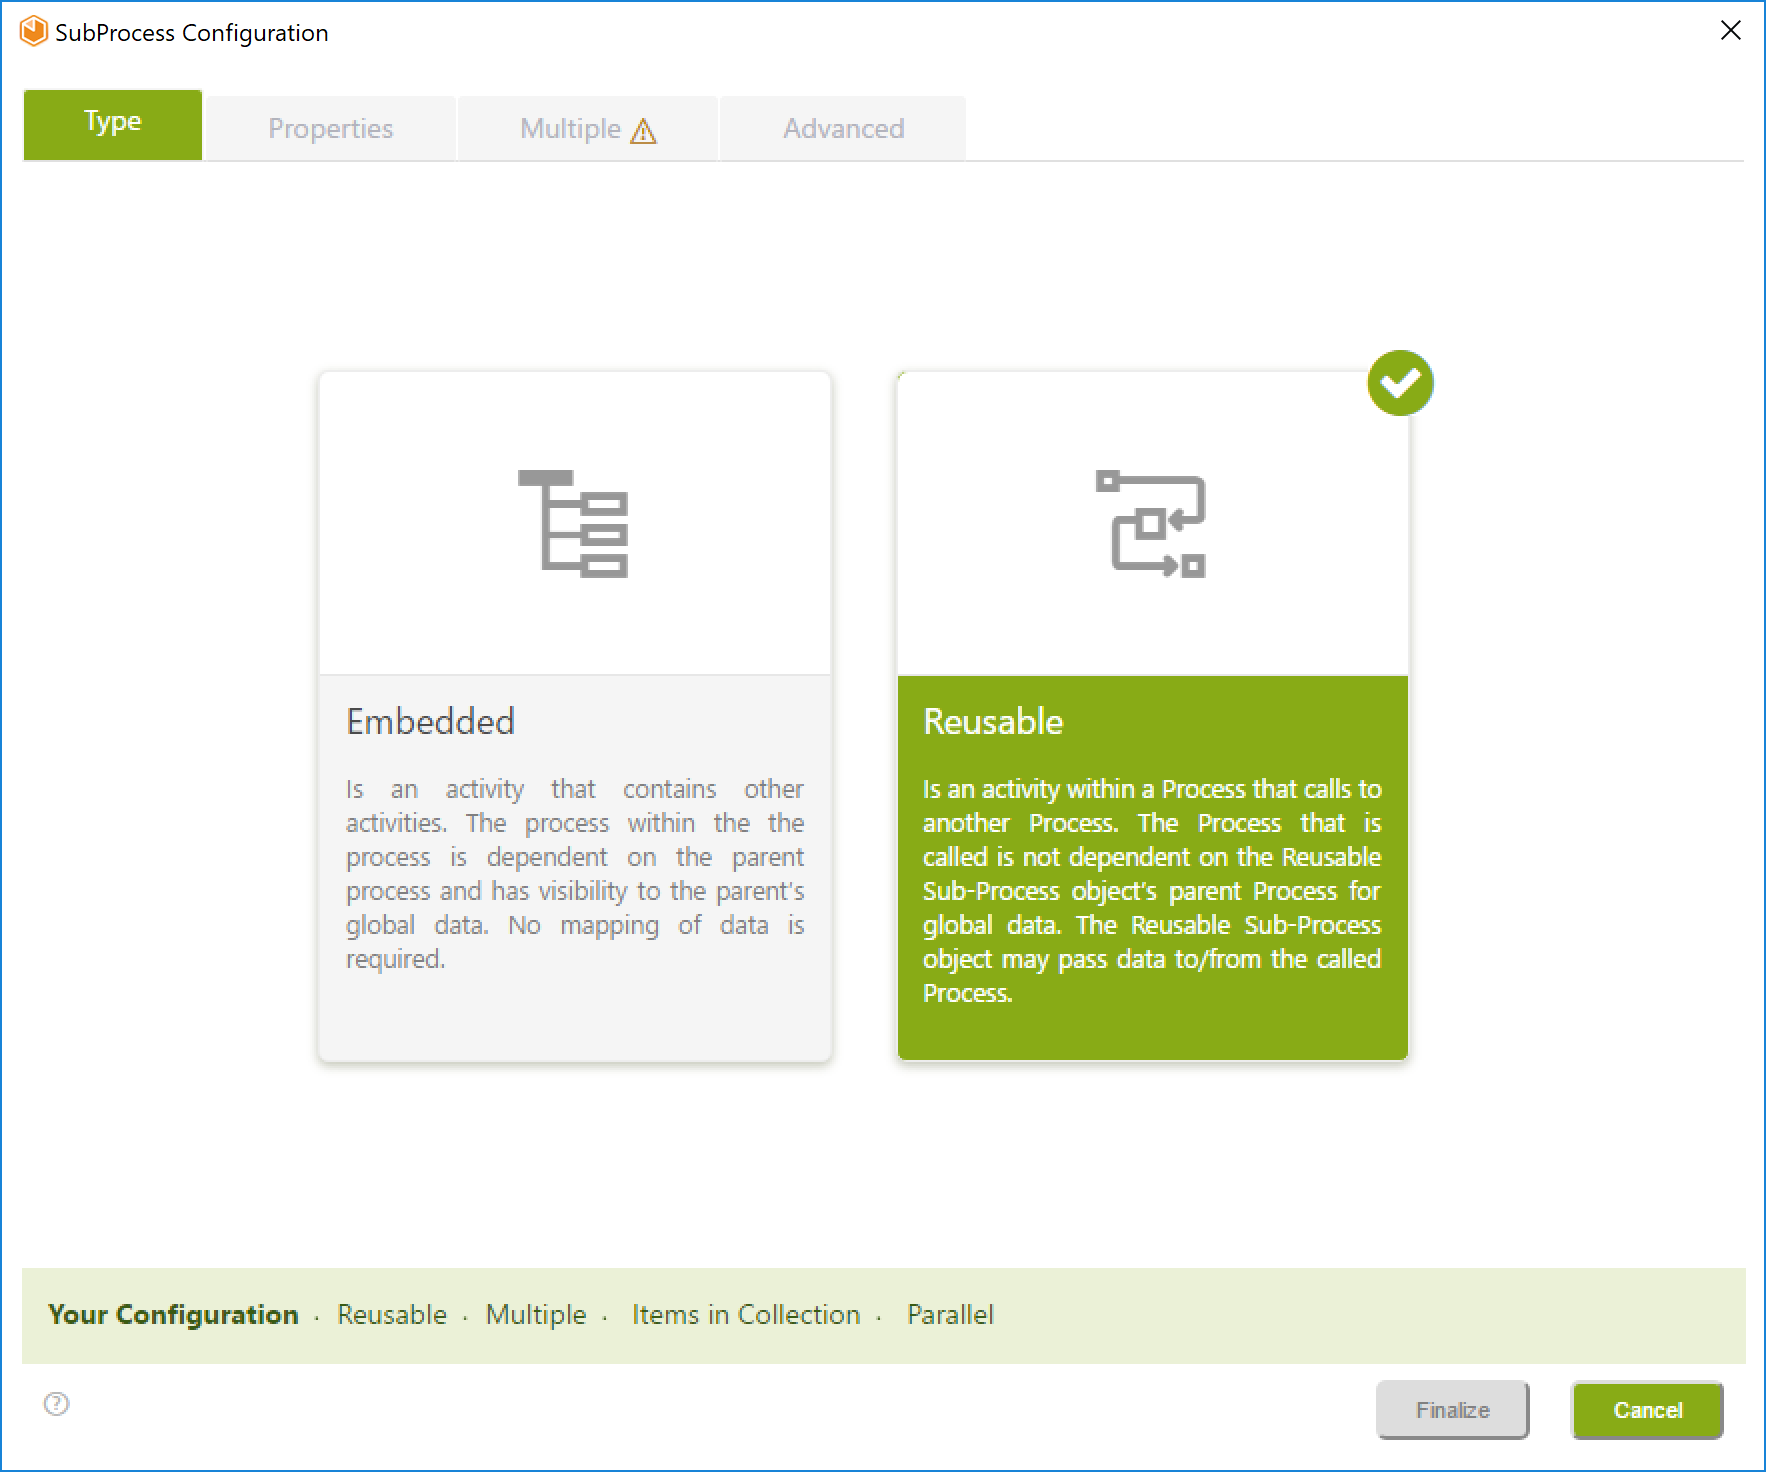
A new window will display the Sub-Process types. Select the Reusable option.
 .
.
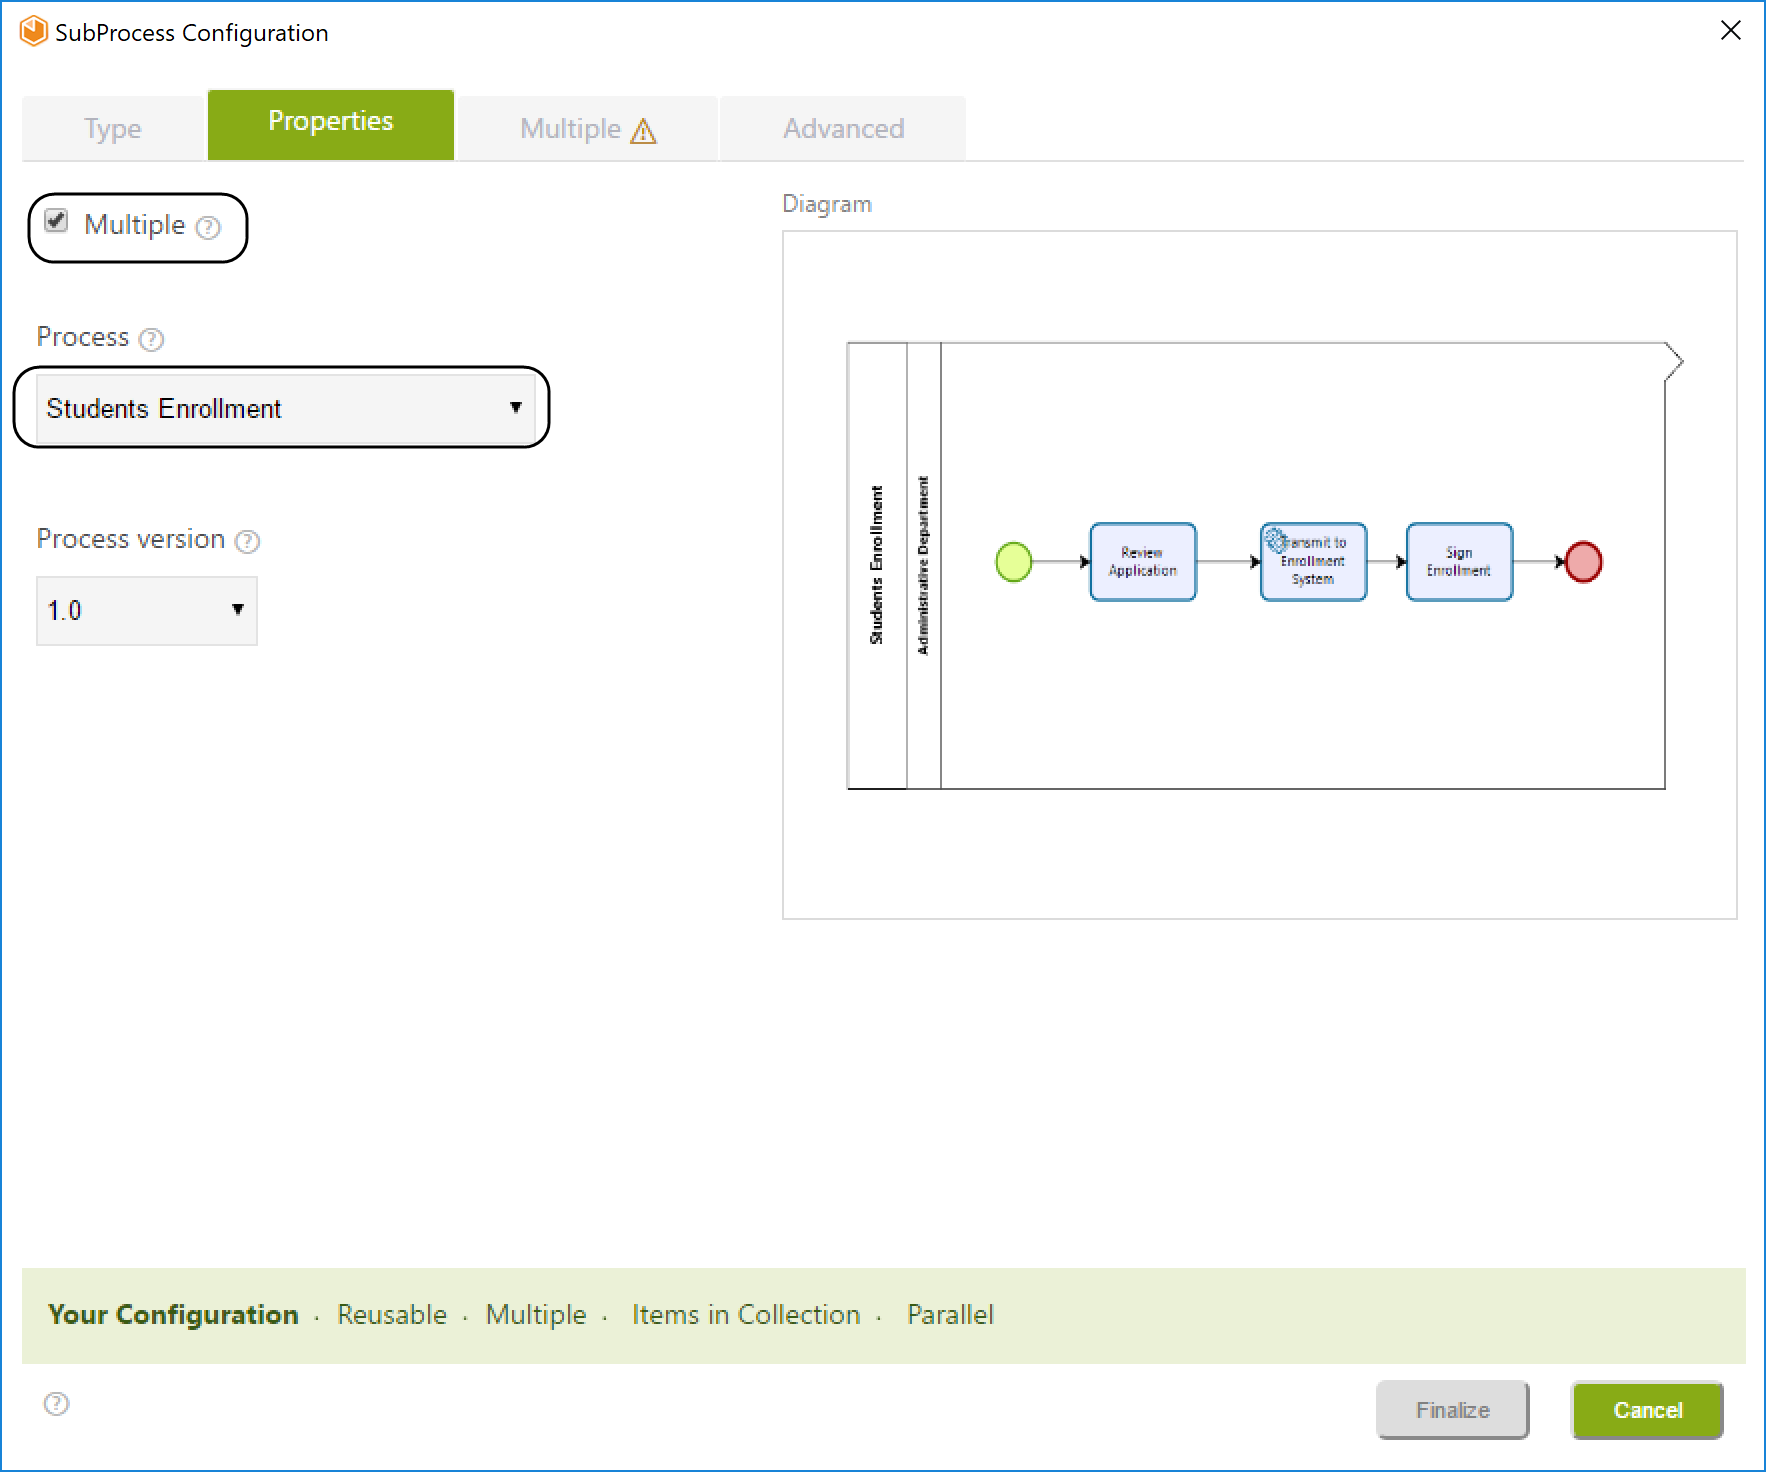
2. The properties window will display. Tick the Multiple check box control and select the process. In this example we select the process Students Enrollment.
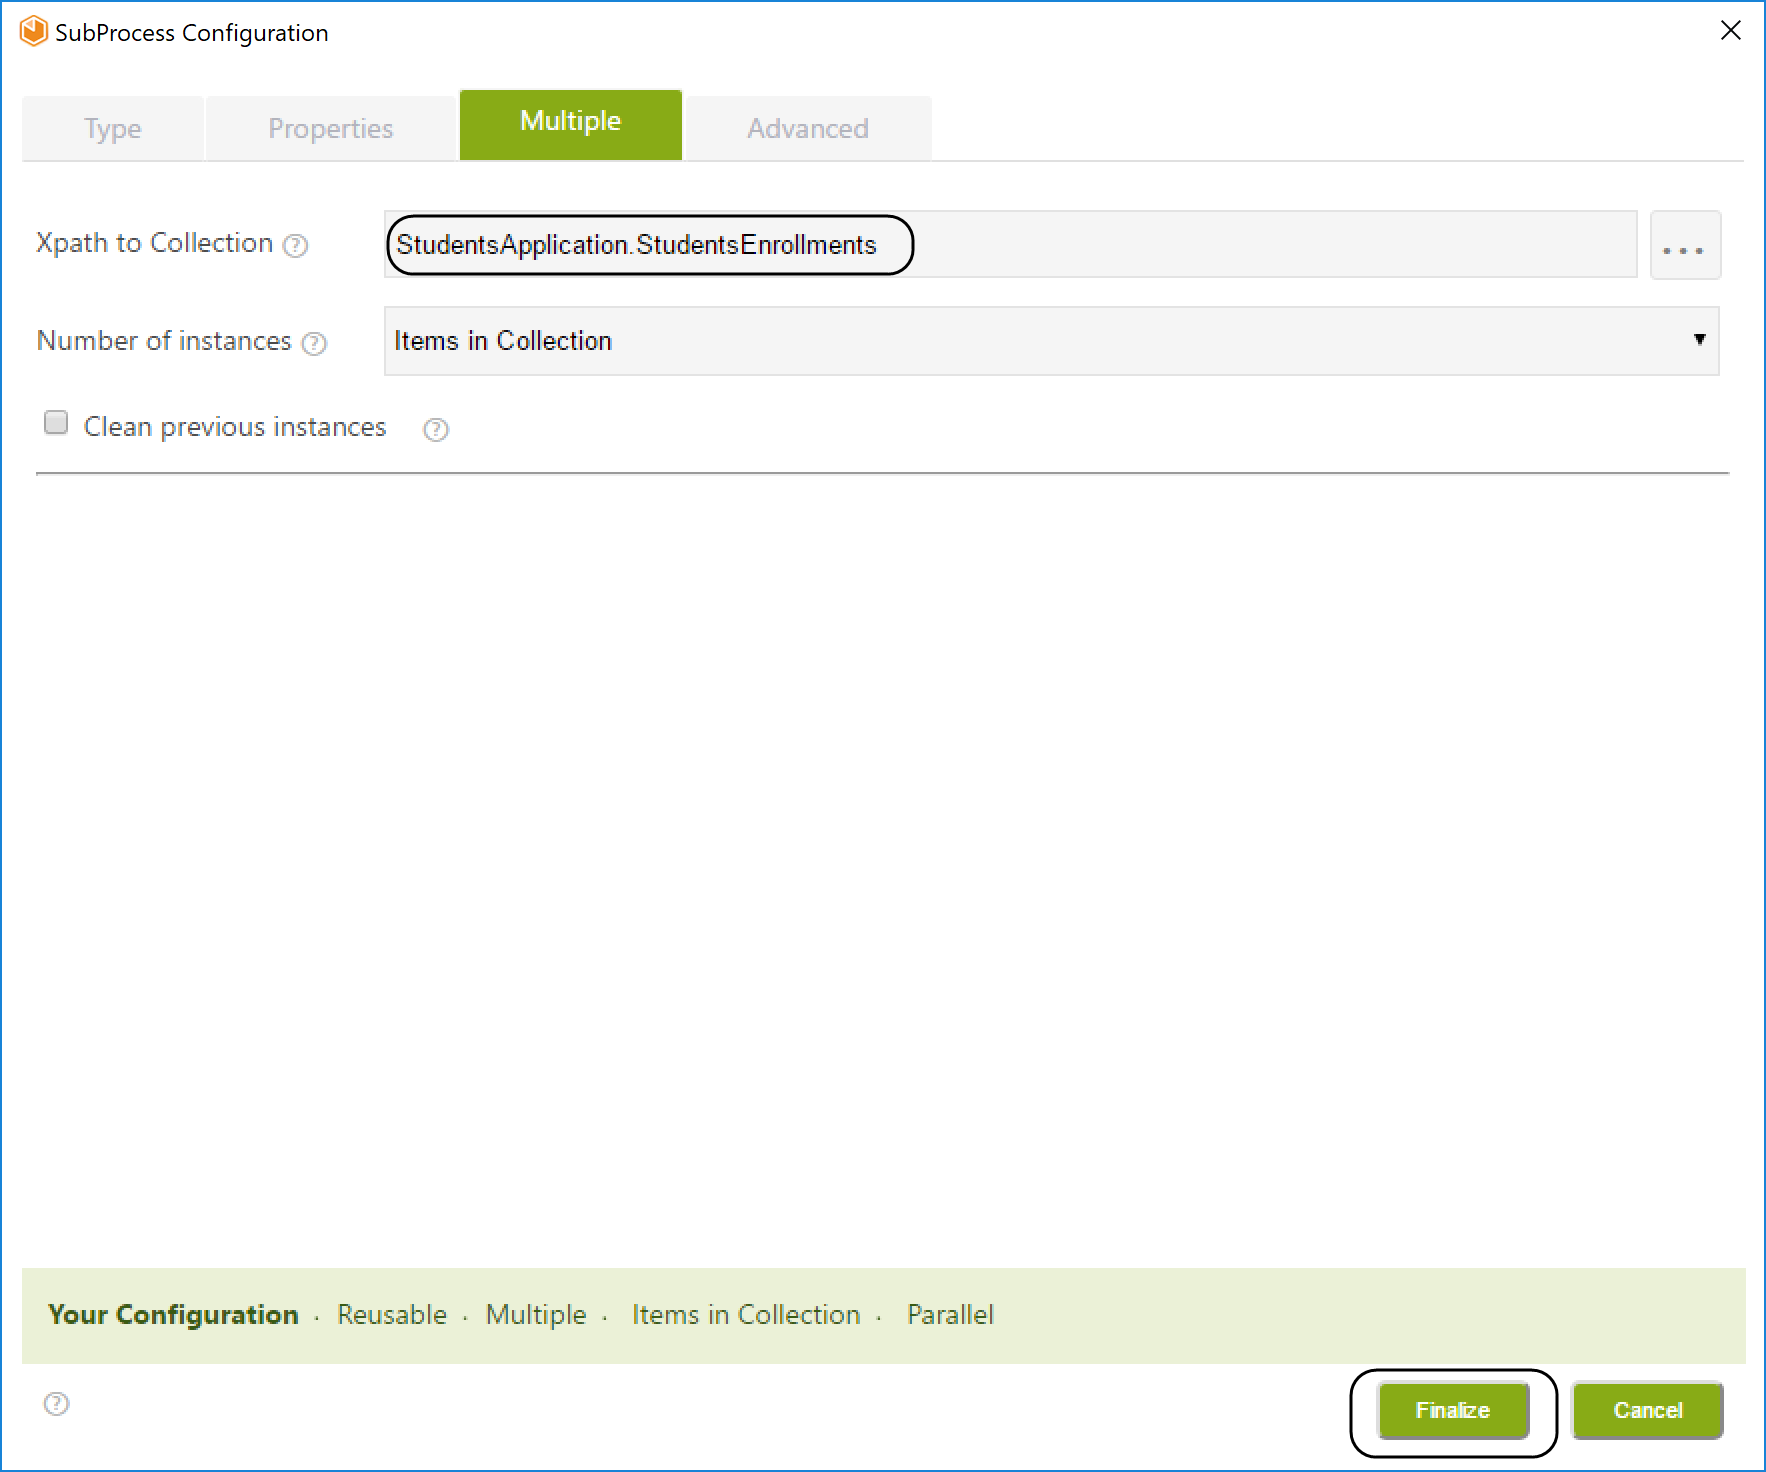
3. Select the Multiple tab. Once selected:
•Define the collection for the Sub-Process grouping. To do so, click the XPath to Collection browse button. In this case we group by StudentsApplication.StudentsEnrollments collection.
•Select the Number of instances drop down list. In this example we will select the Items in Collection option.
4. Select the Advanced tab and the Sequential Execution Mode.
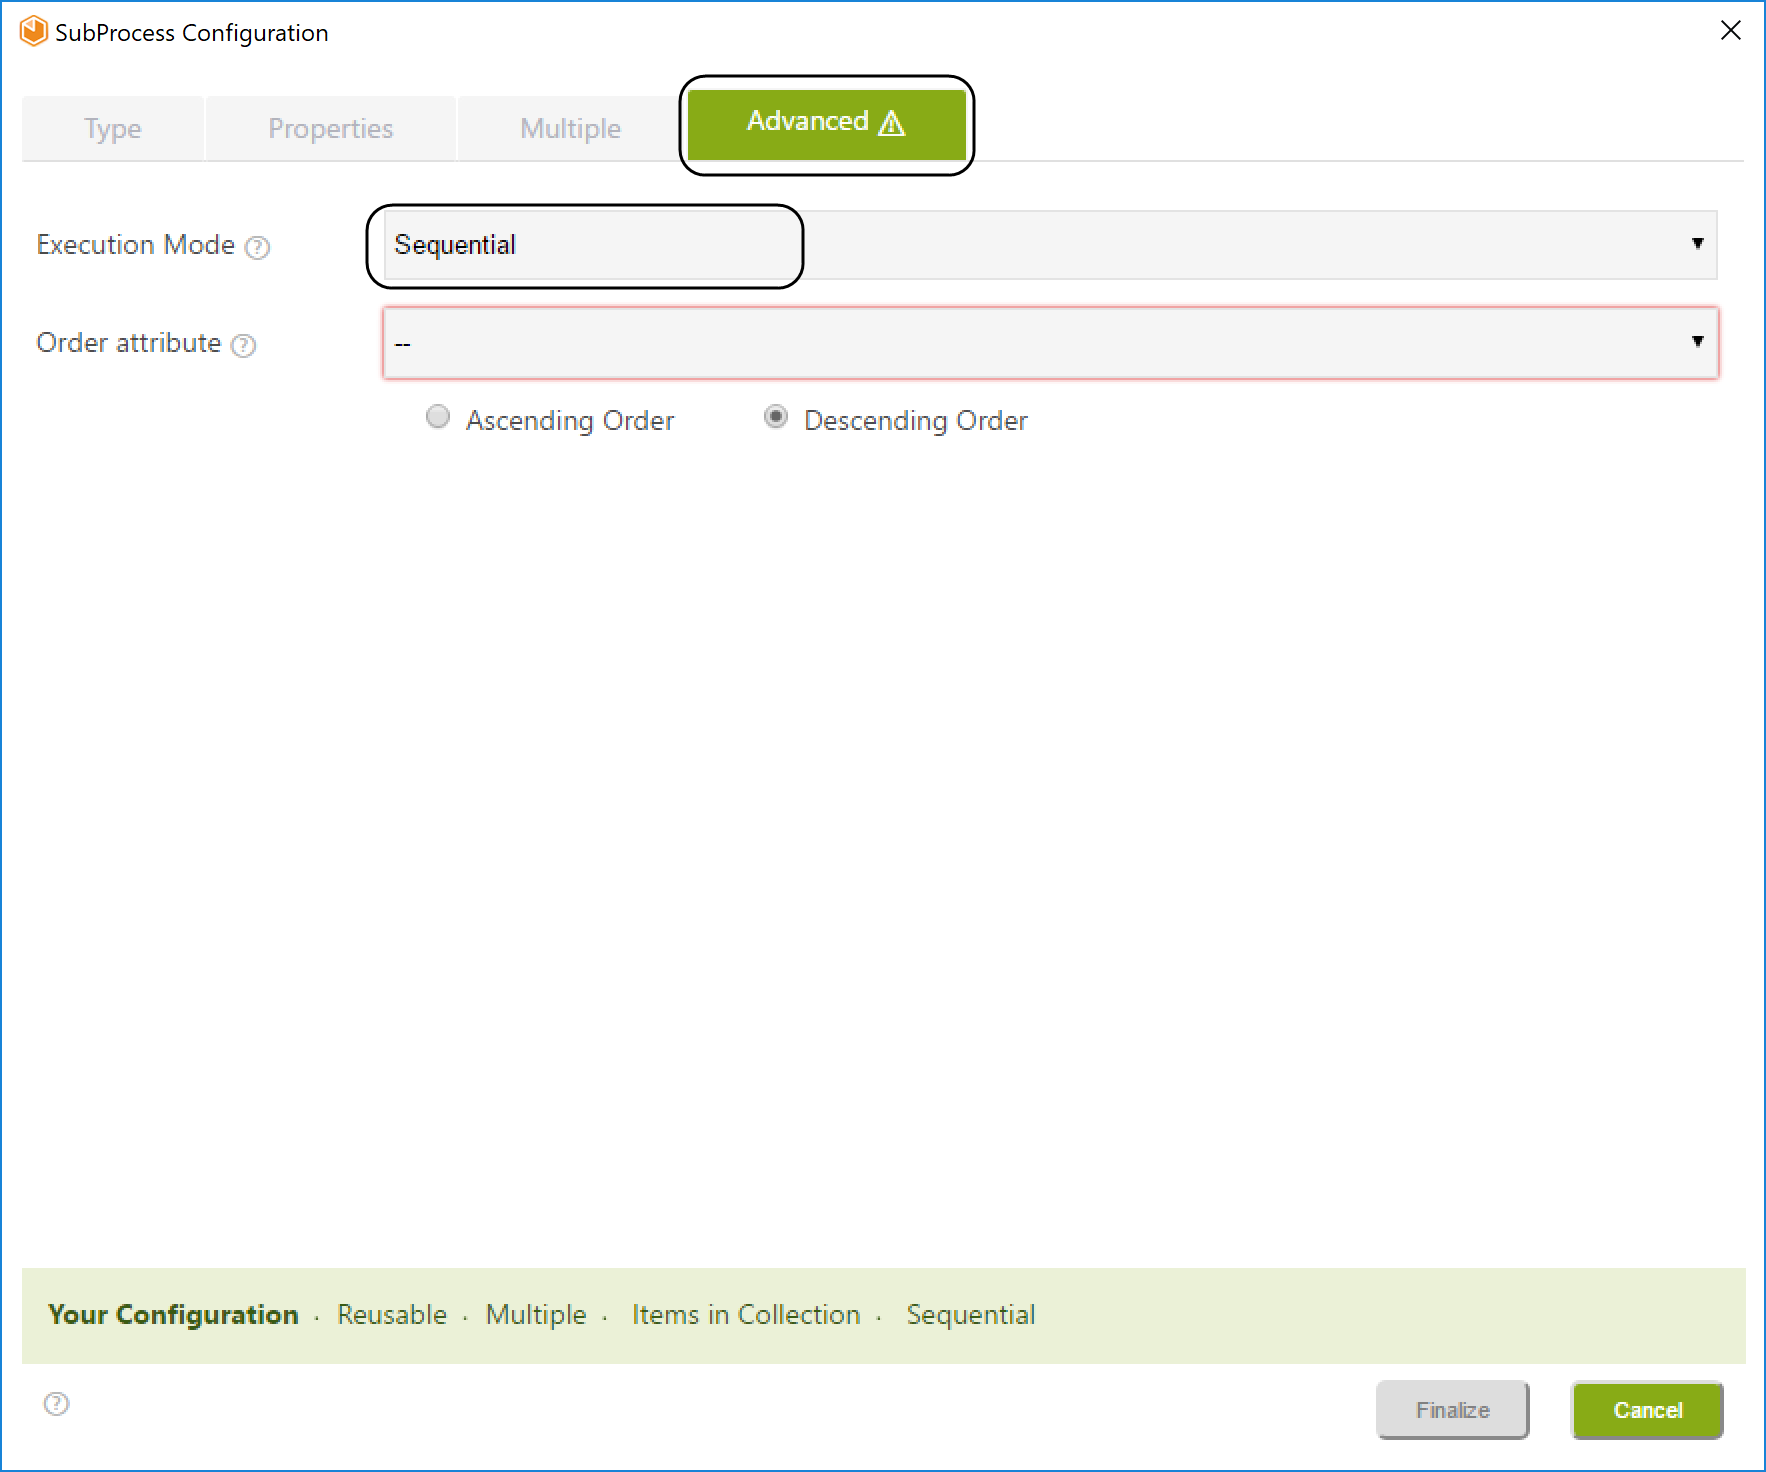
5. Select the attribute to order the instances: the chosen attribute is the one that defines the order in which instances are created.
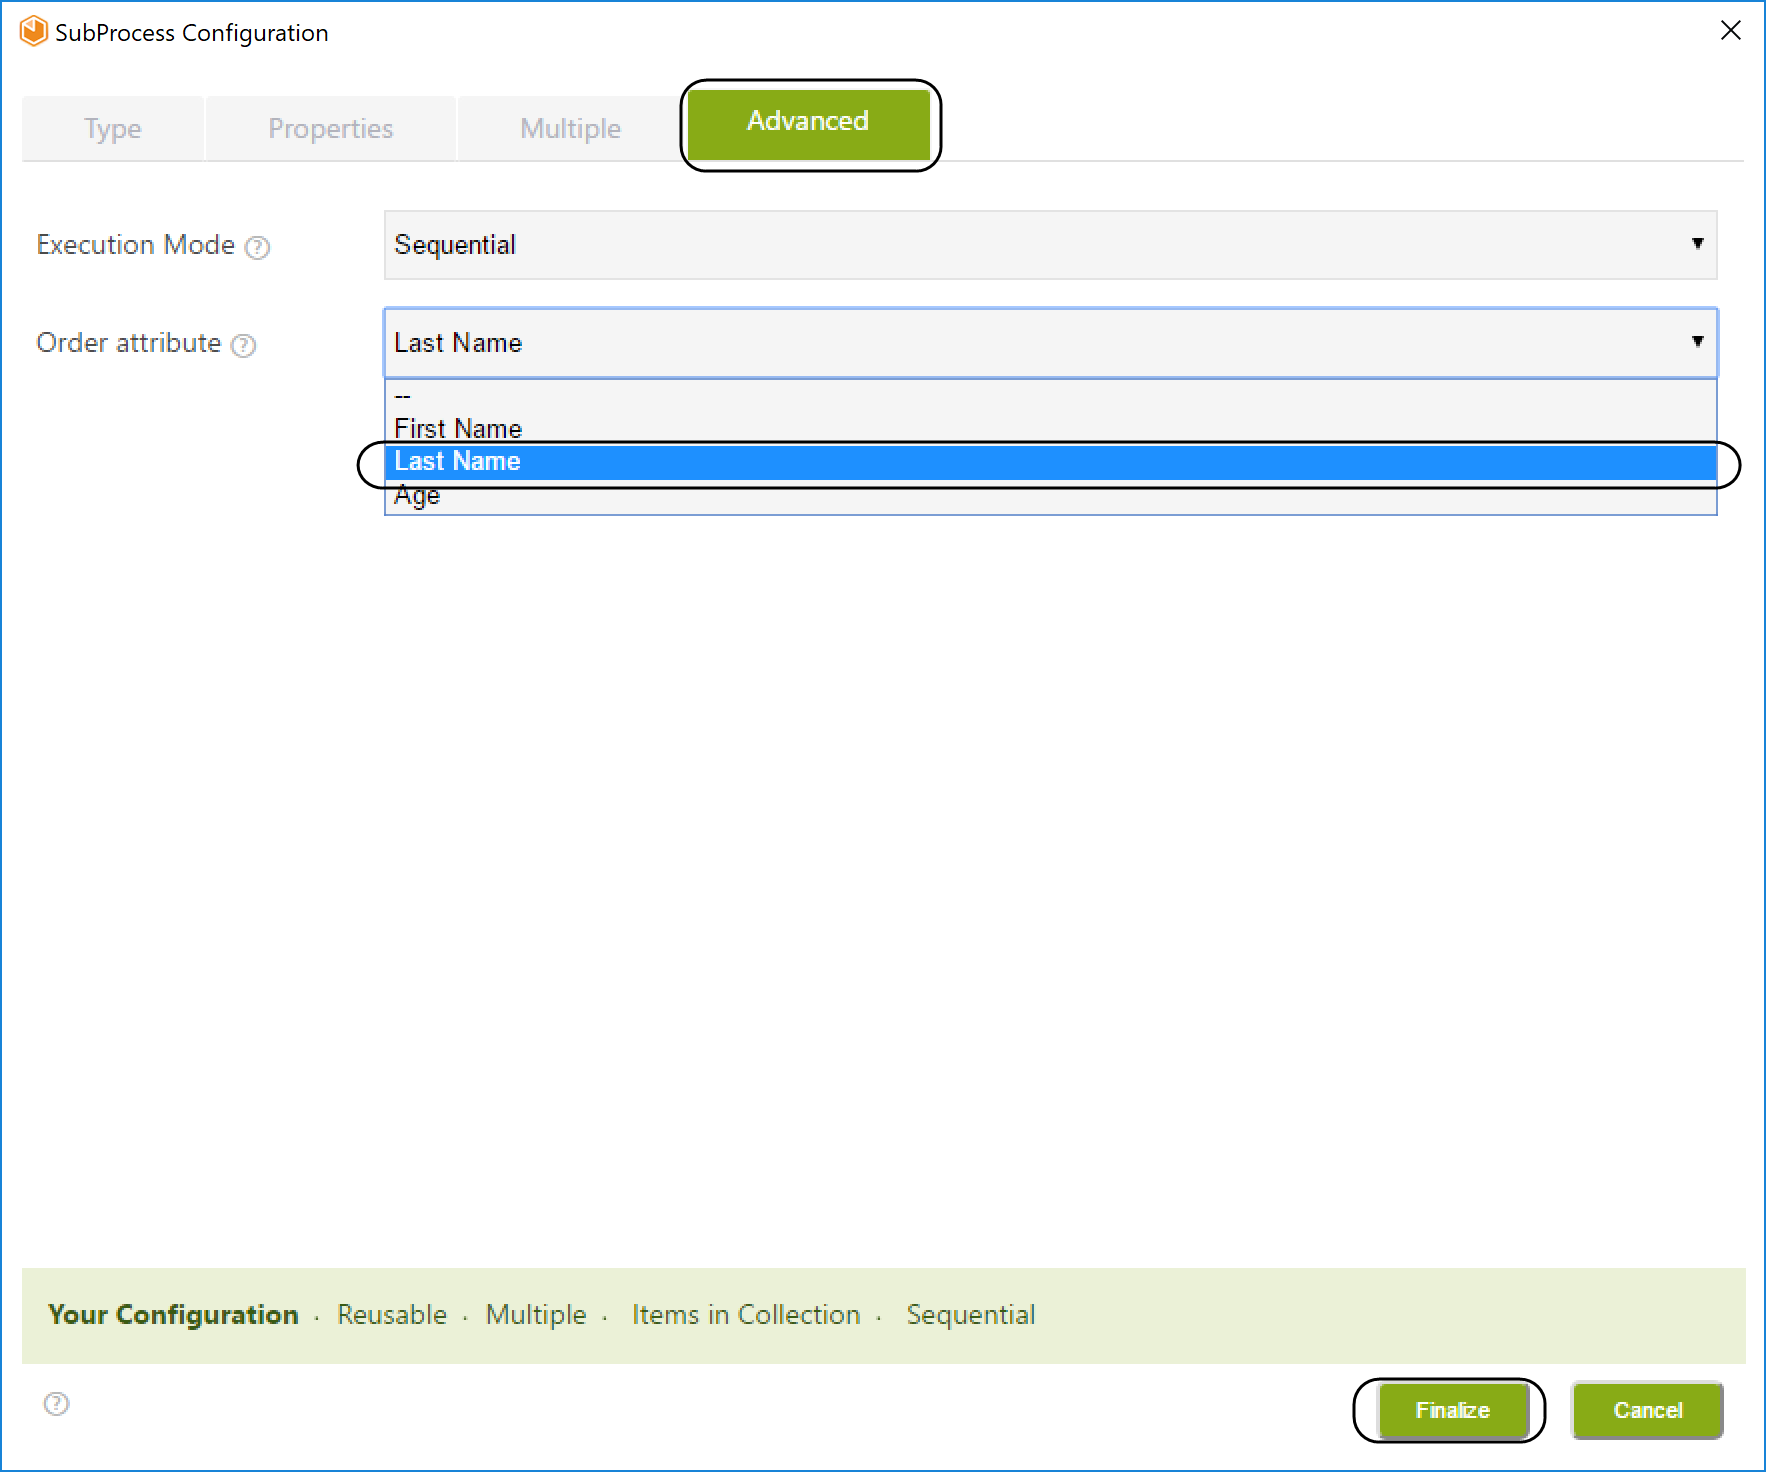
In this case, Last name will be chosen. This way each Sub-Process will be created one at a time, alphabetically. When each one finishes, the next one will be created. Click Finalize.
Cases will be created one at a time as shown in the following image.

Last Updated 11/21/2024 9:56:07 AM