Overview
Use this tool to generate the initial package of objects you want to deploy from your Development environment. This step of the deployment is done in Bizagi Studio.
What you need to do
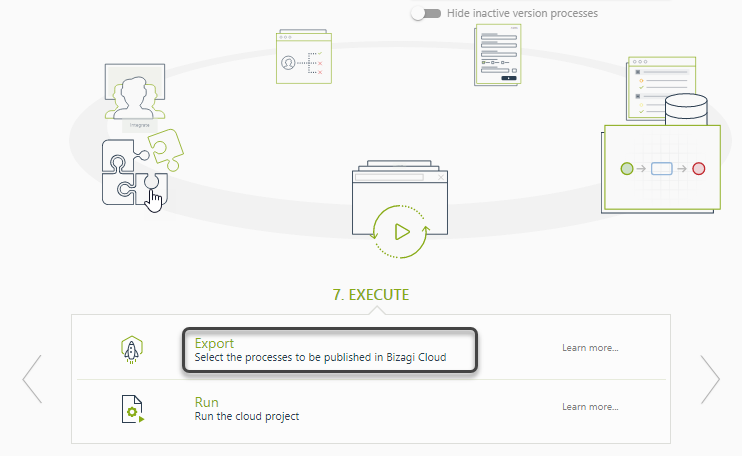
Before you start, make sure your processes are ready and that they don't need additional changes to be deployed. This is step is located in the seventh step of the Process Wizard, clicking the Export Process option.
You can also select the Advanced option located in the Deployment section of the Export/Import menu.

A window appears with the Deployment wizard.
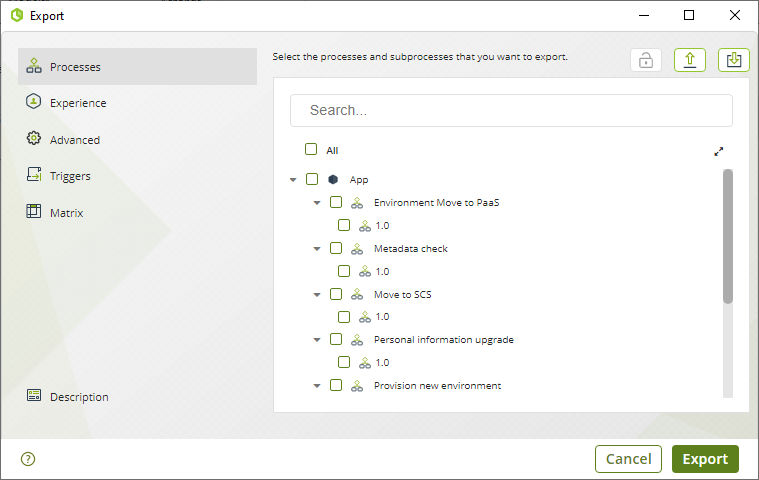
You will see its user interface present the following:
•Processes Tab: Displays all processes and their versions. You should select those you want to include. When you right click a process version and select Define process dependencies a window appears where you can select the dependencies you want to force-include in your deployment. Keep in mind that only the selected processes are deployed, those which are not selected are not deployed even when they are related with other selected objects. Select the Entities, Query forms or Business Rules that you want to relate from the list. When a selected entity does not have attributes, it will not be included in the deployment.

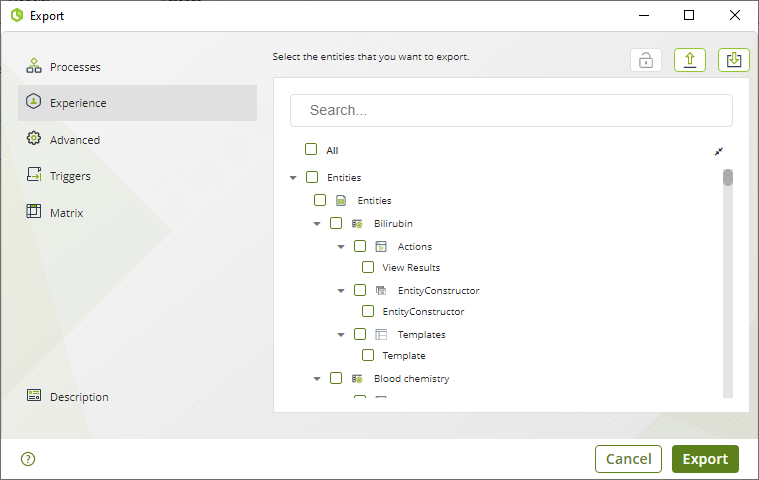
•Experience tab: Select the experience components you want to deploy. Keep in mind that experience elements are highly uncoupled and can be deployed without considering their necessary relation or component to work properly. For more information refer to Relate Objects.
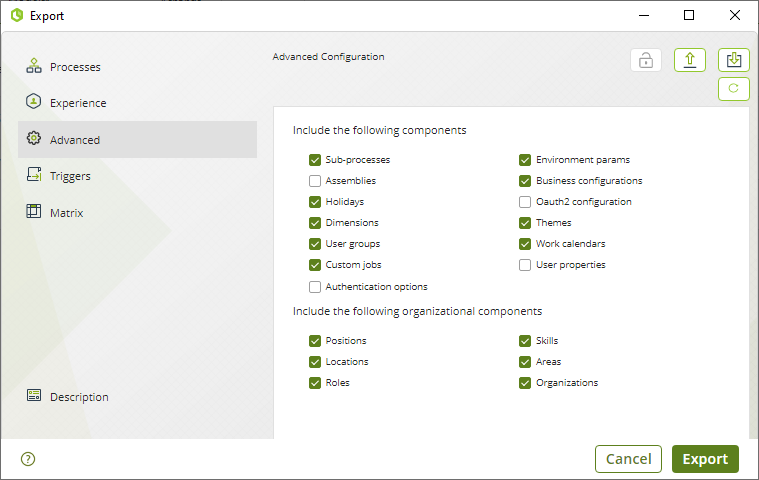
•Advanced tab: Select the objects you wish to include in the deployment. Among these objects you can select the themes you've made with the Theme Builder, Environment parameters, authentication options and user properties.
|
•When you choose to include environment parameters make sure that these parameter values, such as the SMTP server and interfaces URL, correspond to their environment configuration. When you deploy the package with these settings the target environment's parameters will be overwritten. •If you check the Authentication options, the authentication configured in the target environment will be overridden. Do not use this option unless you are sure to change the authentication options with the configuration of your source environment. |
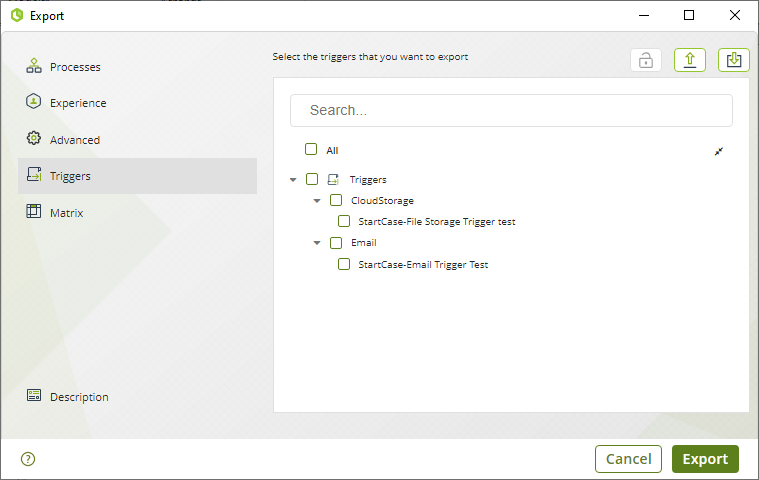
•Triggers tab: In this tab, you can select the previously configured triggers to be included in the deployment to the target environment. These can be email triggers or cloud file storage triggers. You can choose triggers by Trigger type node or by each individual trigger.
•Matrix tab: This tab shows a complete and detailed view of the Experience Matrix to be exported. Additionally, the configuration can be temporarily saved in JSON format and continue working on the configuration later, making the export experience a more efficient and flexible process. Inside each Matrix, you can find the different Personas and related Business Objects and you must select the Experience Matrix level in order to export.
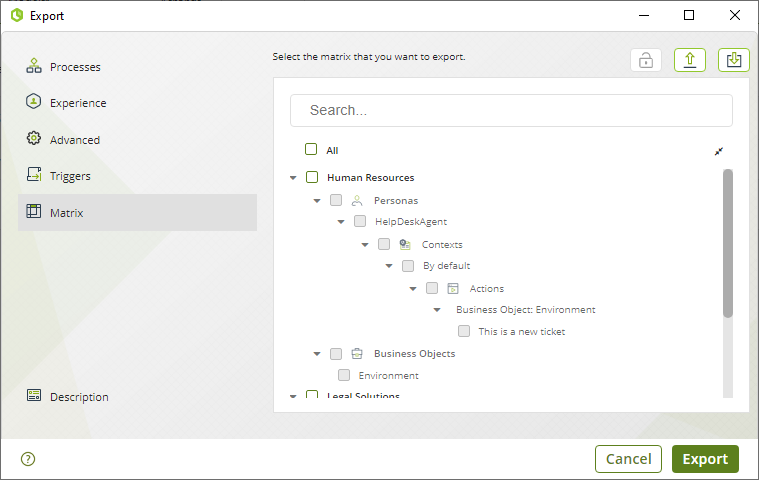
Some tools inside this tab allow you to search and manipulate the displayed information like the following:
•The search option allows the user to filter the content of the Matrix and quickly find the desired information for migration.
•The expand or collapse buttons allow users to view the content of Matrices in an easier way, where they can choose which information to collapse or expand.
•The checkbox allows the user to select or deselect all Matrices from the list at once. This feature saves time and improves the efficiency of the export process.
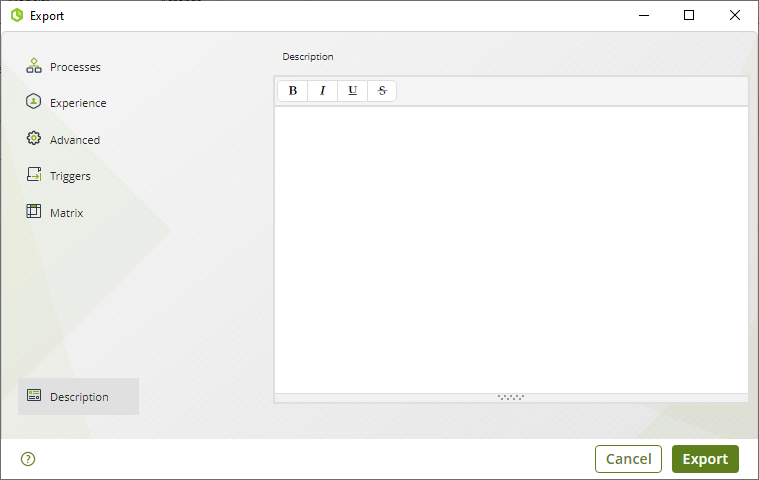
•Description tab: Add the information you consider relevant for this package such as the included processes, their versions, entities and other relevant changes.
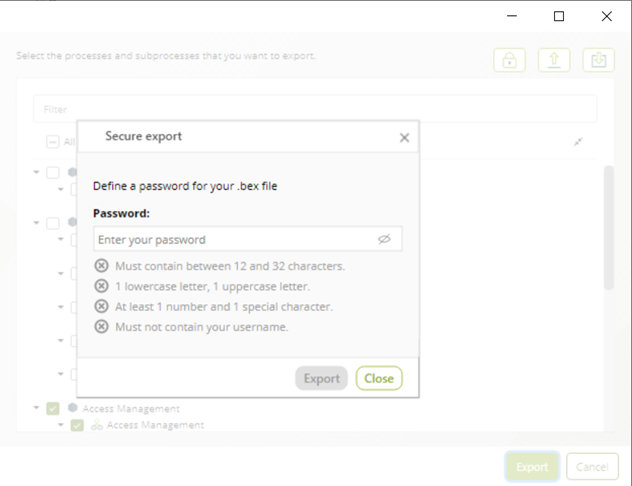
Click the Export button. If you selected the add password option ![]() , a window will appear asking for the password to be assigned to the package, it must comply with the mentioned conditions. When a package with a password is generated, it is encrypted.
, a window will appear asking for the password to be assigned to the package, it must comply with the mentioned conditions. When a package with a password is generated, it is encrypted.
This generates the package with your selected objects and process versions and save it as a local .bex file.
We recommend saving the packages with the following format to have a record of the deployments:
[App_nnnn_dd_mm_yyyy_cc].bex
•App: abbreviated name of the application(Optional).
•nnnn: abbreviated name of the project.
•dd: day of the deployment.
•mm: month of the deployment.
•yyyy: year of the deployment.
•cc: number of deployment of the day.
A window appears informing that the export was successful and it shows a summary of your export file.

You can check the contents of the export package by clicking the View Package button or using the package visualizer. See Review the content of a package.
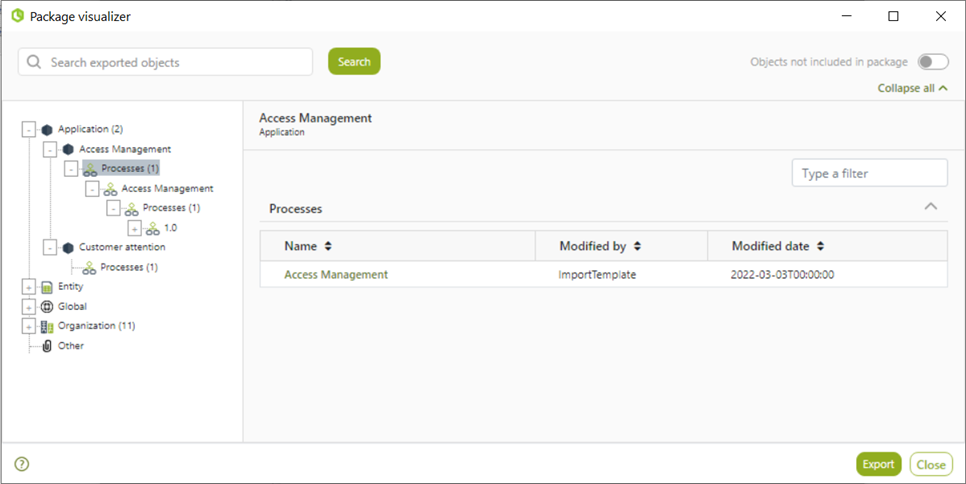
|
When a parameter entity managed in production is considered in the deployment package, all of its attributes and relations are included, even unused ones. |
Last Updated 8/27/2024 11:06:52 AM