Overview
Bizagi presents a Virtualization Wizard to assist you in connecting to an external SQL Server ( and the necessary components for the connection is created by default).
View more information about Virtualization.
The following article illustrates how to configure Virtualization in Bizagi by using the Wizard.
Using the Wizard
To launch the Virtualization Wizard, go to the second step of the Process Wizard in Bizagi Studio (Model data).
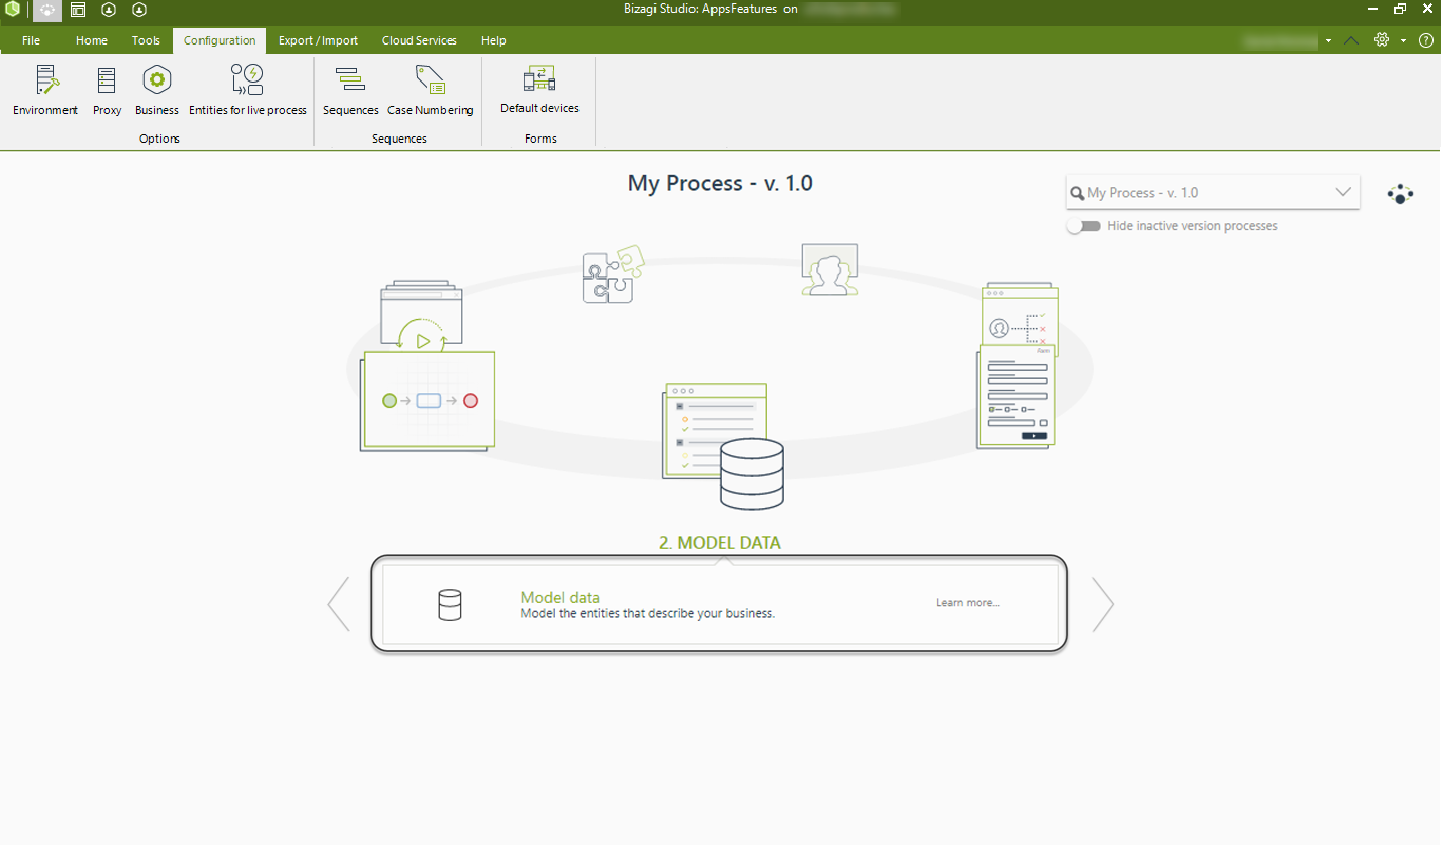
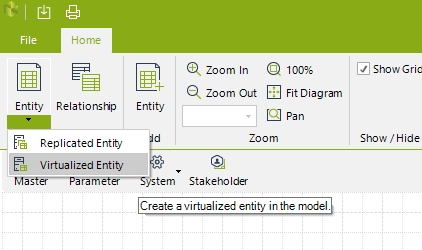
While designing the Process data model, you are given the option to include virtualized entities in the Diagram that will be created as Master-type entities.
Before using the Virtualization Wizard, it is recommended to review the set of supported data types for Bizagi's built-in connection to SQL Server.
What you need to do
Setting up Virtualization through the Wizard is done by:
1. Defining the information for the system where the external data source is.
This is done to set and manage the external system as a referenced system in Bizagi's project.
2. Entering the details for the Data Provider.
The connectivity information that specifies where the external data is stored.
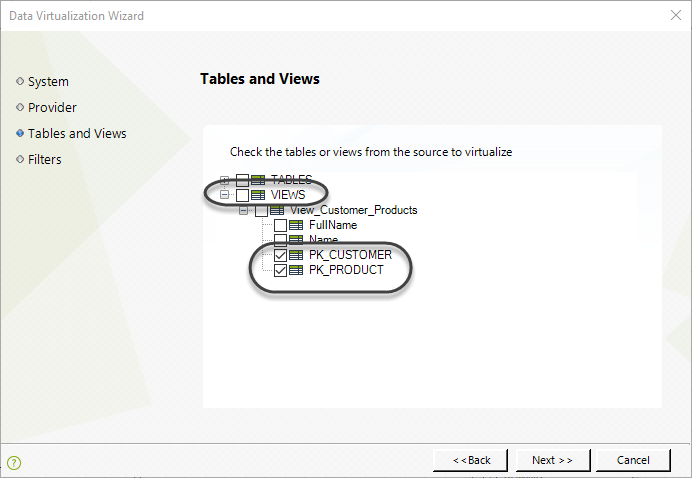
3. Selecting which tables or views to virtualize.
4. Defining optional filters for the tables or views to virtualize.
Once the configuration is complete, we also run an initial import for these tables or views, so that we can verify that the integration was properly set (checkpoint).
Example
In the following example, we will virtualize the following tables from a SQL Server database: Customer and Product.
Both of these tables will be automatically created in Bizagi as Master Entities.
To illustrate this configuration, we will part launch the Virtualize Entities Wizard from the Process Model diagram presented in the Data Model step.
1. Define the information for the system where the external data source is.
In the System window, Select New from the Select System drop-down list.
Enter a reference name (System Name) to the external system. This reference will represent the external system in your Bizagi project. In subsequent Virtualization settings, you will have the option of choosing existing systems (configured previously) from the Select System drop-down list.
Enter the Display Name and Description, and Click Next.
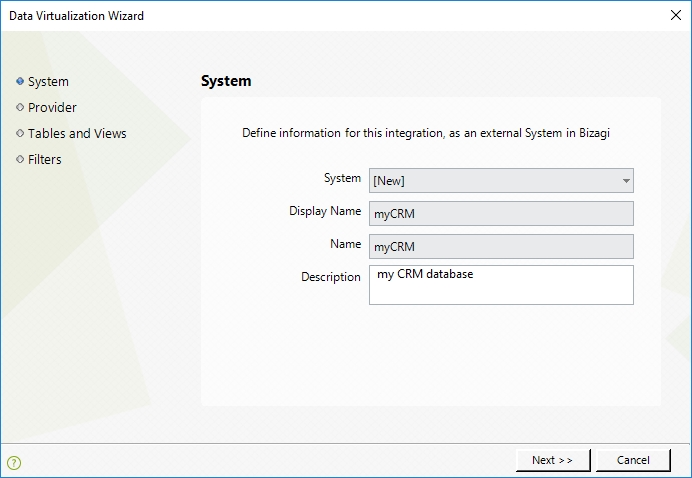
Notice you should also input detail for this new system: System Name, Display Name, and Description.
In subsequent Virtualization configurations, you may choose in this drop-down an existing System (configured previously).
Click Next.
2. Enter details for the Data Provider.
In the Provider window, select New from the Select Provider drop-down list. In subsequent Virtualization settings, you will have the option of choosing existing systems (configured previously) from the Select System drop-down list.
Enter the Provider Name, which must be a unique name you will give to this specific Data Provider (needed when you register more than one external data source in your project).
Select if your external data source is in SQL Server.
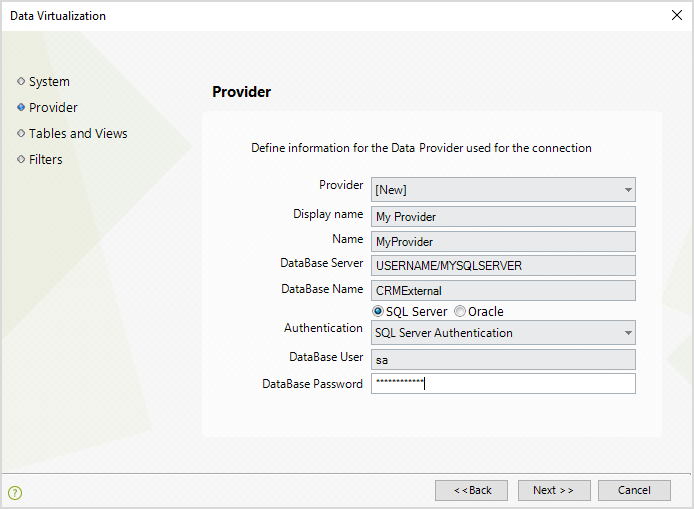
Then, and if your external data source is in a SQL Server database, enter the following information:
•Database Server: The name of the Database Server containing the SQL Server instance.
•Database Name: The name of the Database where the tables or views to replicate are.
•Authentication: The authentication method used for accessing the Database MUST BE SQL Server Authentication
•Database User: A login account to access that Database. Note that this account requires read access to the tables or views for replication.
•Database Password: The password for the specified Database User.
|
Windows authentication and Oracle databases are not supported for Bizagi Automation cloud service. |
In subsequent Virtualization configurations, you may choose an existing Data Provider from the drop-down list (configured previously).
Click Next.
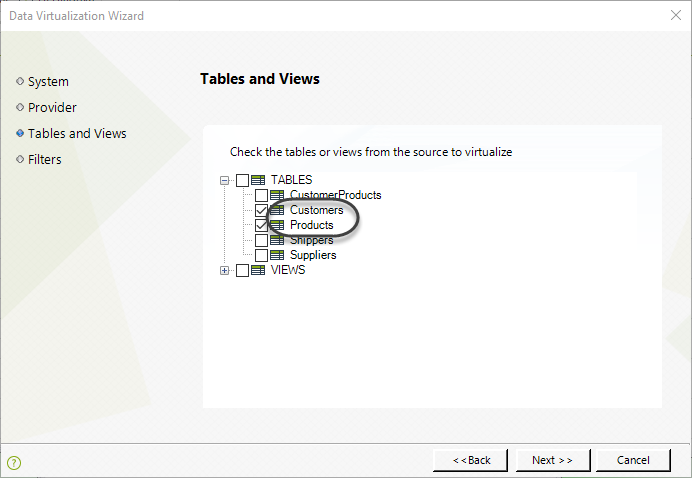
3. Select which tables or views to virtualize.
Once you have defined the connection details to your external data source, Bizagi will search and show the available tables and views at the source.
Expand the TABLES node to display a list of tables on the external data source, and mark the table(s) to virtualize.
In our example, we will mark the Customers and Products.
Click Next.
|
When selecting more than one table or view, Bizagi will automatically create their relationship (reference attributes), if these tables have an existing relationship explicitly defined at the source. |
|
Primary keys in tables are automatically selected as business keys. When selecting a view for Data Virtualization, you do not need to mark that view, but to make sure you select which column or columns will make up the business key definition (those which define uniquely each record in it).
|
4. Define filters for the tables or views (optional).
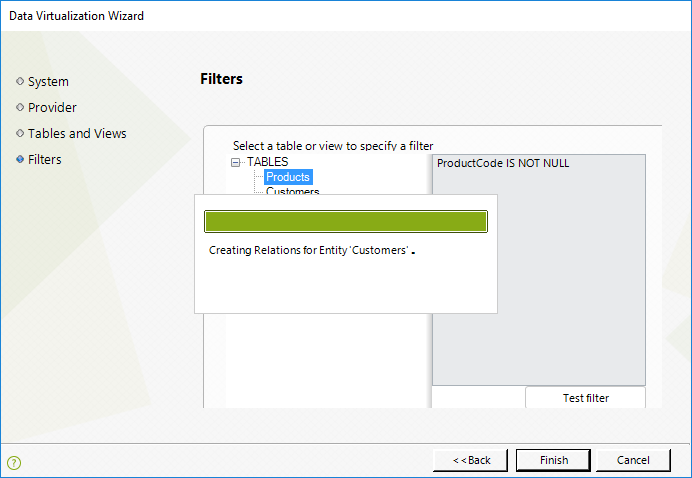
Once you have selected the tables or views to virtualize, you may choose to define if there is a filter so that Bizagi disregards certain records. For example, you may set that you want to disregard Customers with a certain type of Classification code.
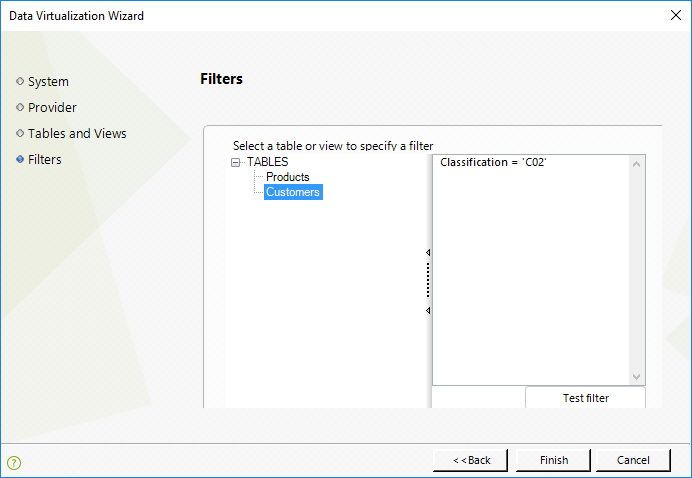
If you do, you may test this filter by using the Test filter button.
|
Take into account that this option should be used carefully when having a really large number of records in the source, as querying and retrieving these values could take up some time. The least number of active connections to the source database is the best strategy to make sure optimum performance. |
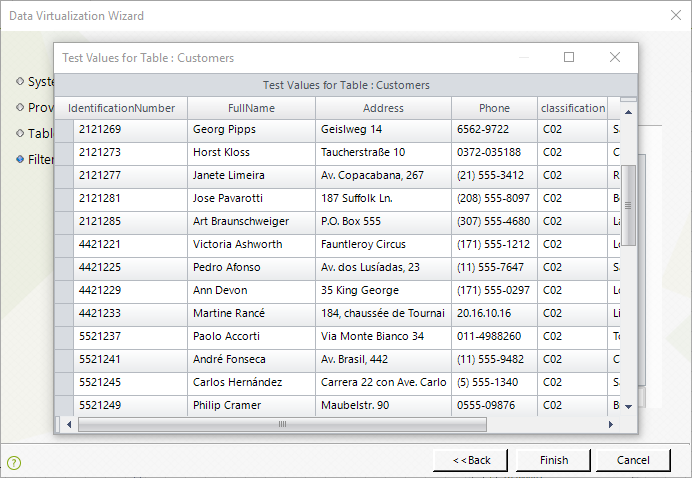
Click Finish.
Bizagi will create the entities, and the necessary configuration components.
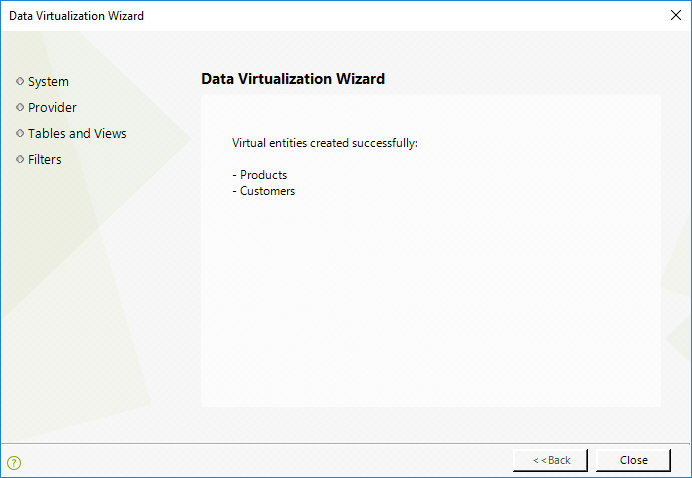
Click Close when this configuration has been successfully completed.
Last Updated 1/24/2025 4:36:09 PM
