Overview
Bizagi Modeler allows you to share objects, such as resources and Extended Attributes, across models in your subscription. This means that these objects can be used across all models in the subscription. Only users with the subscription owner role can manage these objects.
As a subscription owner you can import and delete extended attributes on the company Process Library. Extended attributes must be exported from the desktop application. Once an extended attribute is imported it will be available for all the models in the subscription, at the same time, these attributes cannot be edited from the desktop application. When you delete an extended attribute, it will no longer be available for the models in your subscription. However, said deleted extended attribute will not be deleted from the models using it.
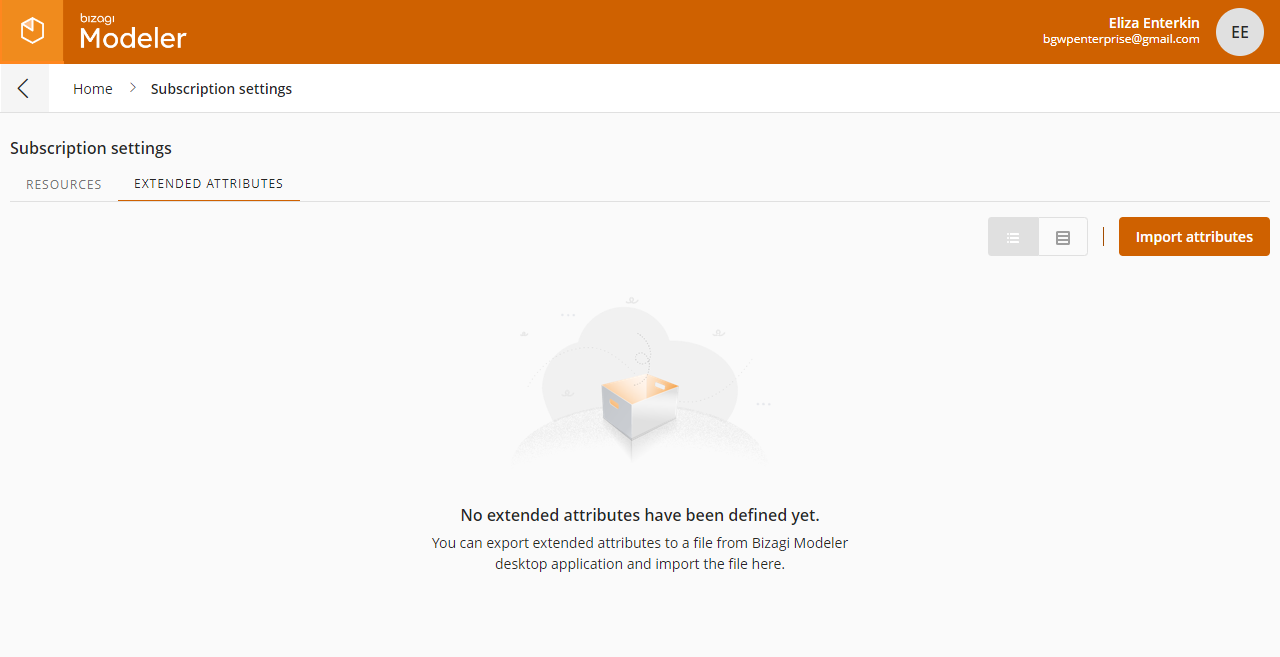
Importing extended attributes to the subscription
You can import resources files from the Subscription Settings option in your Process Library.
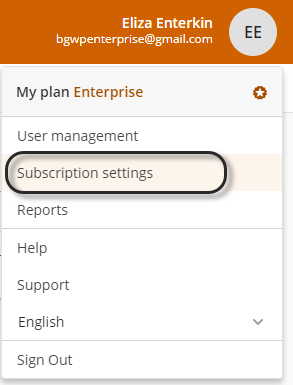
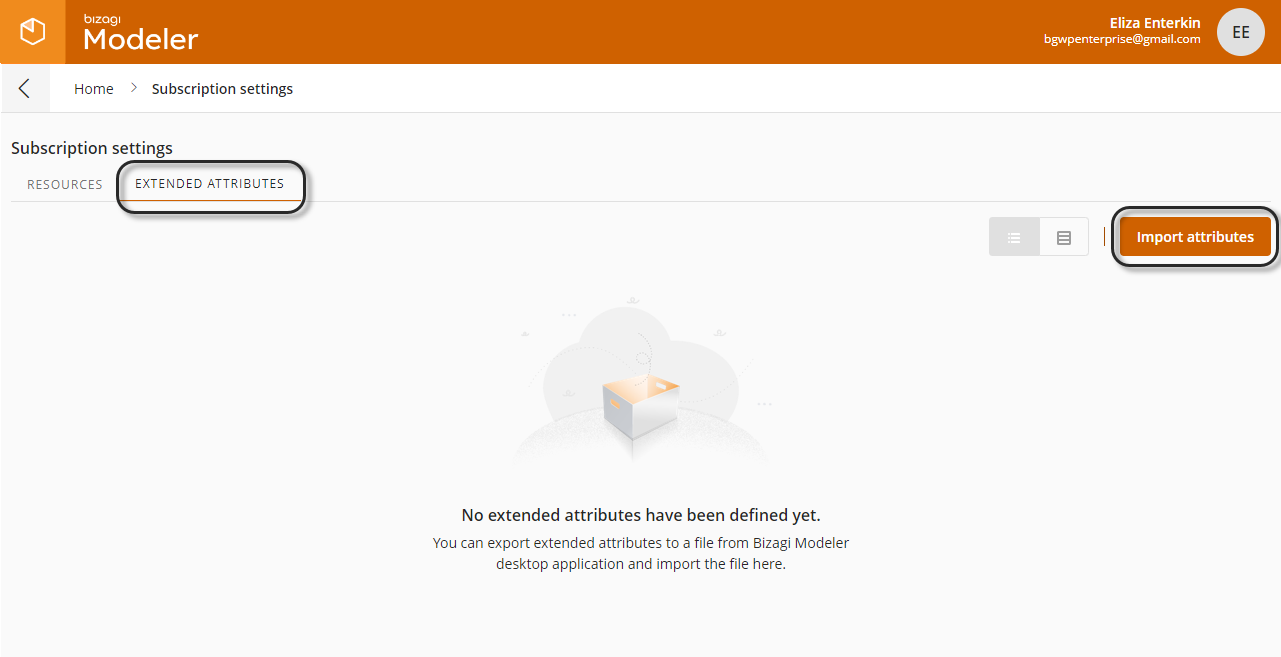
Once in this option, make sure you are at the Extended attributes tab and click the Import attributes button.
A window appears, select the file you want to upload to continue. A loading screen appears and then a pop-up window appears where you can select the attributes you wish to import.
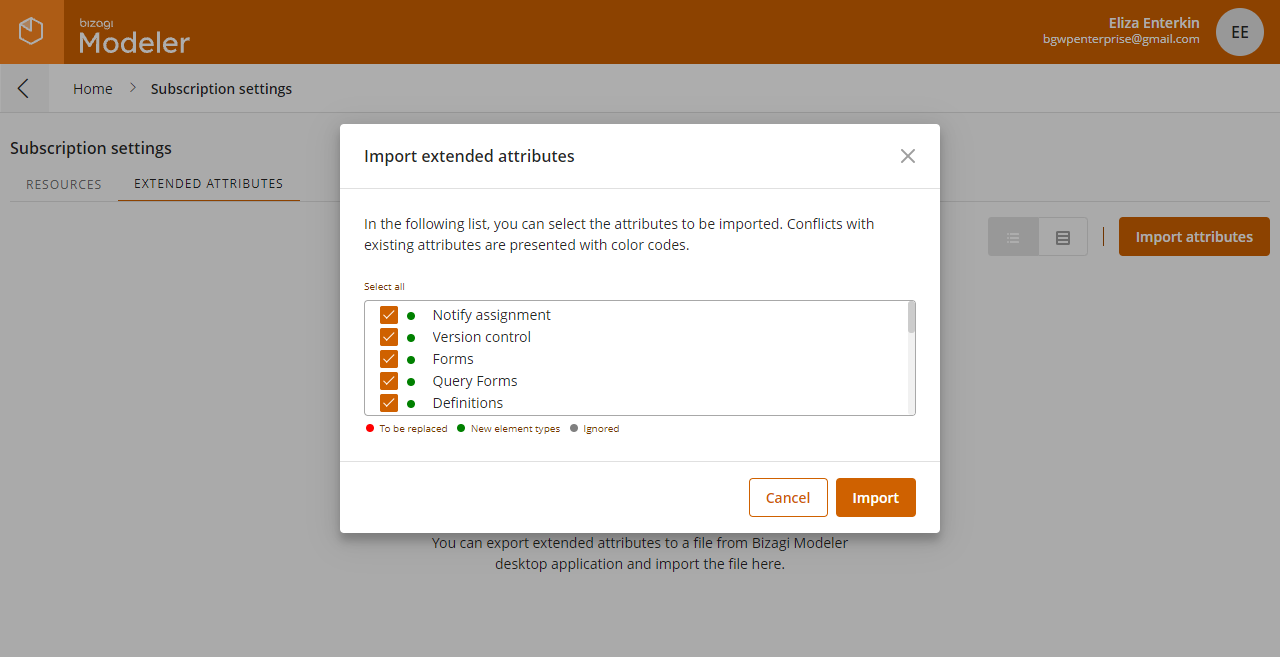
The Select all option lets you select all the attributes or deselect them. Once you've selected the attributes you wish to add as subscription extended attributes click Import. Once the upload finishes, a notification confirming the action appears and you will be able to see your extended attributes.
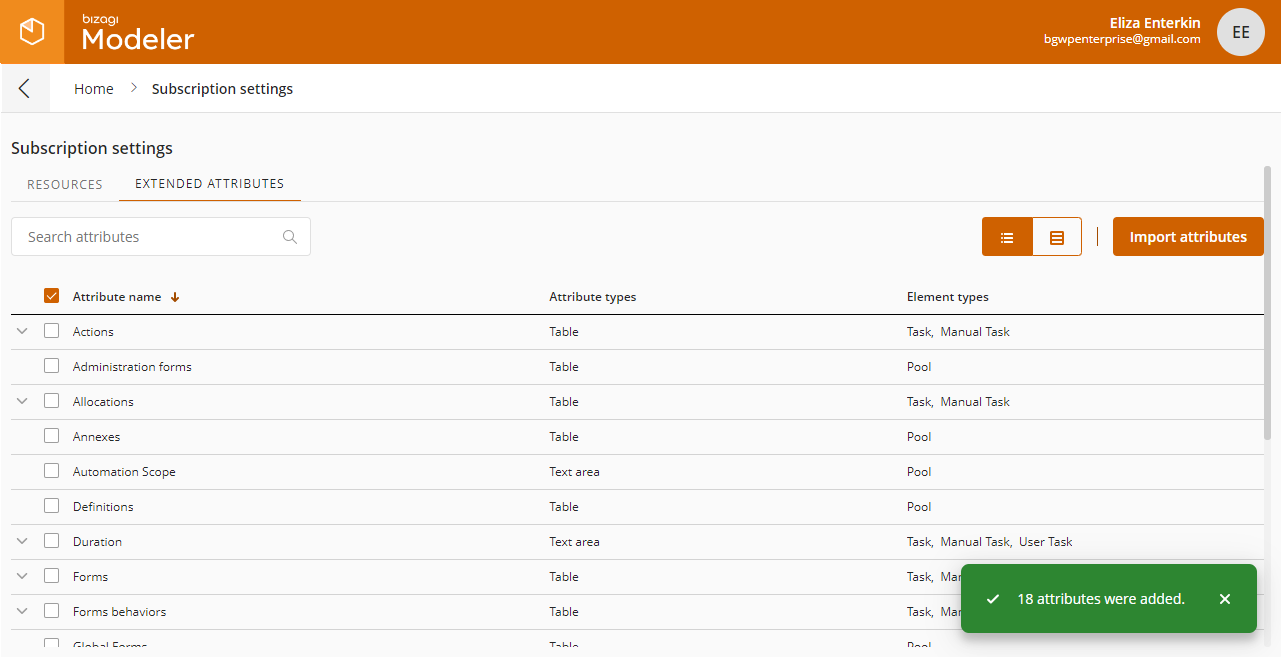
The imported attributes are now available for all the models in your subscription. You can now also filter your extended attributes using the search control on the left corner.
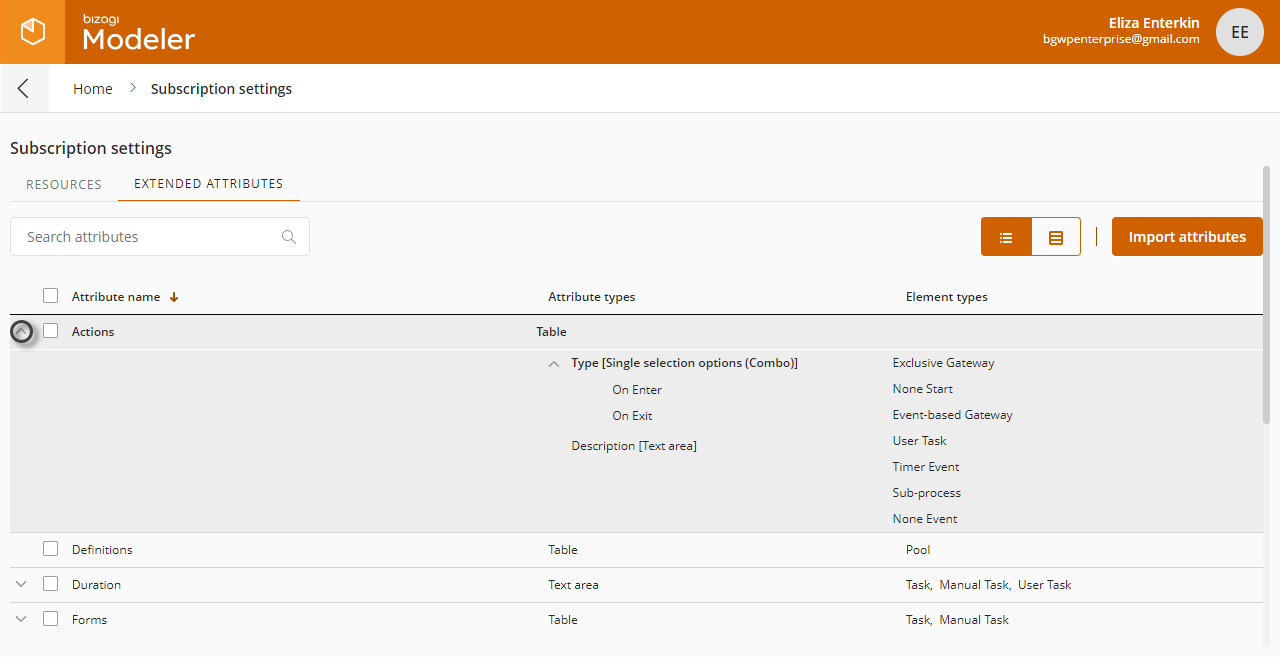
You can view the attribute details by clicking the icon to the left of the attribute.
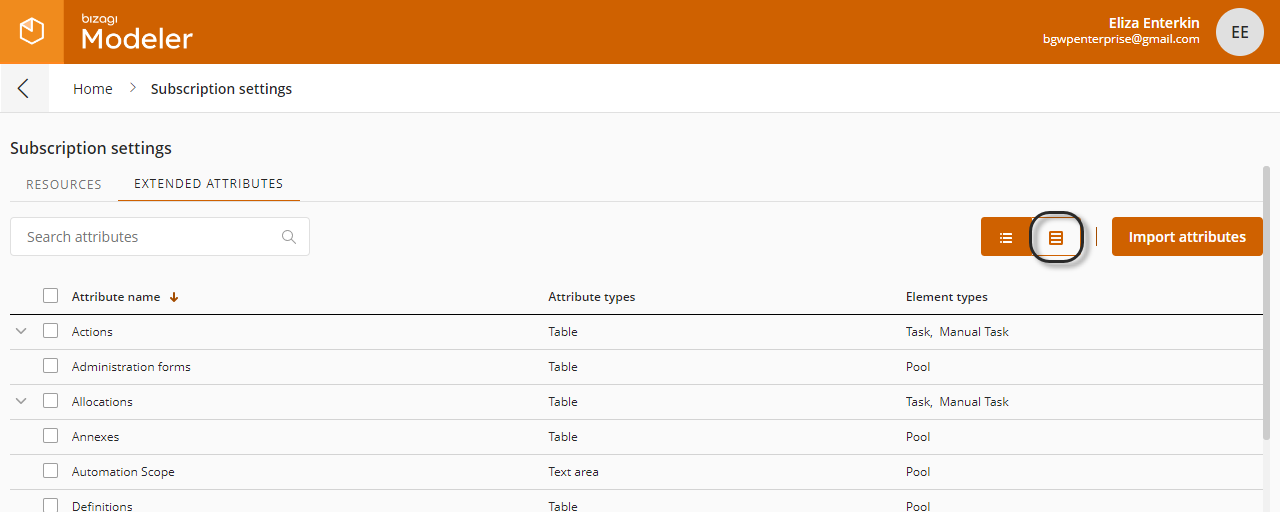
You can sort your extended attributes by attribute name or by element, to switch to element view click the switch view button.
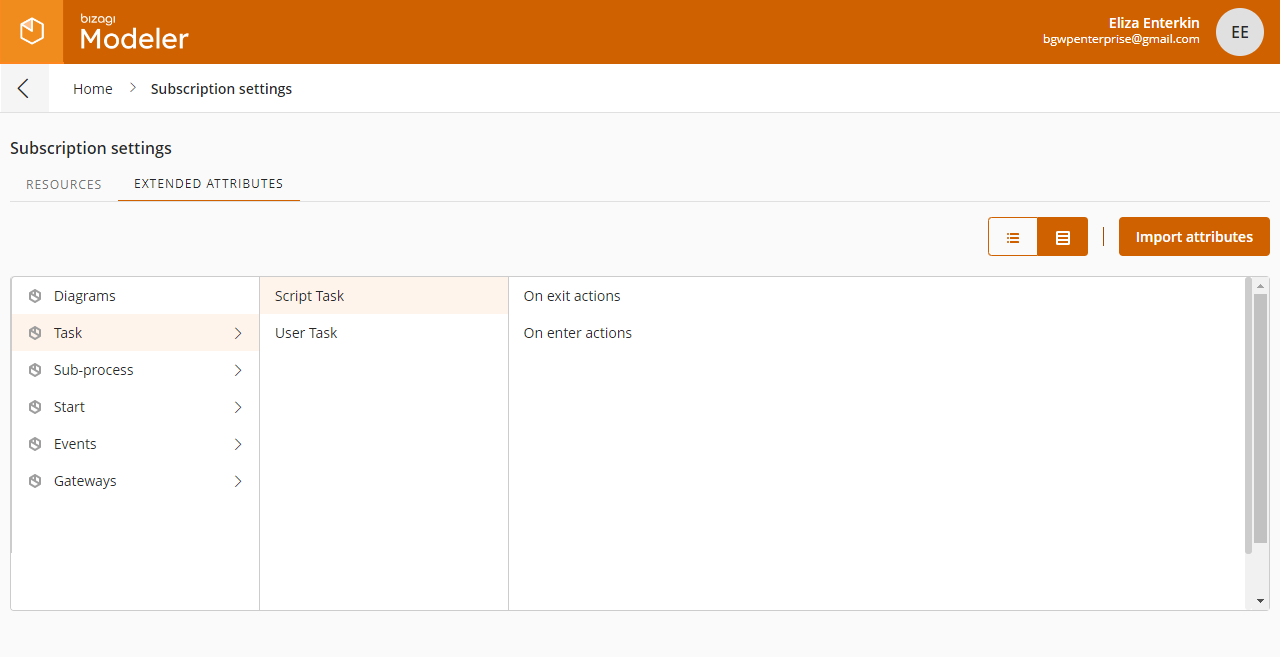
In this view you can navigate through diagrams, tasks, sub-processes, start events, events and gateways, to see what attributes are available for each type.
Adding more extended attributes
You can add and update attributes to your subscription at any time. You can upload as many attributes as you need.
When you upload an .xml file containing extended attributes, Bizagi Modeler will validate the file and filter out what is already uploaded, what attributes have a new element type added to them and which ones to replace.
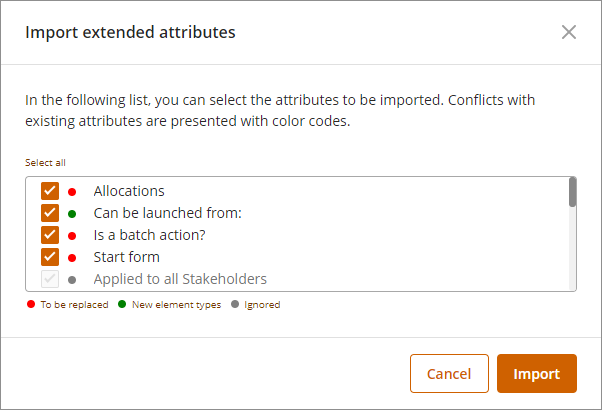
The upload window will distinguish between these attributes as follows:
•To be replaced: this attribute will be replaced with the information inside the xml file, the existing attribute will be overwritten.
•New element types: this attribute will have new elements added on its definition.
•Ignored: this attribute will be ignored during the import given that it already exists as a subscription extended attribute.
•Unmarked: this is a new attribute that will be created with the import.
Select the attributes you wish to import, then click Import.
Using the imported extended attributes
Once an extended attribute is added to the subscription, it is available for all models.
When you are using the desktop application, you will be able to identify the subscription extended attributes as those that have a lock beside their name.
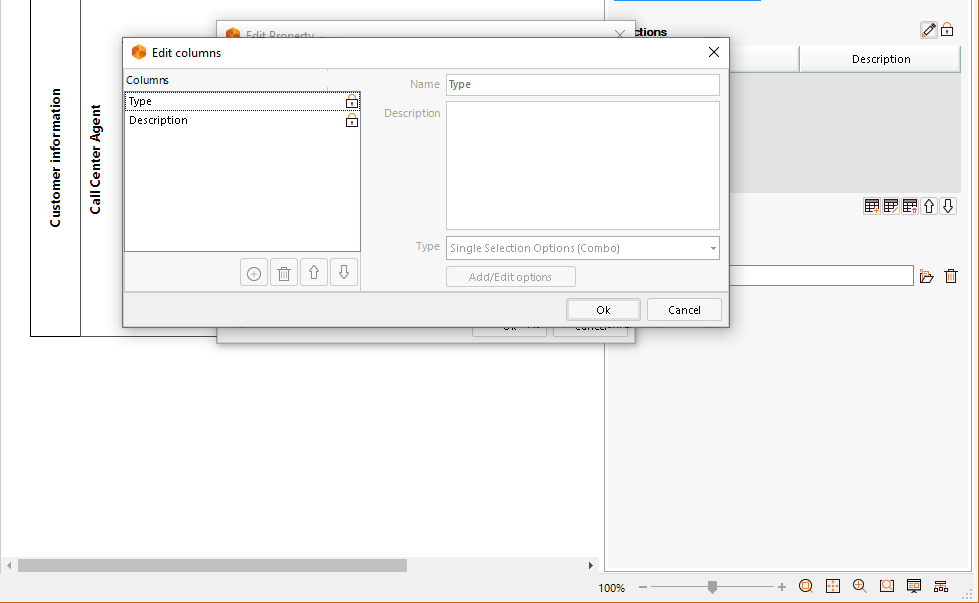
You cannot edit nor delete subscription extended attributes from the desktop app. This action can only be done by the subscription owner in the Process Library.
Keep in mind that if you are using a subscription extended attribute in your models and it is deleted from the Process Library, it will still appear in your model, but it will no longer be available on a subscription level. These attributes coexist with those you have locally for your processes.
Deleting extended attributes from the subscription
You can delete attributes from the Subscription settings menu of the Process Library. Make sure you're in the Extended Attributes tab before proceeding to delete an object.
Deleting extended attributes is a simple task. All you have to do is select the attributes you wish to delete, with this the Delete button appears.
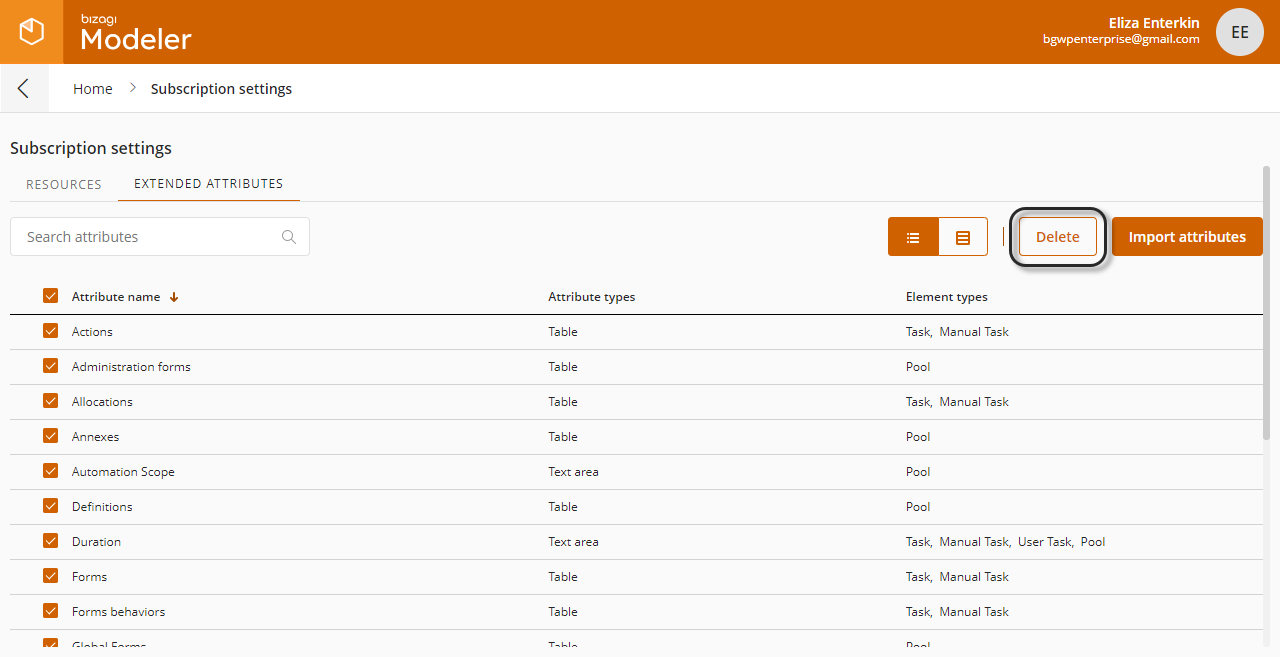
Click the button to remove the attributes from your subscription. A confirmation window appears, click Delete.
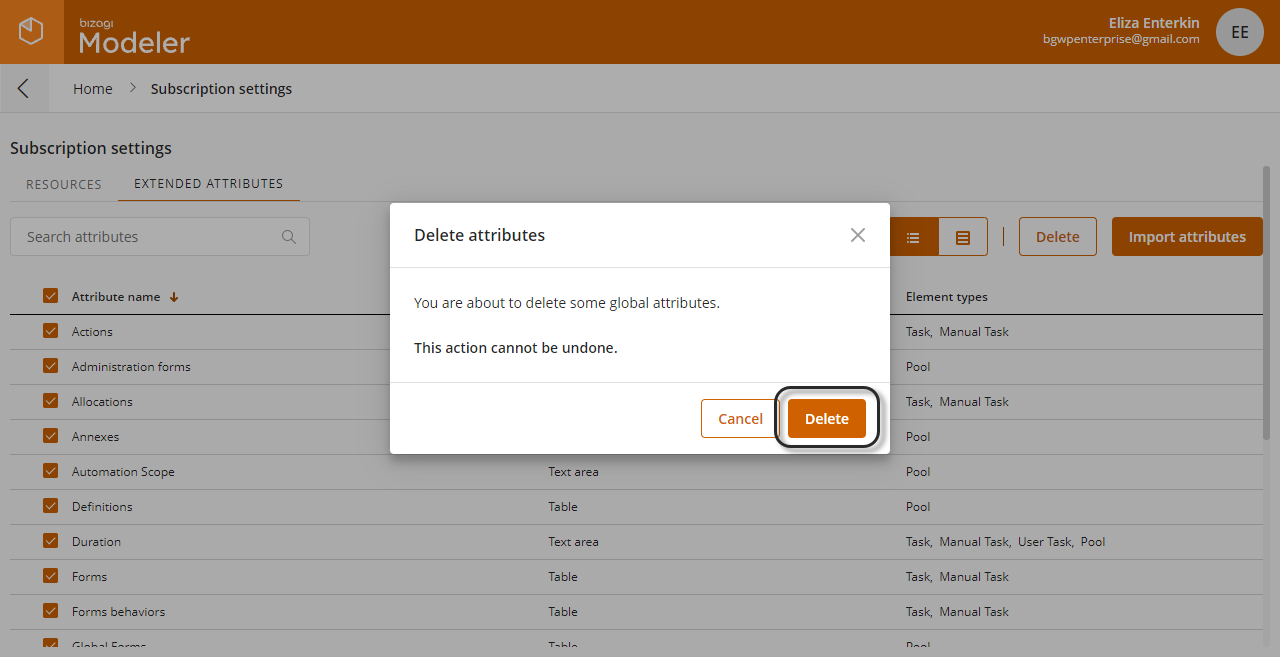
A notification message appears to confirm that the attributes were deleted.

Last Updated 3/15/2022 3:40:26 PM