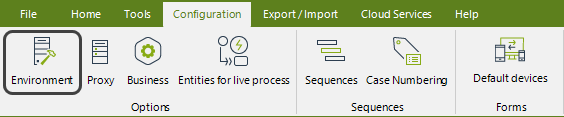
Overview
The Environment configuration controls the setup of SMS sending, Scheduler, uploads, and logging options. It is located in the Configuration tab of Bizagi Studio's menu.
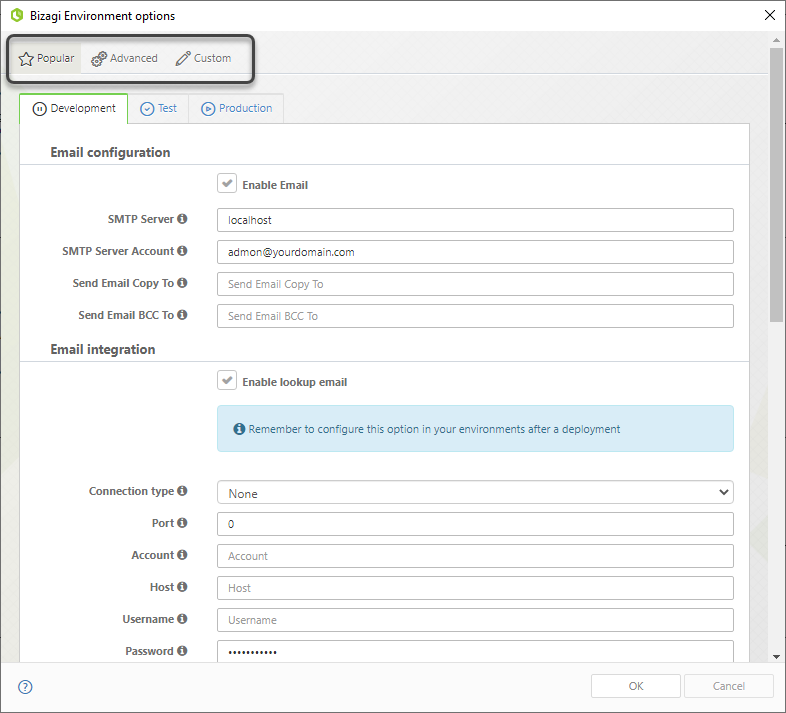
The Environment configuration includes three main sections:
•Popular
•Advanced
•Custom
|
Before the first deployment, all configurations are set in the Development environment through Bizagi Studio. Once deployed, configurations are specific to each environment. To make changes permanent, apply them across all environments. |
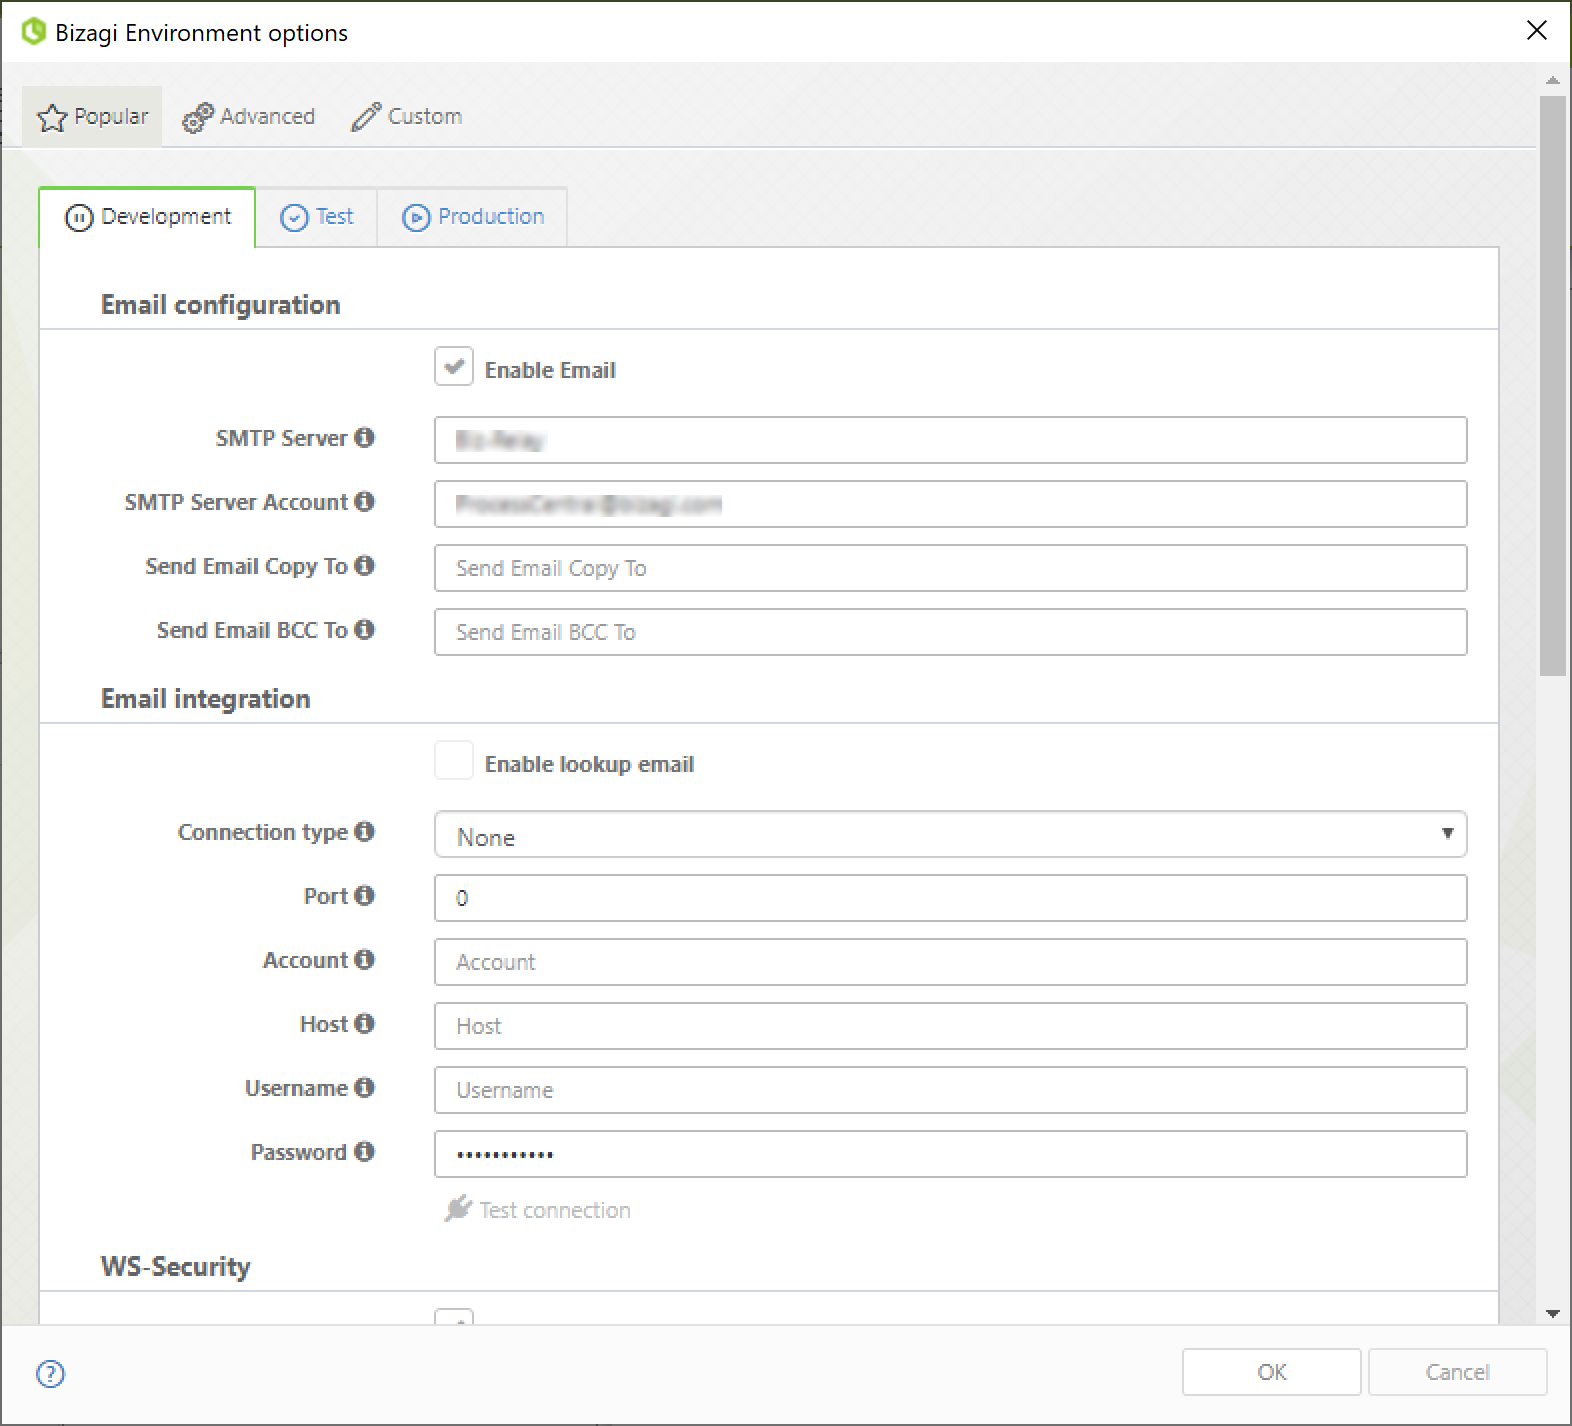
Popular
The Popular tab allows you to configure essential SMS settings, such as the default country code, code validity, request limits, time-out between requests, and SMS provider details (currently Twilio).
The parameters to be configured are:
OPTION |
DESCRIPTION |
|---|---|
SMS configuration |
|
Default country code |
This code will be used if a user's phone number doesn't have one. |
Code validity period |
The time in minutes in which the sent code will be valid. |
Number of codes allowed |
The number of times a user can request a code. Bizagi will not send any more codes if the number of requests reaches this number. Codes can be requested again when the time-out to between requests expires. |
Time-out between code requests |
The time in minutes that Bizagi will wait before sending new codes after reaching the maximum number of codes allowed. |
Provider |
Your SMS provider. Currently, our supported provider is Twilio. |
Account SID |
The security identifier that acts as a username. |
Auth token |
The security identifier that acts as a password. |
From numbers |
The numbers used to send the code according to the end user's location. The default number is used when there is no match for the user's country code. |
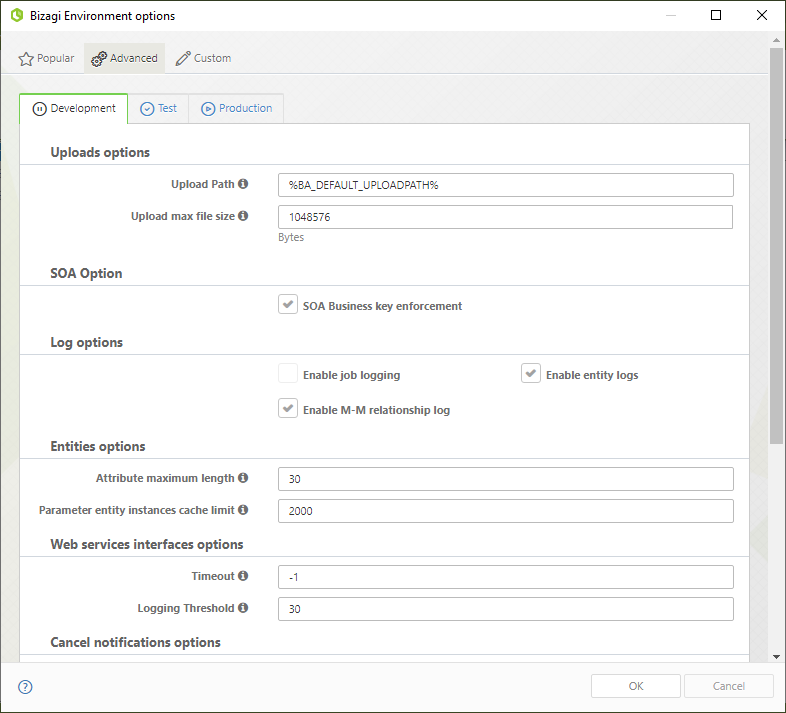
Advanced
In the Advanced tab, you can configure environment-specific parameters like Upload options, SOA settings, logging options, Entity management, Web Services configurations, and Security settings. It provides deeper control for handling large data volumes and fine-tuning system behavior.
The parameters that can be configured are:
OPTION |
DESCRIPTION |
|---|---|
Uploads options |
|
Upload Path |
Does not apply to cloud environments. |
Upload Max File Size |
Defines the maximum allowed size in bytes of files to be uploaded. |
SOA options |
|
SOA Business Key Enforcement |
The option to uncheck it is available. If checked, using the SOA layer Bizagi will display an exception when attempting to register a business key pointing to either a Parameter or Master entity that does not exist in Bizagi. If unchecked, the business key will be saved as null. |
Log options |
|
Enable Job Logging |
Enables the logging of information on every job execution. |
Enable Entity Logs |
Enables the logging of information on the entities. |
Enable M-M relations logs |
When enabled Bizagi will create a log in the database (Attriblog) when there are any changes (relating or un-relating) in M-M (multiple-to-multiple) relationships. |
Entities options |
|
(1) Attributes Length Maximum Threshold AND (2) Parameter Entities Instances Cache Threshold |
Parameter entities in the Work Portal are handled in cache if the length of the attributes in the entity is less than the first parameter AND the number of records is less than the second parameter.
Parameter entities that have more attributes or more records than the thresholds will be loaded by demand (accessing the DB).
These parameters are used to refine the application's performance when there is a big data volume. |
Web services interfaces options |
|
Timeout |
This parameter is used to configure a timeout for synchronous Web Services. If the value specified is less than or equal to zero, it will be ignored. Thus, Bizagi will wait for a reply with success or failure, no matter how long it takes. Since this can cause blockages, we suggests setting a value. |
Logging Threshold |
Threshold time in seconds to log interfaces that last more than this time. |
Cancel notifications options |
|
Disable cancel notifications |
When enabled, the Canceled case notifications are not sent. Canceled case notifications are sent to all users who have pending tasks in a case that is canceled in the Work Portal. |
Include events on notifications |
When enabled, the Canceled case notifications are sent to all users allocated to the case events. |
Security |
|
Trusted domains (CORS) Cross-origin Resource Sharing |
Define the domains that can interact with Bizagi. If you haven't defined a domain, all the domains are disabled by default. When using Web parts for portals integration, you must add the domain of the site you are integrating in this parameter. Domains should be comma separated. |
Proxy Settings |
|
Enable Proxy |
Enable the application to use the proxy server. |
URL |
Define a valid URL of your proxy server. |
Port |
Define a valid port of your proxy server. |
Proxy Authentication |
If the proxy server needs credentials, enable to send them. |
Custom
The Custom tab lets you manage project-specific parameters across environments (Development, Test, Production). You can add, edit, or delete parameters, which can then be used in Scripting expressions for further customization.
|
Once deployed, Custom Parameters in the Production environment cannot be edited or deleted to ensure consistency. |

•To add new parameters, click the plus sign (![]() ). A new window displays. Define the name, value, and description for the parameter.
). A new window displays. Define the name, value, and description for the parameter.
•The Edit button will display the same window, but with the information of the selected parameter.
•Selecting a parameter and clicking the trash can icon (![]() ) will remove the parameter.
) will remove the parameter.
Custom parameters can then be used in a Scripting expression in the following way:
CHelper.getParameterValue("PARAMETER_NAME") ;
If you create a custom parameter named LOGOSPATH, you can use it in an Expression in the following way:
var tmp = CHelper.getParameterValue("LOGOSPATH");
|
In case you want to set a different address for the User Portal, use the Environment Configuration feature. |
Last Updated 4/6/2026 5:29:15 PM