Overview
Actions determine the options at the Work portal that can be launched and executed by a Persona whenever these make sense (Bizagi is context-aware), as described at Actions.
In order to configure actions, you may rely on Advanced configuration to set additional settings which are not presented while in the basic configuration.
Switching to the advanced configuration, is done by clicking on Advanced when editing or configuring an action:

Configuring actions in advanced mode
The advanced mode presents a 5-step wizard.
1. Action definition
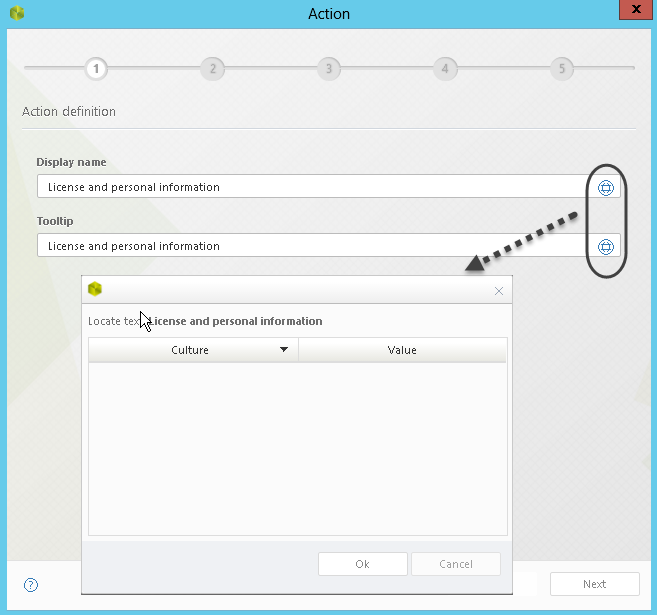
In this step, give the action a Display name and Tooltip.
Notice you may localize these labels for a multi-language Work portal:
2. What the action enables
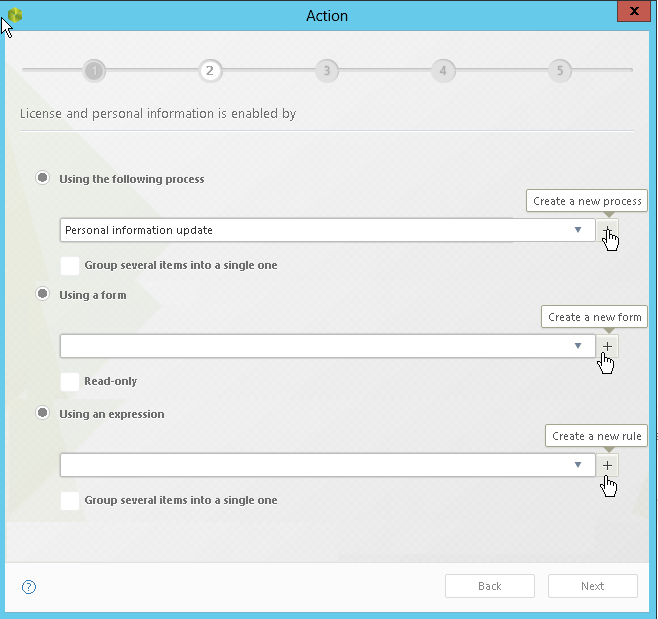
In this step, define what the action will do, according to the option described in the following table.
OPTION |
DESCRIPTION |
|---|---|
Using a process |
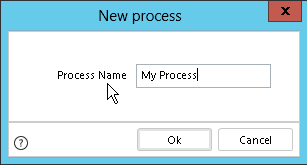
Select a process from the drop-down list or click the
Mark the Group several items into a single one checkbox to define a Batch action. For more information about this possibility, refer to Merged actions. |
Using a form |
Select a form from the drop-down list or click the
Mark the Read-only check-box if you wish to have an action display information only without allowing edition of data in a form whose fields are not strictly read-only. |
Using an expression |
Select an expression from the drop-down list or click the
Mark the Group several items into a single one check-box to define a Batch action. For more information about this possibility, refer to Merged actions. |
3. Seen by
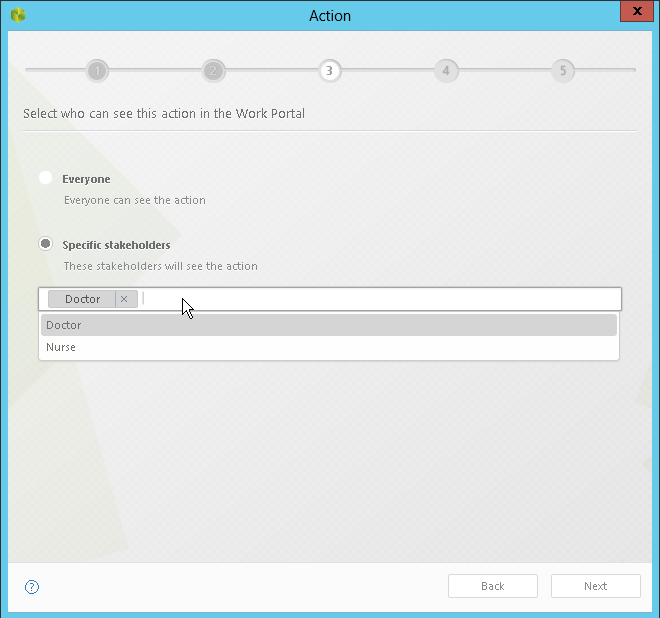
In this step, define which Personas will get access to this action.
You may either grant this action to everyone, or click Specific Personas to input the names of those Personas allowed (separating them by using Tab).
|
Listing Personas to be allowed to use this action at this step, will be reflected when viewing the default context (always available) information for that specific Persona in the Experience design. |
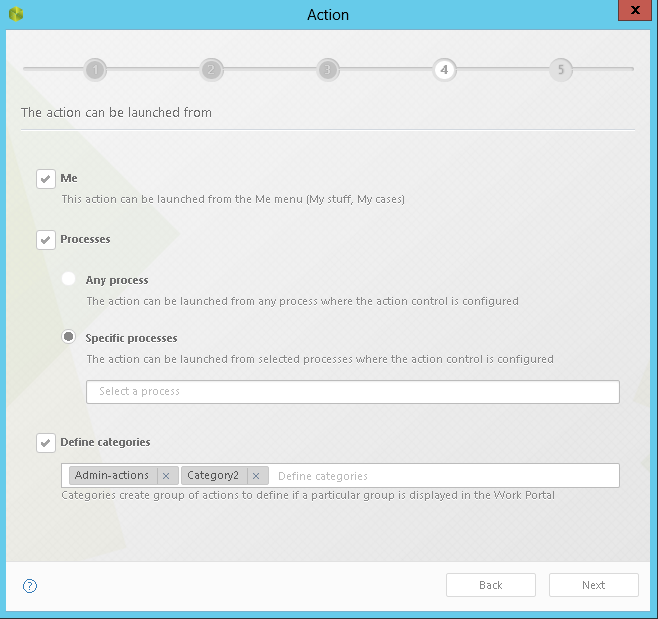
4. Launched from
In this step, define if this action should:
•Be presented at the Me menu (by marking Me). This includes to be shown in My Stuff and in results of Searches.
•Be presented in process allowing to launch this action using an Action launcher or Polymorphic launcher (you can specify if all or some processes are allowed).
•Be grouped into one or more categories in order to classify and manage access to this action (by marking Define categories and writing down any number of categories by using Tab to separate them).
Such categories are helpful only when working in the Form designer, so that any control that can target an action (e.g, an action launcher control), can display all possible actions in a hierarchical fashion, for best organization and usability purpose.
You can have an action available only in Me menu and not in processes, available in processes and not in Me Menu, or available everywhere.
5. Visibility options (seen when)
In this step, define if this action will be always visible to the Personas chosen, or assign a boolean expression (based on data) that determines when this action should appear in the Work portal.
For example, you want to show an Action called Schedule Pregnancy checkup only to women, and only if they appear as pregnant. This is where the visibility definition will be created. Keep in mind that the context of this boolean condition is the entity where the action is being executed.
You may create a new rule:
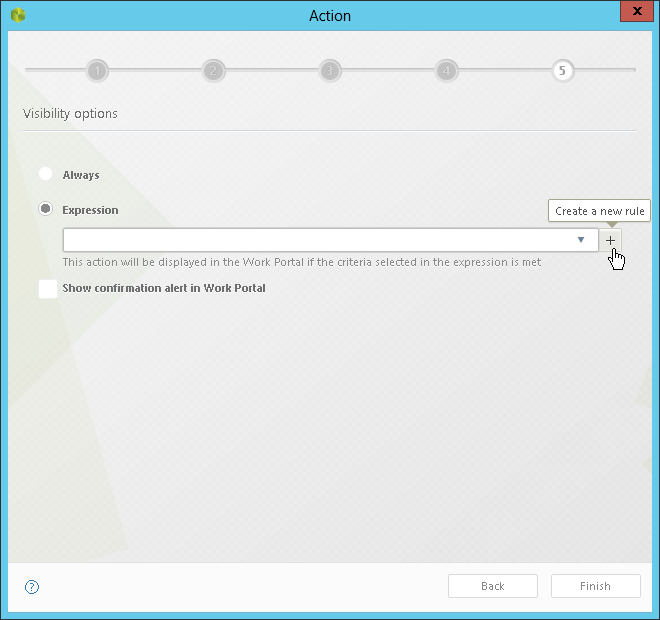
Mark the Show confirmation alert in Work portal if you wish to show to the end user a subtle label indicating that the action was launched upon clicking the button.
Last Updated 10/9/2024 4:24:18 PM
