Overview
Generate your complete process documentation to Wiki format and share it throughout your organization.
Customize the output information that you want to include in your document by selecting the diagrams and the elements that will be contained in it.
|
Make sure you have MediaWiki installed in your server and a user with publishing rights, when you generate this documentation. |
Bizagi provides an intuitive wizard to helps you through the steps to generate your documentation.
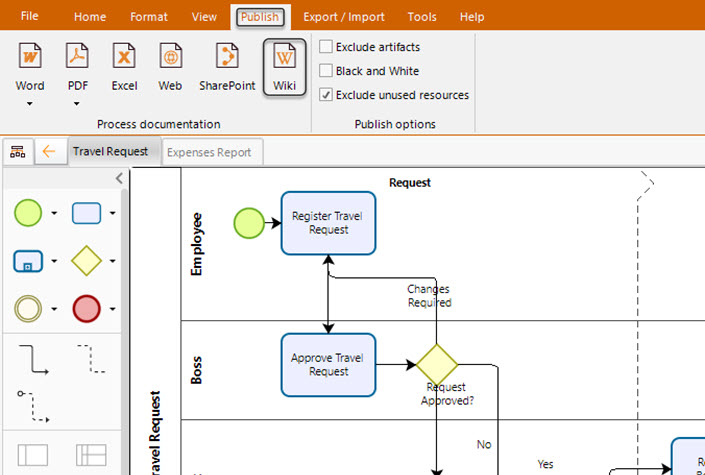
1. In the Publish tab, in the Process documentation group, click Wiki.
2. If your model is stored in the cloud use the Profile name combo to select the profile used to publish the models. For models stored locally, this combo is disabled.

|
By default, the profile My profile is selected to publish your models, if you want a new model, click create new profile option. This profile is private for the current user. Each user has a private profile |
3. Each diagram and their elements appear in the collapsible panel on the right. Select per each diagram the elements that you wish to publish in the documentation.
You can select all elements across all diagrams using the select all checkbox. By checking this checkbox ALL your diagrams and their elements will be marked as elements to publish. Any individual diagram configuration will be lost.
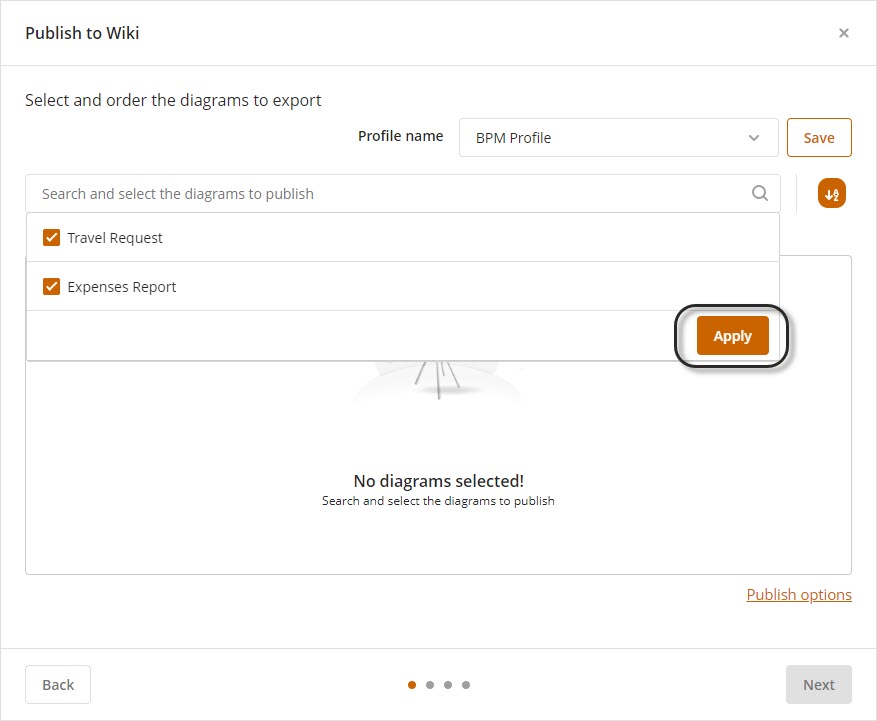
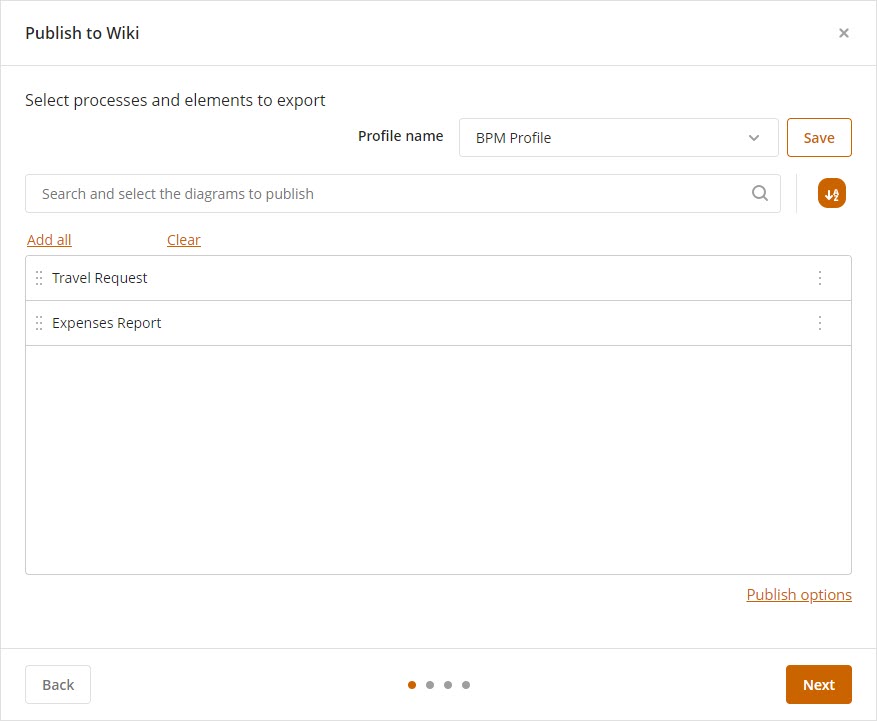
4. Choose the order in which you wish to publish your diagrams by using drag and drop features. Alternatively, you can sort them alphabetically by using the ![]() button.
button.
Once finished, click the Next button.
In this step, you can override the publishing options for the current publish by click the Publish options link. The options are:
•Exclude artifacts: When enabled, the application does not include artifacts on the publishing.
•Black and white: When enabled, the publish exports the diagrams in black and white colors.
•Exclude unused resources: When enabled, the application does not include resources which have not been included on any task's basic element properties' RACI Responsibility Roles. It means, the publishing includes only the resources which were used at least in one task.
5. Each diagram and their elements appear in the collapsible panel on the right. Select per each diagram the elements that you wish to publish in the documentation.
You can select all elements across all diagrams using the select all checkbox. By checking this checkbox ALL your diagrams and their elements will be marked as elements to publish. Any individual diagram configuration will be lost.
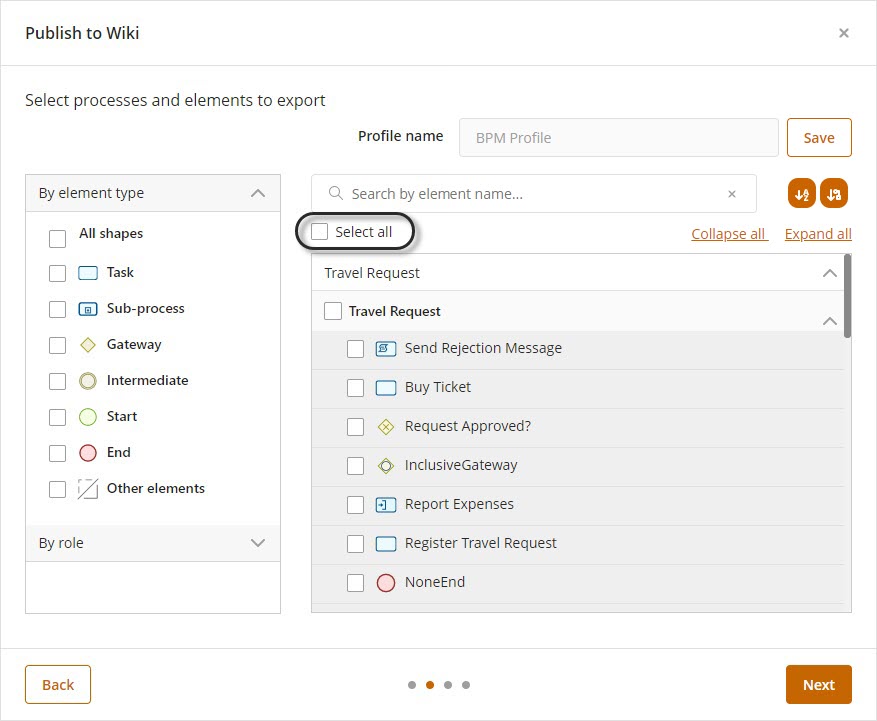
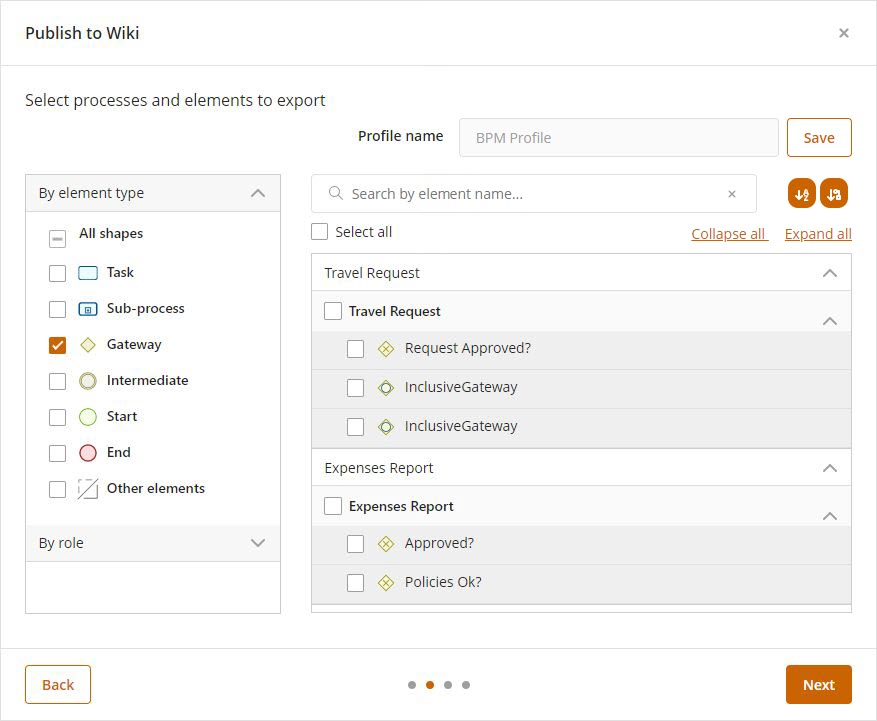
Using the left panel, you can filter the elements of the diagrams either by element type or role.
When you select one or more element types, the elements that match this type are displayed in the right panel. When you filter the elements, all the selected elements in the right panel remains even they are not displayed.
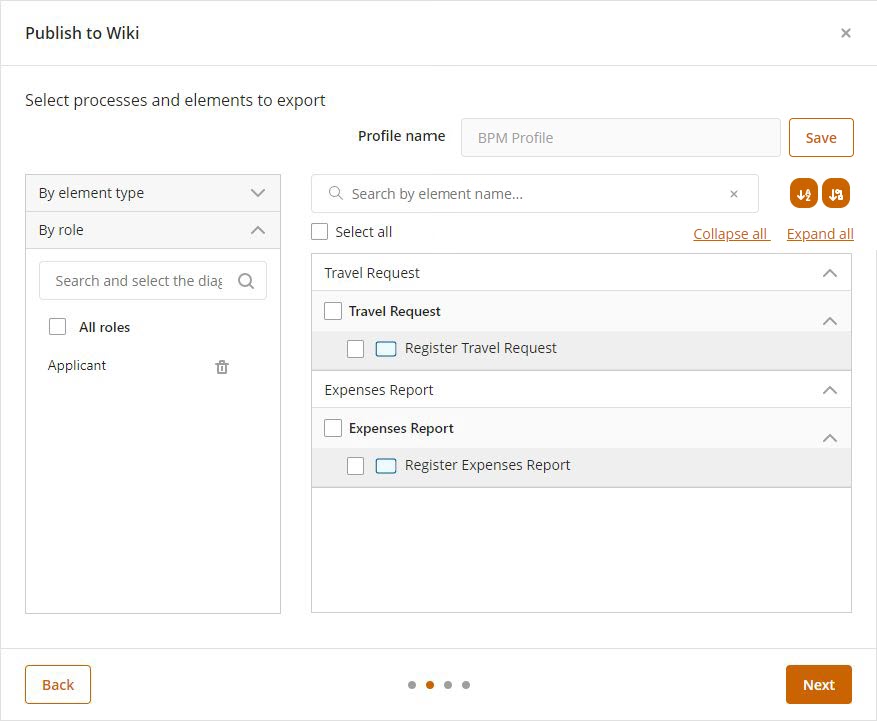
To filter by roles, expand the by role element and select the roles you want to use in the filter, Then click Apply.
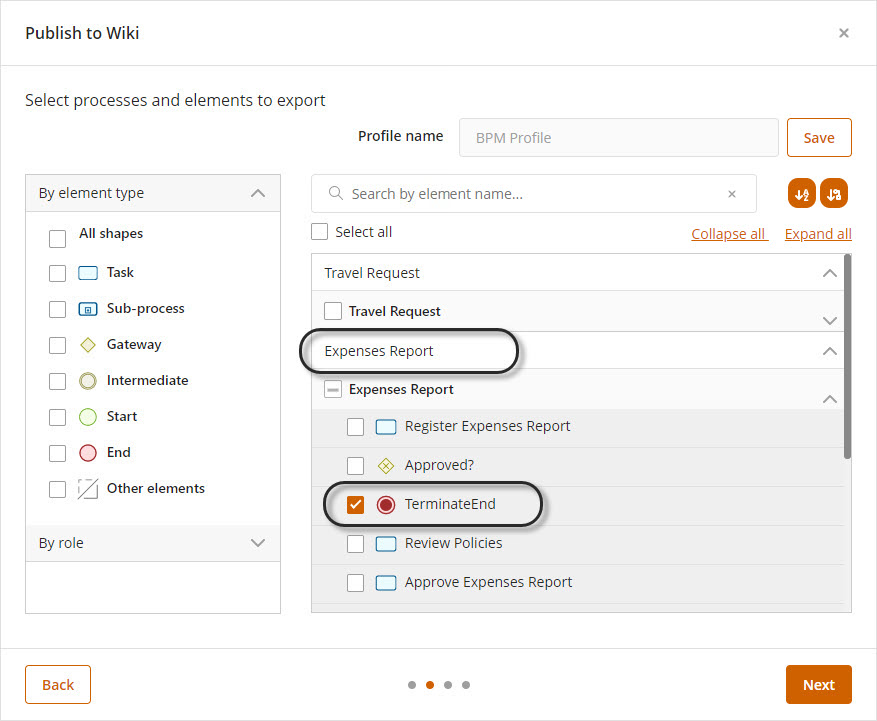
You can individually select elements from each diagram marking their checkbox.
You can also click the ![]() button to order the elements automatically or click the
button to order the elements automatically or click the ![]() button to order the elements alphabetically. This order does not affect the order in which the publication is displayed, but lets you find the elements when the model has several diagrams and elements.
button to order the elements alphabetically. This order does not affect the order in which the publication is displayed, but lets you find the elements when the model has several diagrams and elements.
Click Next, when you have included the elements in your publish.
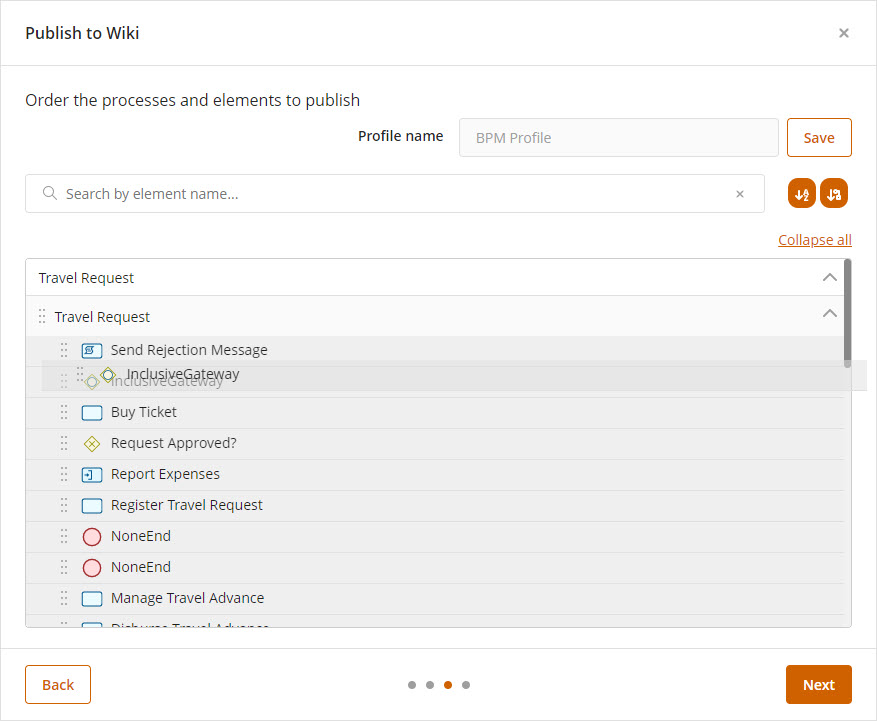
6. The selected elements appears in this step. For each diagram select the order in which you wish the elements to be exported. Each diagram selected appears a s a collapsible panel.
By default elements are organized according to the sequence of the process flow. You can use the drag and drop features to set the order as you desire..
You can also click the ![]() button to order the elements automatically. The position of the elements is defined by the order in which they appear. When they are presented after a gateway, they are sorted by their creation (when they were added to the diagram).
button to order the elements automatically. The position of the elements is defined by the order in which they appear. When they are presented after a gateway, they are sorted by their creation (when they were added to the diagram).
You can also click the ![]() button to order the elements alphabetically.
button to order the elements alphabetically.
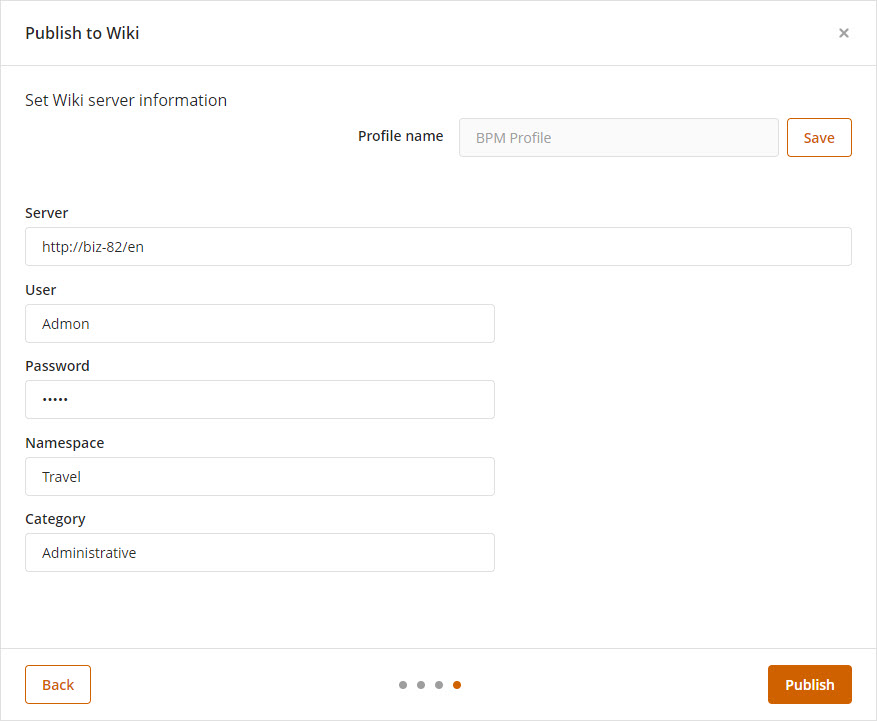
7. The following Information about the Wiki Server will be requested:
•Server: URL of your Wiki Server
•User and Password: User credentials to access your server. The user must have writing permissions.
•NameSpace: To help you differentiate thees process articles from others that are already published in your wiki, Bizagi allows you to enter a word that will be set before all the created pages.
•Category: To help you organize your documentation we recommend that you include a category to group the pages created in your wiki.
Click on Finish to publish the documentation on the selected server.
|
If you use the Profile features and you have not saved the changes in the profile, The wizard prompts you to save the changes before publish. Saving is not mandatory.
|
Wiki Output
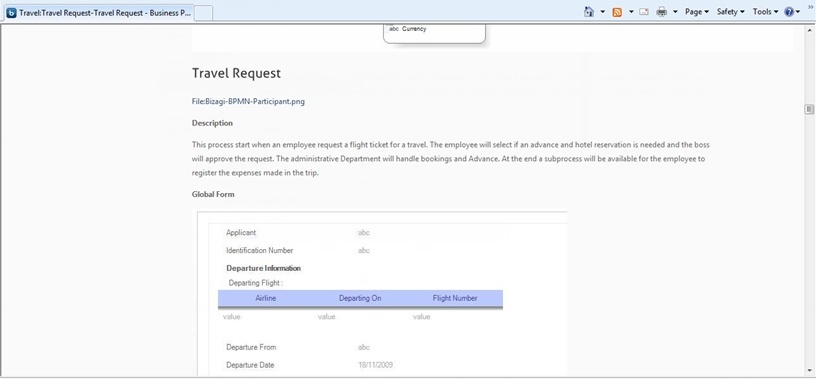
Once the process has been published on your Wiki, you will be able to see the description of your diagrams.
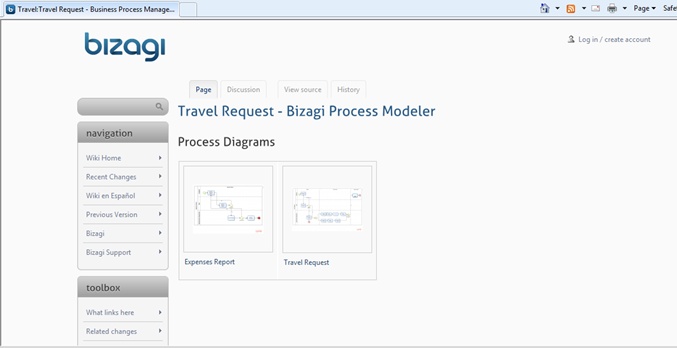
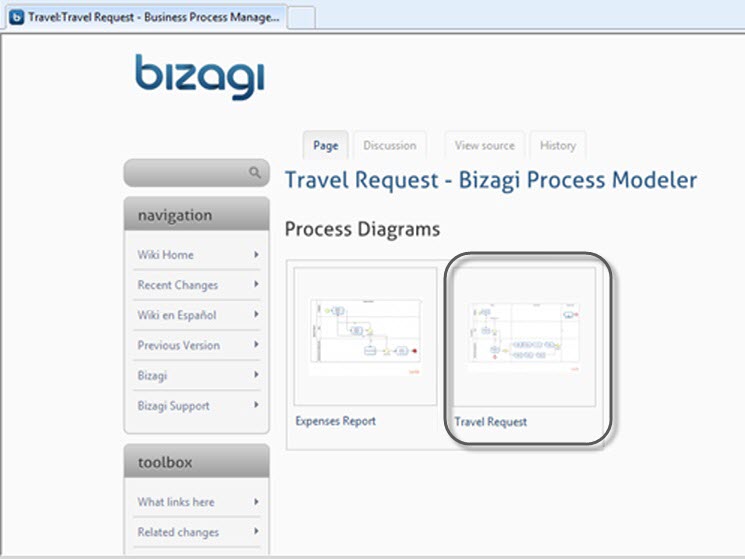
Click on your process to see the detailed information and elements.
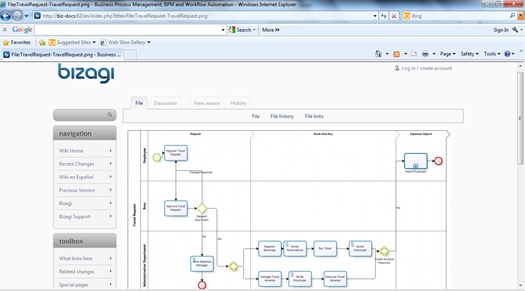
You will be able to see the documentation of any shape by clicking on it.
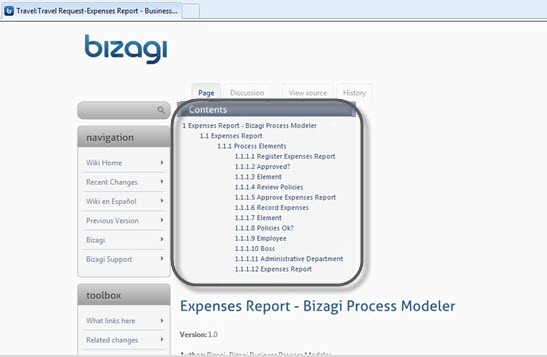
To perform quick searches on the elements of your process, use the contents table. This will allow you to quickly see the information of the shapes including basic and extended attributes.
Wiki version support
We support the following MediaWiki combinations with PHP
•Wiki 1.14.x with PHP 5.2.17
•Wiki 1.15.x with PHP 5.2.17 and 5.3.10
•Wiki 1.16.x with PHP 5.2.17 and 5.3.10
•Wiki 1.17.0 with PHP 5.2.17 and 5.3.10
Versions 1.17.1, 1.17.2 y 1.17.3 are not supported
•Wiki 1.18 with PHP 5.2.17 and 5.3.10
•Wiki 1.19 with PHP 5.3
•Wiki 1.20 with PHP 5.3
•Wiki 1.21 with PHP 5.3
•Wiki 1.22 with PHP 5.3
Settings
To publish both content and images into your Wiki server, make sure:
1. That the physical upload directory has permissions set to allow creation and edition of pages and files.
Similarly, the images directory set by default as "C:\Web\[your_mediaWiki_folder]\images\" should be granted with full rights.
2. That the LocalSettings.php configuration file, contains the following settings:
$wgGroupPermissions['user']['upload'] = true;
$wgFileExtensions = array('png','gif','jpg','jpeg','doc','xls','mpp','pdf','ppt','tiff','bmp','docx', 'xlsx', 'pptx','ps','odt','ods','odp','odg');
$wgEnableUploads = True;
|
For MediaWiki version 1.20, use: $wgGroupPermissions['*']['upload'] = true; $wgFileExtensions = array('png','gif','jpg','jpeg','doc','xls','mpp','pdf','ppt','tiff','bmp','docx', 'xlsx', 'pptx','ps','odt','ods','odp','odg'); $wgEnableUploads = True; |
Last Updated 5/14/2025 11:45:16 AM
