Overview
If you have data on your development environment that you wish to preserve in your target environment, you need to perform a Data Synchronization.
This procedure lets you copy data between environments. The data that you can select to be included in the procedure is listed below:
•Parameter Values managed in production
•Users and their relations
oAreas
oGroups
oLanguages
oLocations
oOrganizations
oPositions
oRoles
oSkills
oTime Zone
oWorking Time Schema
|
. You can only import data into an environment for which a metadata counterpart has already been deployed. If you have not deployed an entity into an environment, you cannot synchronize its data into the same environment. |
If you want to copy files or images go to the Sync files procedure in this article.
Export Entity Values
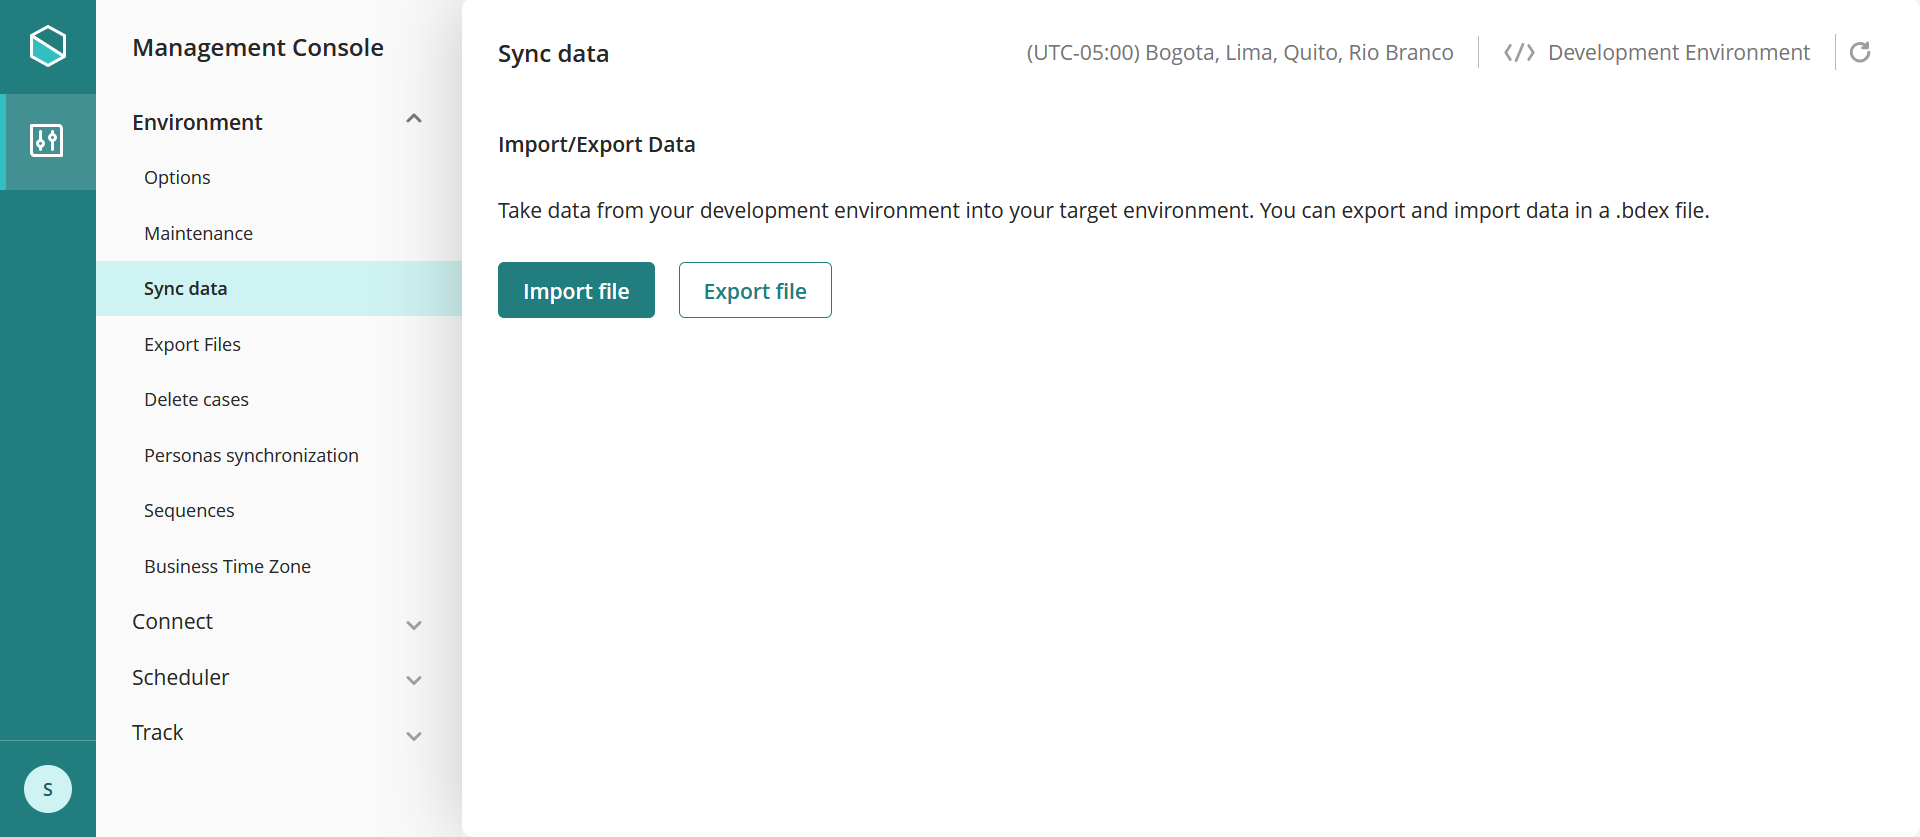
1. Click the Export file button to open the wizard.
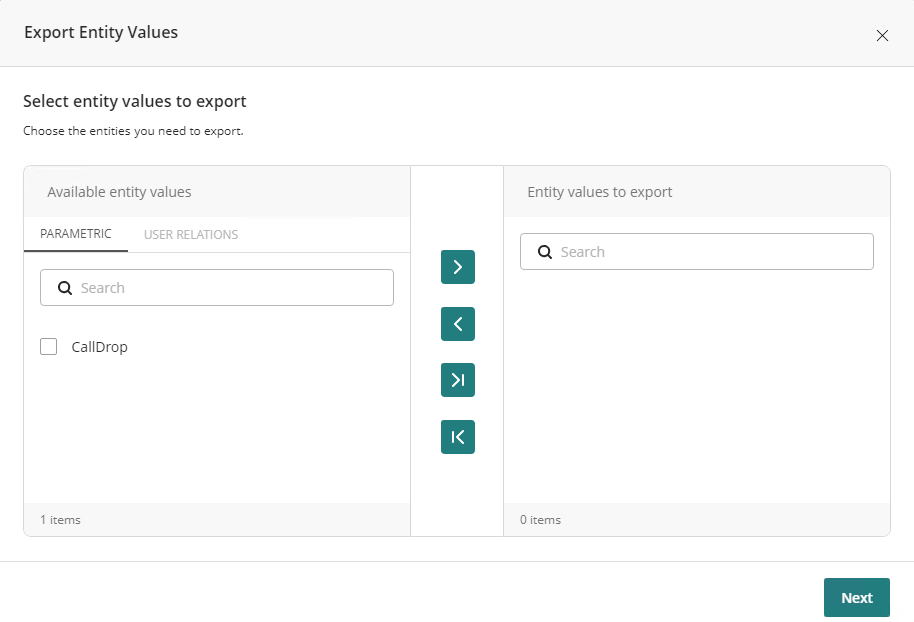
2. Select the data of the Parameter entities. From the left, select the data elements that you want to include in the .bdex file; then, click >. Those elements are now visible on the right, which means that they will be included in the .bdex file.

3. Move to the User Relations tab. Once again, select in the left panel the user relations you want to export and then click > to make sure they are included in the right group. You can always click the >| button to move all the options available at once.
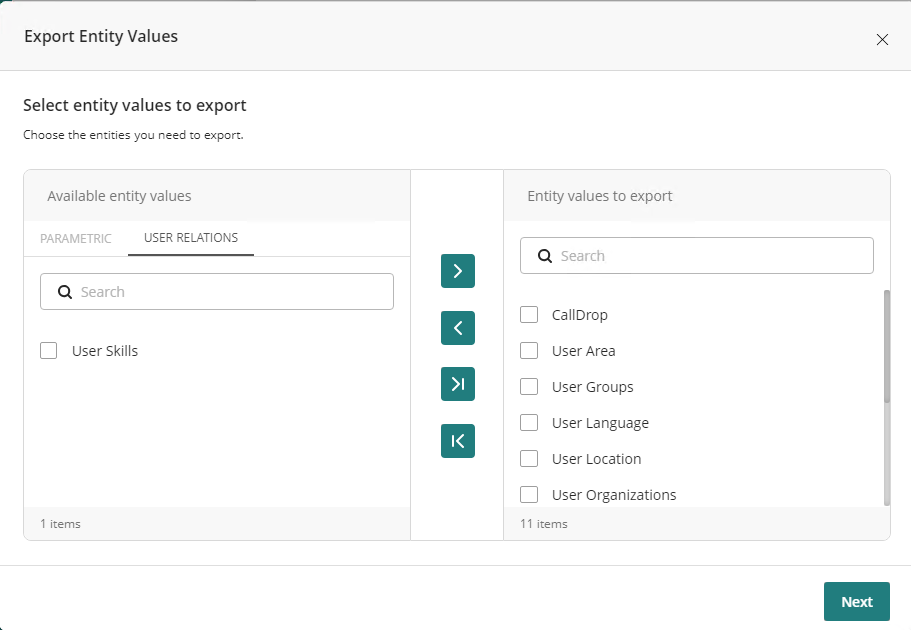
Once you are done selecting the Data and User relations to export, click Next.
In the next step, all the Parameter entities included in the previous step are listed in the left panel (Select entity value). When you click an entity in the left panel, the wizard will show the available attributes for which you can select the Entity key. This key is used in the import procedure to compare the existing records on the target environment against the ones exported from the development environment, to prevent Data Synchronization from creating duplicate records.
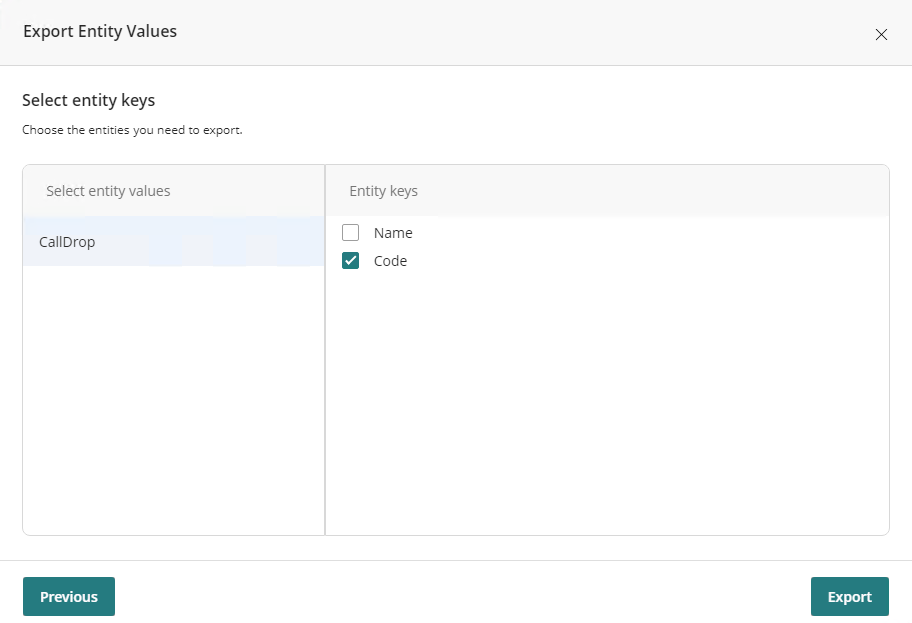
Select the combination of columns that uniquely identify each record of the entity. Do so for each of the entities listed on the left panel. Once you are done, click Export.
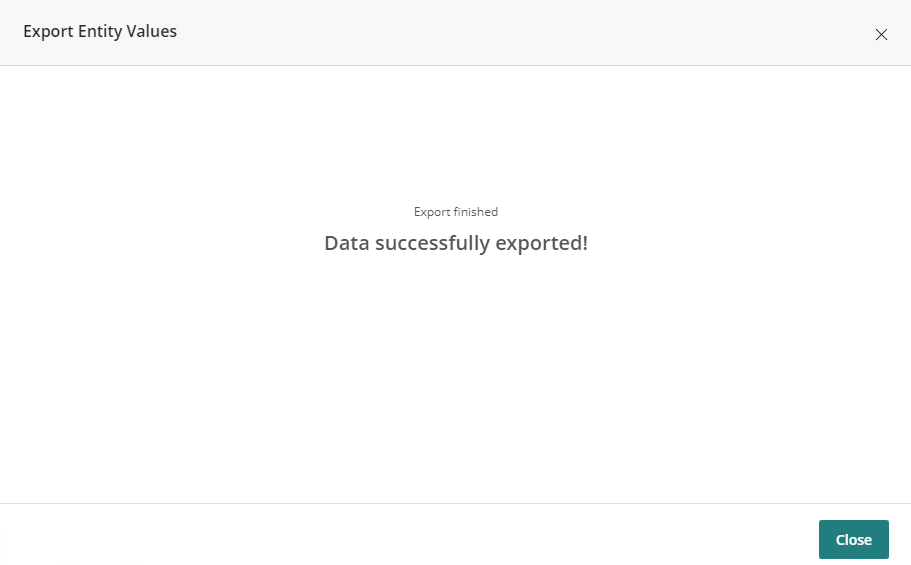
A pop-up alert informs you if the file was successfully generated or if an error occurred. If the file was generated successfully, it is automatically downloaded to your computer.
Import Entity Values
1. Click Import file to open the wizard.
2. Click Browse to display a file explorer. Navigate your file system and select the .bdex file that contains the data you want to import.
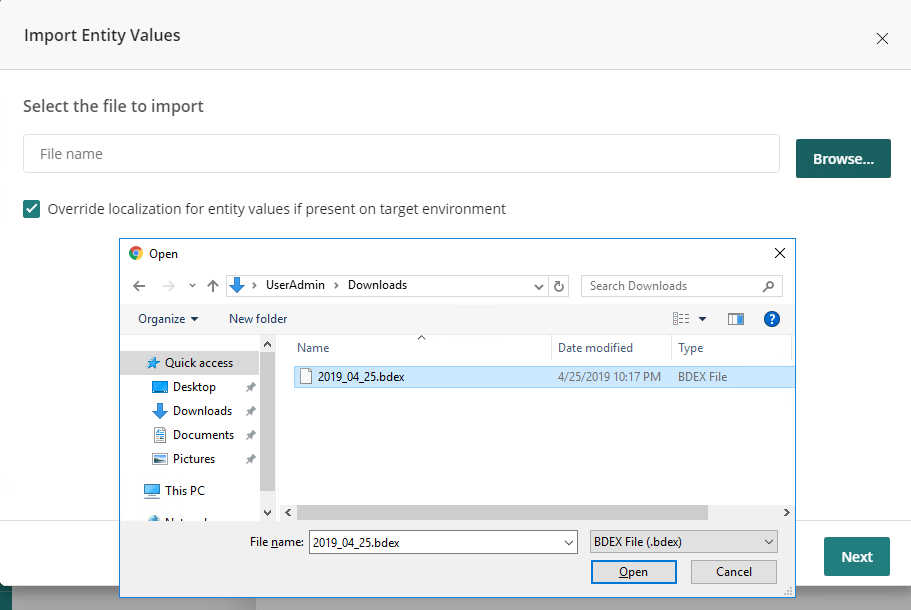
Mark Override localization for entity values if present on target environment if you need to override existing values.
3. Click Open to select the file. Then click Next to move on to the next step of the import procedure.
The second step of the wizard appears.
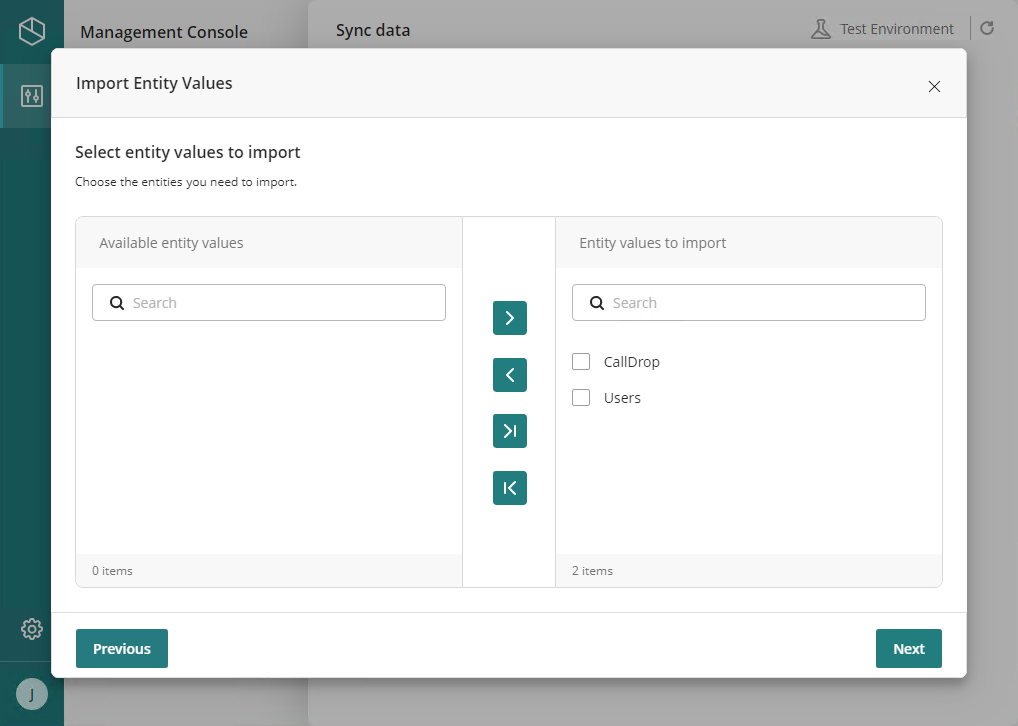
In this step, two lists appear. The one on the right lists all of the data from the selected .bdex file that is going to be imported into the environment. By selecting each element individually you can add or remove data elements from this column to select the objects that you want to include in the import procedure. Entities that don’t belong to the target environment in data synchronization are not selected.
Once you have moved the elements between the columns according to your needs, click Next to continue to the last step of the procedure.
4. Review if any error message appeared during the validation. Fix or approve the errors and warnings presented before continuing.
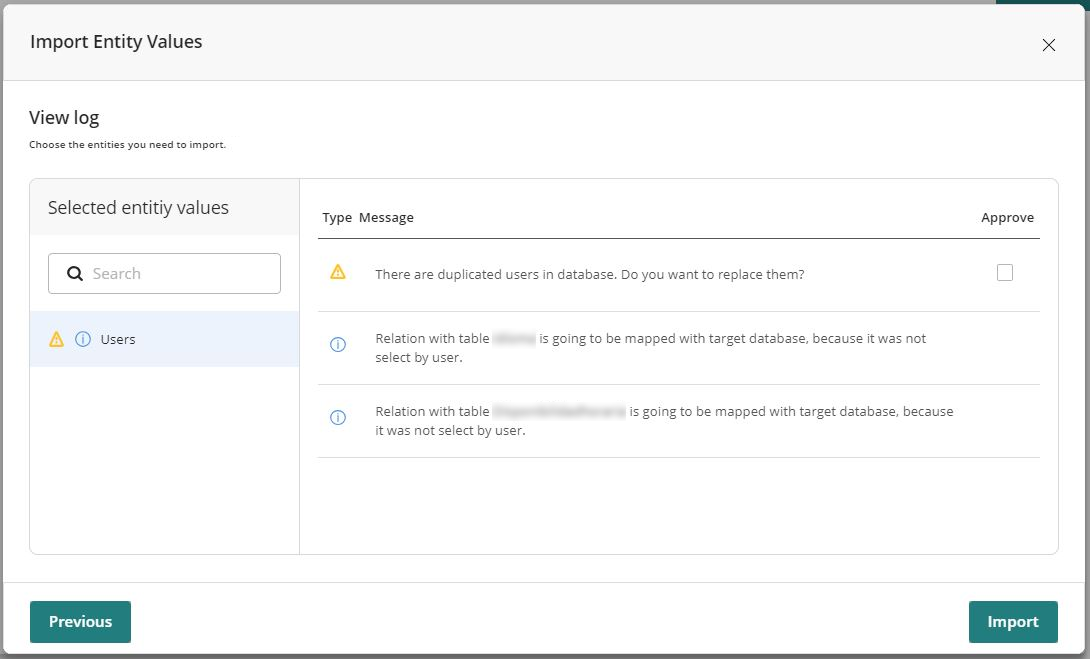
When you finish reviewing and resolving errors and warnings, click Import to import the data you selected into your environment. The import of the data is executed in the background.
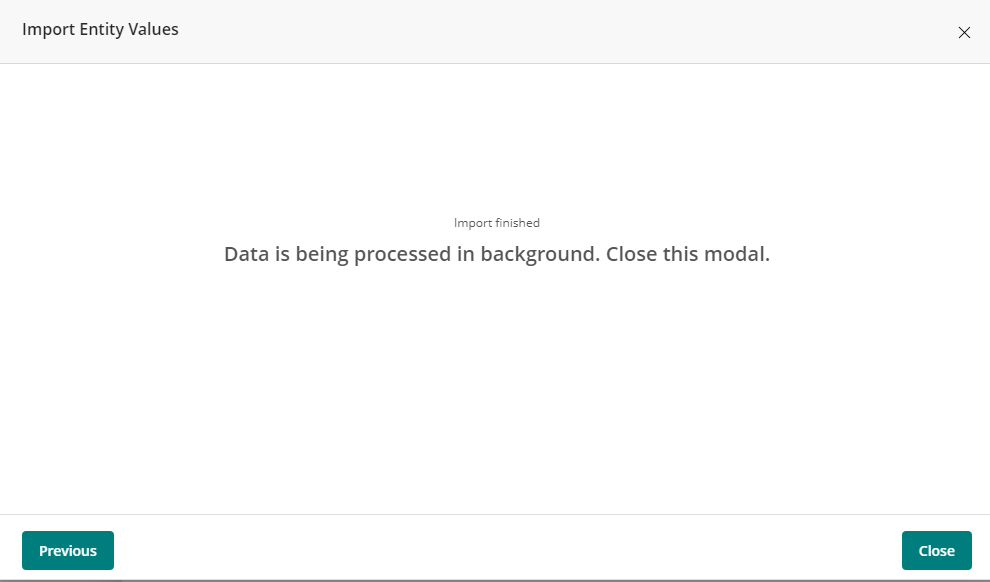
When the import finishes you can review the status of the imported file:
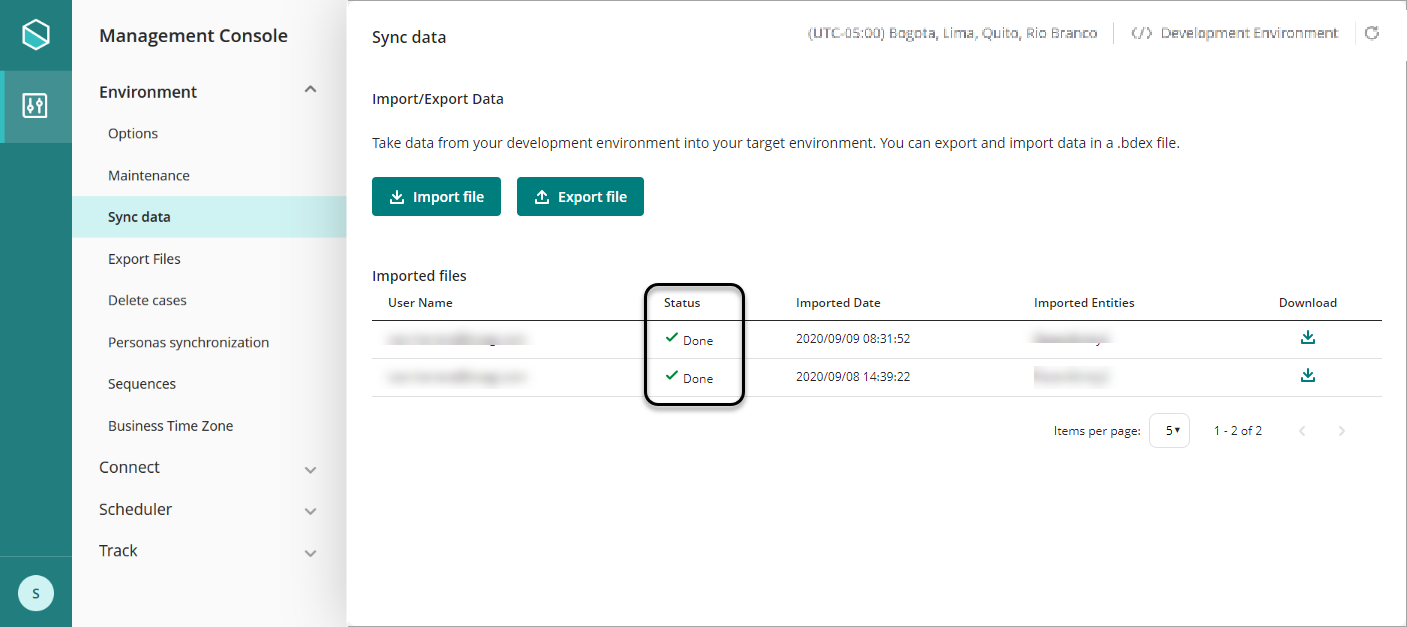
You can also download the BDEX file clicking the Download icon on the right-hand side of each row.
At this point you have finished synchronizing your data from your Development environment into your Test or Production environment. You can now use those values and information in the target environment.
Follow the instructions provided below if you wish to export files or images.
Export files
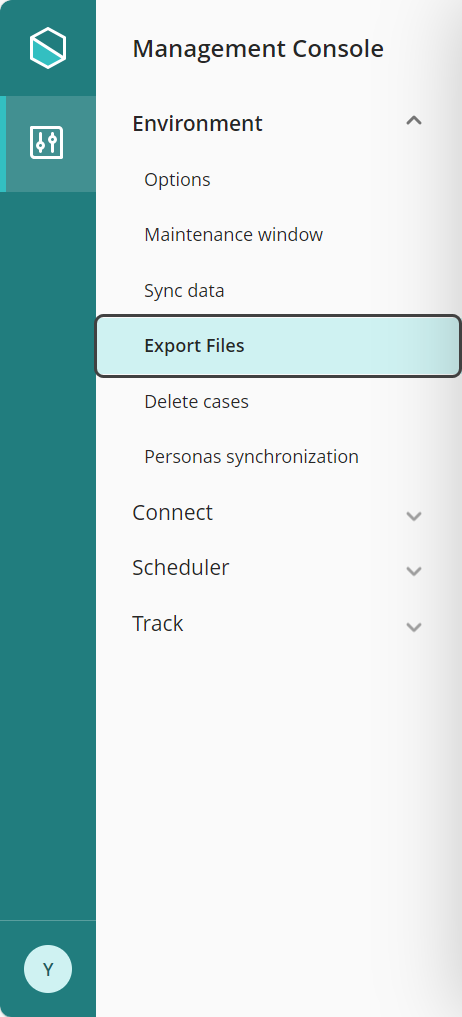
1. In the MC (Management Console) menu, click the Export Files button to open the Export Files window.
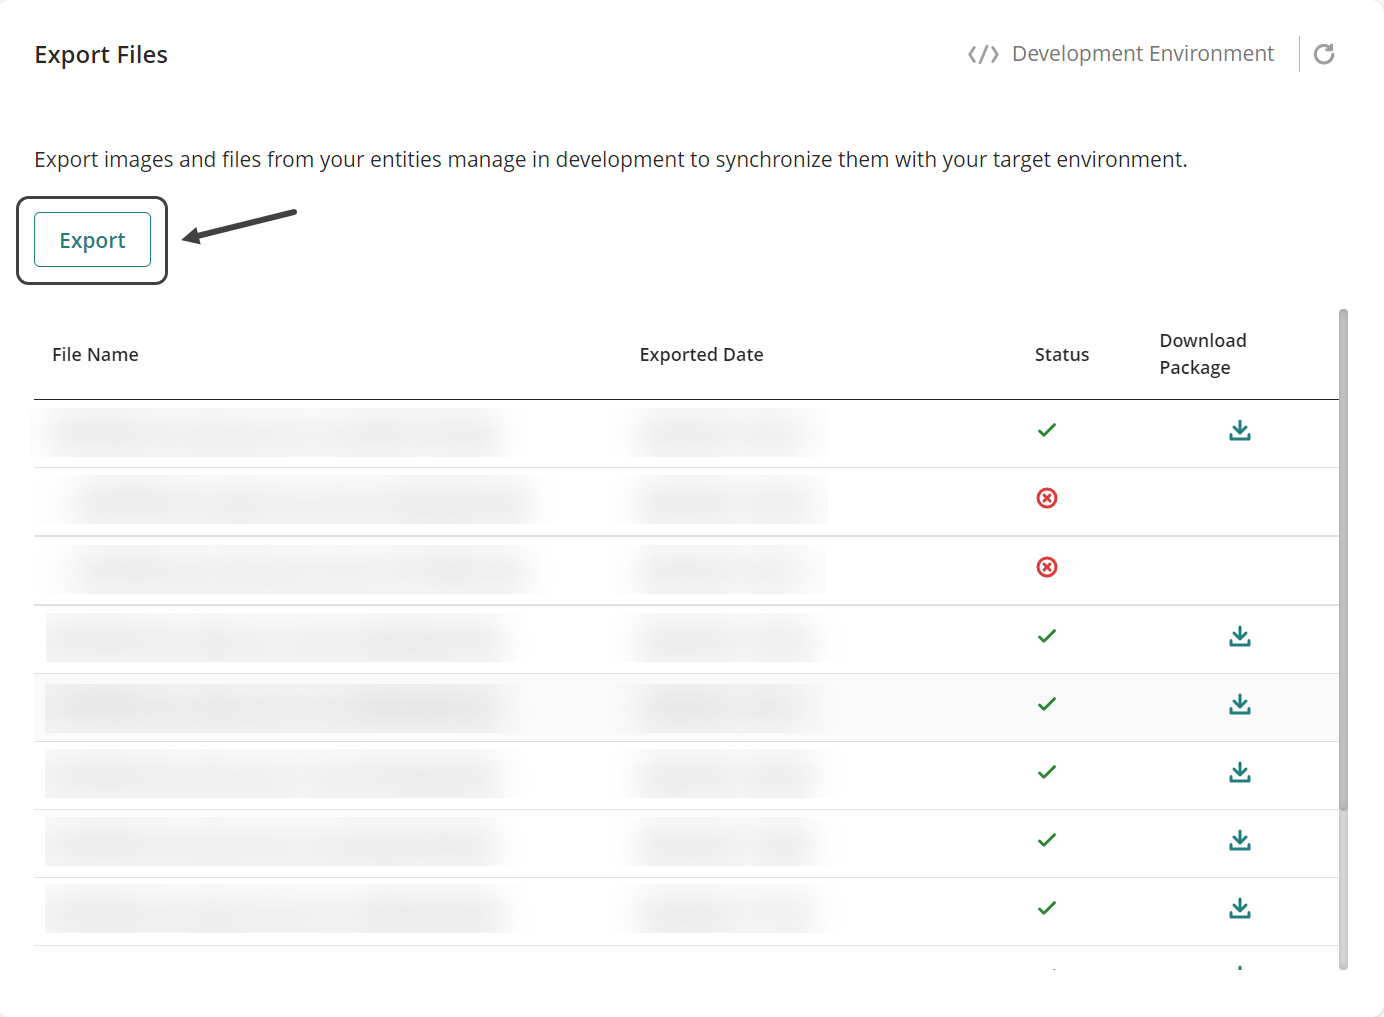
2. Within the module, select the Export button to initiate the process. This actions prompts the opening of a modal window, wherein you are required to specify the data you intend to export.
3. From the selection window, a user can choose the entities from which they wish to export File and Image data. For an entity to appear in the list, it must meet three conditions:
•It must be a manageable entity in Development.
•The entity must have attributes of type File or Image.
•The entity must have records with Files or Images in some of its Entity Values.
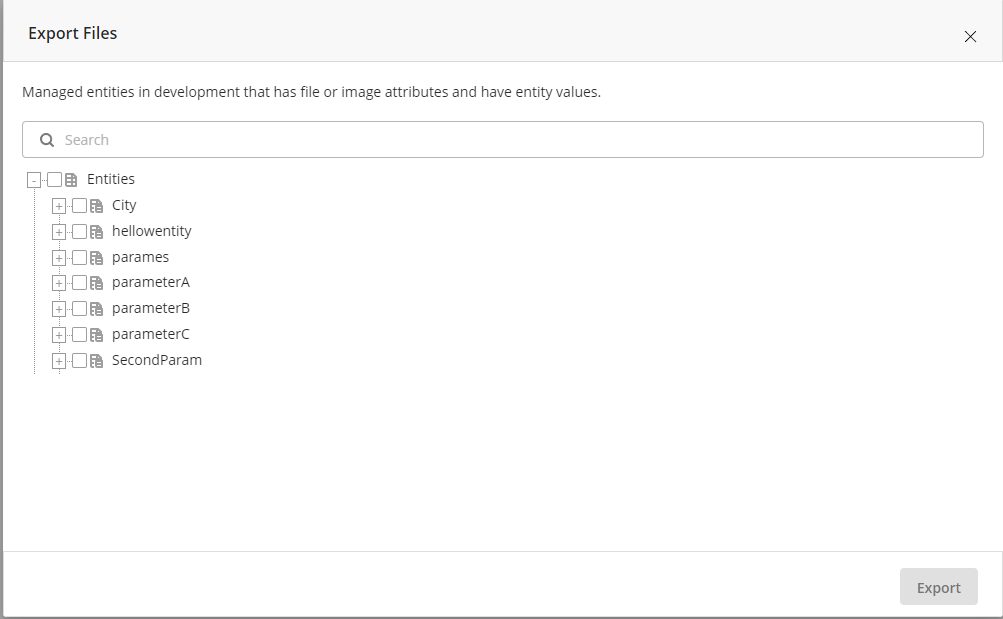
Entity filter
To facilitate entity selection, a search filter has been integrated into the selection window. This filter enables users to search for entities by entity name or attribute name.
The search filter is located at the top of the selection window. Users can input the entity name or attribute name into the search field. As users type into the search field, the list of entities dynamically updates to display only those entities that match the search text. Users can clear the search text to view the complete list of entities again.
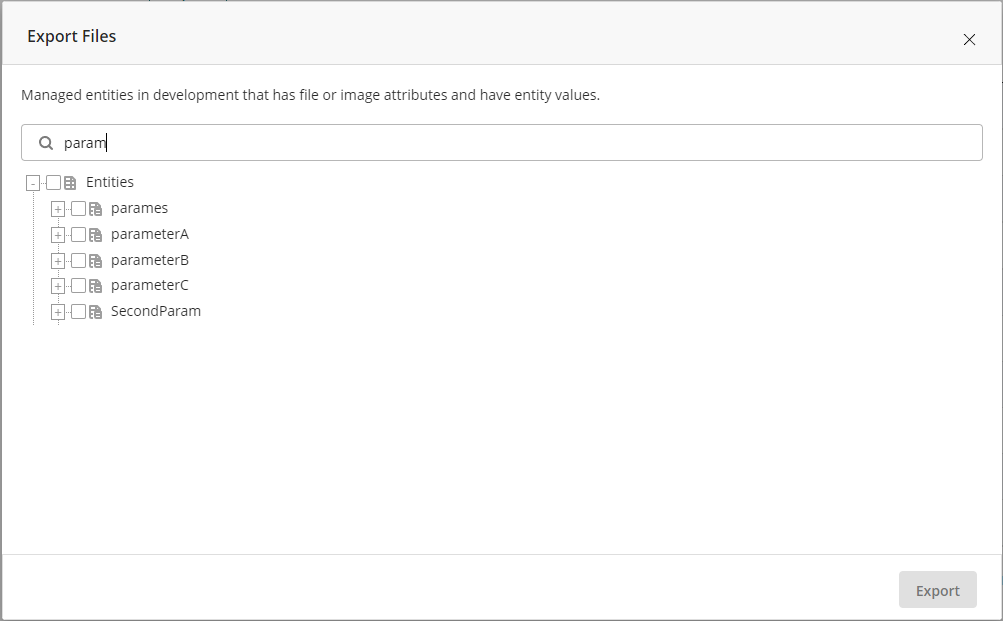
At this point you have finished synchronizing your data from your Development environment into your Test or Production environment. You can now use those values and information in the target environment.
History of export
Every time an export is performed, a record of the operation's outcome is saved. This history enables users to track and comprehend the results of previous export operations; furthermore, it provides a clear overview of any issues that may have arisen during the export process, allowing users to take corrective actions.
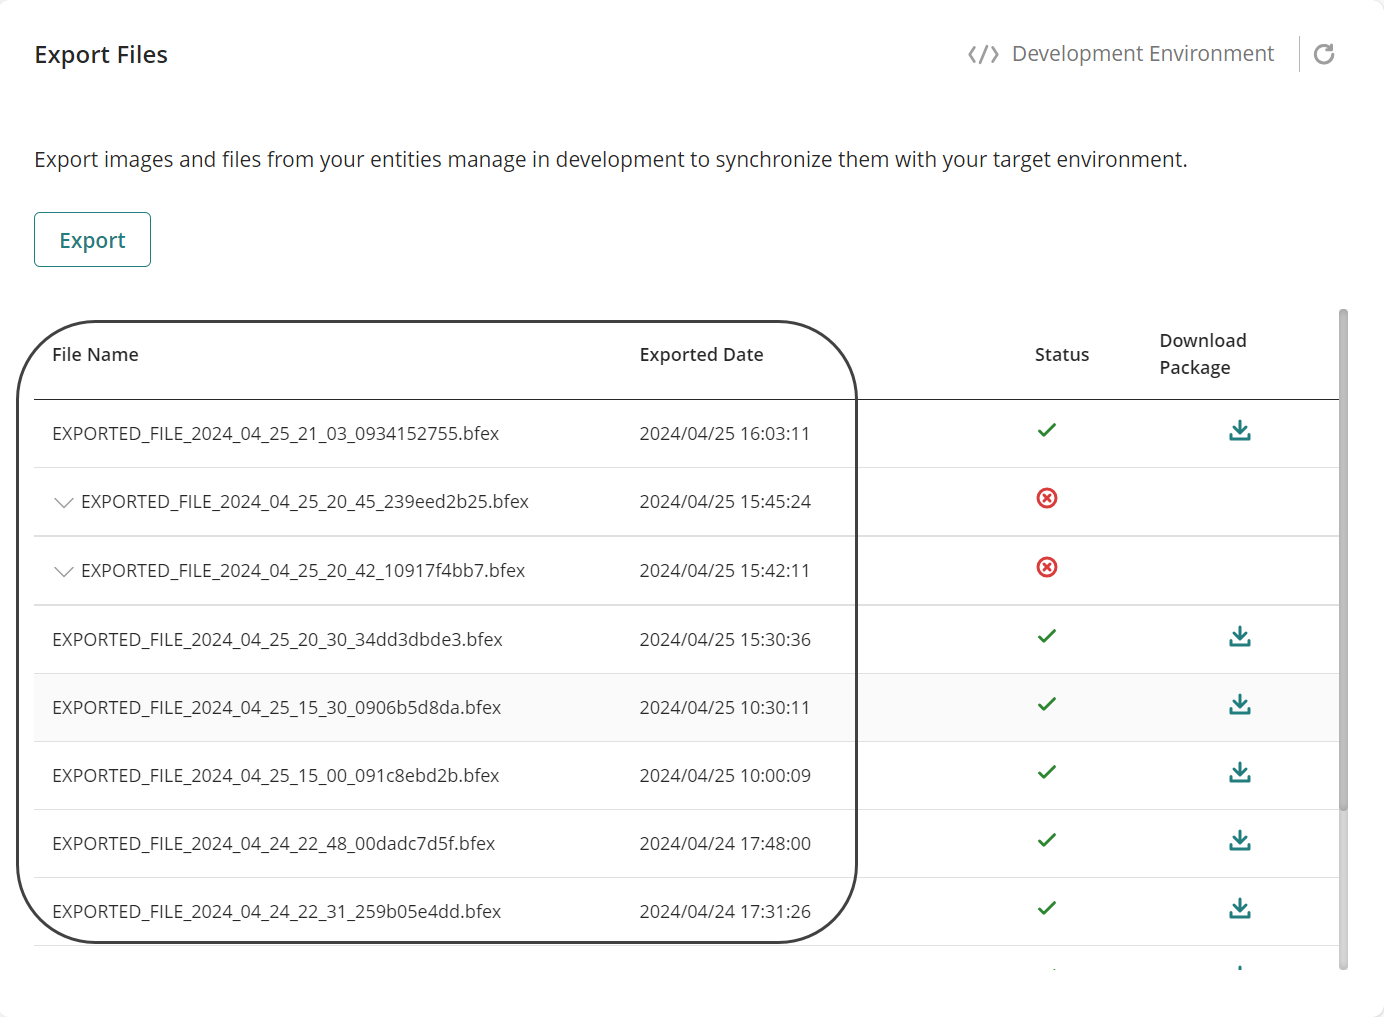
Import files
Follow the instructions provided below if you wish to import files or images.
1. In the MC (Management Console) menu, click the Import Files button to open the Import Files window.
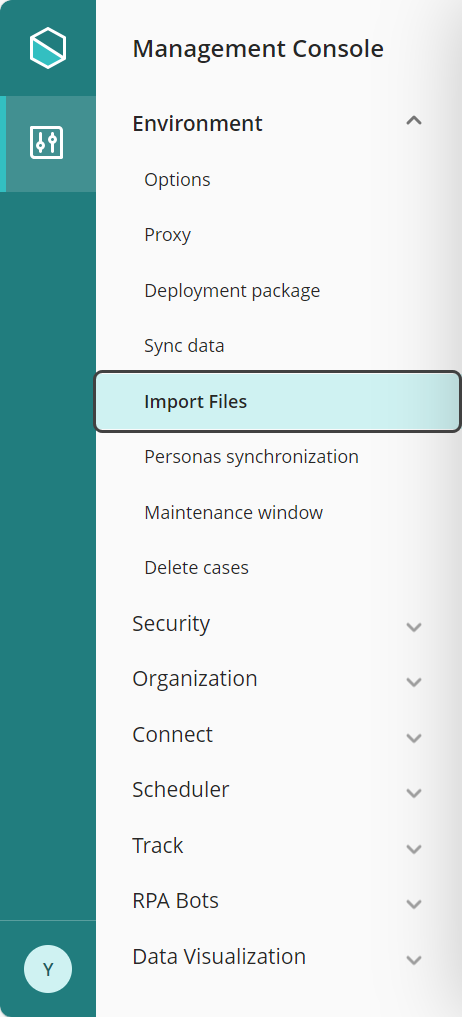
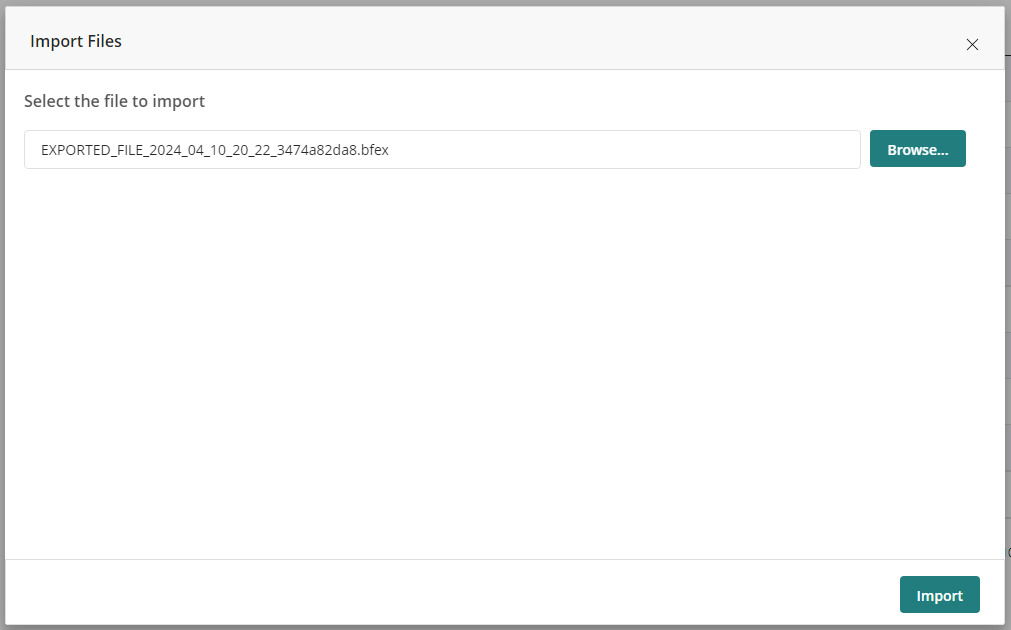
2. Within the module, there is an Import Files button, which opens the modal window for selecting the files to import when selected. From the import window, a .bfex file can be loaded from the computer's files. Once the file is selected, click the Import button to initiate the import process. Importing will overwrite existing files if they already exist in the environment.
History of import
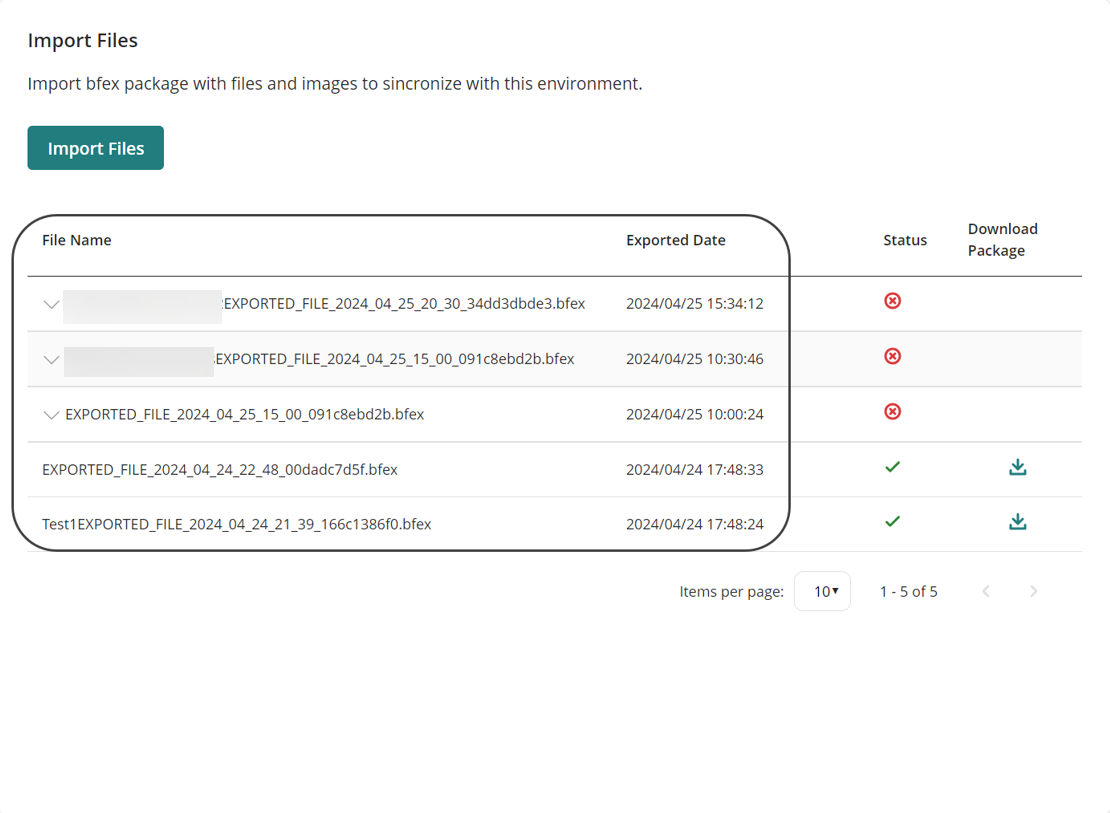
Every time an import is performed, a log is kept detailing the outcome of the operation. This log enables the user to track and comprehend the results of previous import operations; furthermore, it provides a clear overview of any issues that may have occurred during the import process, allowing you to take corrective actions.
If an error occurs with any of the files being imported, a table is generated providing a detailed description of the error for each file. The package is only available for download when the import has been completed without errors.
Last Updated 11/29/2024 3:56:25 PM