Overview
Connectors in Bizagi are portable modules that extend platform functionality by integrating with external systems or applications. You can manage these connectors through the Management Console, which allows you to configure connection values for a specific environment.
Managing connectors
You can update authentication parameters for any connector. To do this, open the Connector list, select the connector you want to modify, and adjust the values as required.

Connector parameters
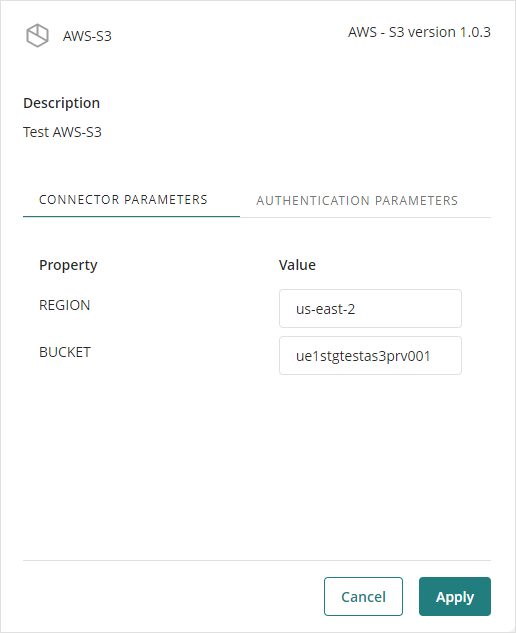
Each connector uses default and global parameters to ensure successful interaction with external systems.
Authentication parameters
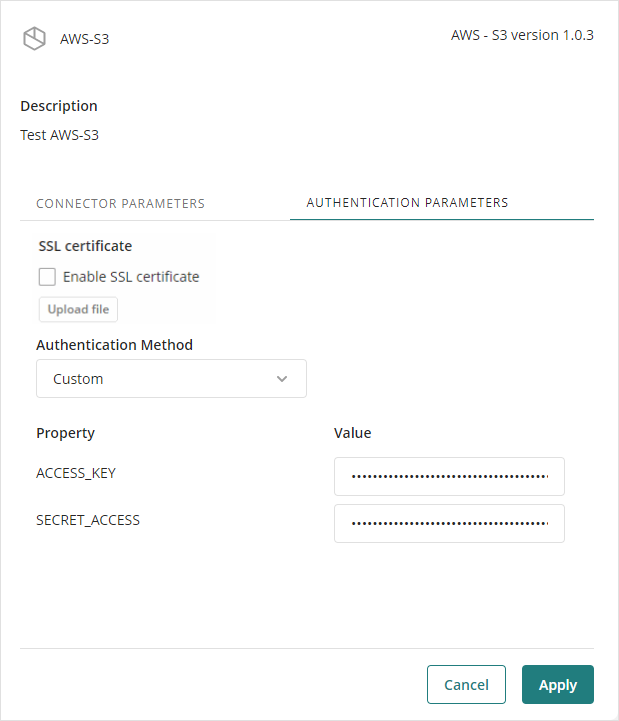
Authentication parameters depend on the type of connector and the system it integrates with. If you are working with a Custom connector, make sure you understand the credentials involved before making changes. For details on supported authentication methods, refer to the Authentication methods article.
Also, in this section you can add a self‑signed certificate for your connector. This must be done when the external system requests a certificate before allowing actions to be executed.
Configuring a Self-Signed Certificate for the connector
To add a self-signed certificate in your connector, complete the following steps:
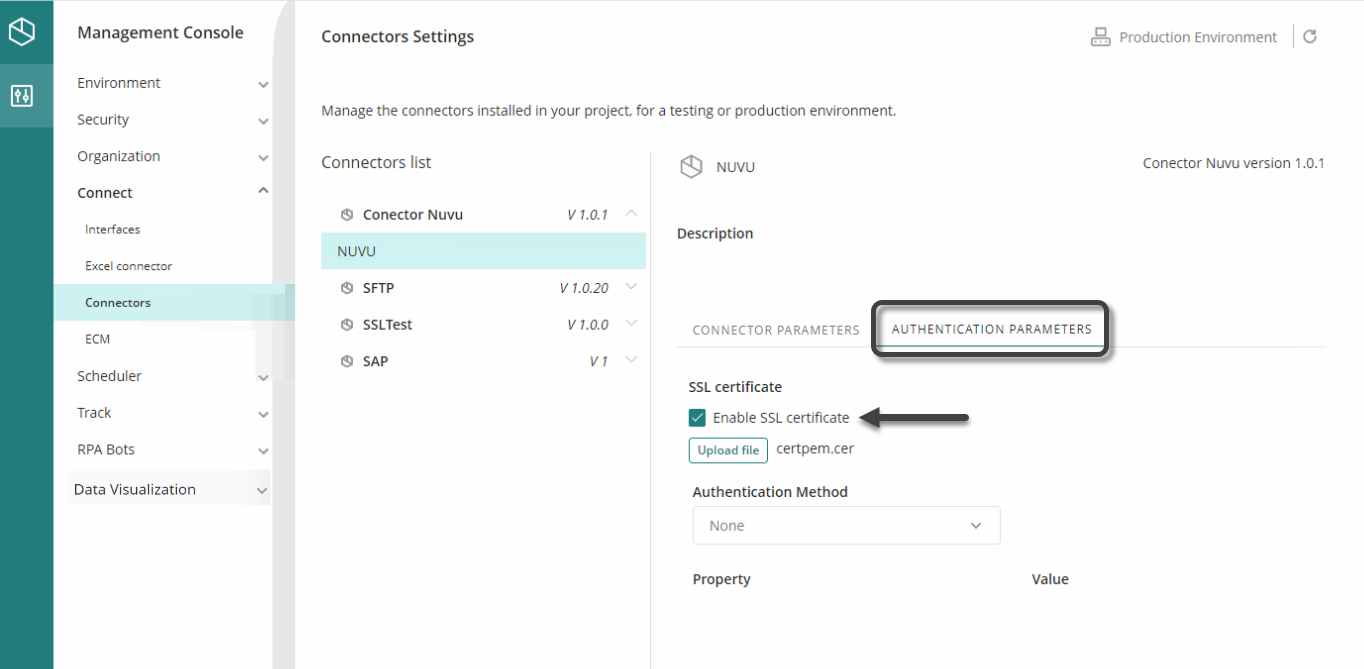
1.Select the connector where you want to configure the certificate. In the Authentication Parameters tab, check the Enable SSL Certificate check box.
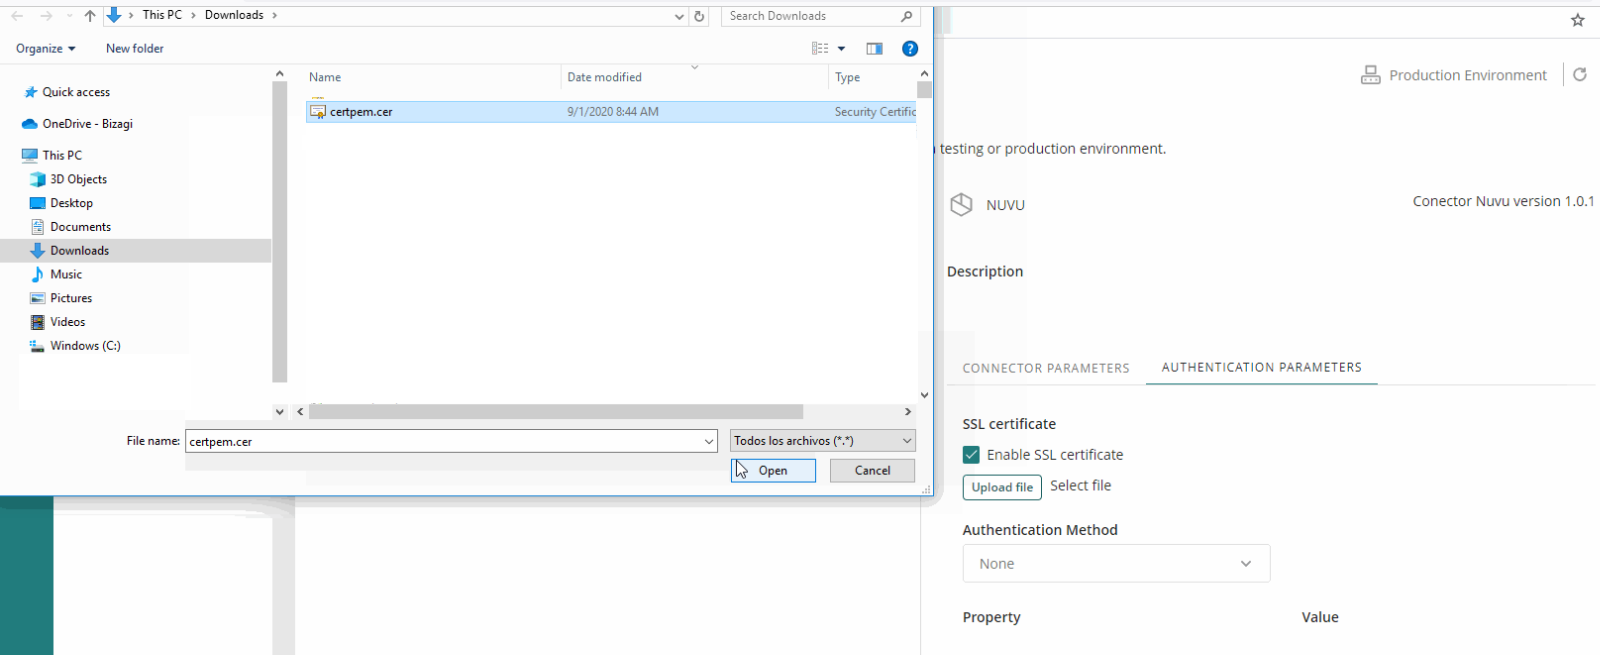
2.Click Upload Certificate and in the File Explorer, select the certificate you want to upload.
|
When selecting a certificate, bear in mind: •The certificate that you upload must be in PEM format. •Supported TLS versions are 1.0, 1.1 and 1.2. |
3.Click Apply. A confirmation message will appear once the certificate is uploaded.
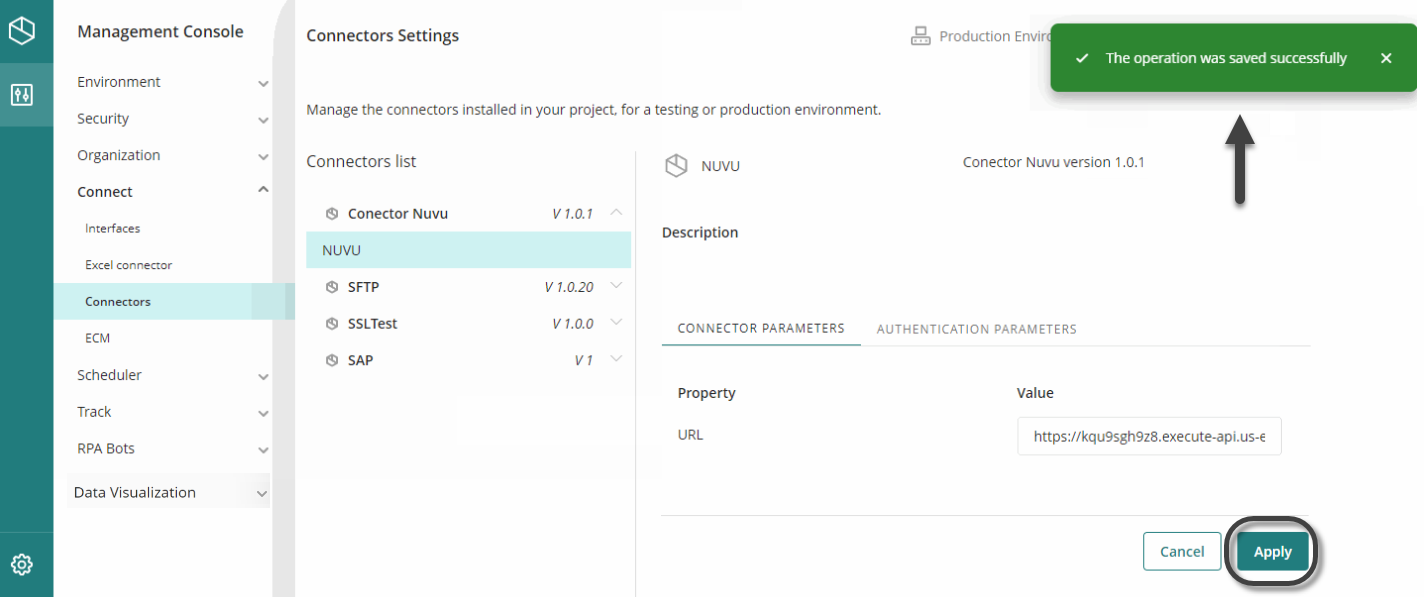
|
You can replace the certificate at any time. Uploading a new one overwrites the previous certificate. |
Changing SAP connection parameters
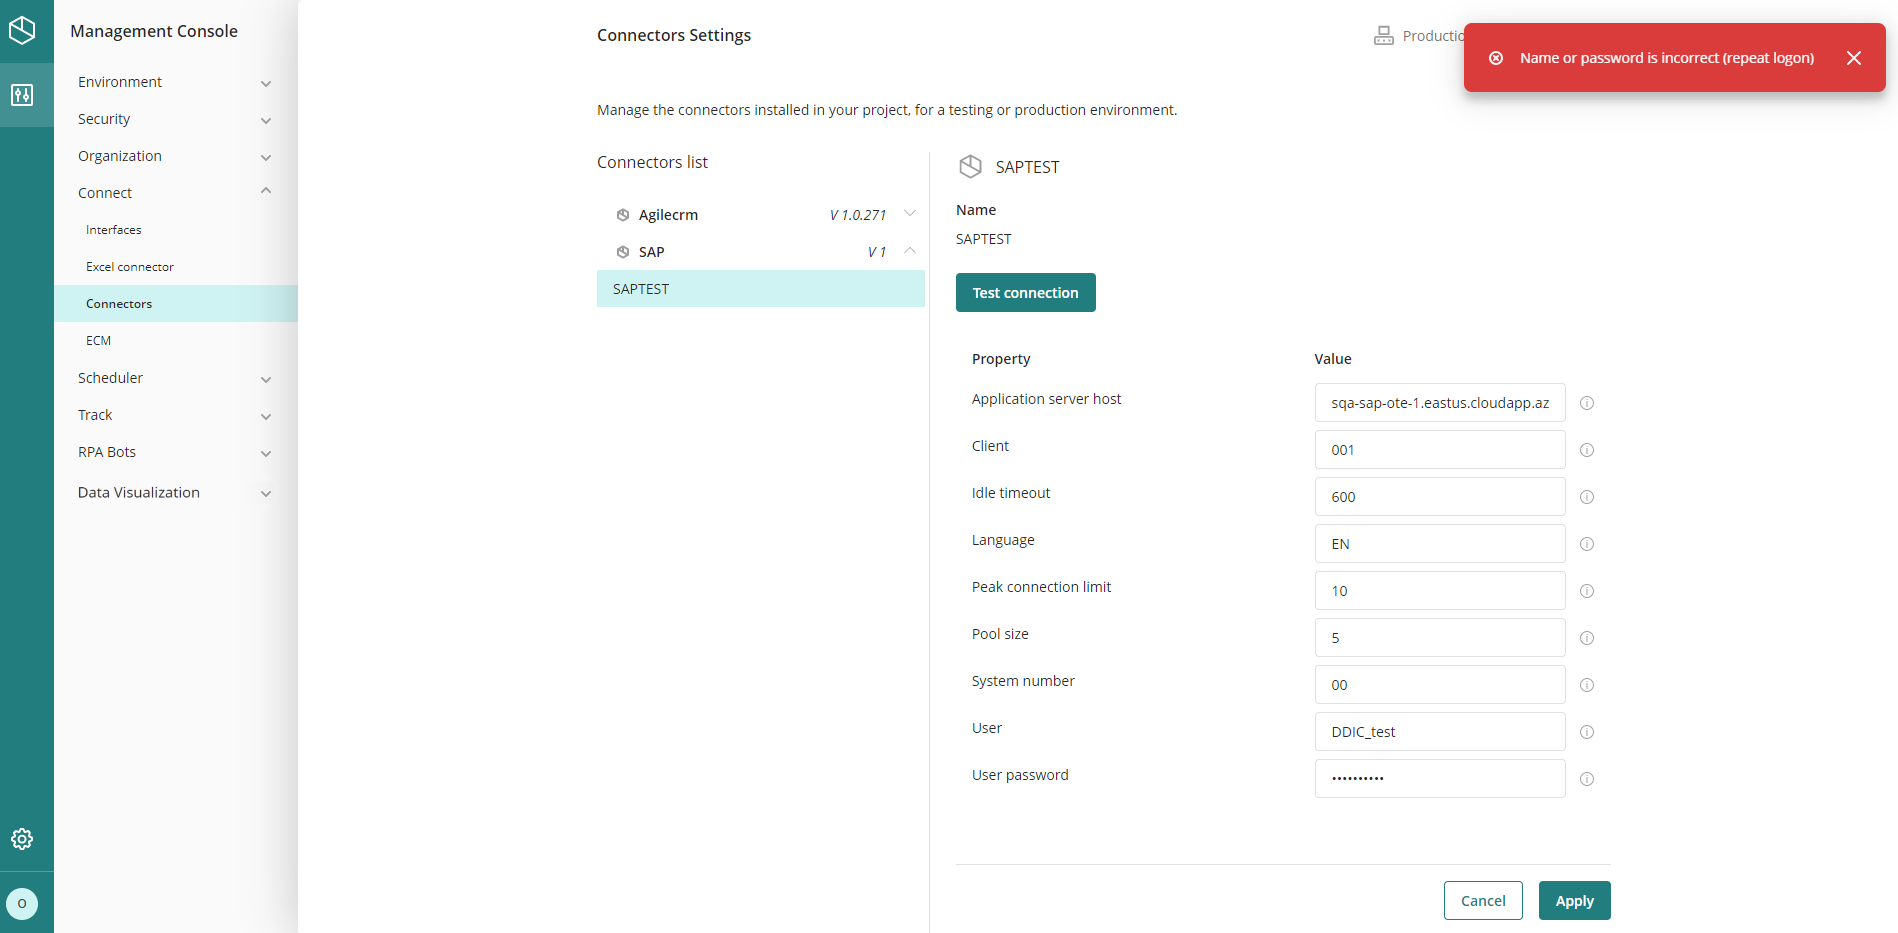
If you need to connect your SAP connector to a different instance, you can update its configuration directly in the Management Console. Follow these steps:
1.Go to the Connectors list and locate the SAP connector.
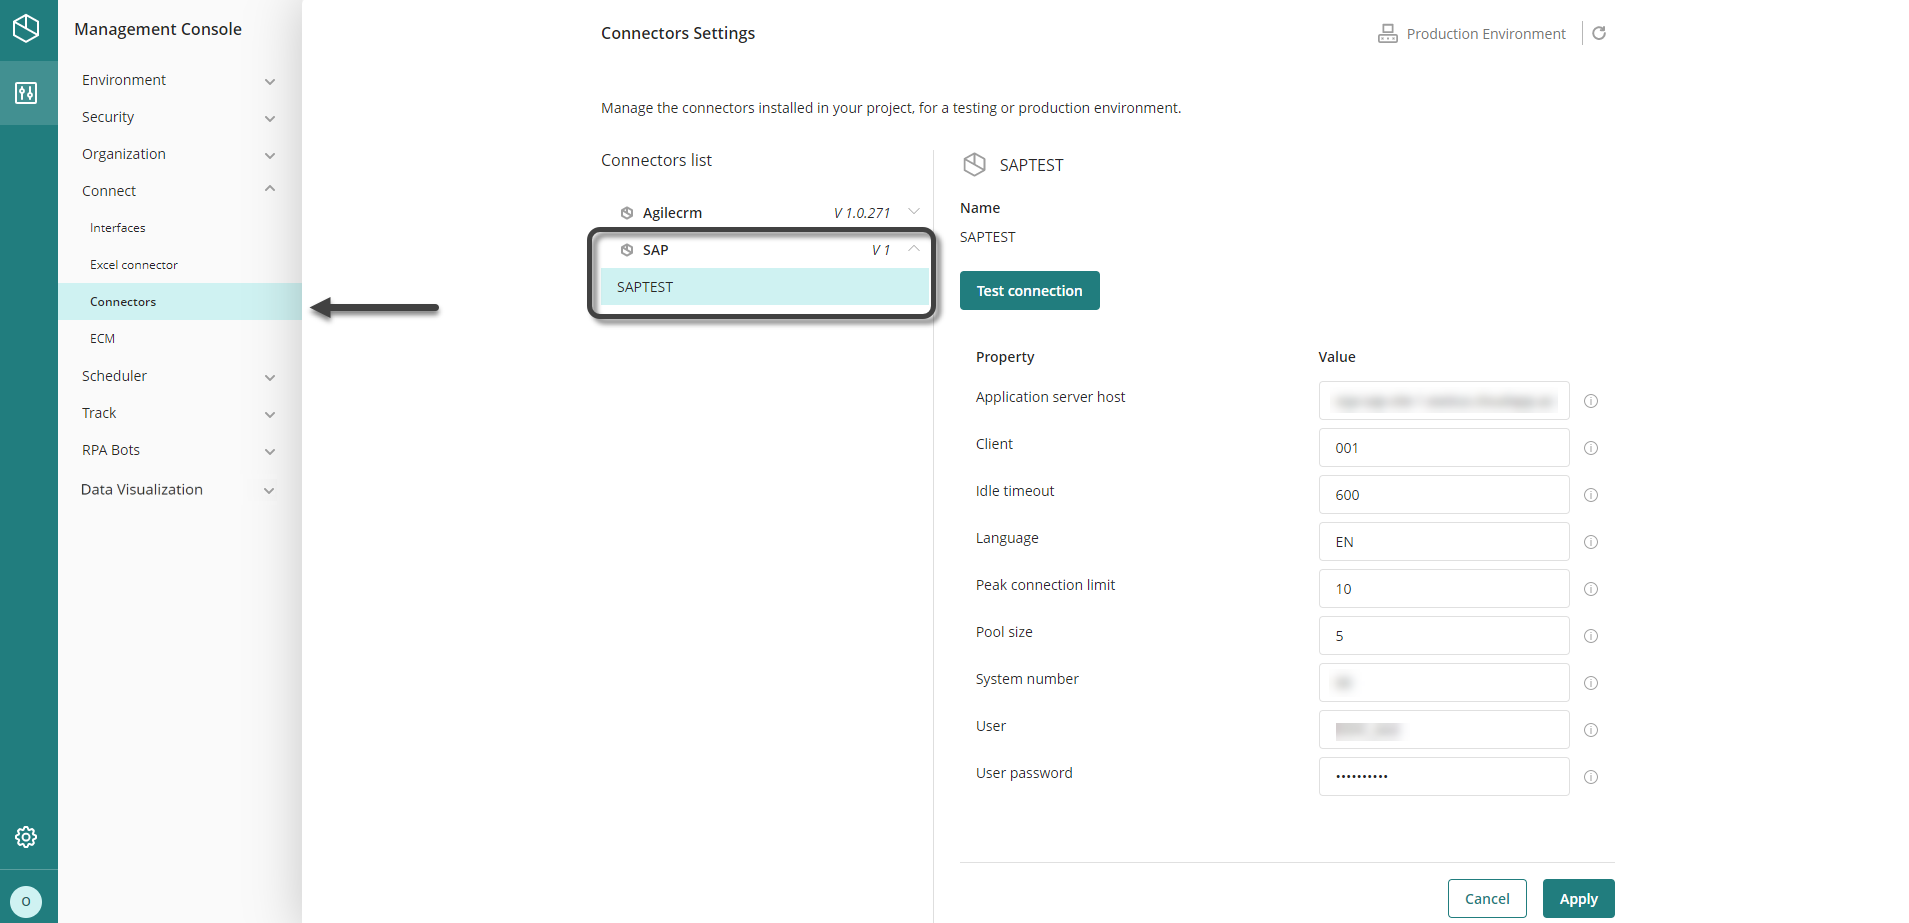
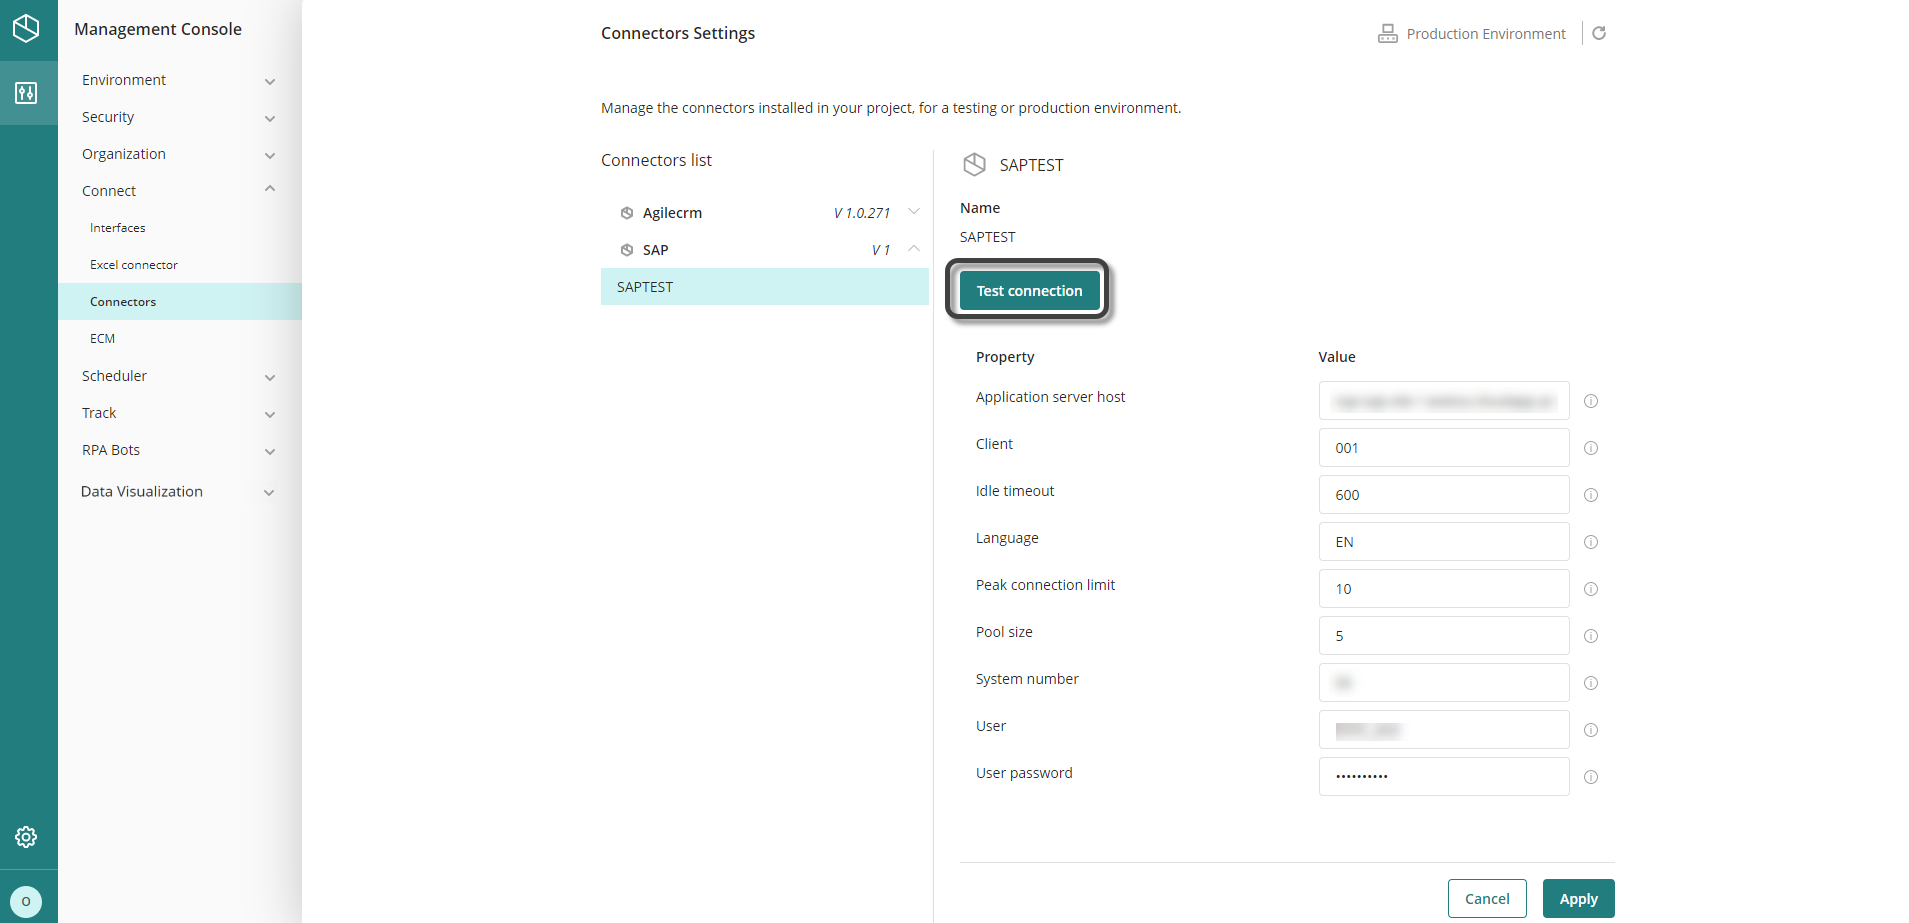
2.Update the connection details so they point to the new SAP instance. Click Test Connection to verify that the connection works.
3.If the test is successful, click Apply to save your changes.
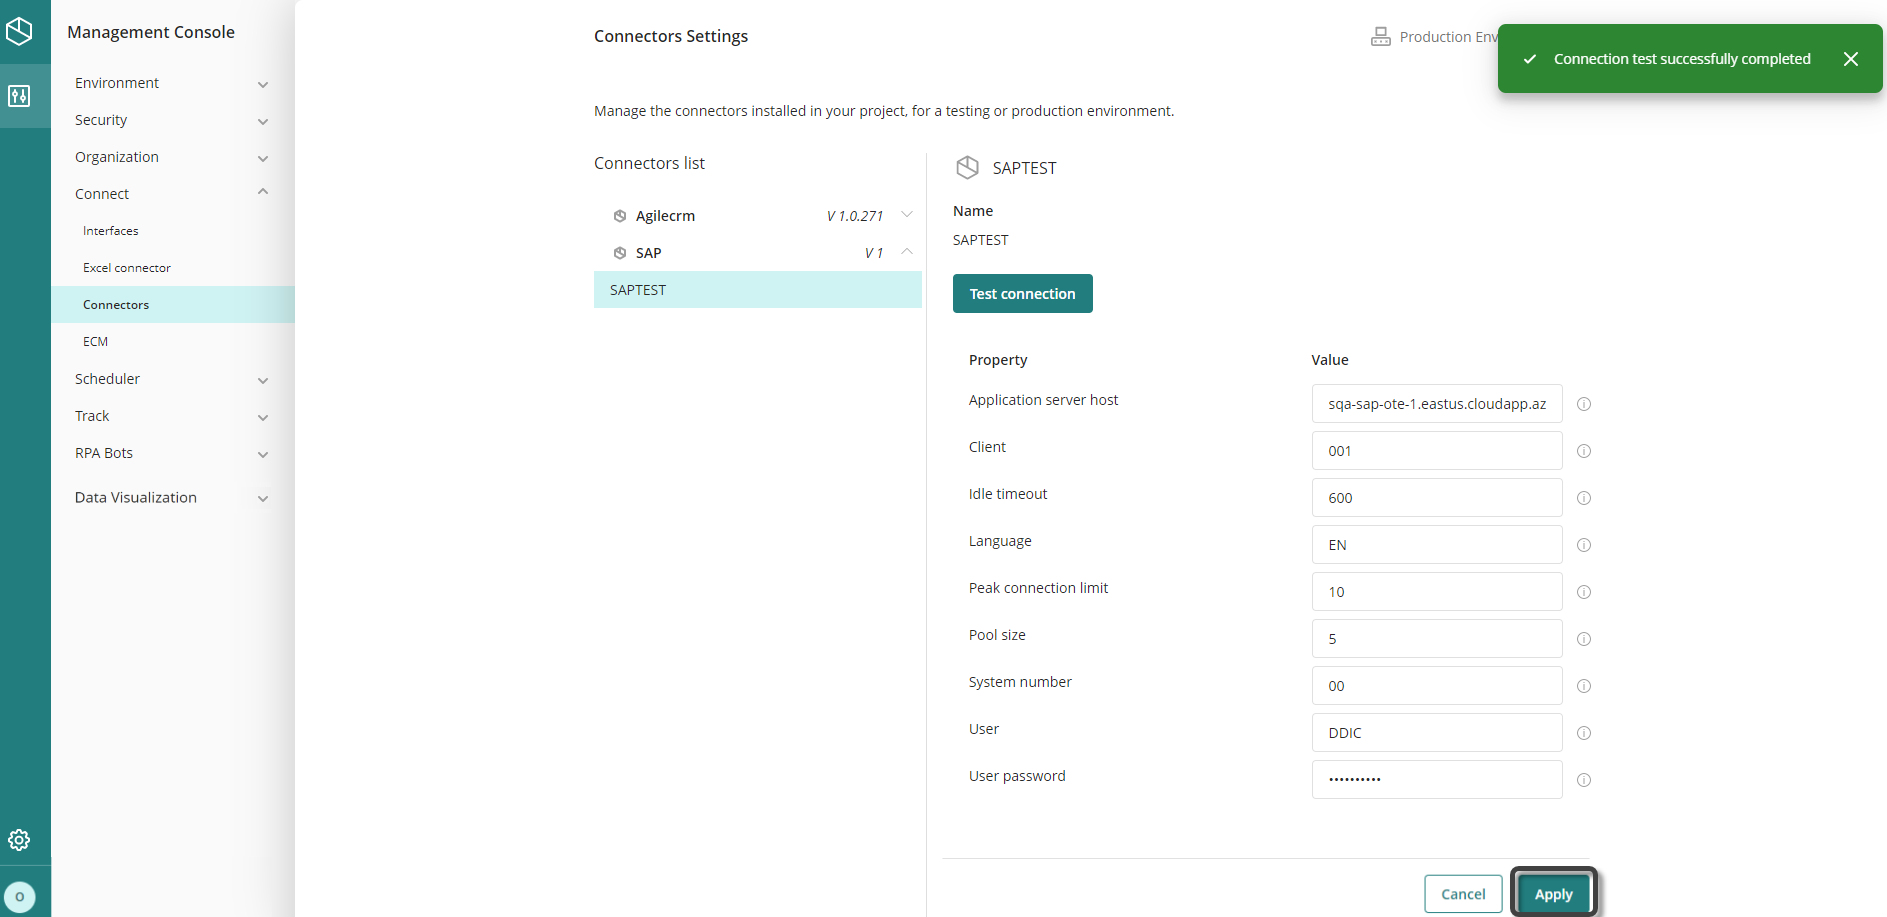
4.If the test fails, review the information you entered, correct any errors, and try again. Once your connection is successful, click Apply.
Last Updated 1/13/2026 9:50:07 PM