Overview
Define the configuration of the single and multiple attributes according to your business needs. Bizagi offers the tools to better document your processes and enhance its comprehension. To do so, we display a business scenario where we explain in detail each attribute functionality.
Single Selections Option (Combo)
Single selection option (Radio)
Each attribute has its own options wizard, to know how to use it, click the following link.
Business scenario description
In this business scenario, you want to document the task create purchase request of a Purchase requisition process. You want to document the following business requirements:
Business requirement |
Description |
|---|---|
Requester location |
The user has a .TXT document with the location of the requester |
Product(s) to be purchased |
The user can select one or more products to purchase within: Laptop, Monitor, Desk, Chair. |
Requester department |
Requester can be either in the Payroll or the Administrative department. |
To document this, the user adds new extended attributes per each business requirement, as follows:
Business requirement |
Extended attribute to use |
|---|---|
Requester location |
Single Selections Option (Combo): upload files with a .TXT extension to create its options (items of a list). You can also include them manually, erase them or alphabetically sort them. It appears as a drop down list. |
Product(s) to be purchased |
Multiple selection options: create a set of options which the end user can select individually or in batch in check boxes. |
Requester department |
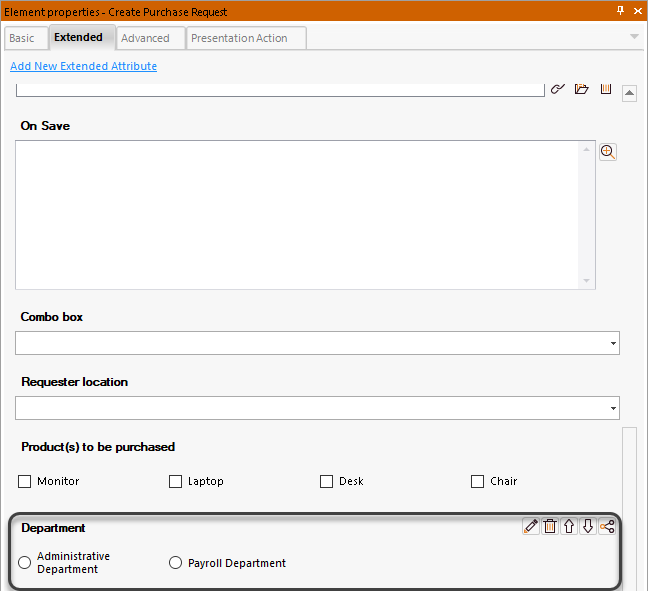
Single selection option (radio): create a set of options which the end user can select individually in radio buttons. |
How to add Single Selections Option (Combo) extended attribute
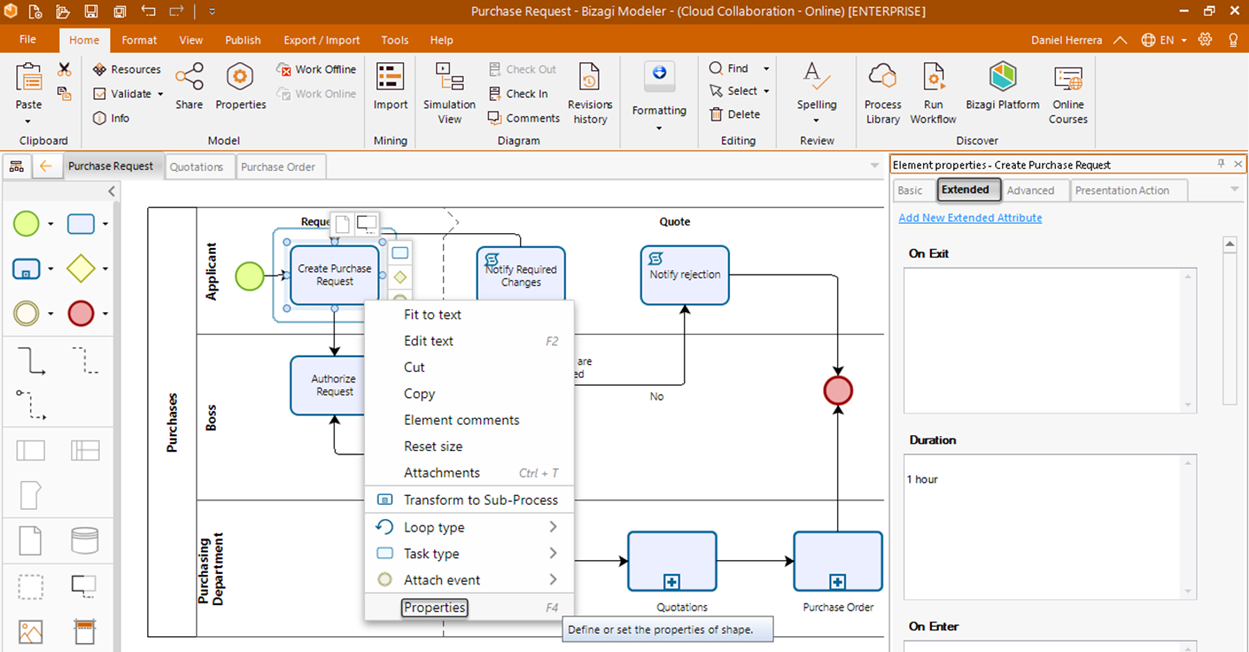
1. Right click the Request Purchase task and select the properties tab. Then click the Extended tab on the top left of the Element properties section.
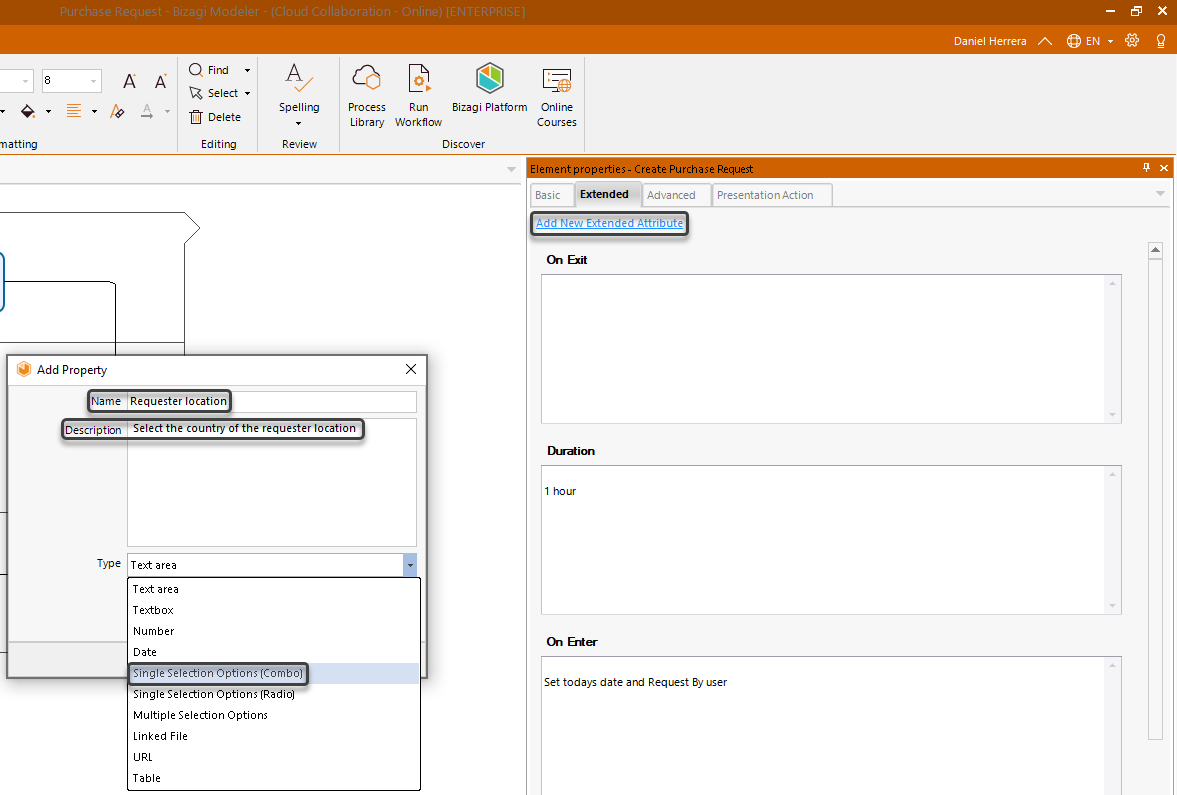
2. Click in Add new Extended Attribute and then enter a name and description and select Single Section Options (Combo) type.
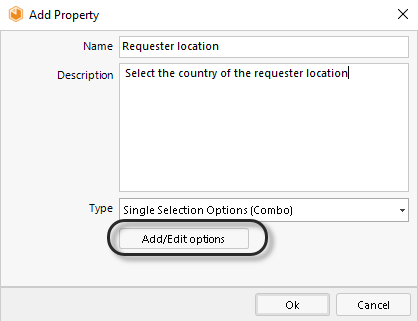
3. Select Add/Edit options.
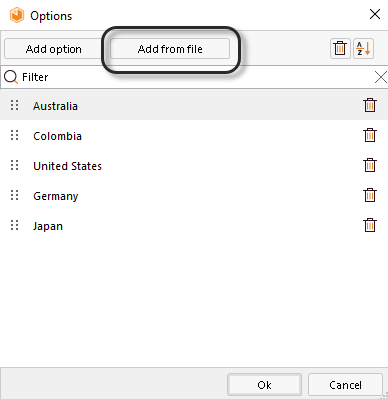
4. A window displays, you can either add manually or from a file the options of the list. In this case, the list of countries. Select Add from file and open the .TXT document that contains the list of countries.
5. Click OK on both: Options and Add Property wizards
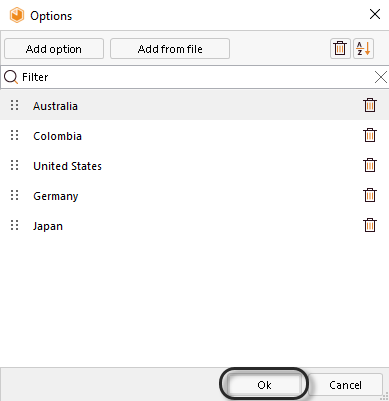
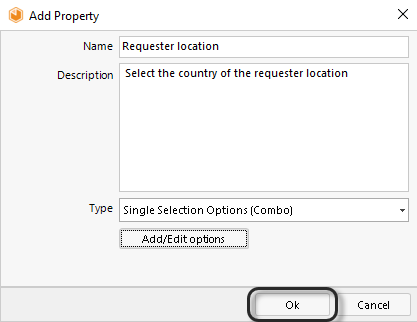
6. Find the Single Selection Option (combo) attribute in the Extended tab of the Element properties section.
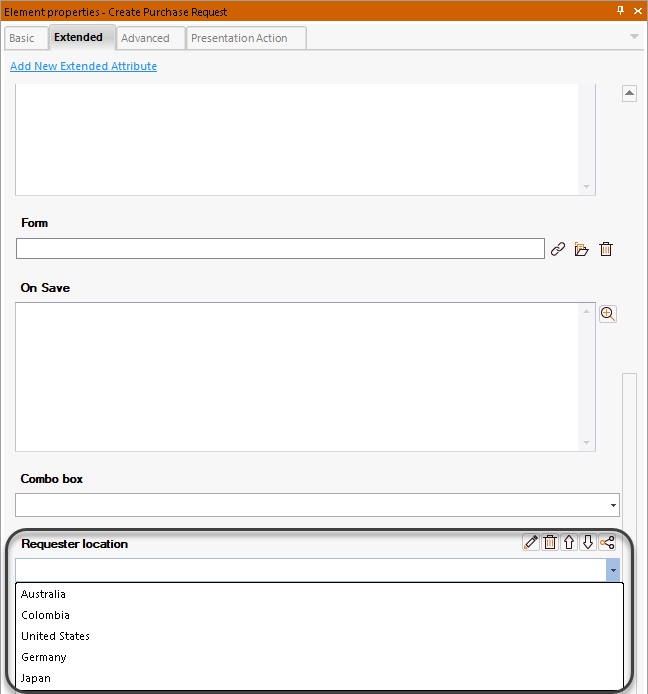
How to add Multiple Selections Option extended attribute
1. Right click the Request Purchase Request task and select the properties tab. Then click the Extended tab on the top left of the Element properties section.

2. Click Add new Extended Attribute and then enter a name and description and select the Multiple Selection Options type.
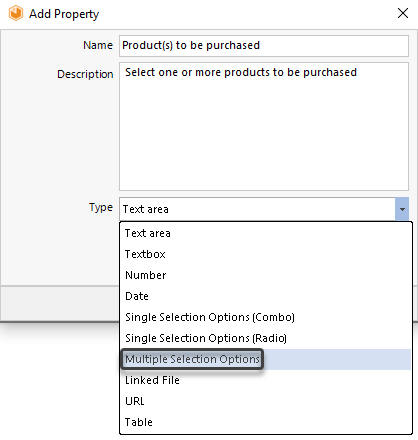
3. Click Add option and type the item that you can purchase.
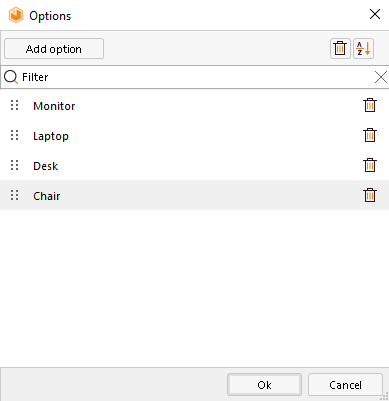
4. Click OK on both: Options, Add Property wizards
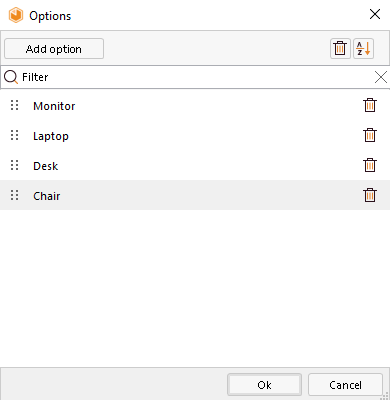
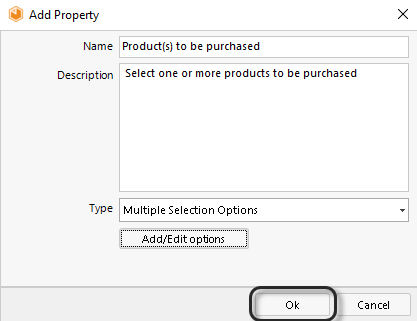
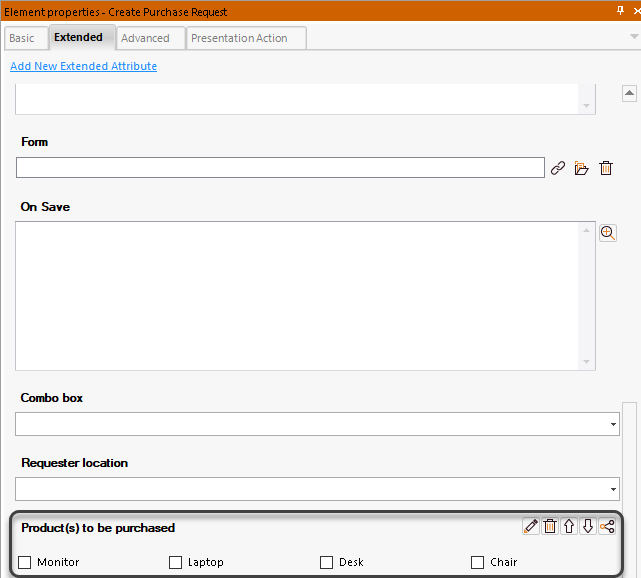
6. Find the Single Selection Option (combo) attribute in the Extended tab of the Element properties section.
How to add Single Selections Option extended attribute
1. Right click the Request Purchase Request task and select the properties tab. Then click the Extended tab on the top left of the Element properties section.

2. Click Add new Extended Attribute and then enter a name and description and select the Single Selection Option (Radio) type.
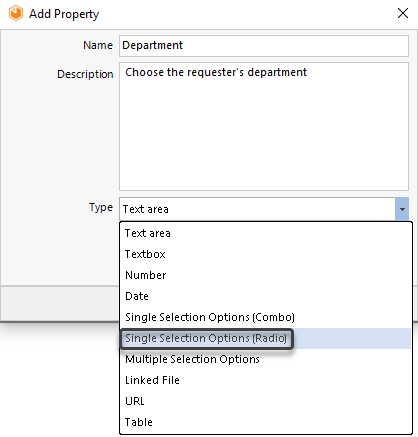
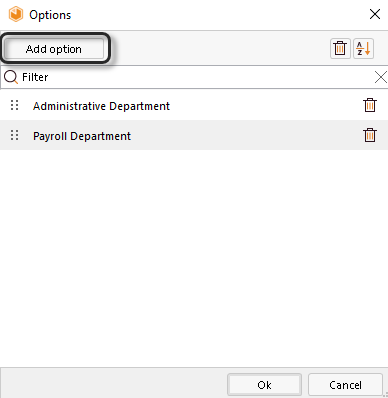
3. Click Add option and type the item that you want to be purchased. Repeat the same procedure per each item to be purchased.
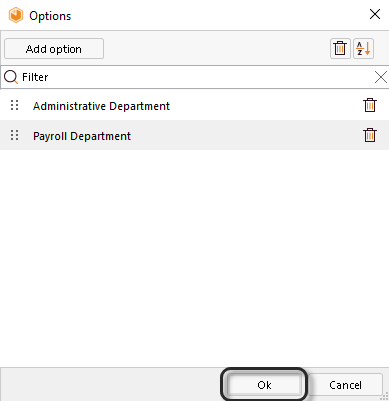
4. Click OK on both options: Add Property wizards
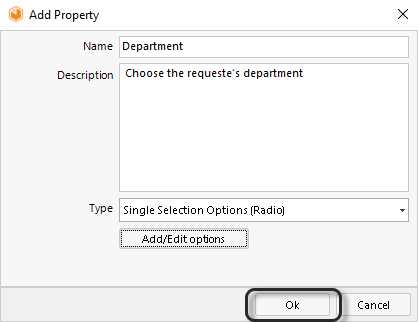
6. Find the Single Selection Option (radio) attribute in the Extended tab of the Element properties section.
Manage the options wizard
Each time the Option's Wizard appears for single and multiple selection attributes, you can manage the following configuration:
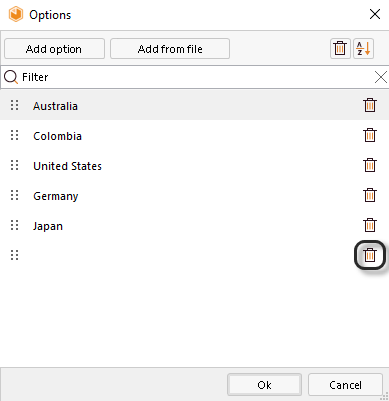
1. Delete individual items: To do so, select the deletion button located in front of the field you want to erase.

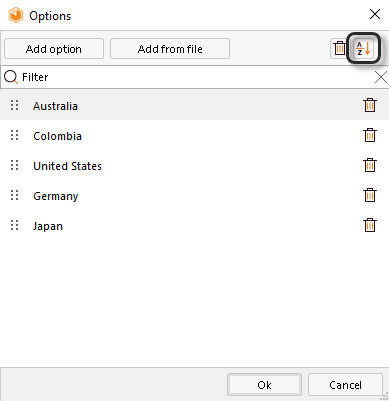
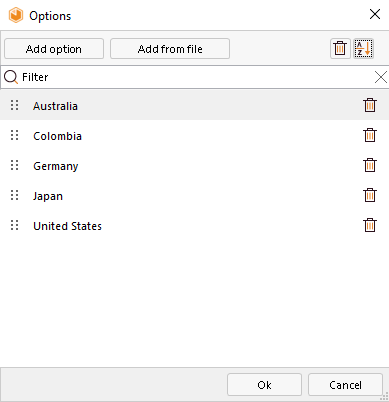
2. Sort the list alphabetically: Select the sort button on the top right of the Options wizard
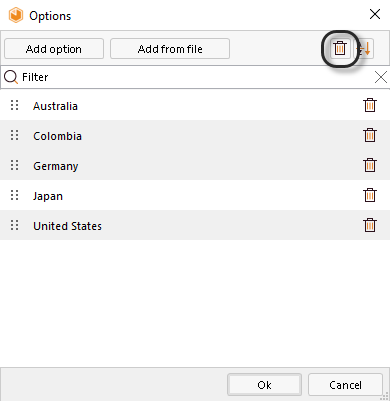
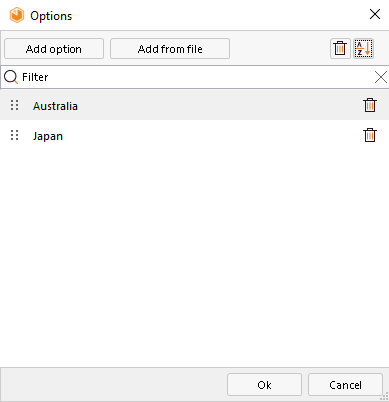
3. Erase a list of chosen items: Select one or more items of the list and then click the deletion button at the top right of the window. Click ok on the warning message.
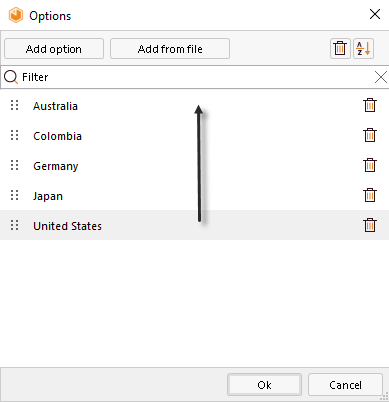
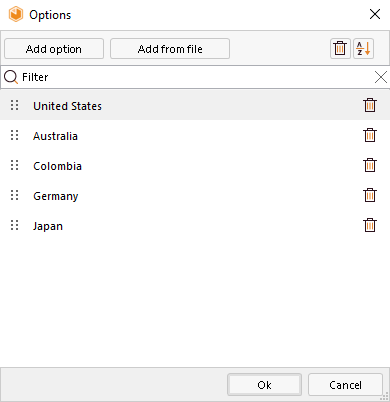
4. Sort the list of items manually: Drag and drop the item of your preference to the place that you prefer.
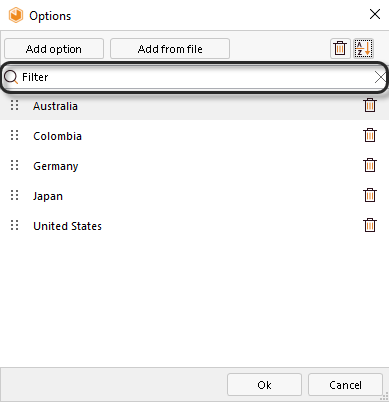
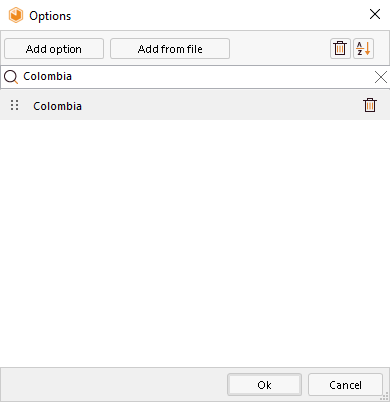
5. Filter the items list: On the filterText box, type the characters of the value you want to find:
Last Updated 1/7/2022 2:11:55 PM