The second step of the Bizagi Process Wizard is to define the data that the Process requires for its execution.
We will use the Purchase Request Process to explain the construction of the data model.
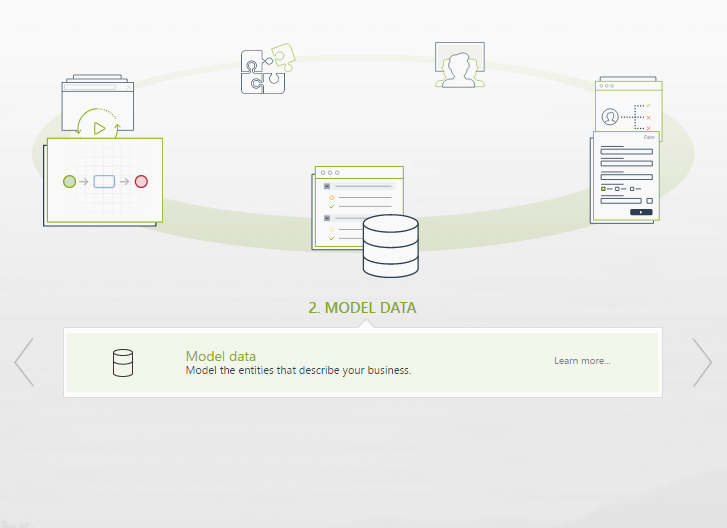
1. Select the Model Data option in the second step of the Process Wizard.
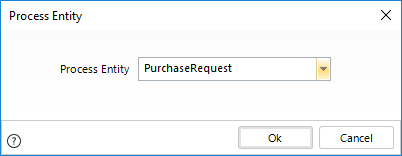
2. A new window will display a drop down list to select an entity. Enter the name of the main Process Entity or select an existing entity from the drop-down list. Remember that the Process Entity is the principle entity of your process, through which a user accesses the rest of the data model entities. Click OK.
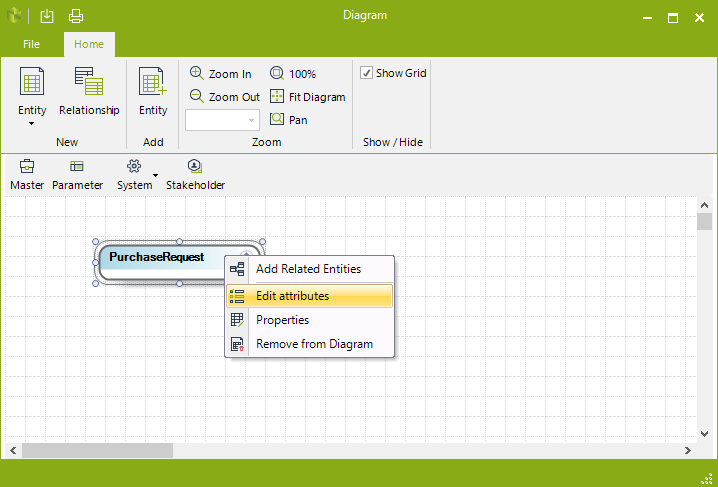
3. Right click the Process Entity and select Edit Attributes list, to start including attributes.
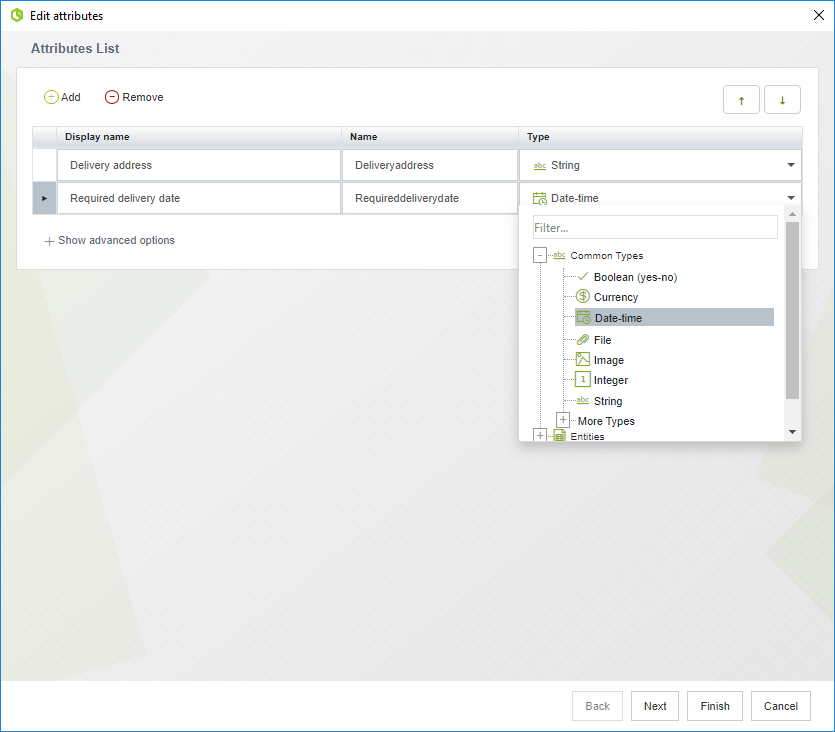
4. The Entity Wizard will launch allowing you to include all the attributes you need.
Click the Add button. A new record will be added to the table where the first field holds the attribute's display name.
The Display Name is the name that will be displayed in the Work Portal user interface. The Name attribute is the unique identifier for internal use only and is automatically created.
The last column specifies the attribute's data type. For example the delivery date of a purchase should be a date (i.e., the Date-time data type). The delivery address should be a string (i.e., String data type).
|
The name and display name of an attribute must be different from the name of the entity to which it belongs. For example, if you have an entity called City, none of its attributes can be named City. We recommend using City name, for example. |
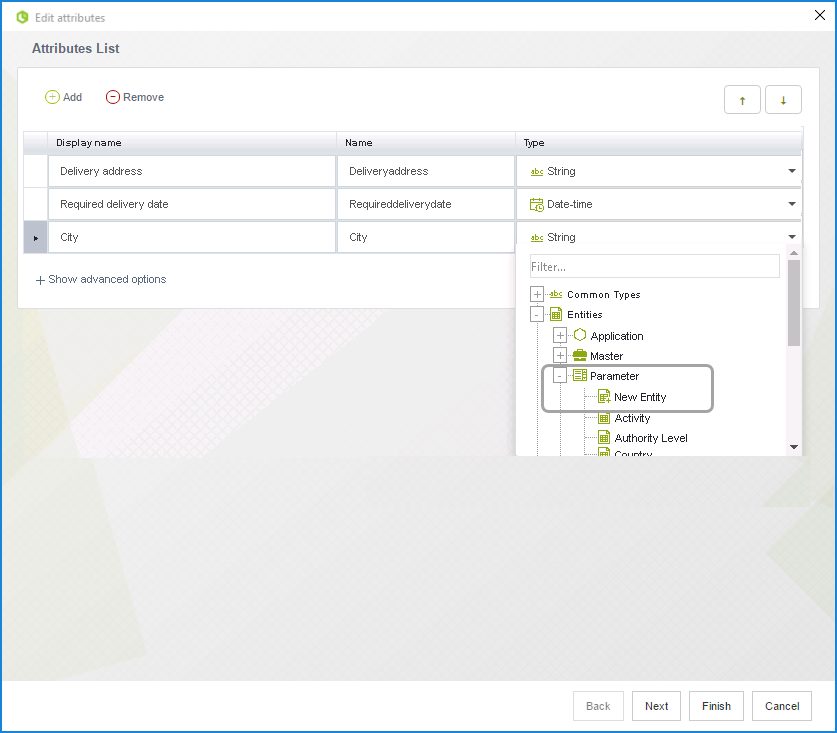
5. You can also create attributes that relate Master and Parameter Entities. In this example we will add a relationship to the Parameter Entity City.
In the Display Name you include the name of the Relationship. Type the name of the relationship in the Display Name field, and select the child entity.
To do so, first expand the Entity element (by clicking the plus sign aside) and then the Parameter element. Select New Entity or choose an existing entity from the list presented.
To ease finding the desired related attribute when the list is very long, you can filter by typing the relationship's name or the attribute type in the Filter field.
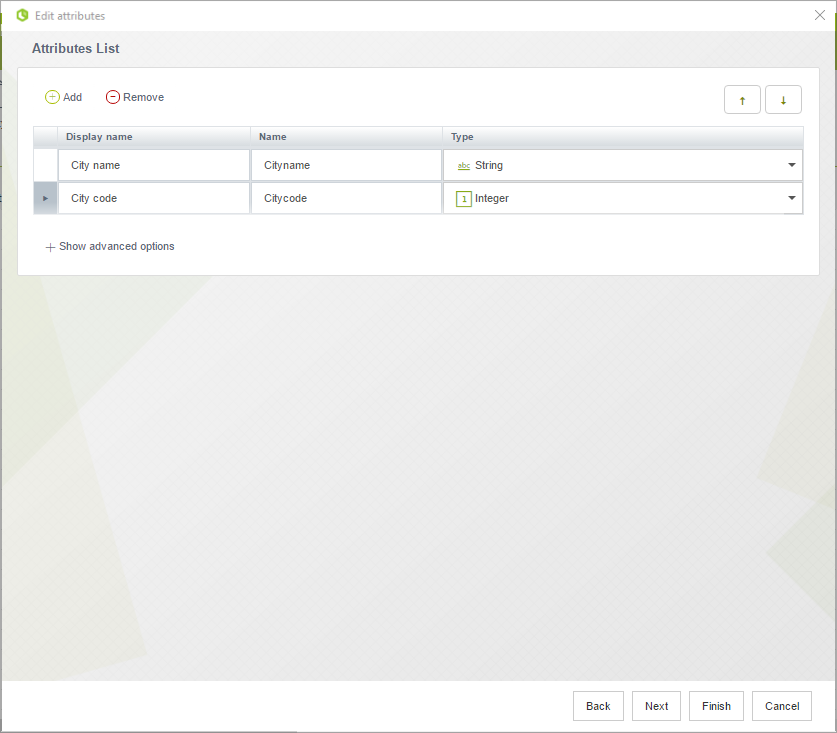
6. The Attribute List window will appear to enter all the attributes of the new Parameter Entity.
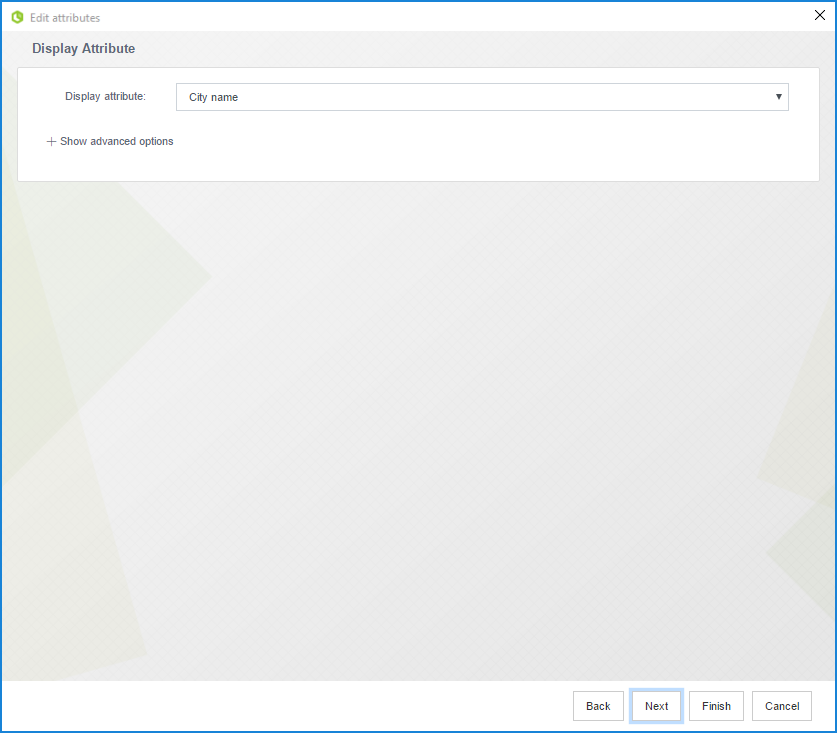
7. In the last step of adding the Parameter Entities, you must define the Display Attribute and a parent entity (click the Advanced/Hide toggle option to see this field) if there is one associated.
The Display Attribute is the visible attribute created for the entity that will be shown in the Work Portal when the entity is referred to.
This field is required but can be selected from the User Interface Modeler.
Once complete, click Finish. The system returns to the previously displayed Attribute List window of the Entity Wizard, where you can continue to add other required attributes.
When all attributes have been added, click Finish.
You can come back anytime to include additional attributes to any entity, just as it was done in this example.
Sorting your attributes
Clicking the top of each column sorts the table of attributes.
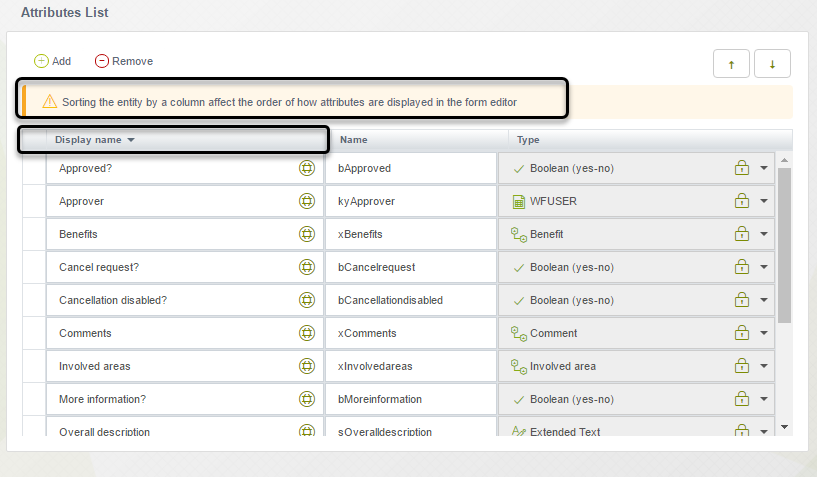
Bizagi displays a message, warning users that this sort affect the order how attributes are display when Bizagi generates Data templates automatically.
Last Updated 5/30/2024 10:05:44 AM