Overview
This section provides a reference guide regarding the modeling options available when designing the process workflow with the Live Processes feature.
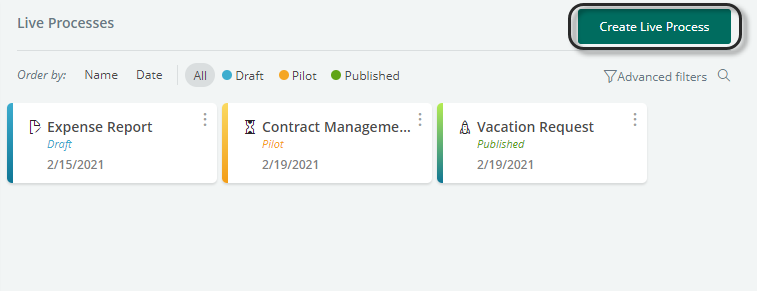
Create a new Live Process from this dashboard. Click Create Live Process on top right corner.
Design the Live Processes flow
Once you create the process, the Drawing Area displays where you can model the process.
It is quick and easy to create Process diagrams in Bizagi Work Portal. Just drag and drop the elements you want from the Palette or from the Pie Menu.
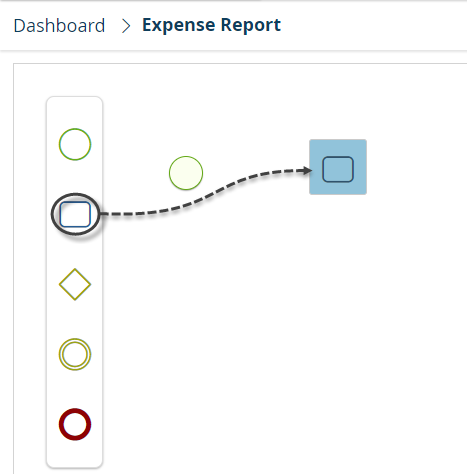
Once place an element on the Drawing Area, the element is editable. You can set its display name and the Pie Menu for the element appears.

To edit a task's name or estimated duration, double-click it. Bizagi interprets the unit you type as minutes, unless you specify it's hours by typing an "h". If the number you type is greater than 60, Bizagi automatically display it as hours and minutes.

Connect the elements using the Flow Sequence tool located in the Pie Menu.
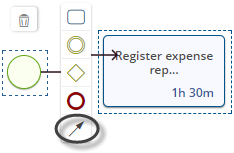
Drag and drop the arrow into the element you want to connect. Elements dragged from the Pie Menu will be automatically connected.
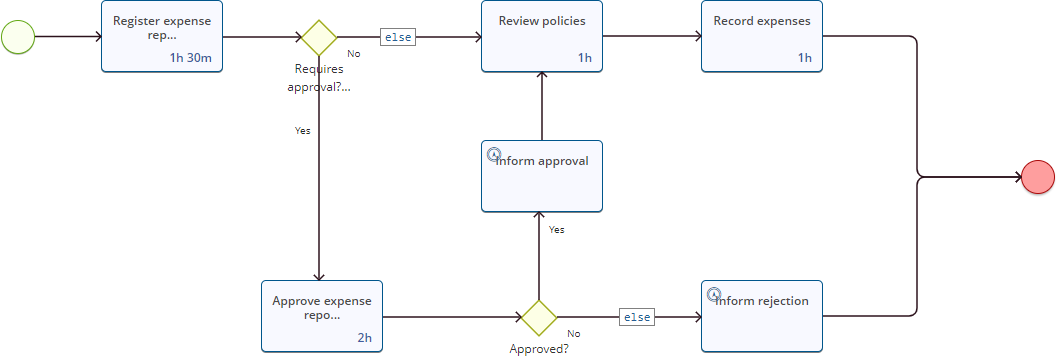
You can continue to drag and drop shapes into the process until your diagram is complete:
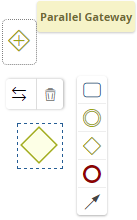
If you need to change between an exclusive gateway and a parallel gateway, click the ![]() icon in the Pie Menu and choose the desired shape.
icon in the Pie Menu and choose the desired shape.
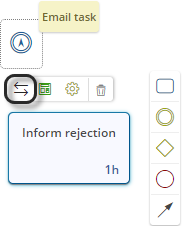
Likewise, you can change your tasks into Email Tasks. Click the ![]() icon in the Pie Menu and choose the desired shape.
icon in the Pie Menu and choose the desired shape.
The Palette is located on the left side of the Drawing Area. Here you can find all the necessary elements to model your process. The table below describes the shapes available.
If your process requires any other shape, automate the process via Bizagi Studio.
For more information about shapes refer to BPM Shapes.
Icon |
Name |
Description |
|---|---|---|
|
Start Event |
Creates a Start Event in your process. |
|
Task |
Creates a user Task in your process. |
|
Gateway |
Creates a Gateway in your process. By default, the created gateway is an Exclusive gateway, but you can convert it to a Parallel gateway. |
|
Intermediate Event |
Creates an Intermediate Event in your process. |
|
End Event |
Creates an End Event in your process. By default, an End Event is created, but you can switch it to a Terminate End Event. |
The Pie Menu appears when an element or shape in the process flow is active. This menu has the following options:
Icon |
Name |
Description |
Element |
||||
|---|---|---|---|---|---|---|---|
|
|
|
|
|
|||
|
Form Designer |
Opens the Forms editor so you can create the User interface for a selected element. |
- |
|
- |
- |
|
|
Settings |
Opens the Settings Menu, where you can assign the allocated user or user groups and set the task's alarms. |
- |
|
- |
- |
|
|
Append End Event |
Connects an End Event to the selected element. |
|
|
- |
|
|
|
Append Gateway |
Connects a Gateway to the selected element. |
|
|
- |
|
|
|
Append Task |
Connects a Task to the selected element. |
|
|
- |
|
|
|
Append Intermediate Event |
Connects an Intermediate Event to the selected element. |
|
|
- |
|
|
|
Remove |
Removes the element from the diagram. |
|
|
|
|
|
|
Flow sequence |
Creates a connection between the selected element and another element within the diagram. |
|
|
- |
|
|
|
Options |
Shows the option to switch between the allowed BPM Shapes. |
- |
- |
|
|
|
|
Email Settings |
Opens the Email Editor, where the recipients and message content can be edited. |
- |
- |
- |
- |
|
What's next?
When you have completed the design of your process flow, you can create the forms for the task created. Refer to Defining Live Process forms.
Last Updated 1/23/2023 12:05:12 PM